How to configure and style Elementor Woo Product Image Widget
Exclusive Addons comes with a WooBuilder. A compact tool to build complete eCommerce sites. The WooBuilder includes a bunch of widgets for the Single Product Page and “Thank You” Page, which includes the Related Product widget.
You can add a stylish Related Product to the Single Product Page with lots of customizable options. Learn how to configure and style Elementor Related Product widget from Exclusive Addons.
STEP 1:
Edit the Single Product Page to add Woo Related Product Exclusive Addons widgets.
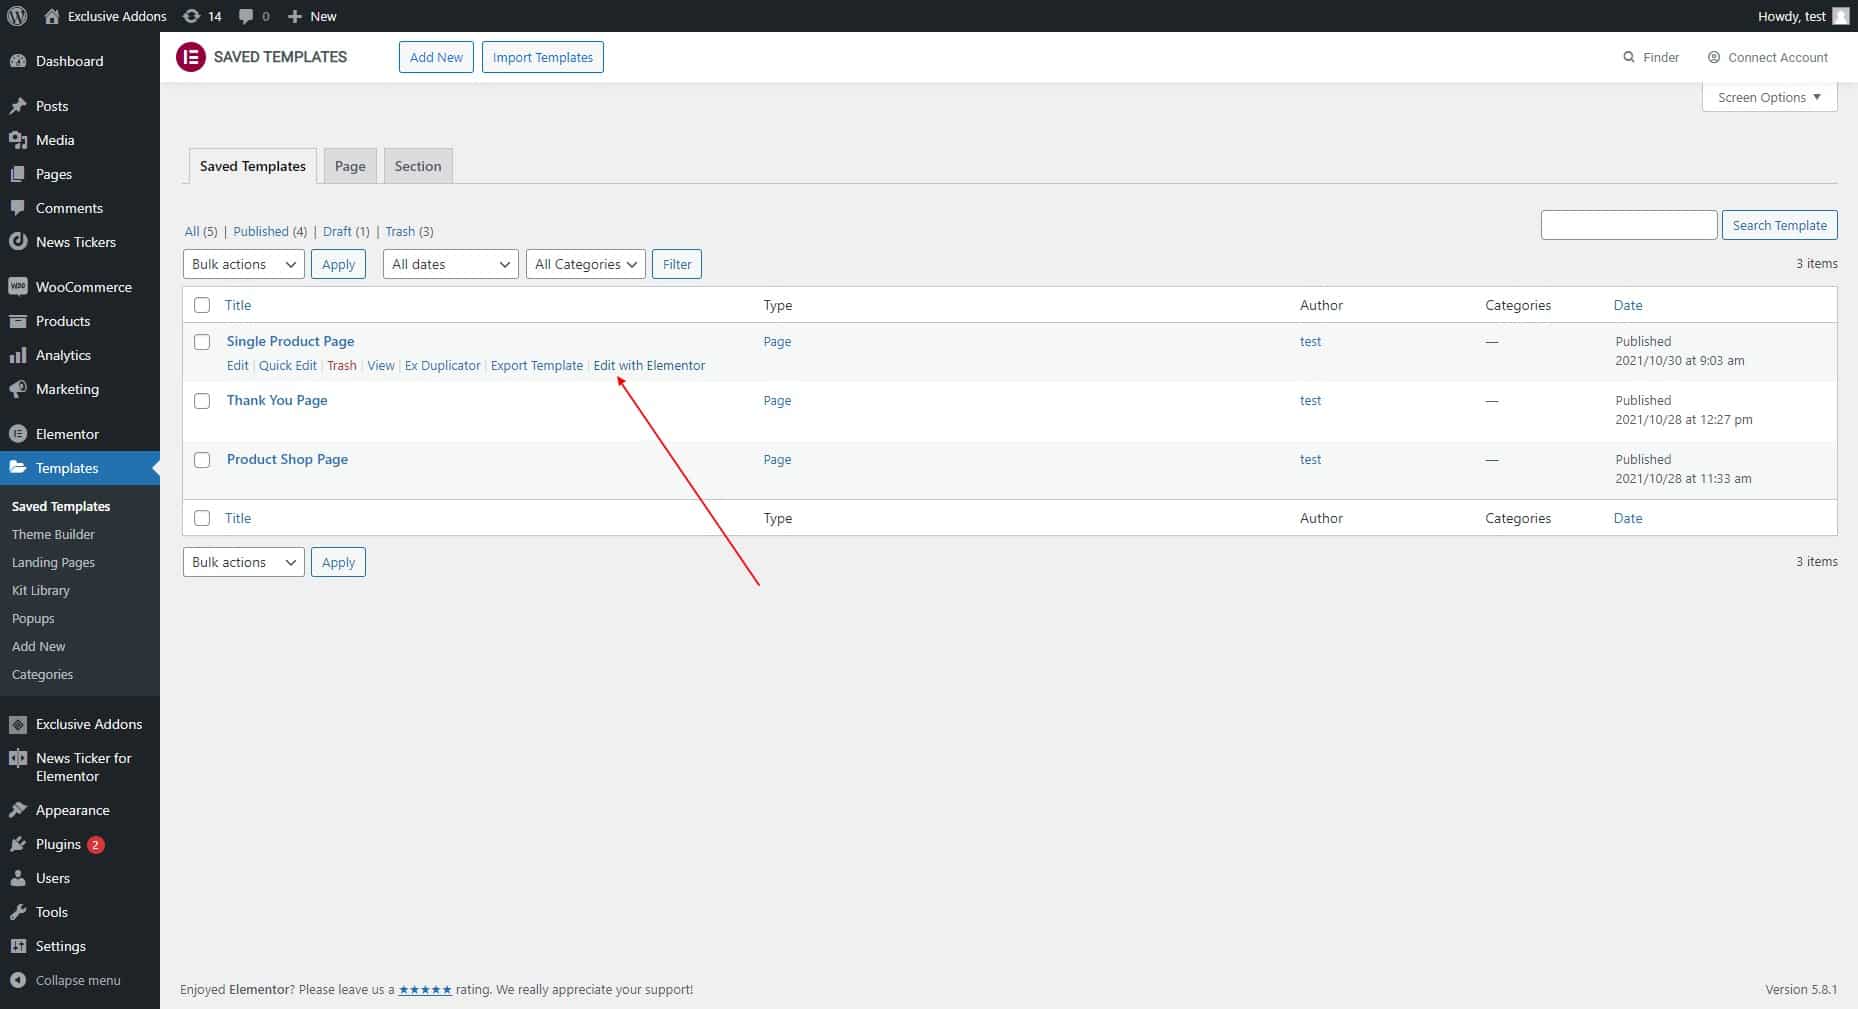
1.1 Go to Templates & Saved Templates from your WordPress dashboard. There you will see the Single Product Page template you have created before. Click on the “Edit with Elementor” option to start editing the page template.
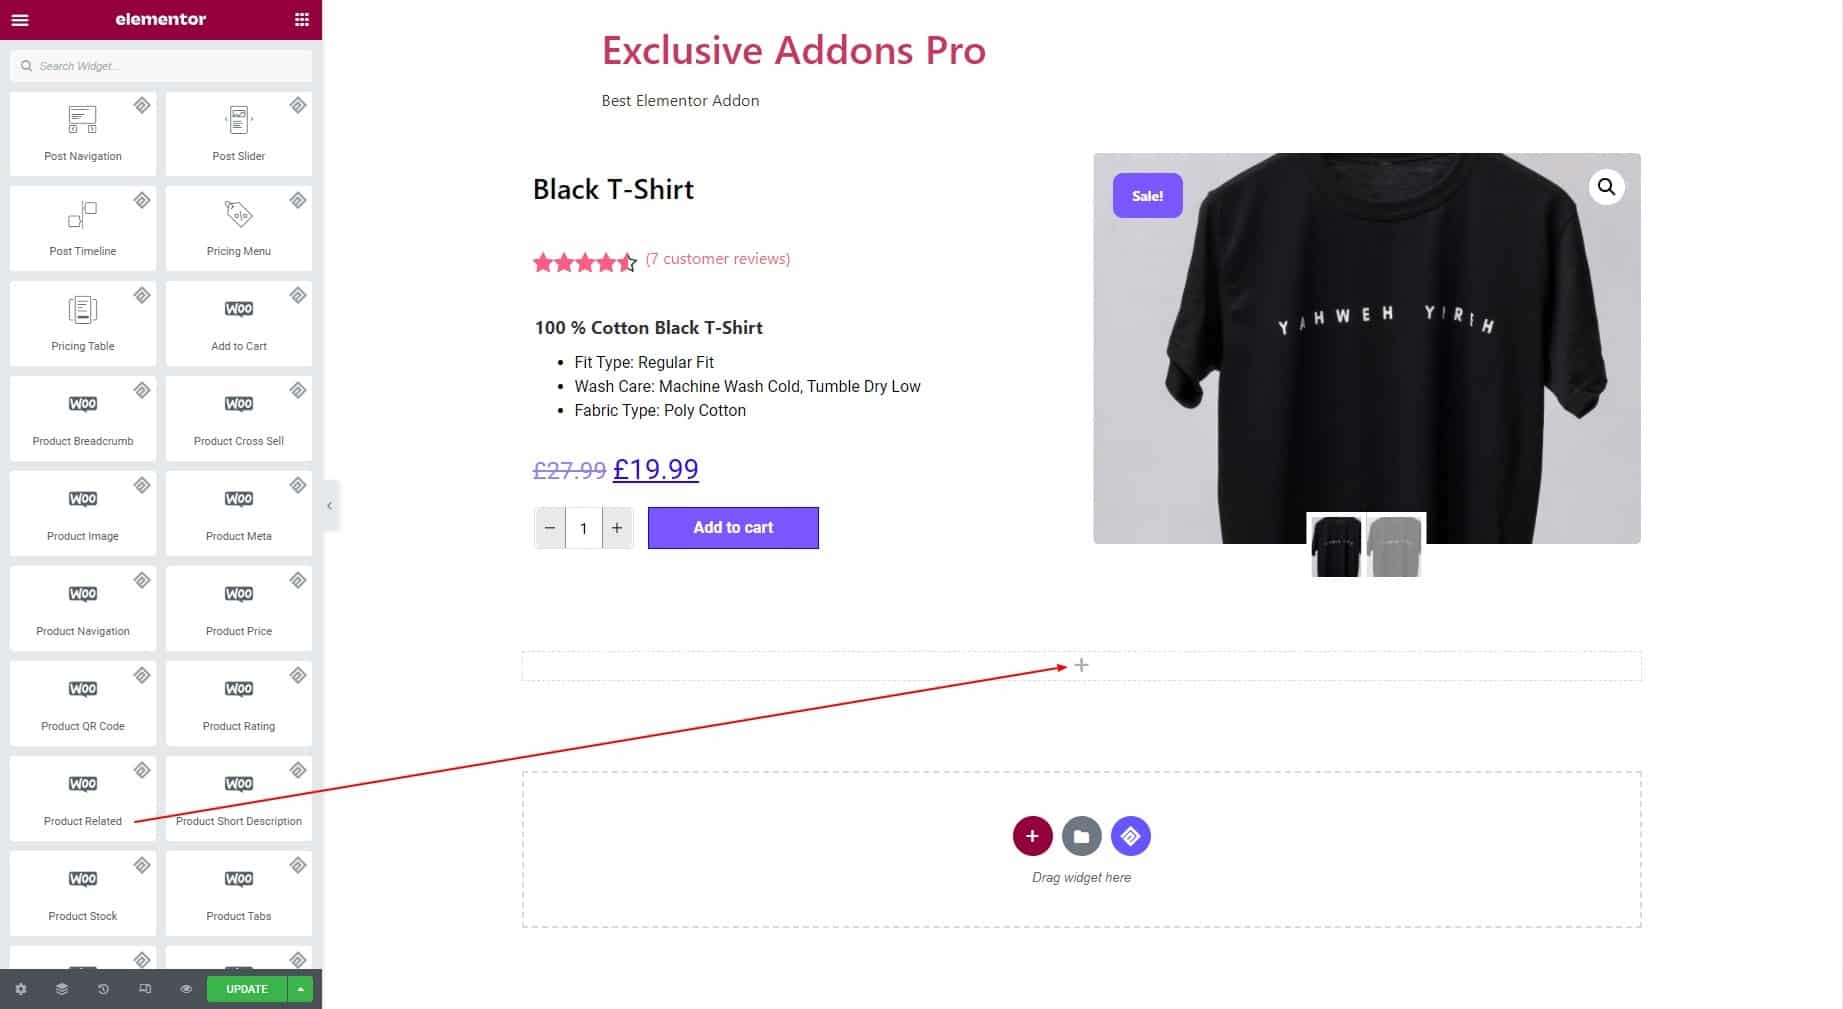
1.2 Now find the Exclusive Related Product widget under the Woo Exclusive Addons section in the Editor panel. Drag and drop the widget into your design.
STEP 2:
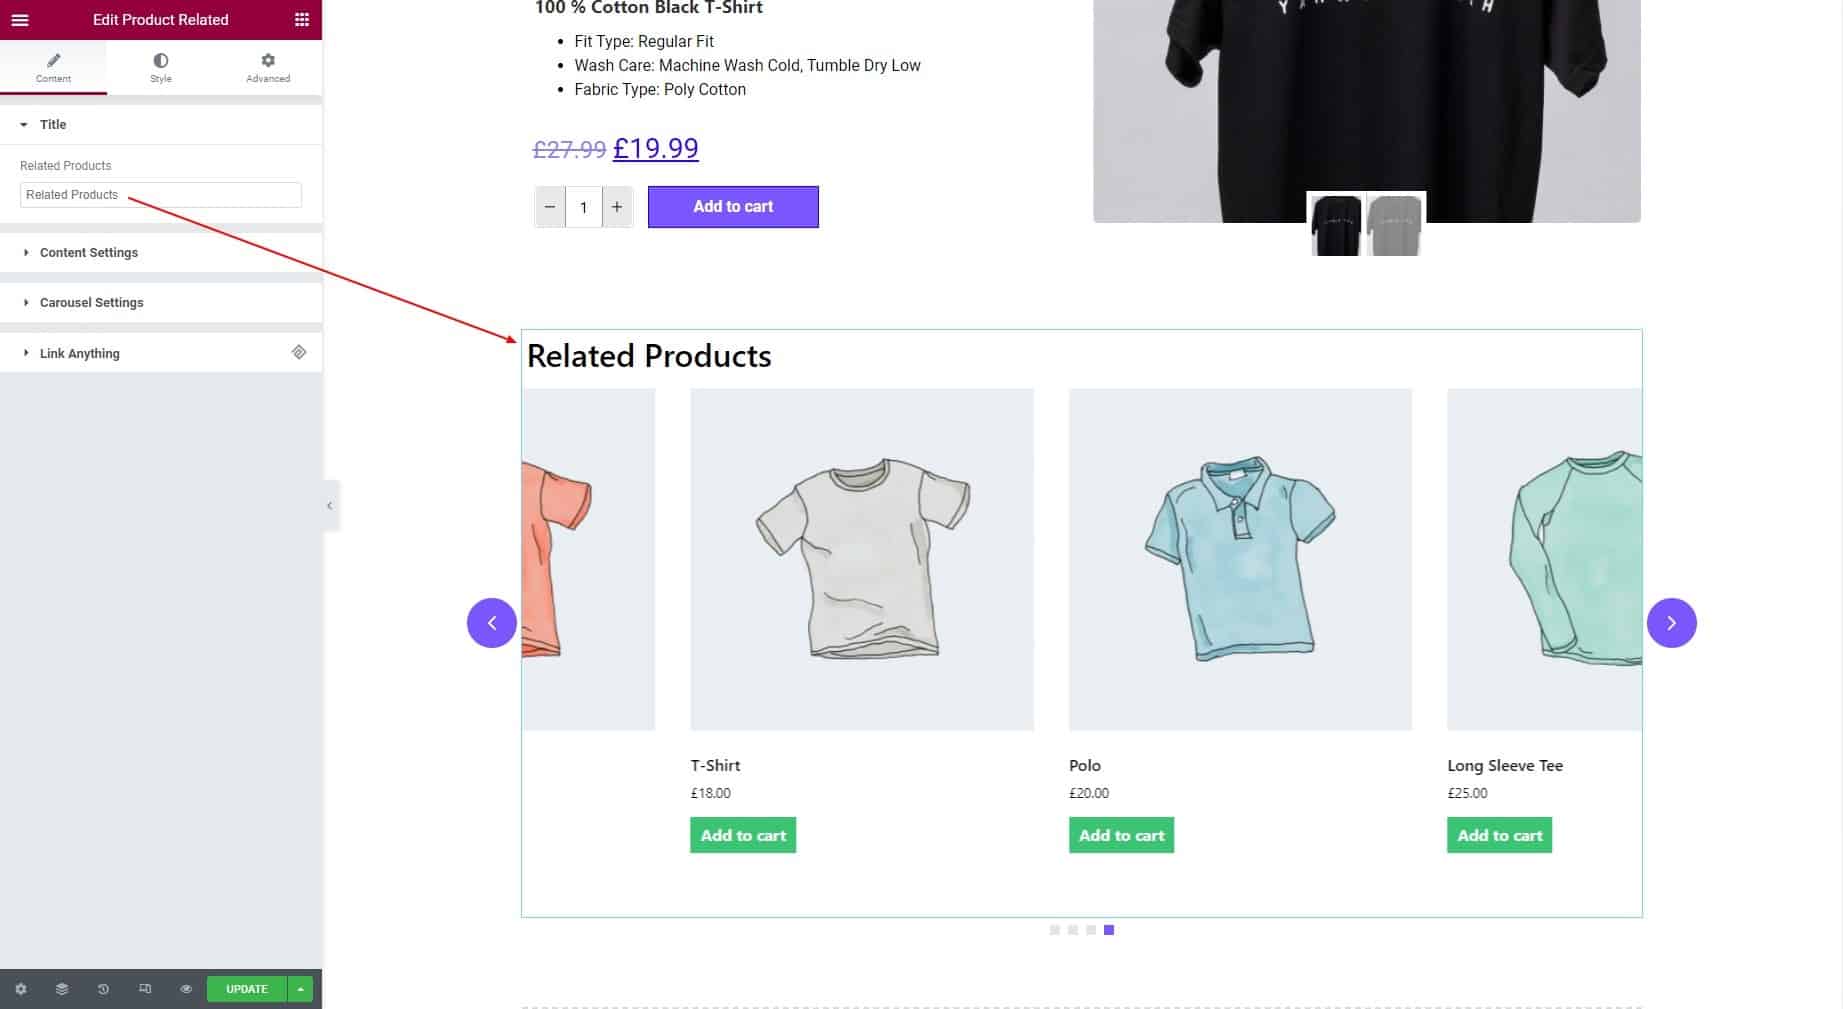
The Content tab allows you to configure the Title, Content Settings, and Carousel Settings.
2.1 You can set the section title for related products in the Title section.
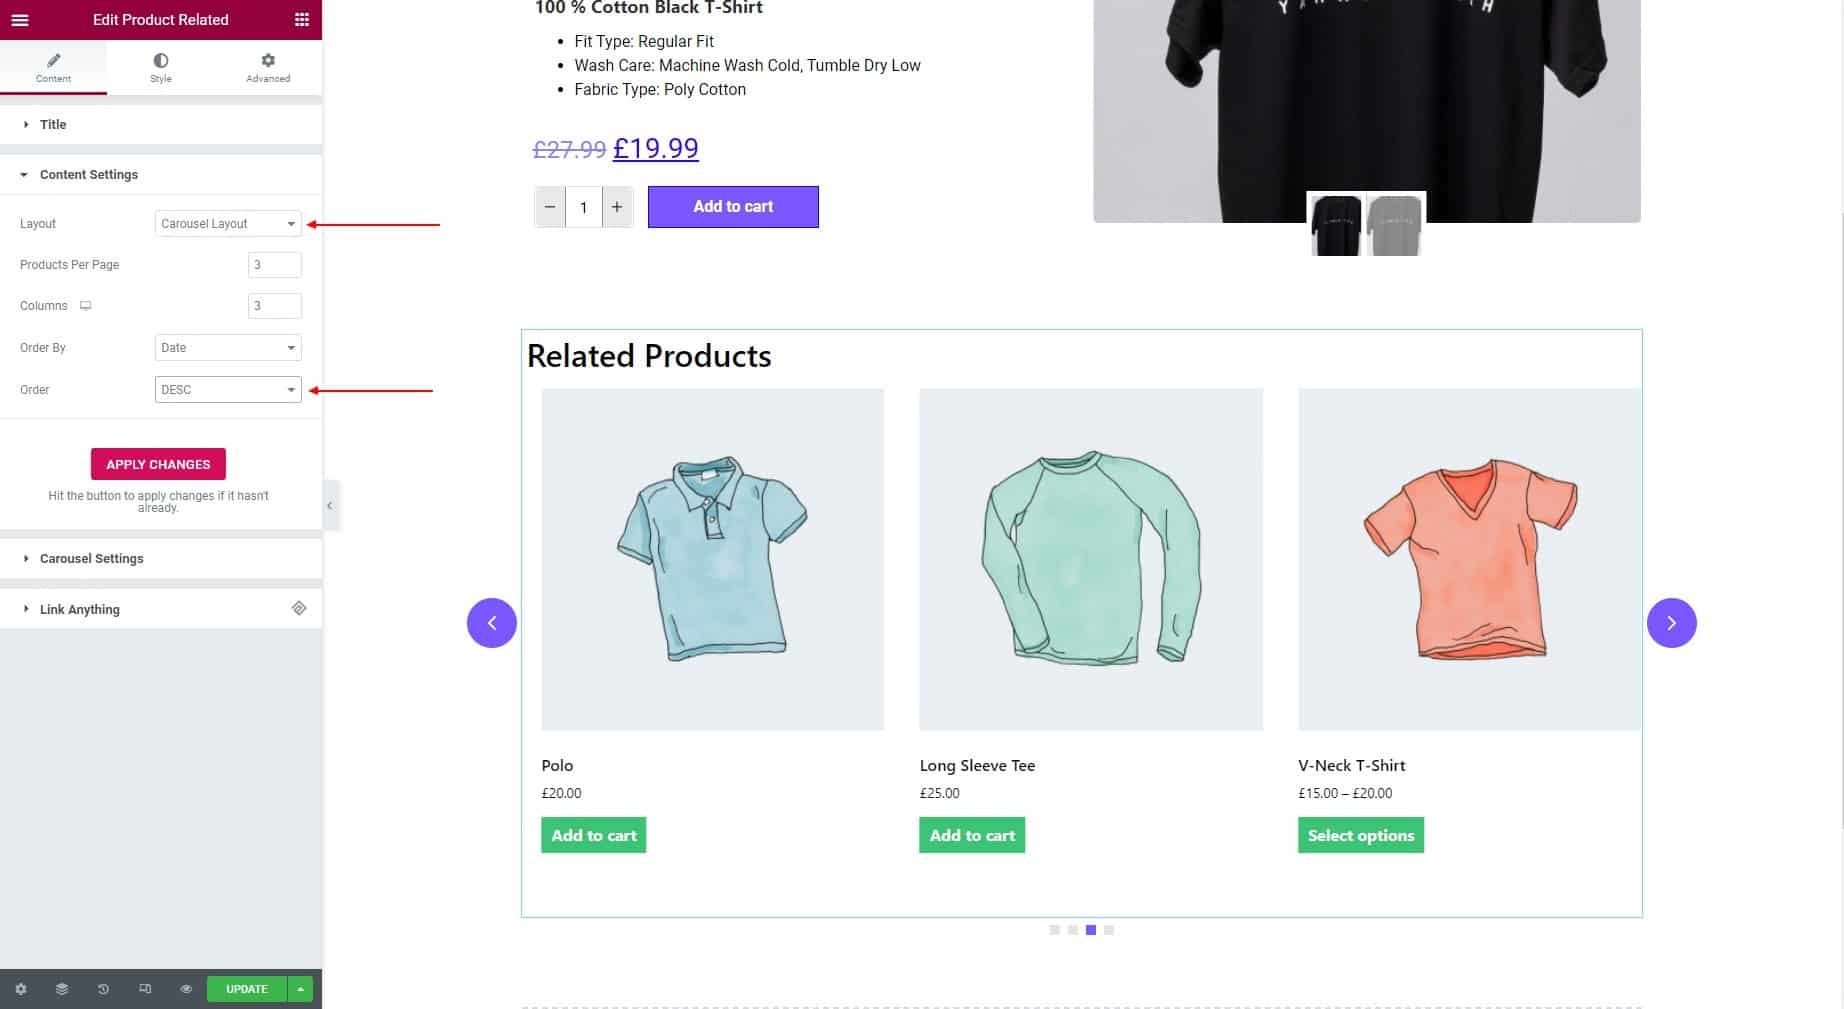
2.2 In the Content Settings section, you can choose the Layout between “Grid Layout” and “Carousel Layout”. Then you have to set the number of Products Per Page and Column number. Options to select the Order By and Order (ascending or descending).
Note: Click the “APPLY CHANGES” button if the changes don’t take place automatically.
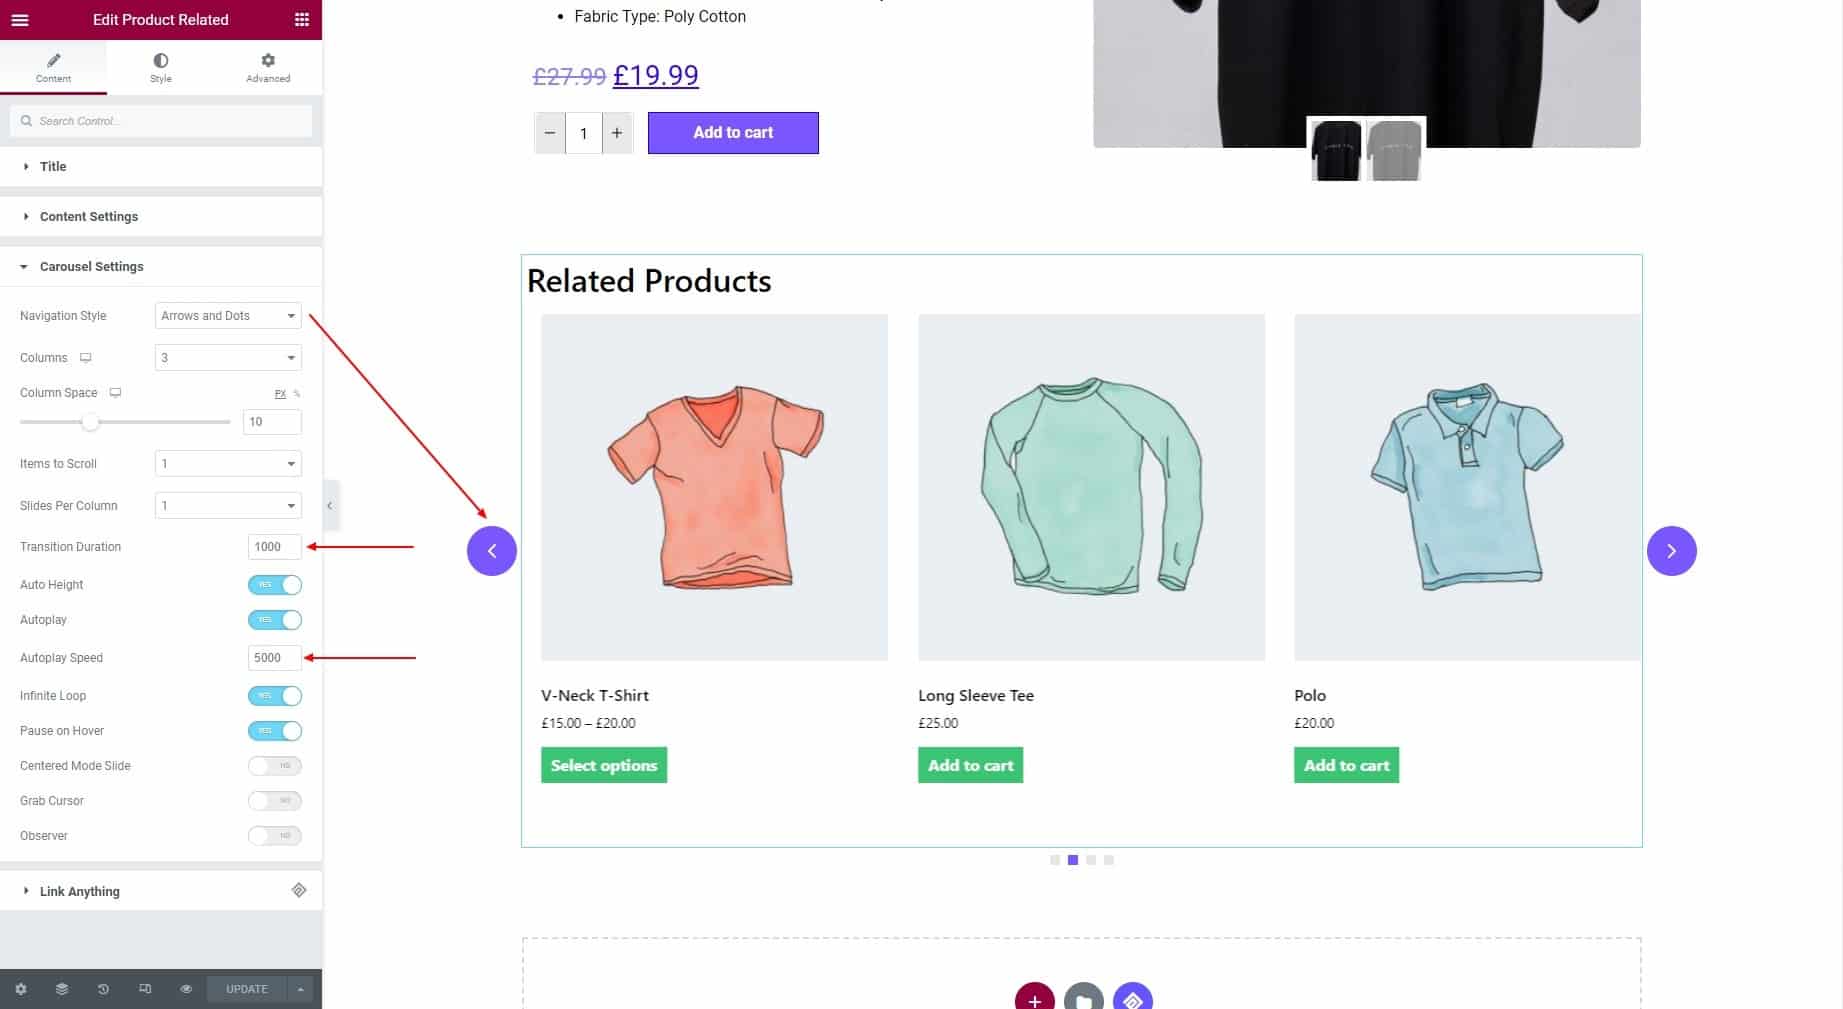
2.3 The Carousel Settings section will appear if you have chosen the Carousel Layout earlier. Here you can choose the Navigation Style, then set Columns number, Column Space, Items to Scroll, and Slides Per Column.
Then you get to Transition Duration and Autoplay Speed on a millisecond scale. You can enable Auto Height, Autoplay, Infinite Loop, Pause on Hover, and more.
STEP 3:
The Style tab allows you to customize Related Title, Container, Content Box, Image and Tags, Title, Price, Star Rating, Button, Arrows, and Dots.
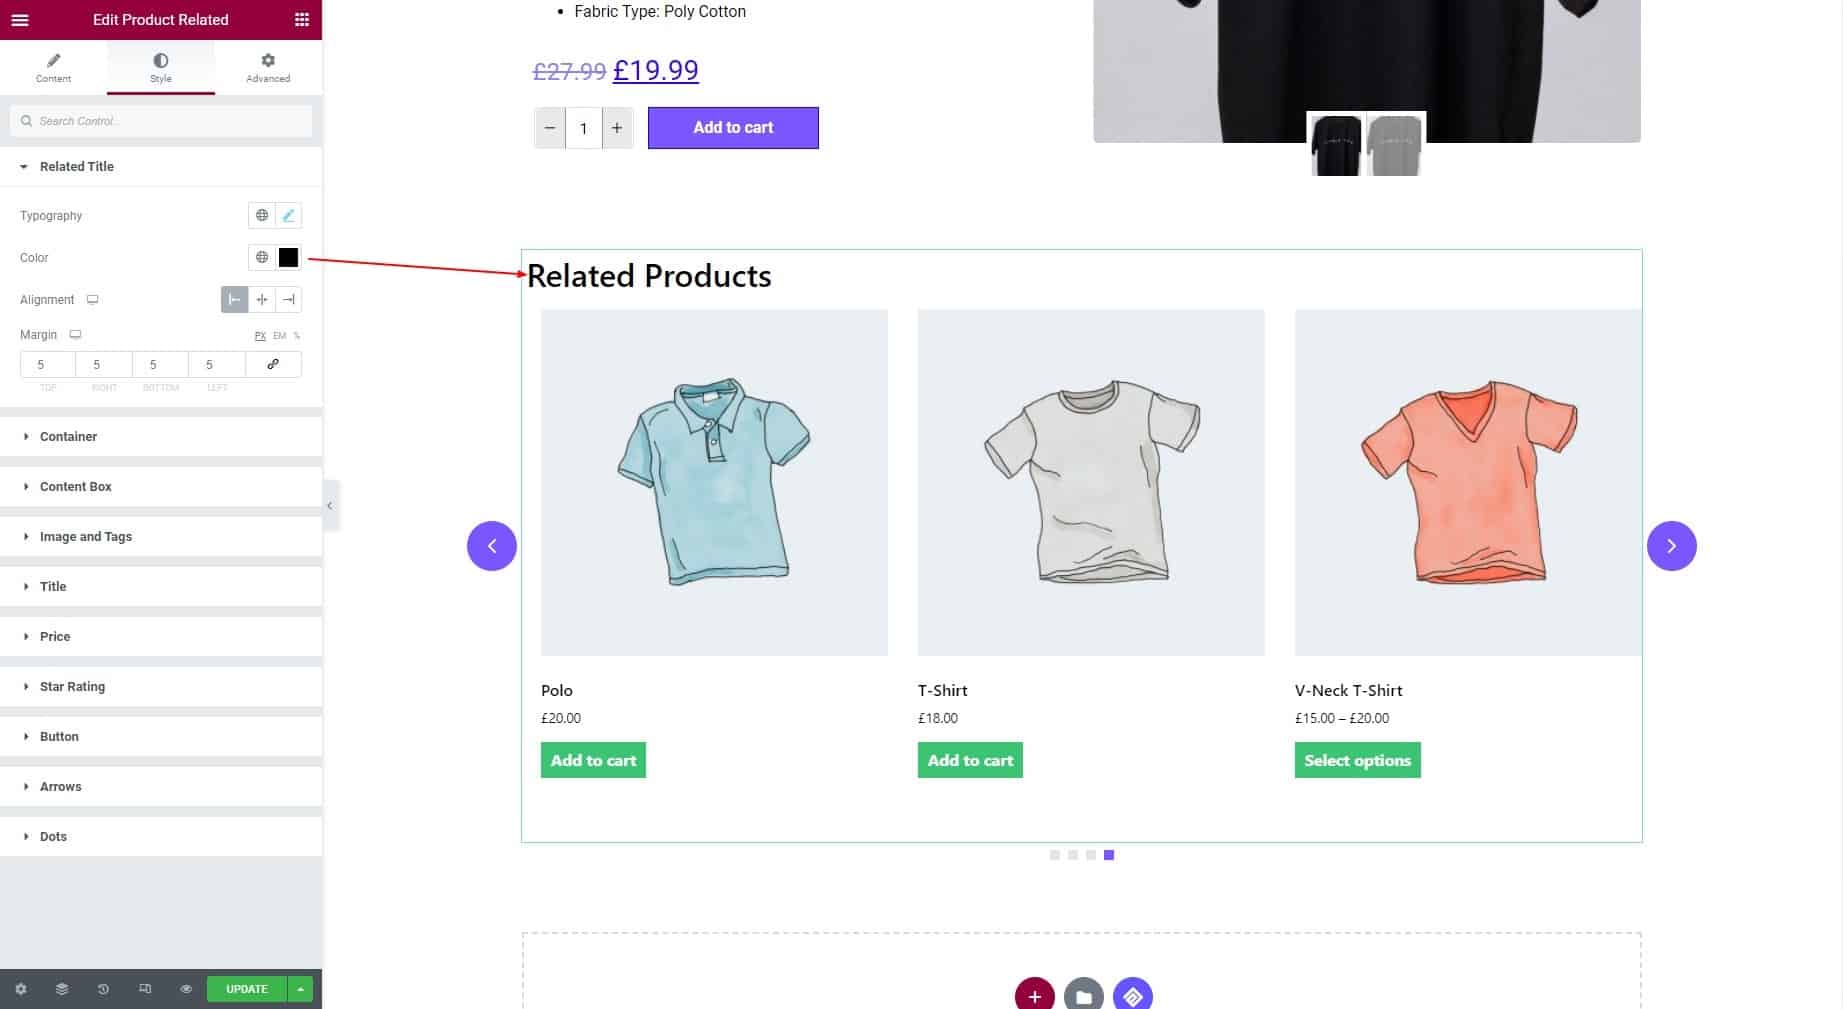
3.1 In the Related Title section, you can set Typography, Color, Alignment, and Margin.
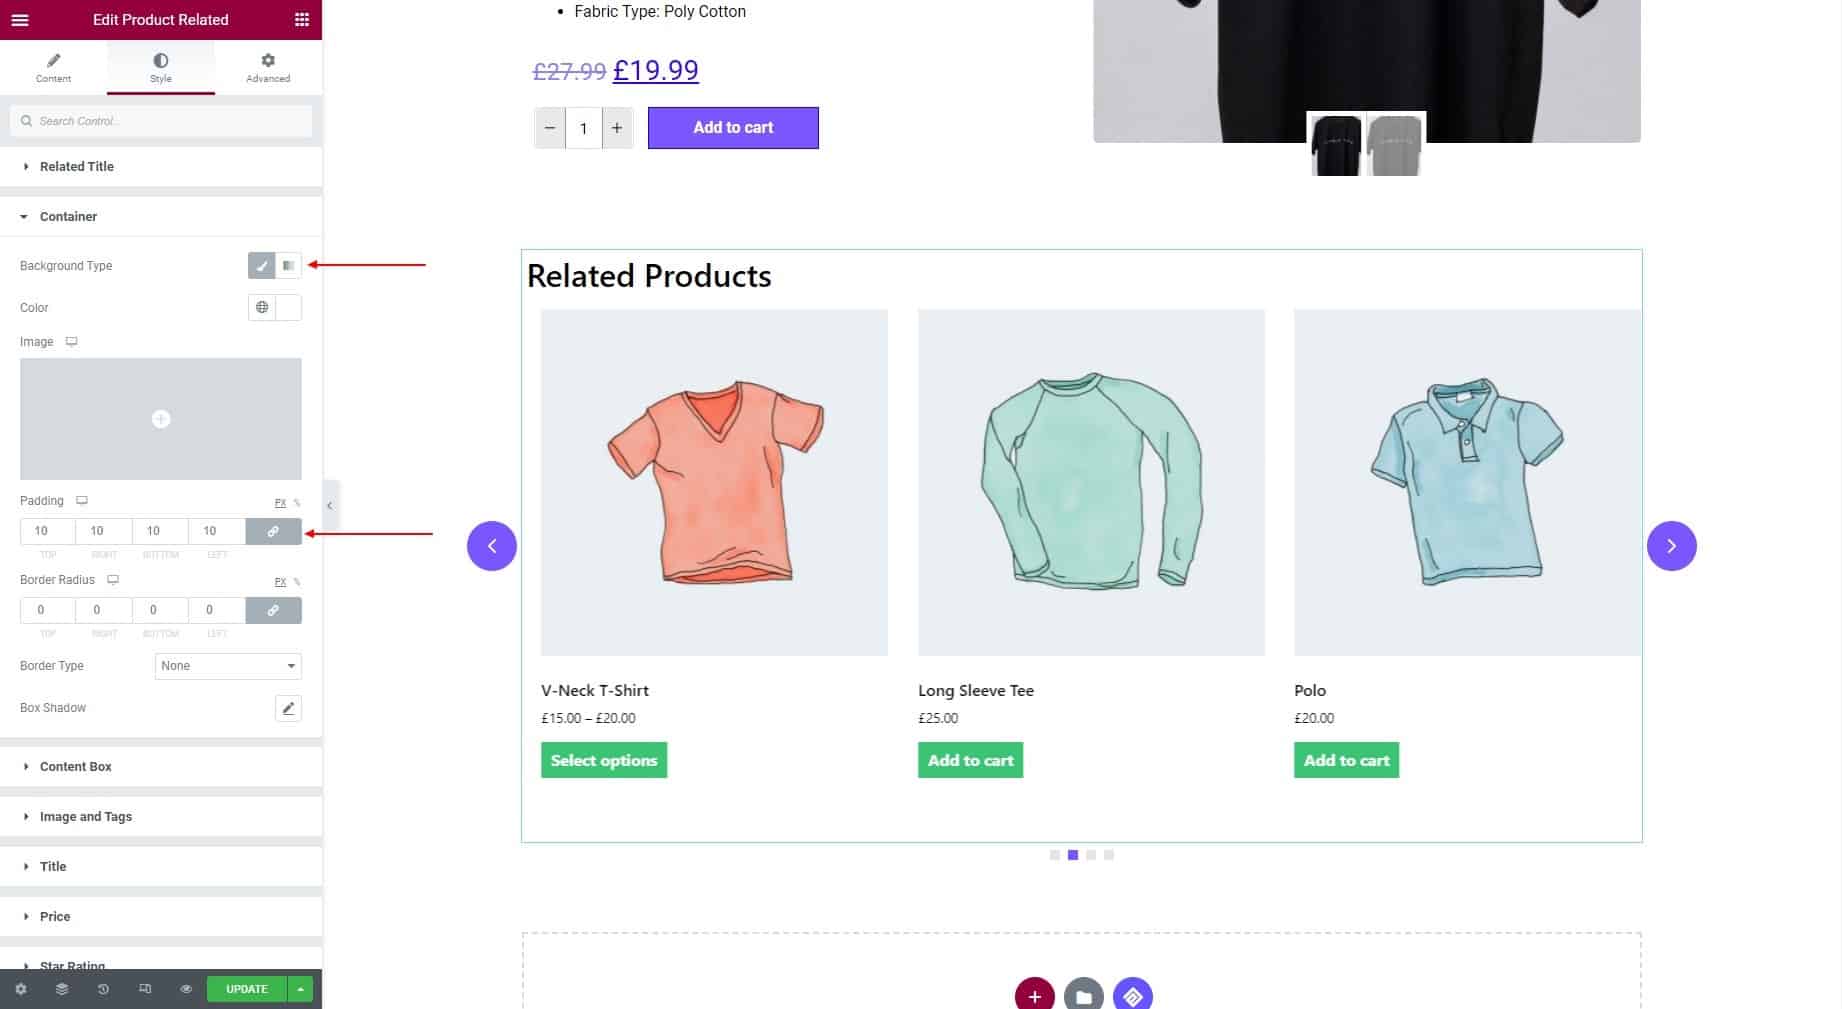
3.2 In Container section, set the Background Type to classic or gradient and set the Color. You can set the Padding, Border Radius, Border Type, and Box Shadow in this section.
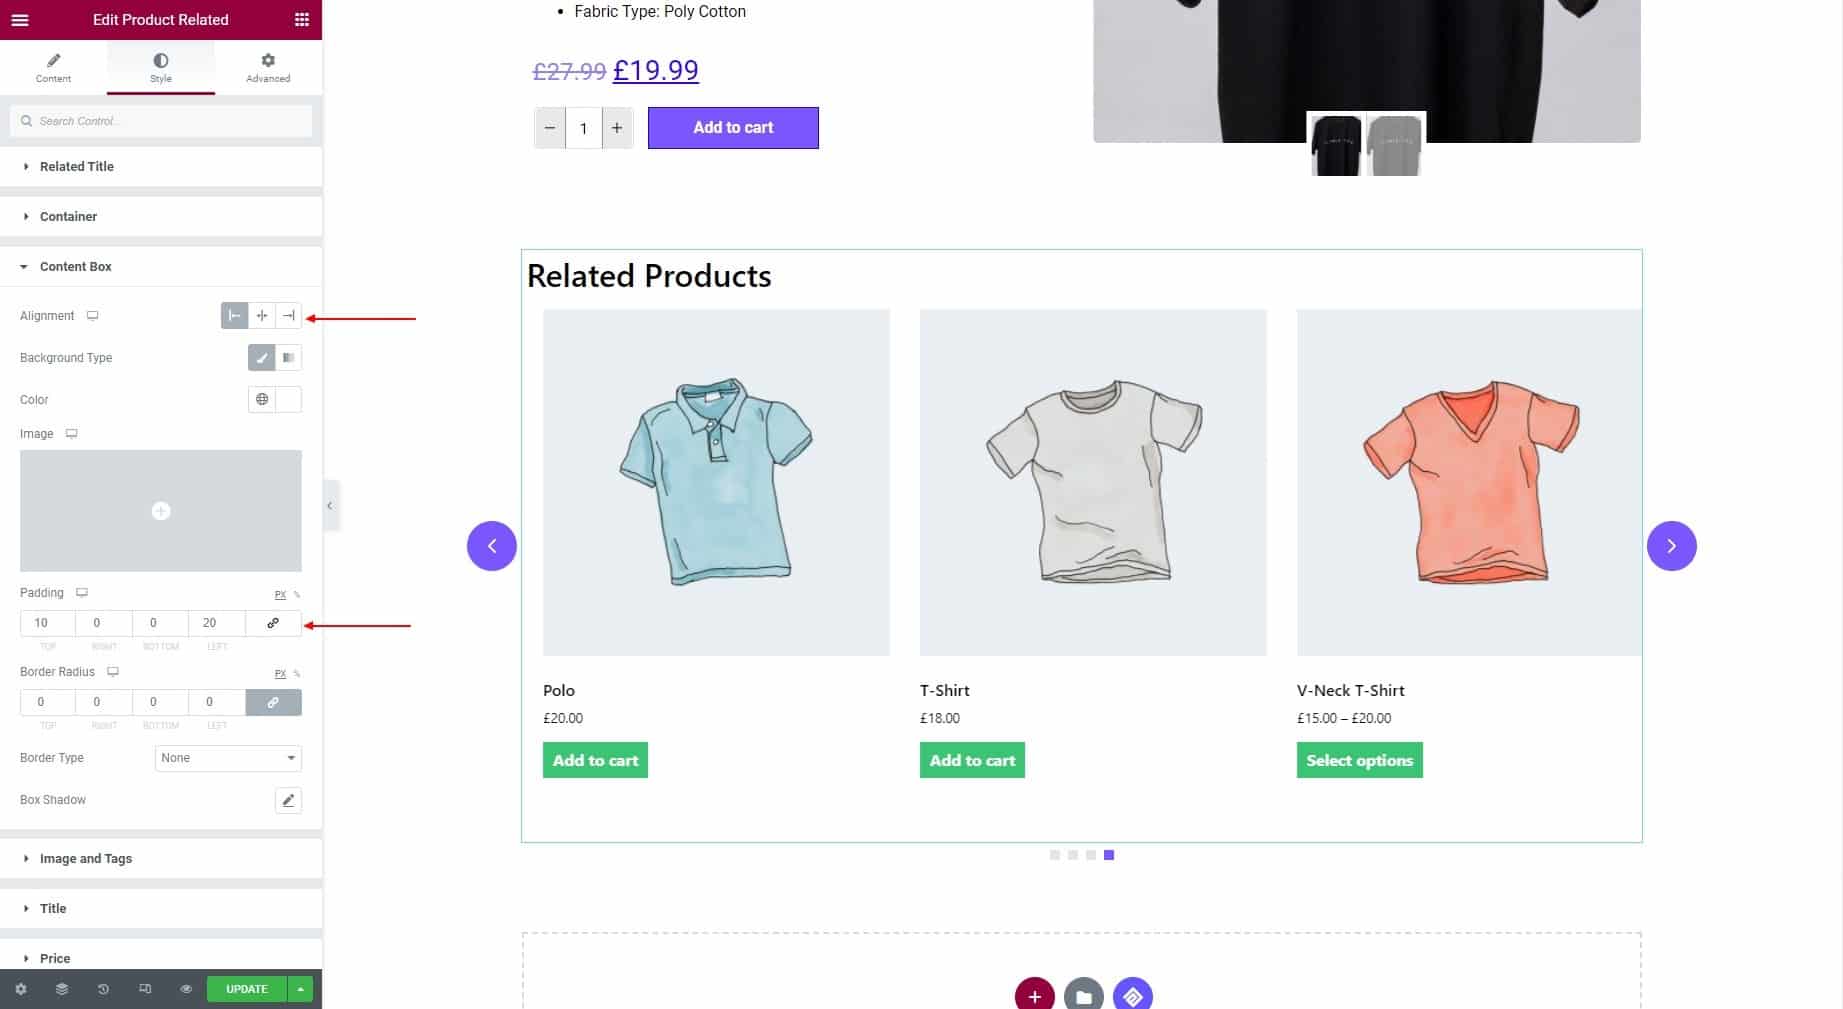
3.3 As for Content Box, choose Alignment, set the Background Type to classic or gradient, and set the Color. You can set the Padding, Border Radius, Border Type, and Box Shadow for the content box.
3.4 For Images and Tags, you can adjust Image Height, Padding, Overlay, Hover Overlay, Border Type, Border Width, Color, and Border Radius.
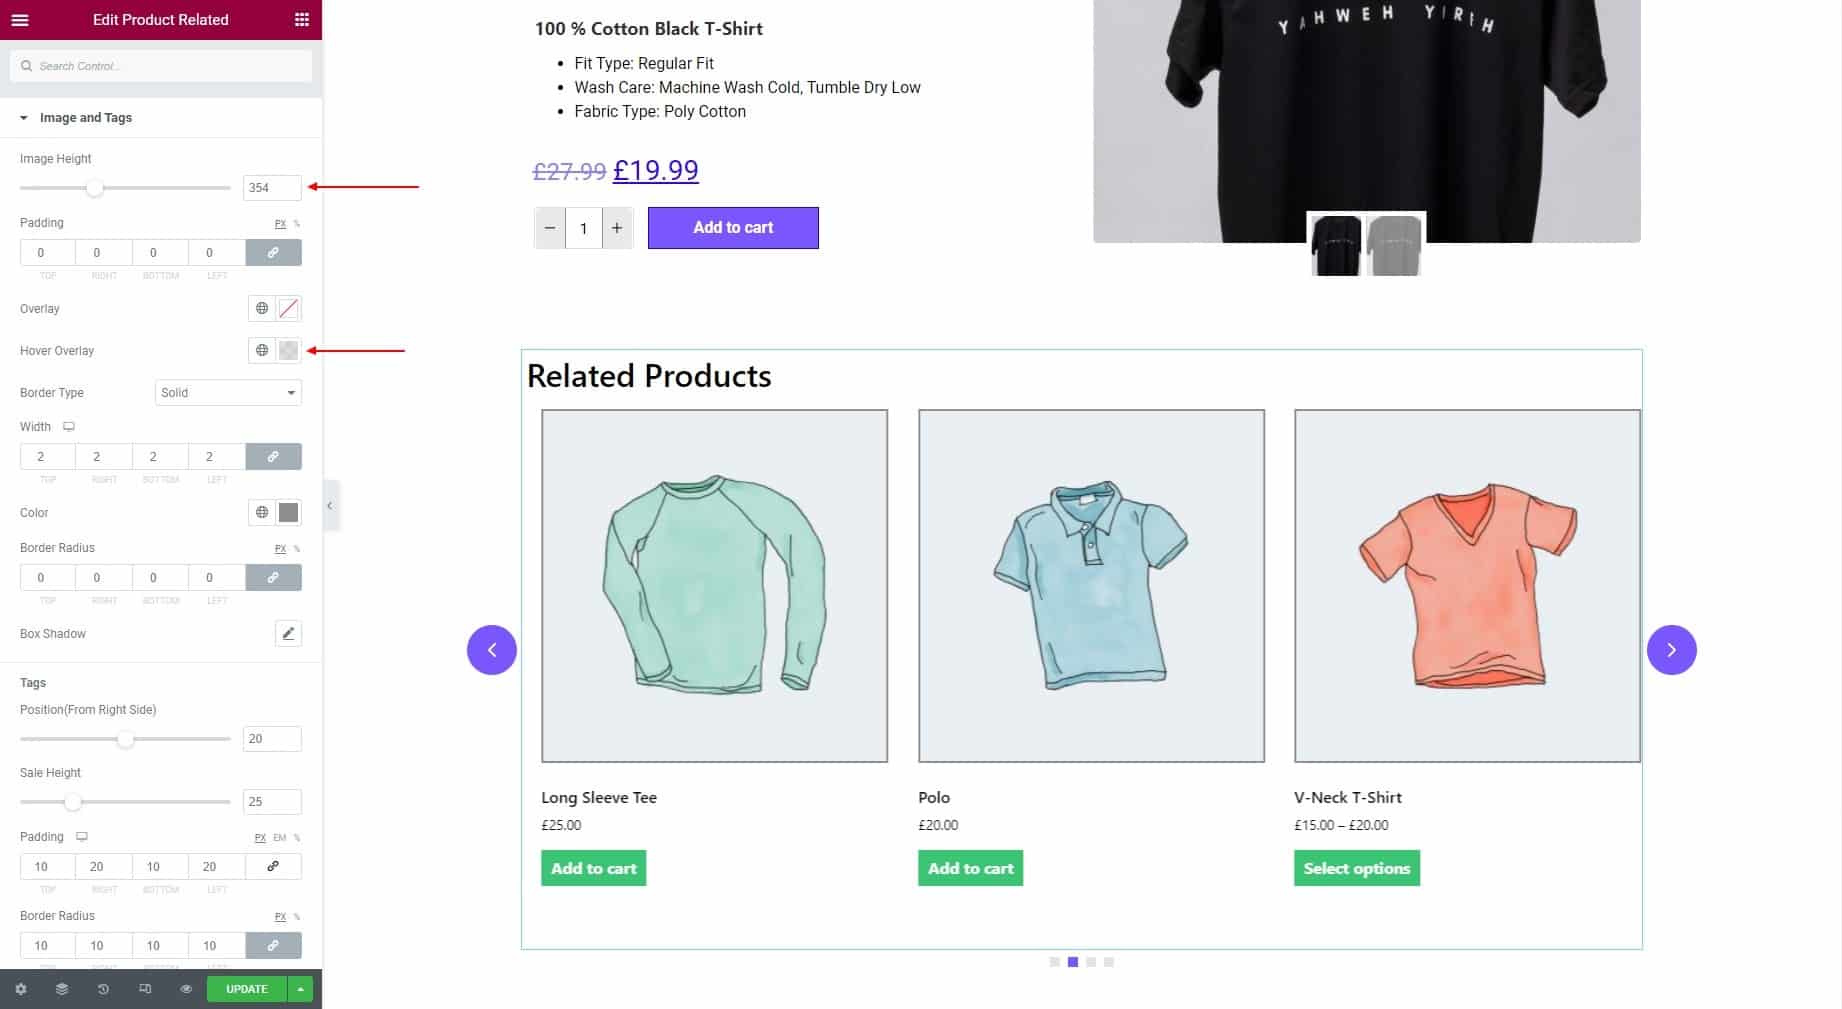
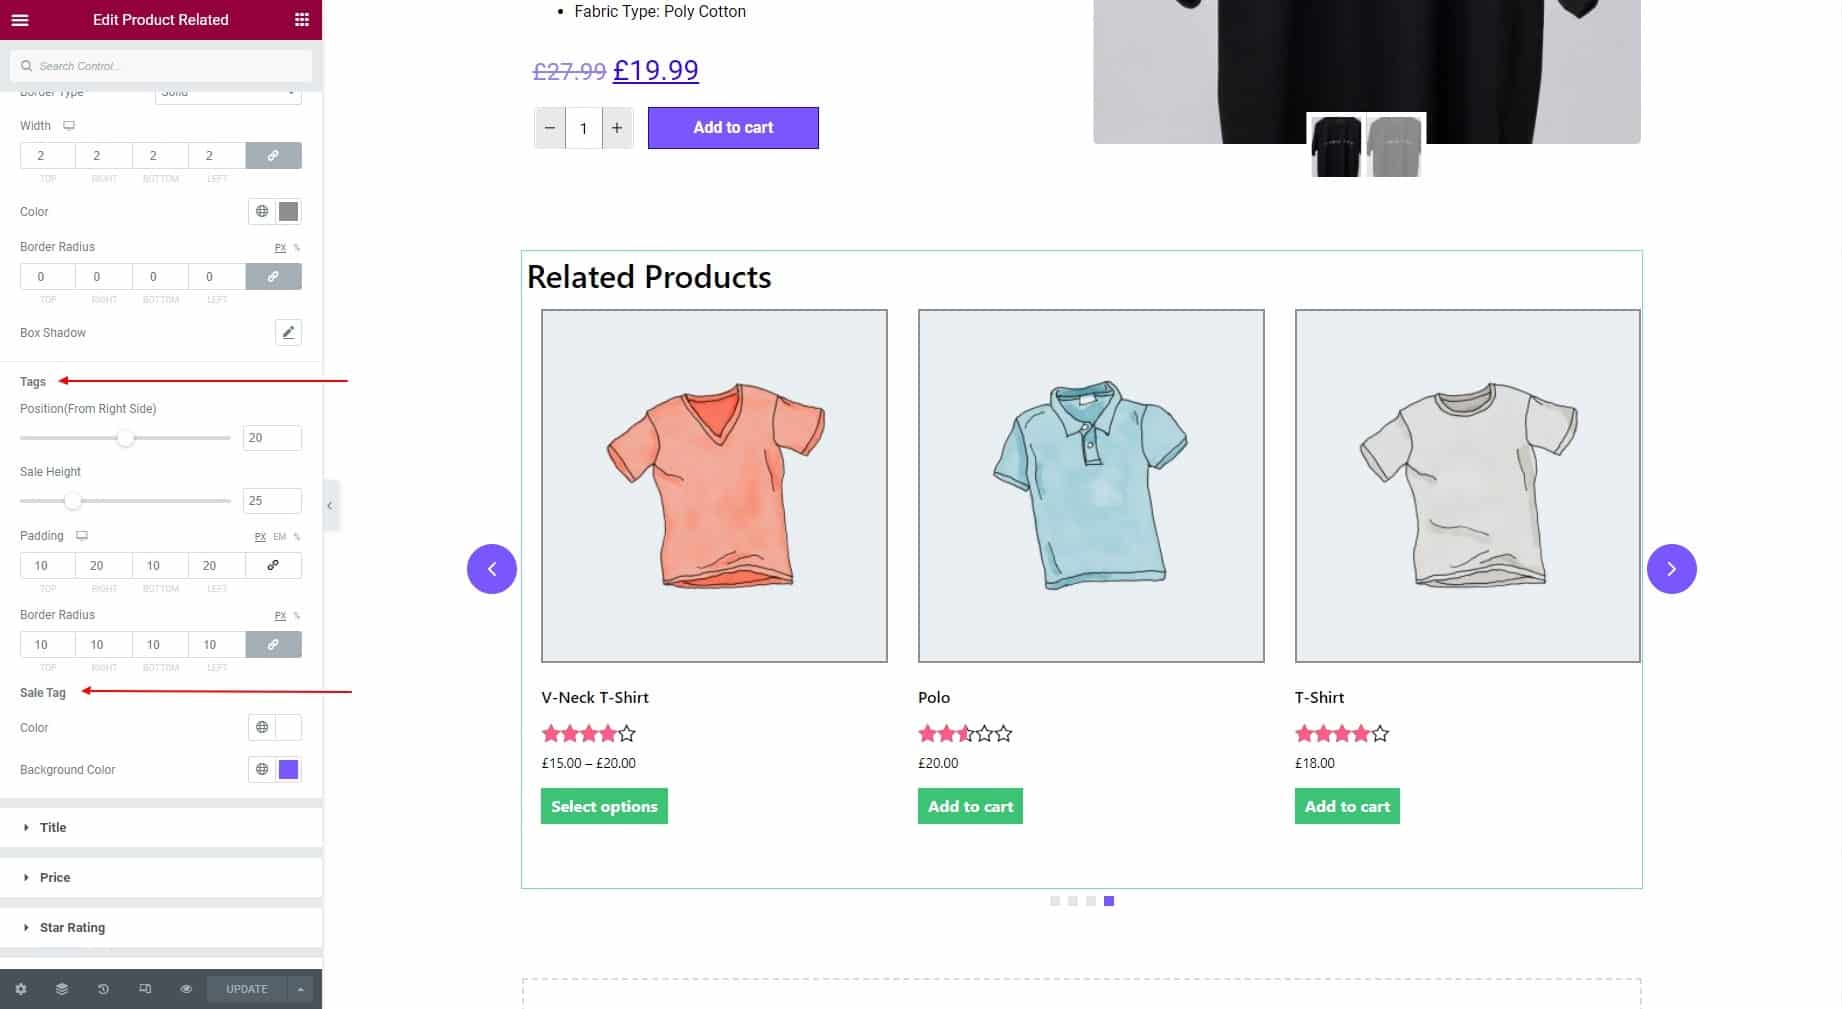
In the Tags section, adjust Position(From Right Side), Sale Height, then set Padding and Border Radius. For Sale Tag, choose text Color, and Background Color.
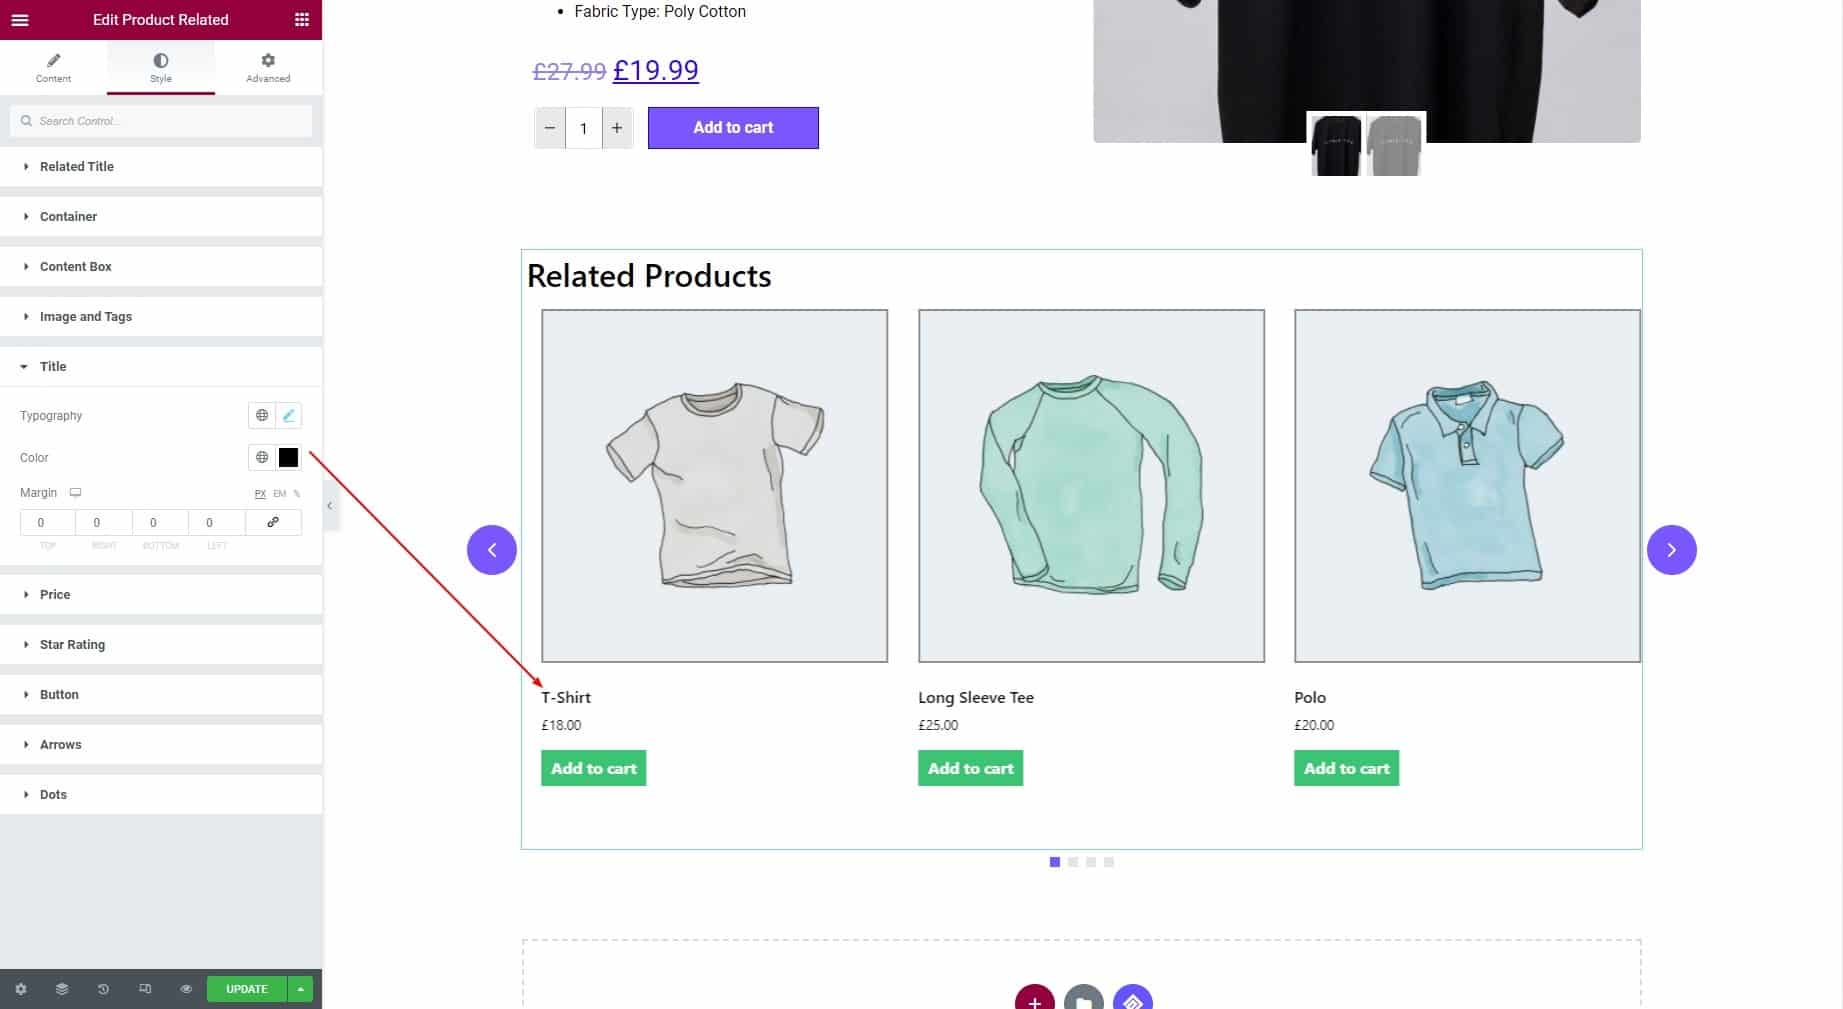
3.5 As for the Title, you can change Typography, Color, and Margin.
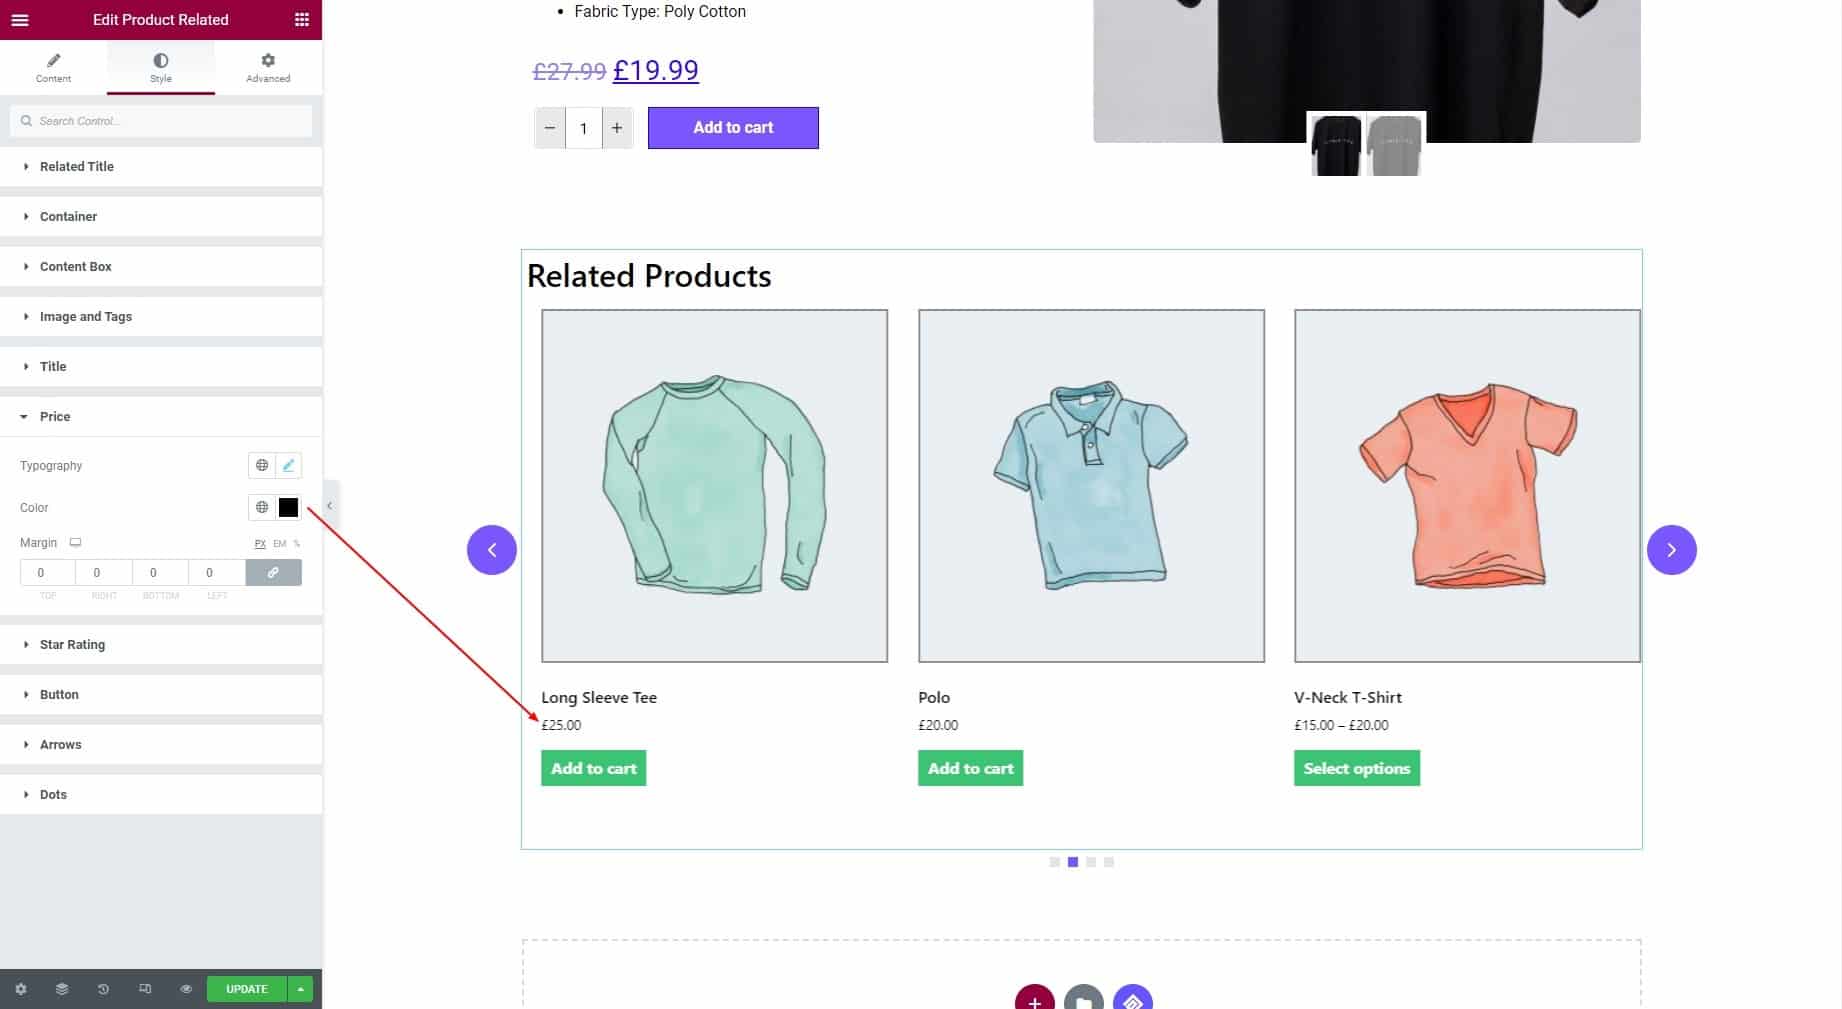
3.6 Customize Price text style by changing Typography, Color, and Margin.
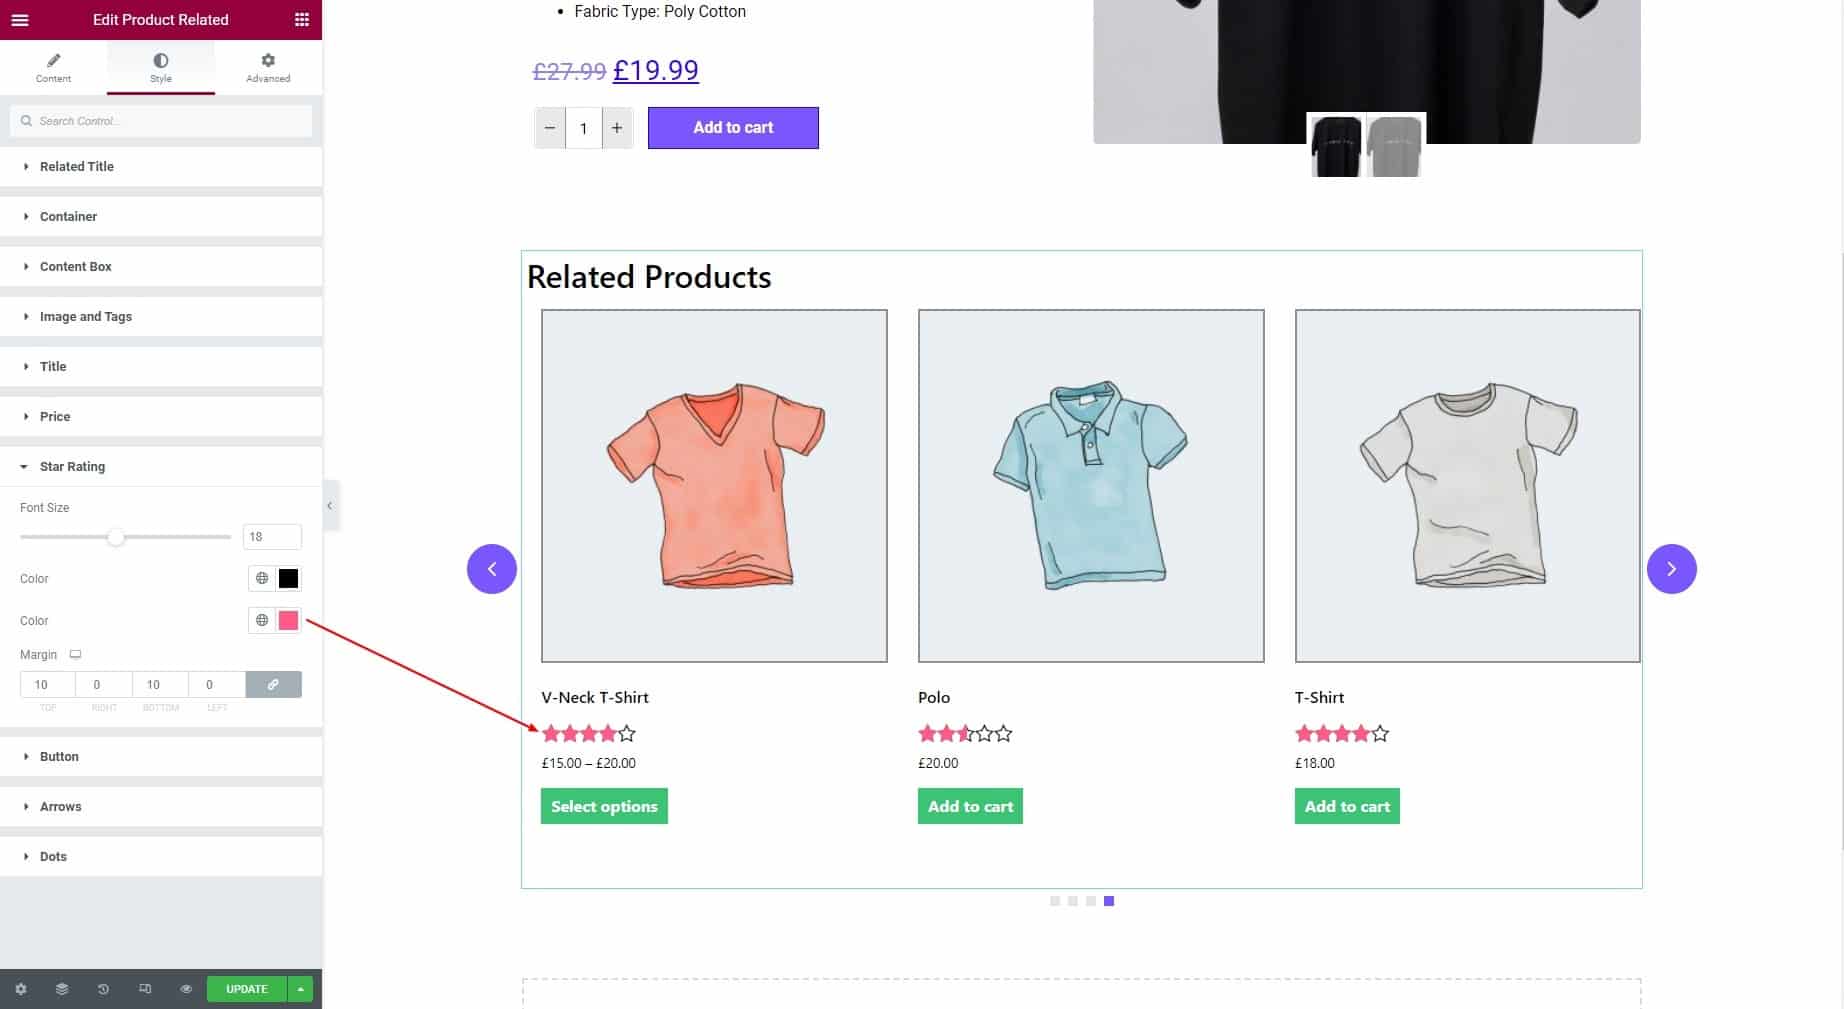
3.7 In terms of Star Rating, adjust the Font Size, select Inactive Star Color, Active Star Color, and set Margin.
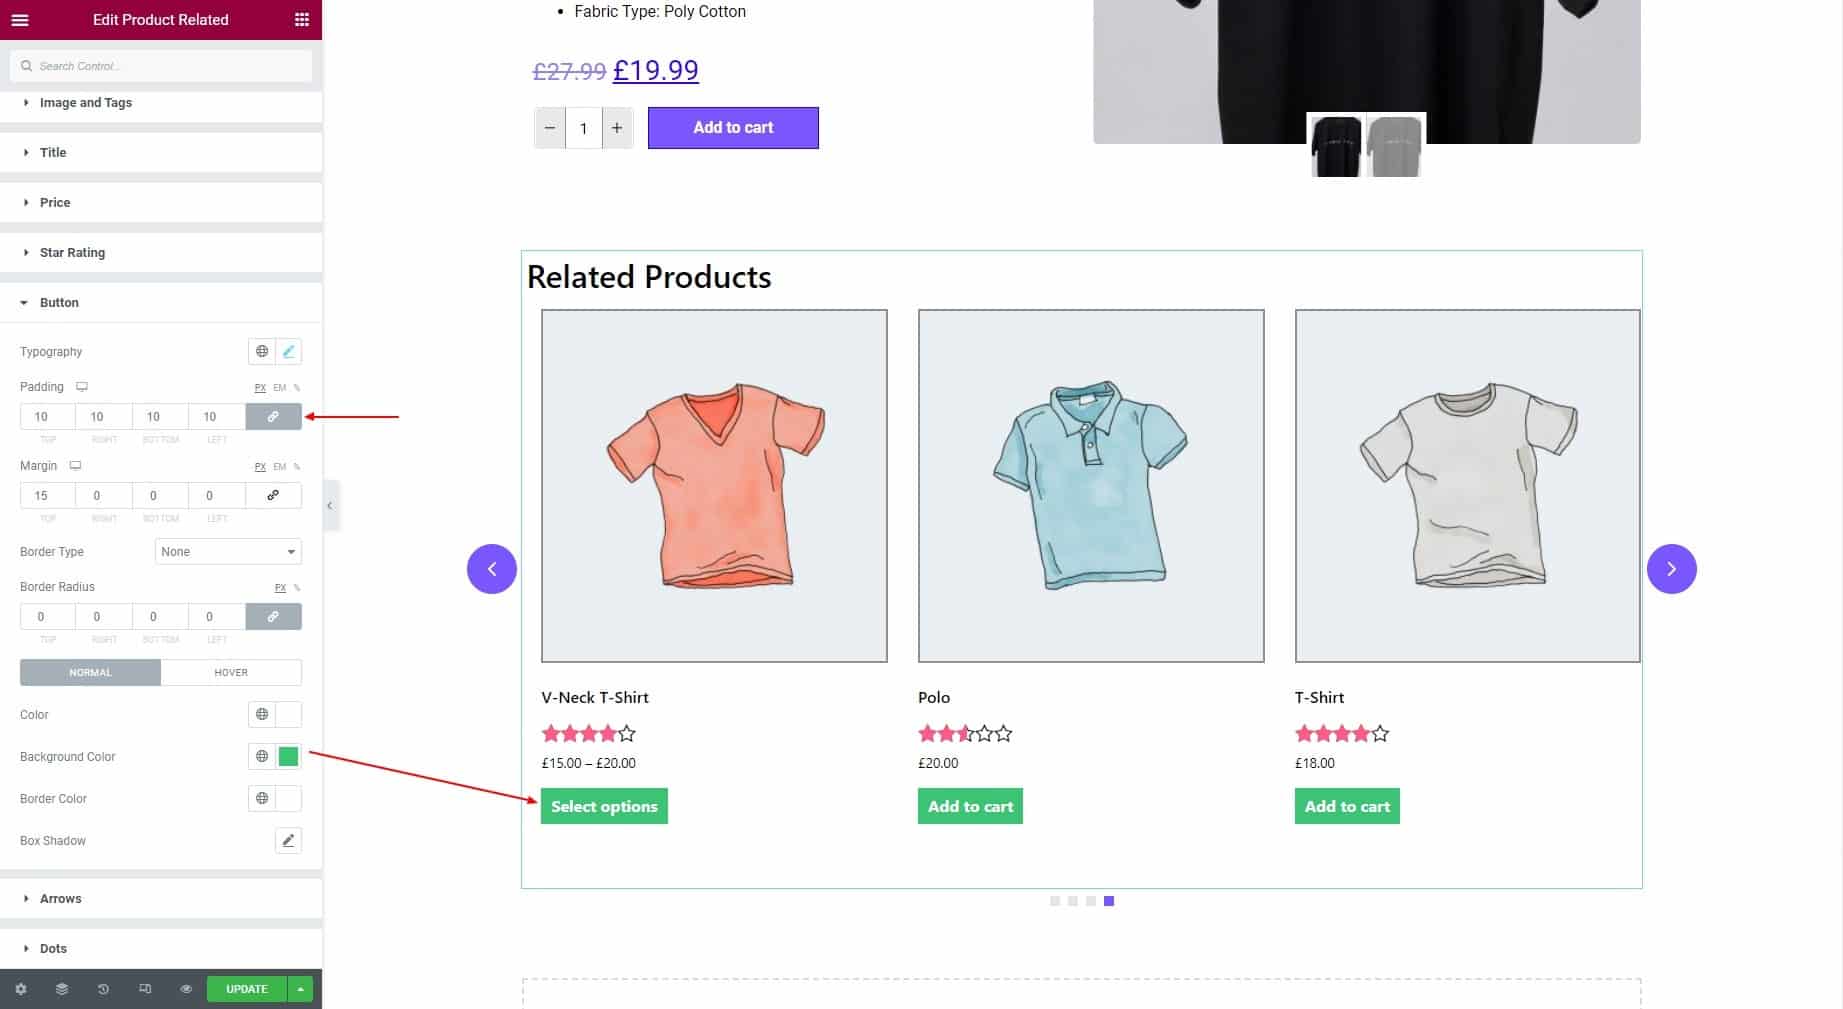
3.8 For the Button, set its Typography, Padding, Margin, Border Type, and Border Radius. Select individual Text Color, Background Color, Border Color, and Box Shadow for Normal and Hover states.
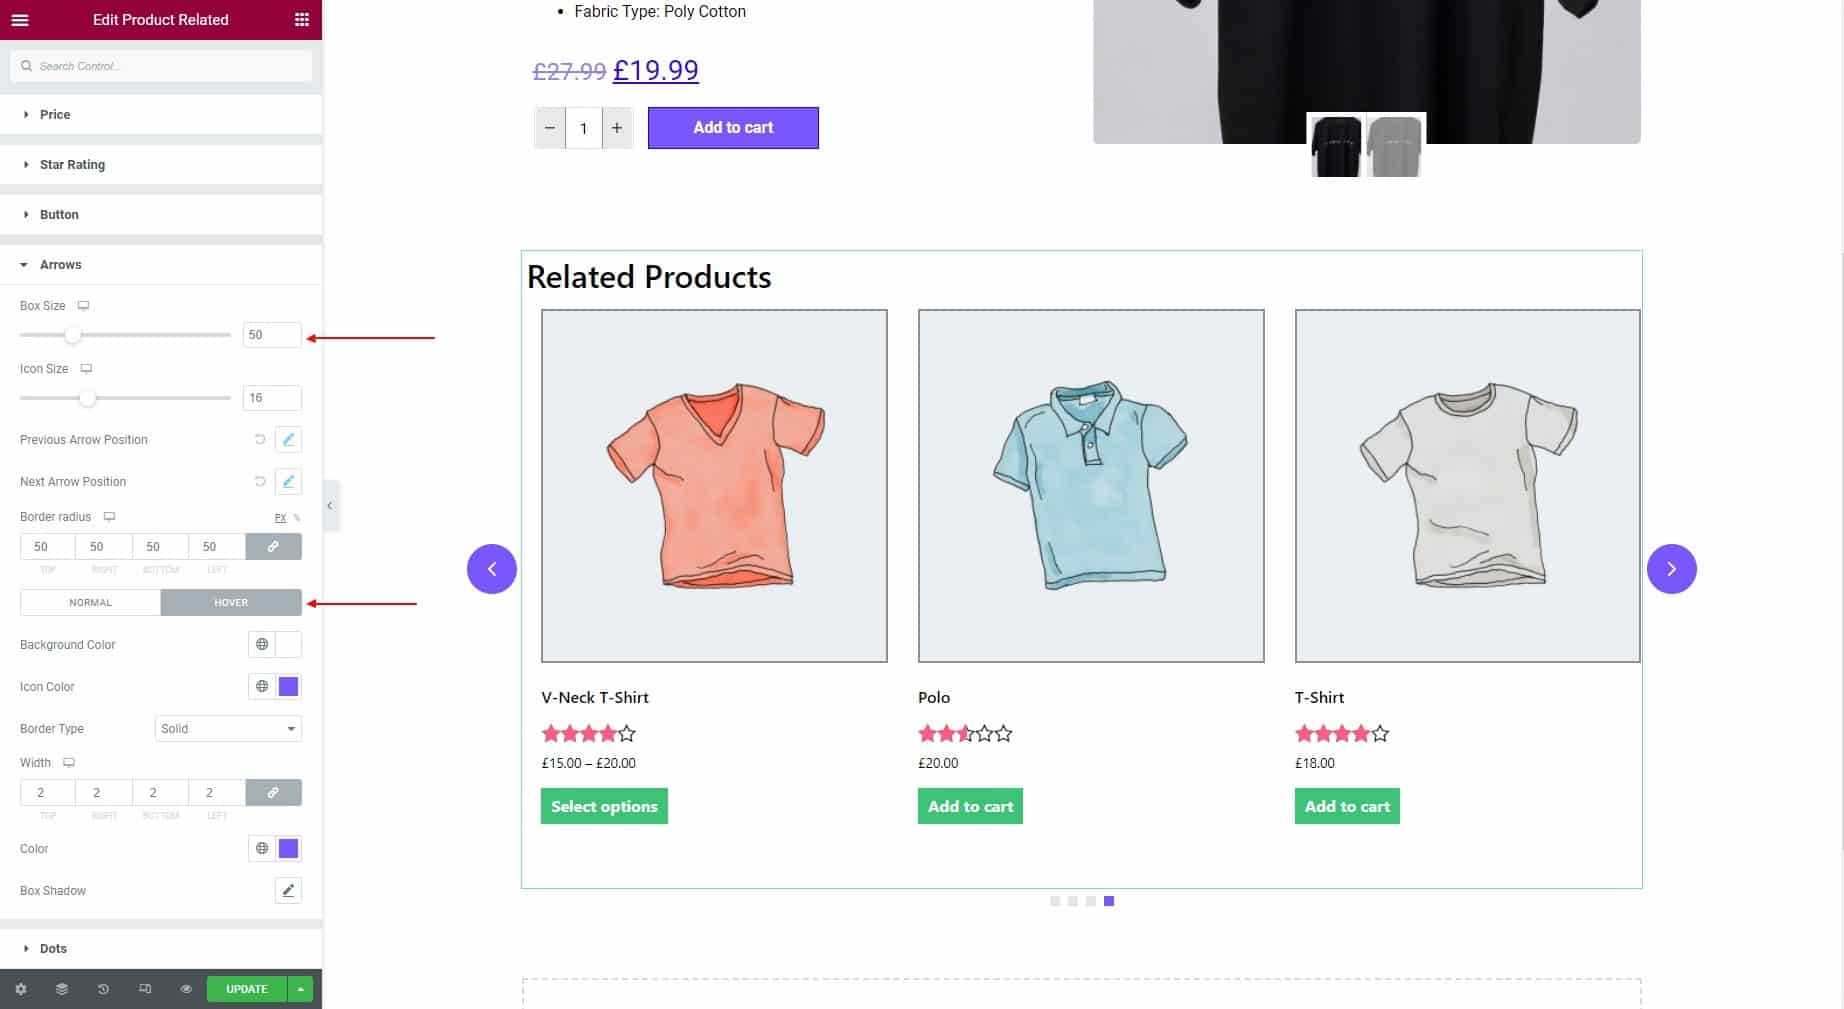
3.9 For the Arrows, you get to adjust Box Size, Icon Size, and Border Radius. Then set Previous Arrow Position and Next Arrow Position. Here also you can set Background Color, Icon Color, Border Type, and more.
3.10 For Dots, you can set Dots Alignment to Left, Right, or Center. Then adjust the Top Spacing and Space Between attributes. You can set individual Height, Width, Background Color, Opacity, and Border Type for Normal and Hover states.

STEP 4:
Finally hit the Update button to add Woo Related Product widget to your wordpress site.
