How to Configure and Style Elementor WooCommerce Cart Widget
Woo Cart widget from Exclusive Addons helps you to design a splendid WooCommerce cart page for your e-commerce site. Read this documentation to learn how to use the Exclusive Addons WooCommerce Cart page widget for Elementor.
Note: To use WooCommerce widgets from Exclusive Addons, you need to have the WooCommerce plugin installed on your website.
Step – 1: Add items to the cart
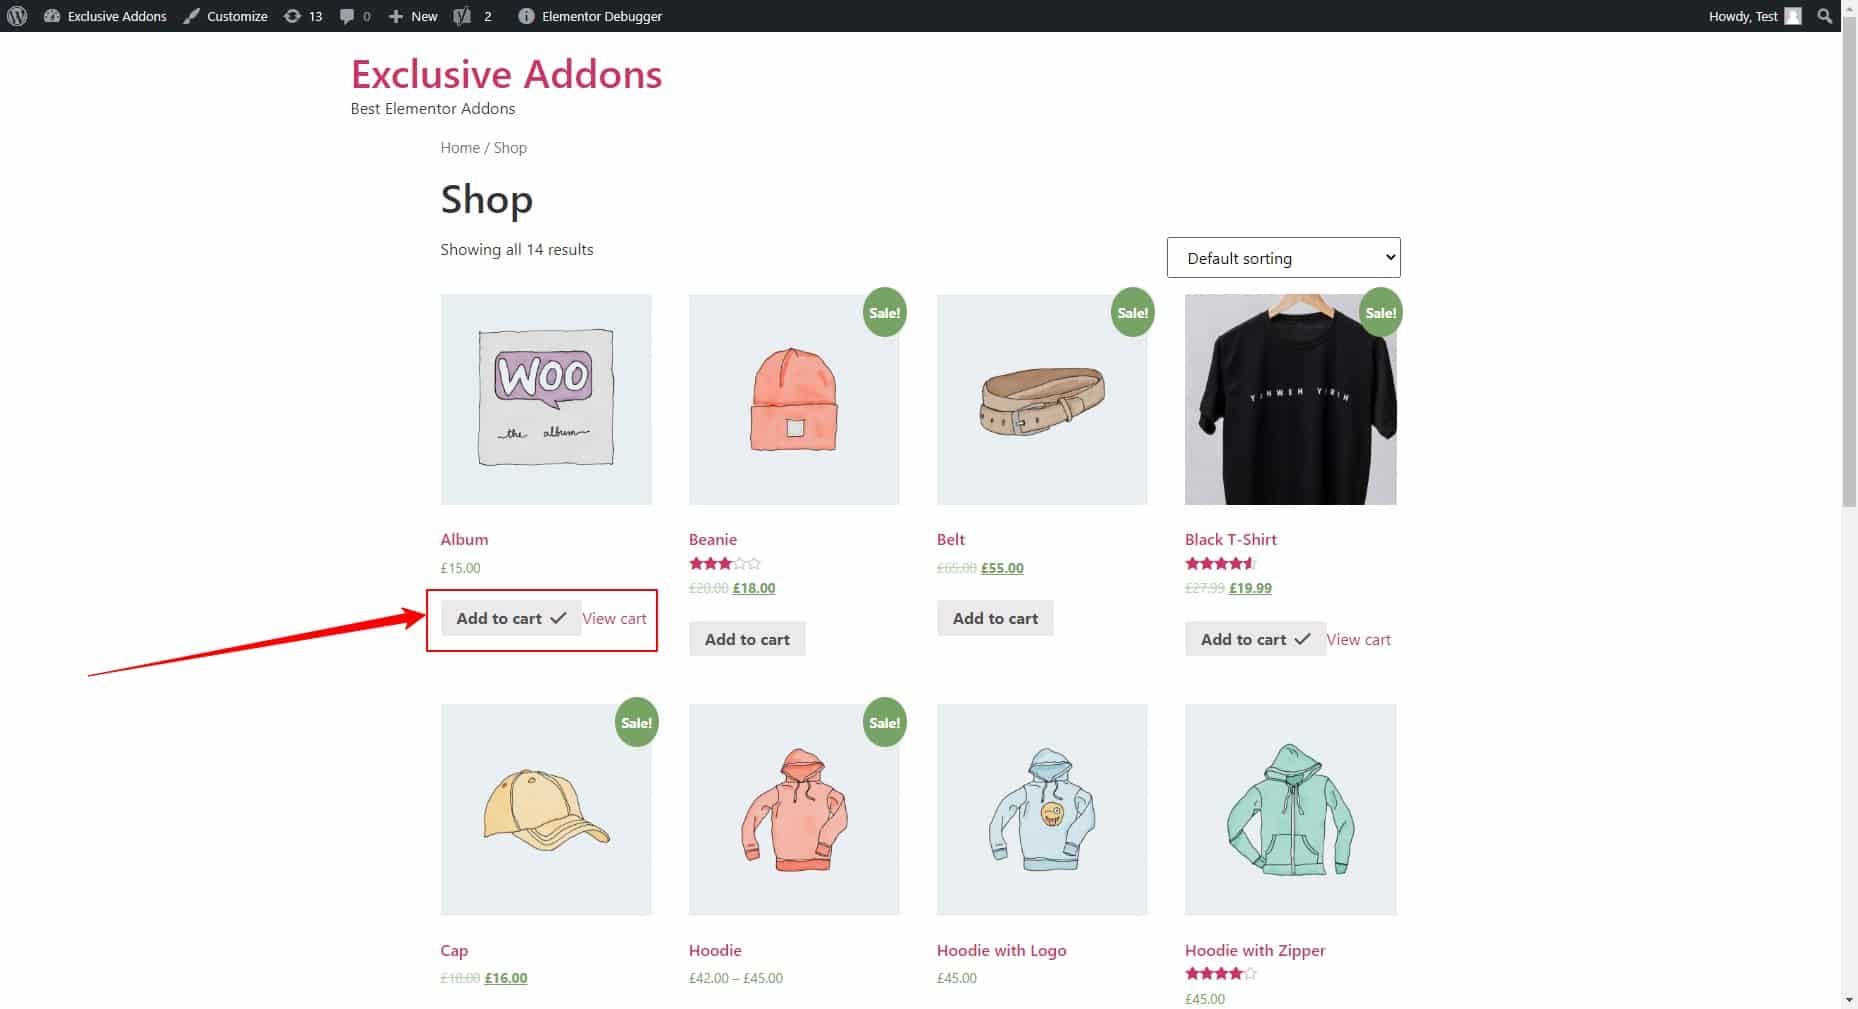
1. Go to WordPress Dashboard > Pages and click “View” under the Shop page.

2. On the shop page, click on the “Add To Cart” button for the products.
Step – 2: Drag & Drop
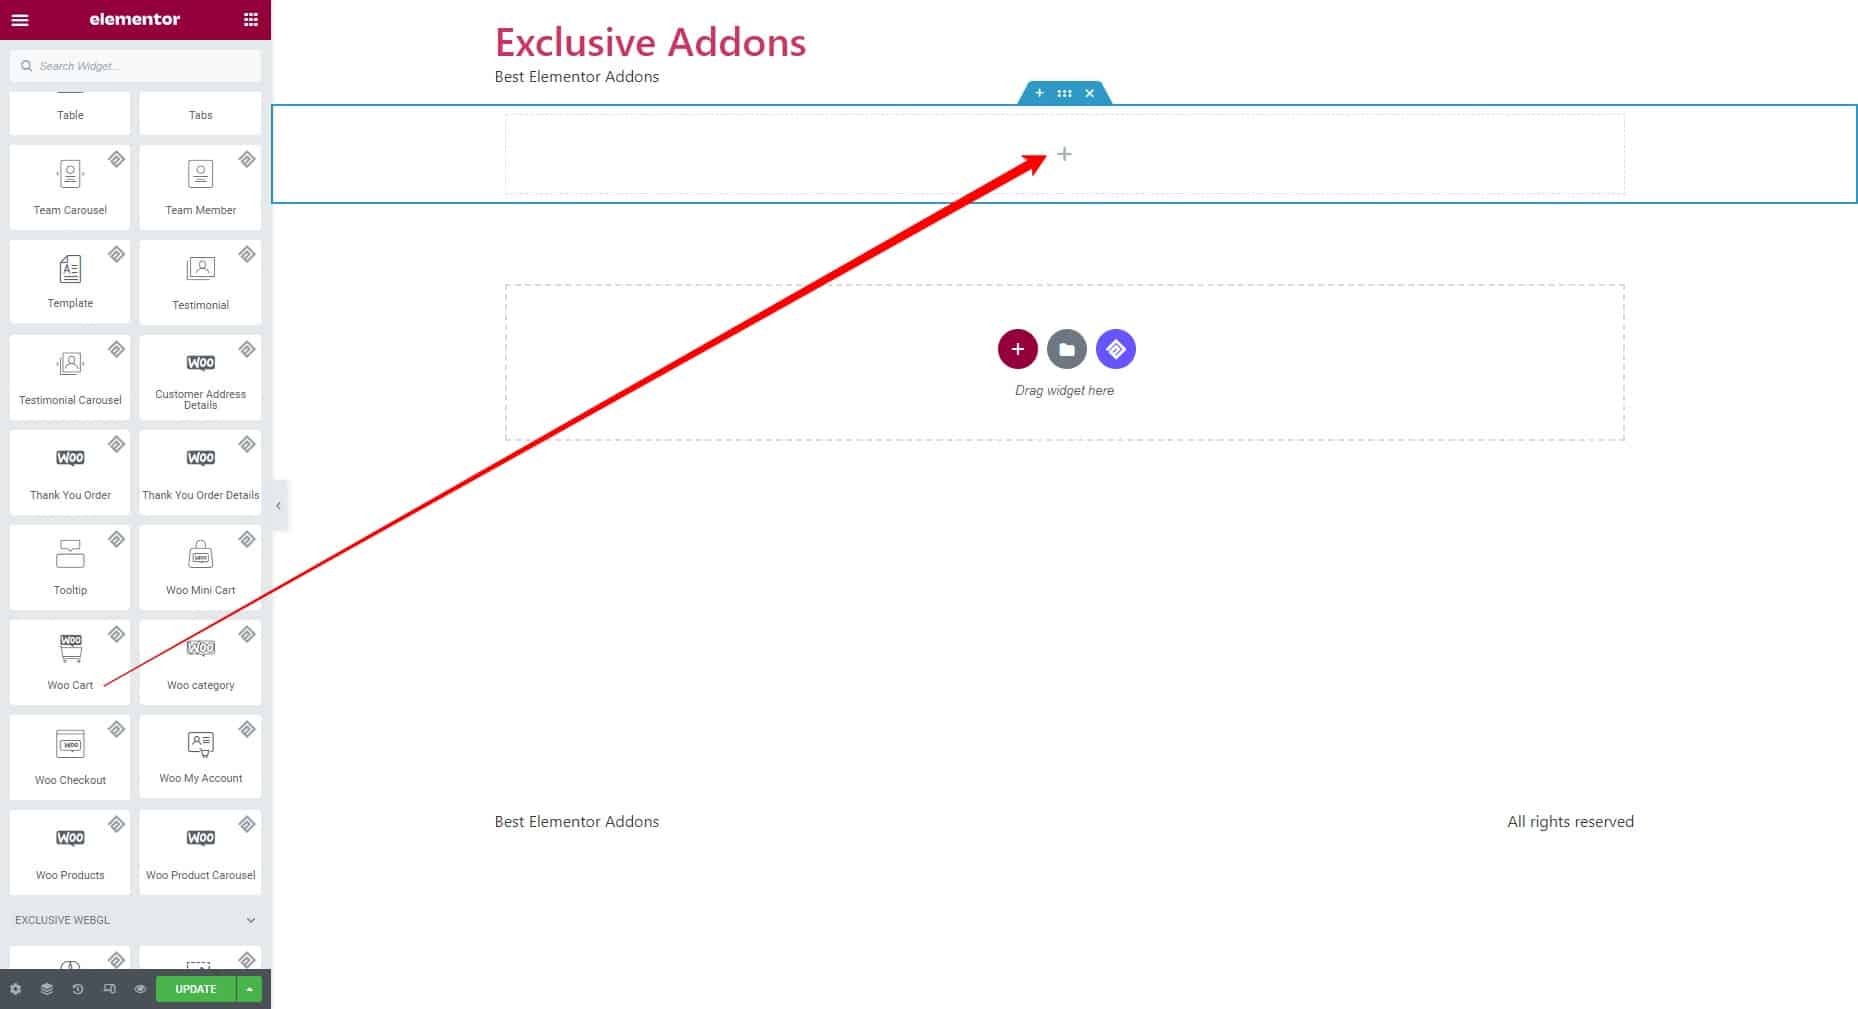
Select the Woo Cart widget from the Elementor editor panel. Then drag and drop it in the selected area.
Step – 3: Content
The content tab allows you to configure Content, Cross Sell Settings, and Carousel Settings.
3.1 Content
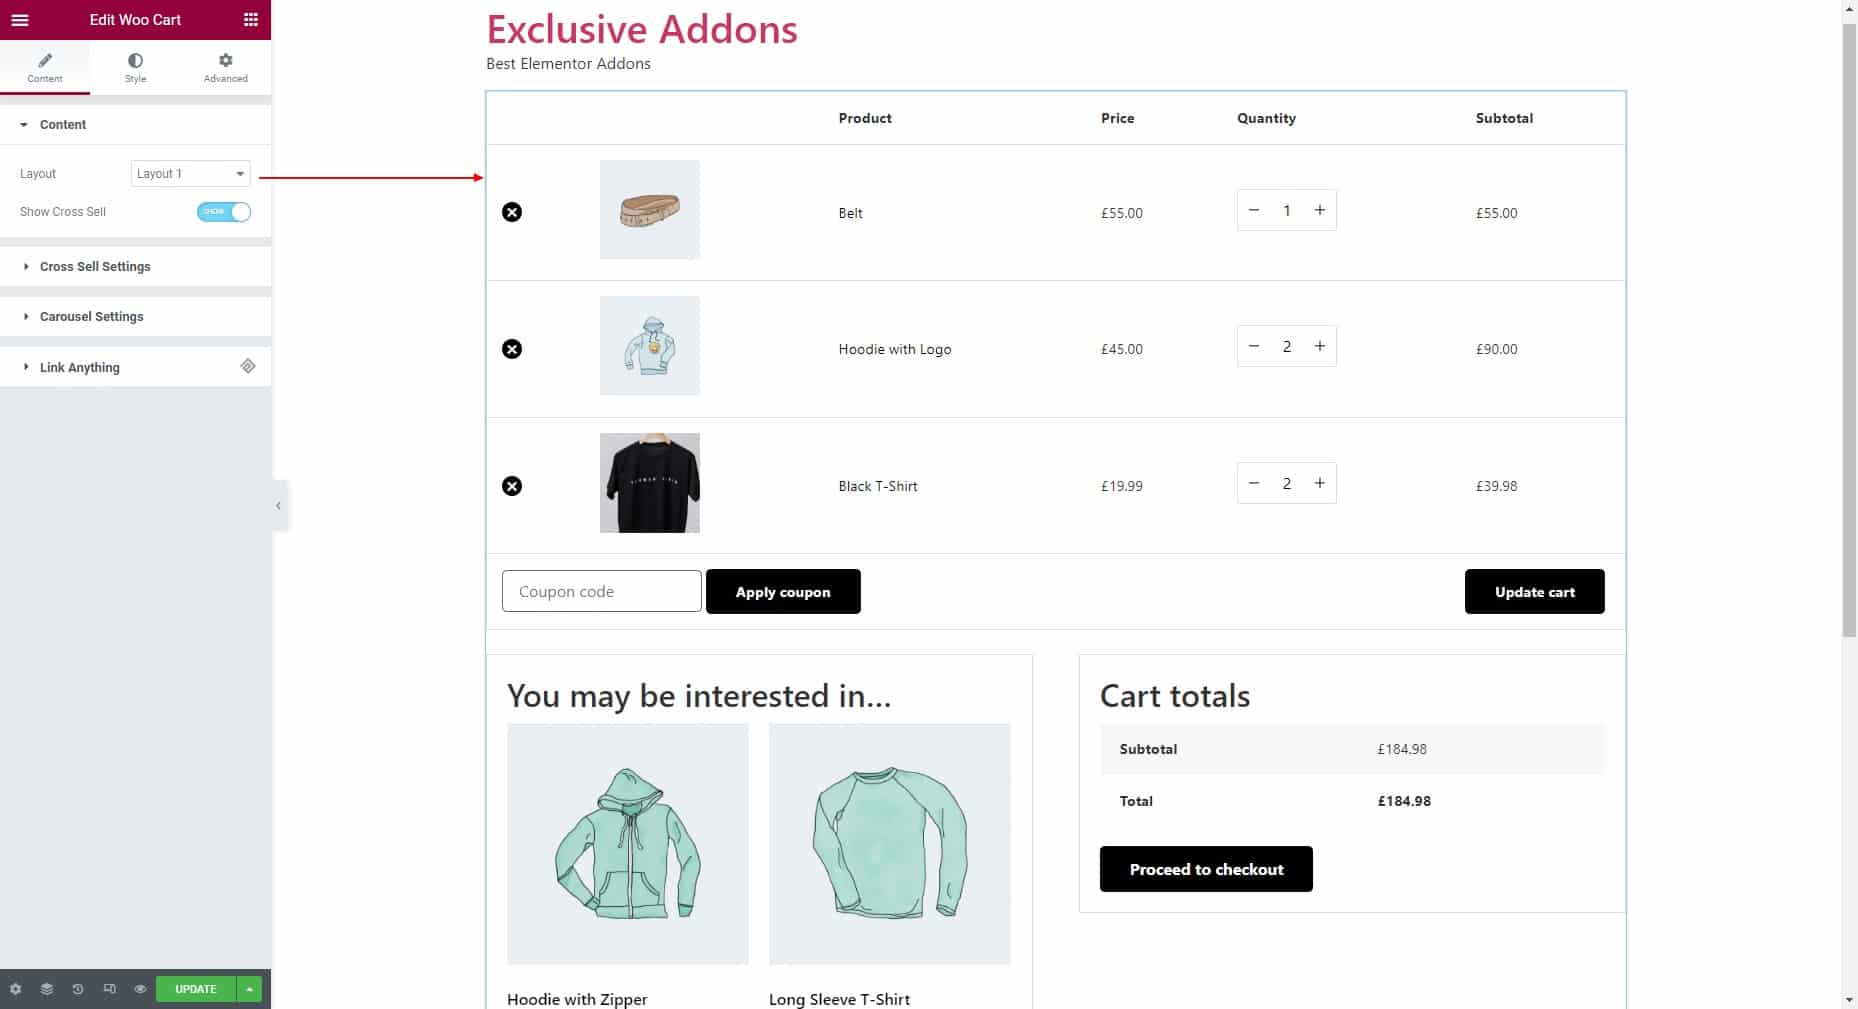
Under the Content section, choose the layout for the cart. Then decide whether to Show Cross Sell.
Layout-1:
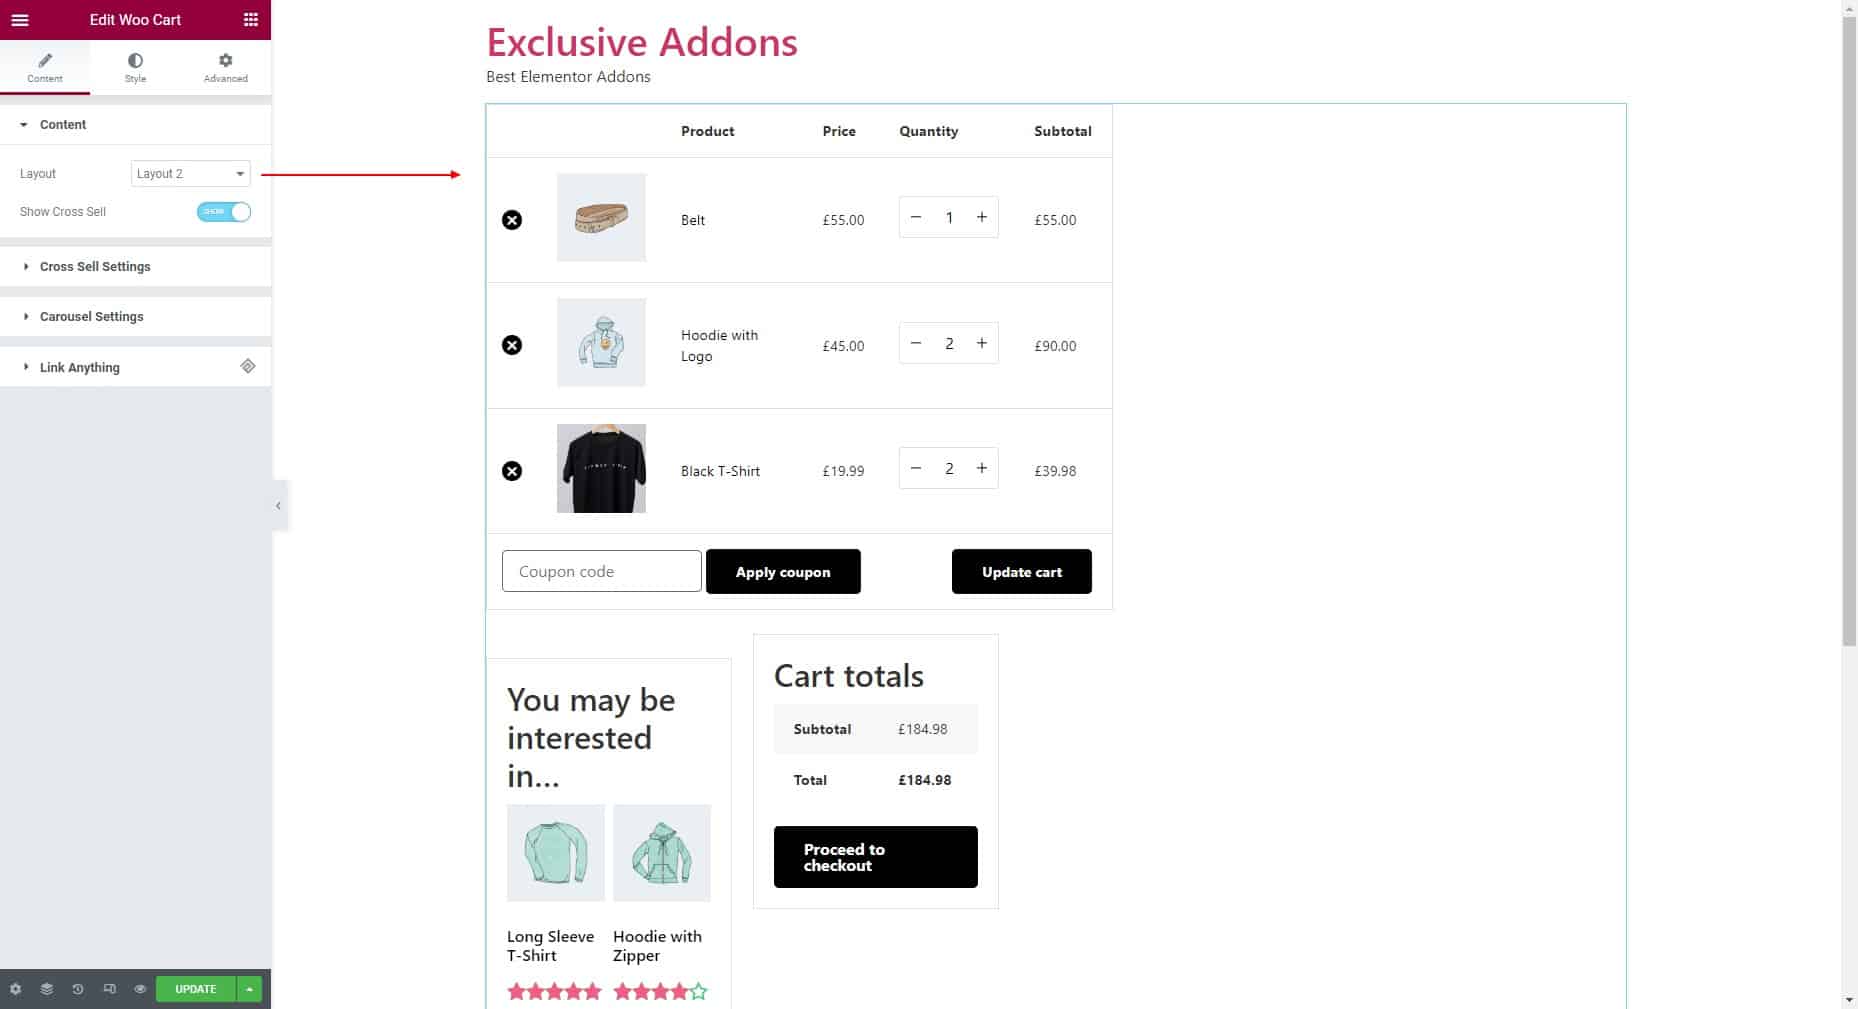
Layout-2:
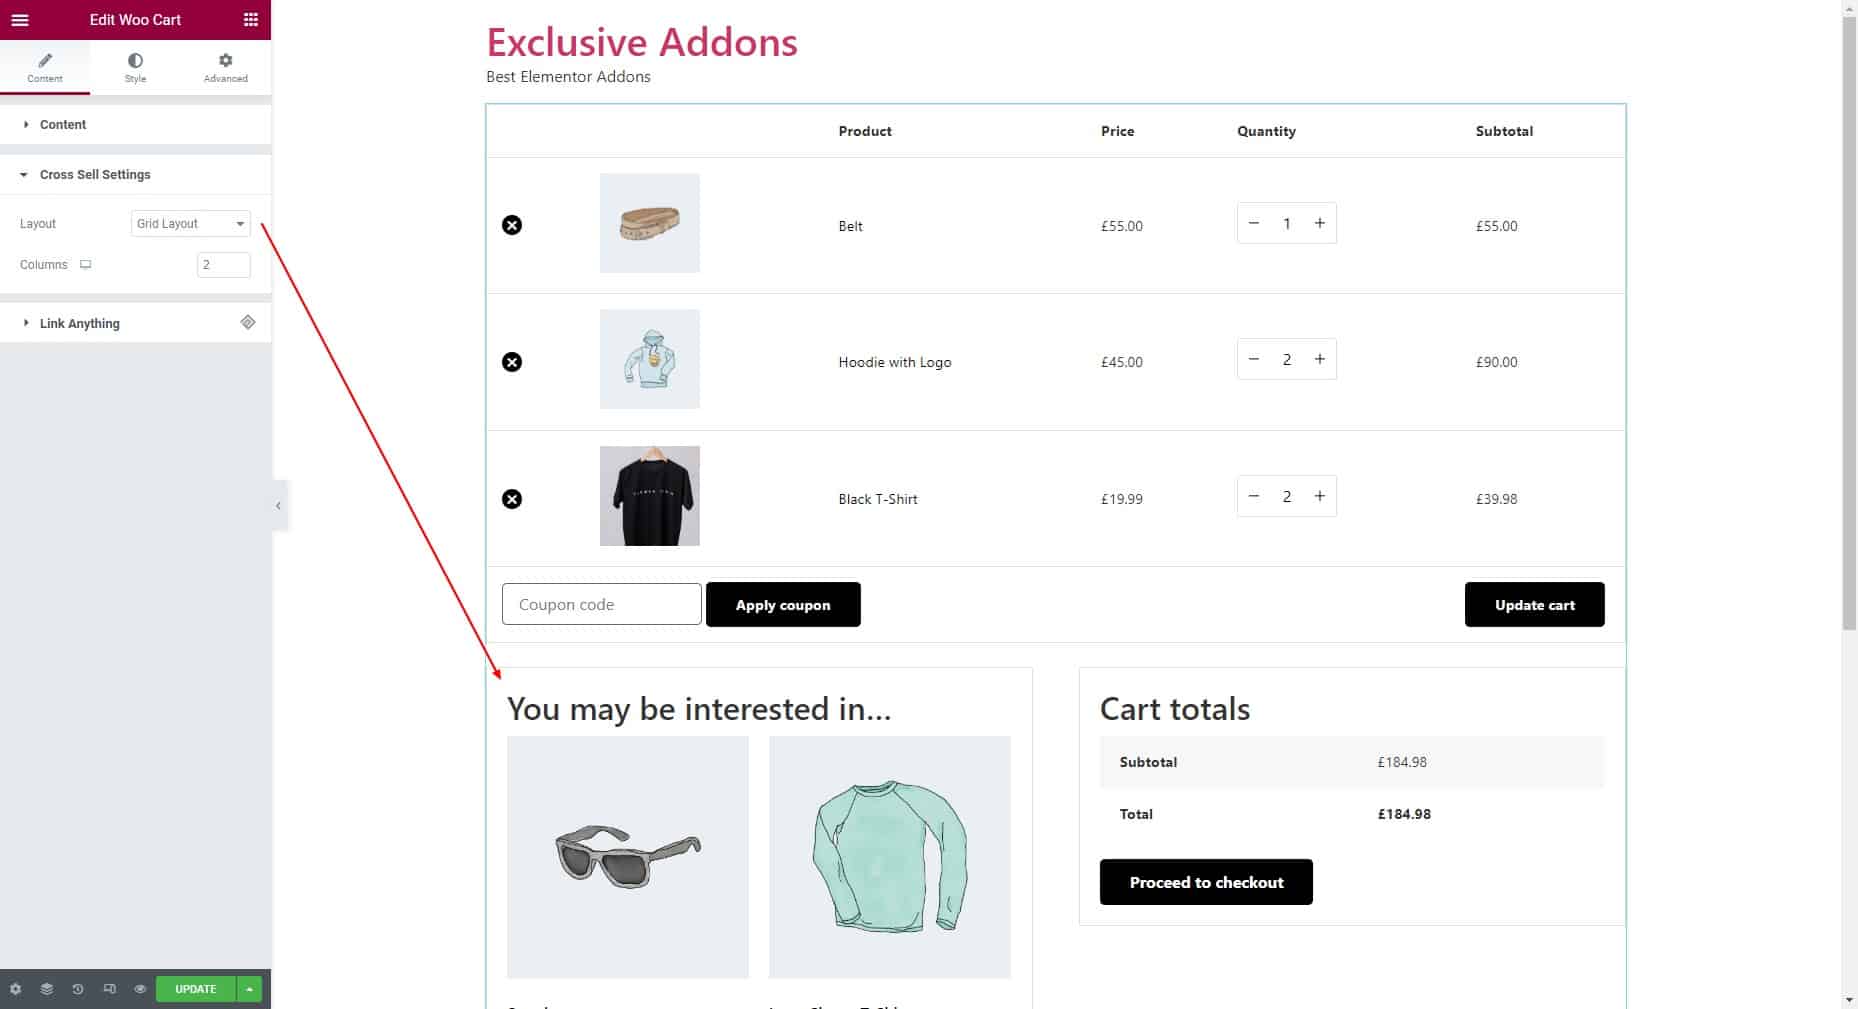
3.2 Cross Sell Settings
Step – 4: Style
The Style tab allows you to customize the cart design.
4.1 Container
In the Container section, set padding, background type, border type, border width, border color, and border radius.

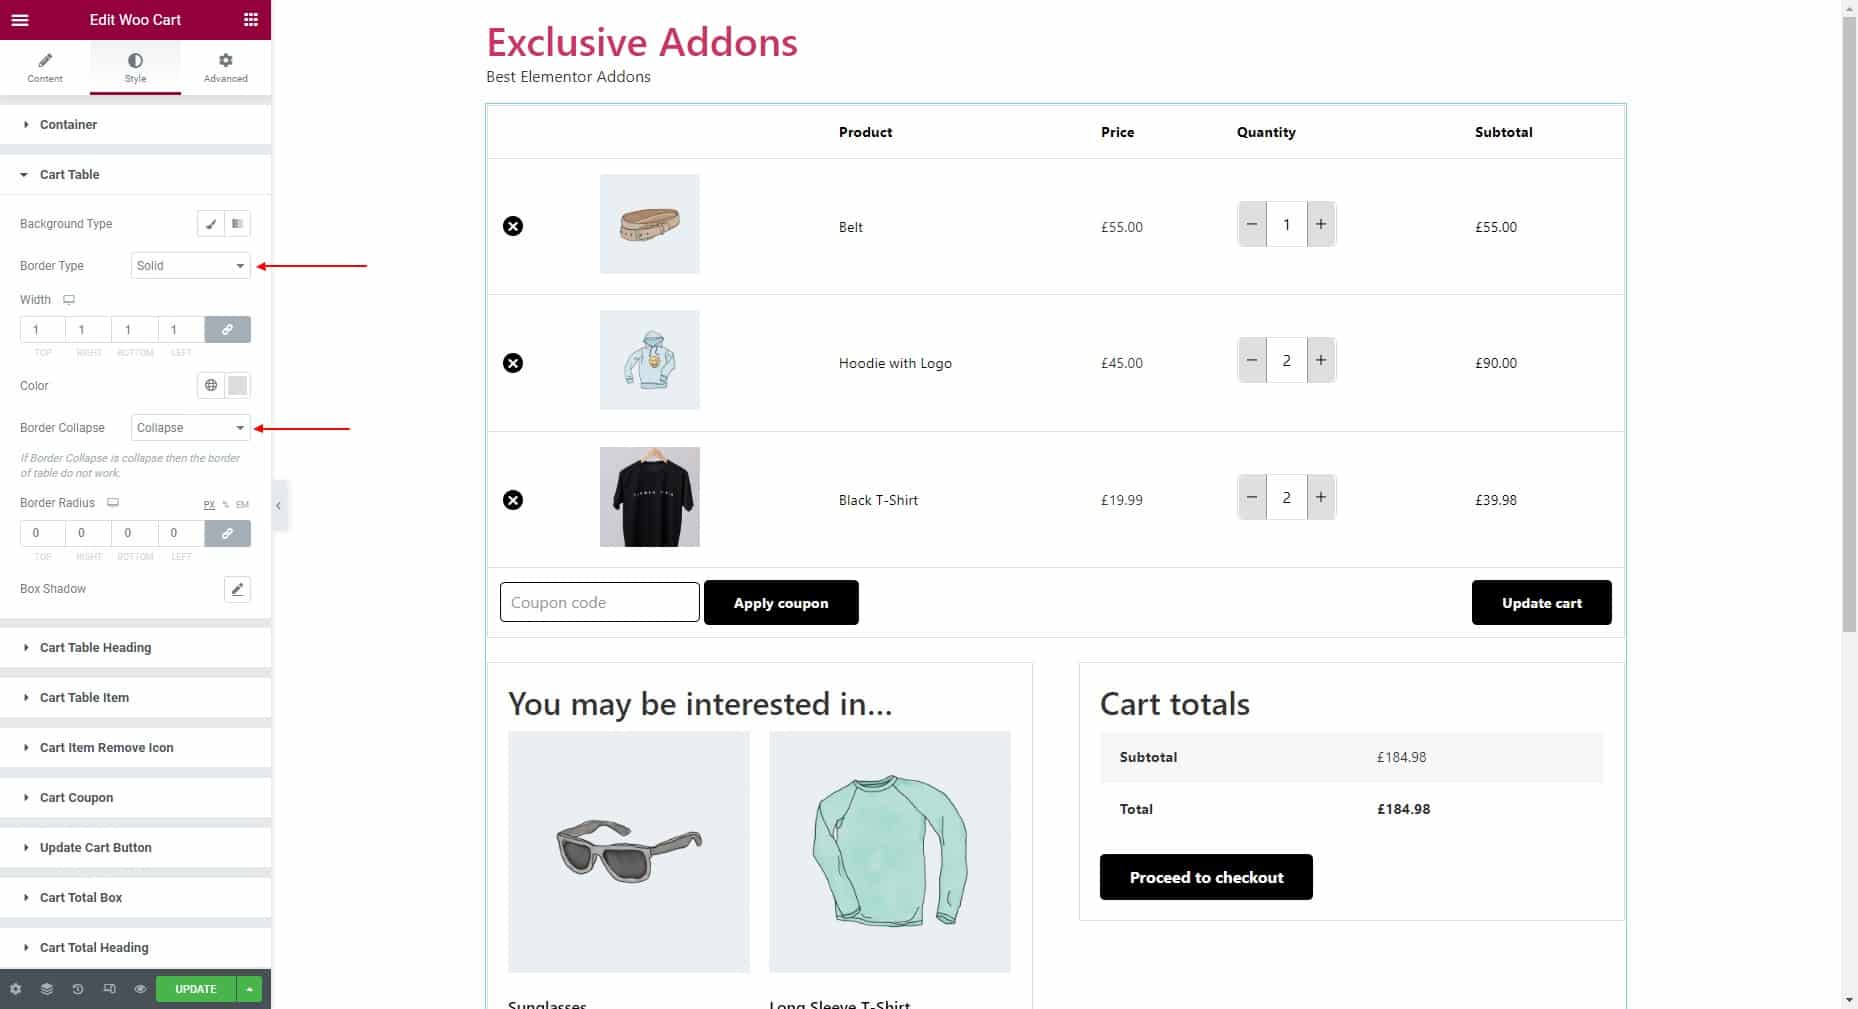
4.2 Cart Table
In the Cart table, set the background type, border type, border width, border color, and border radius. Then select Border Collapse style. (note: If Border Collapse is collapsed then the border of the table does not work.)
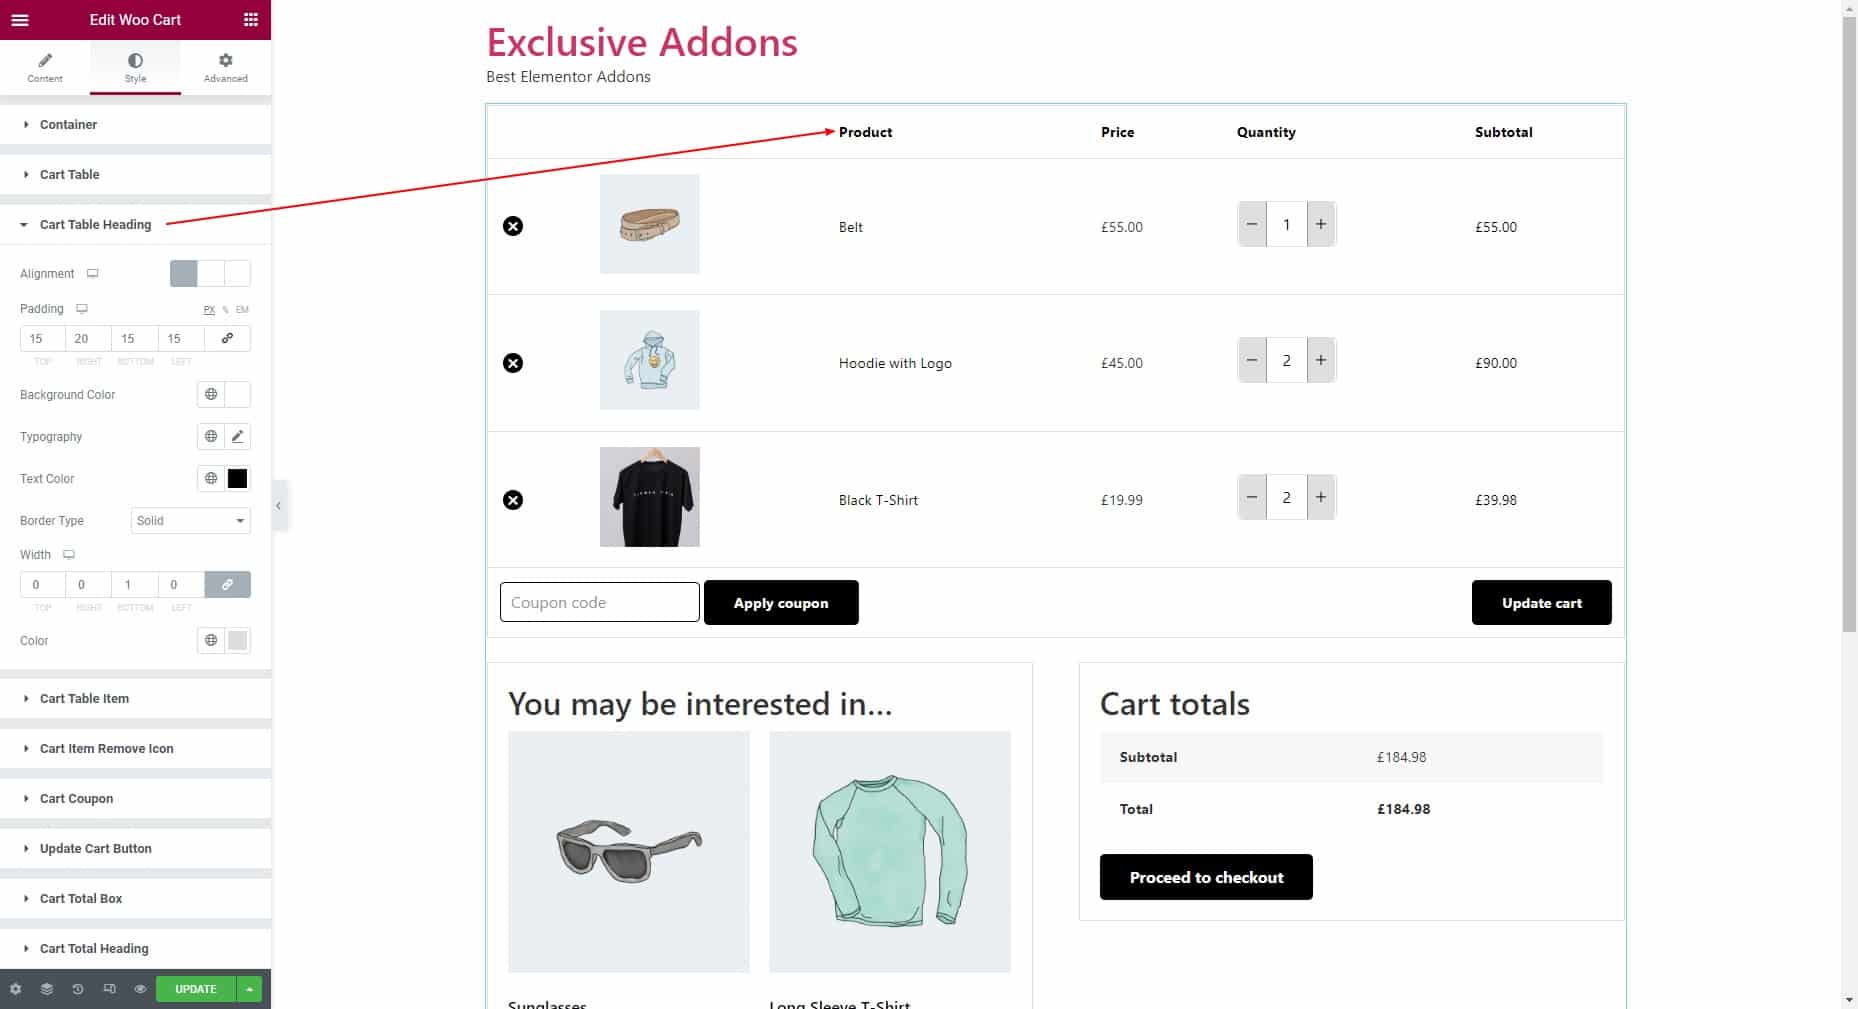
4.3 Cart Table Heading
For Cart Table Heading, choose alignment, padding, background color, typography, border type, border width, border color, and border radius.
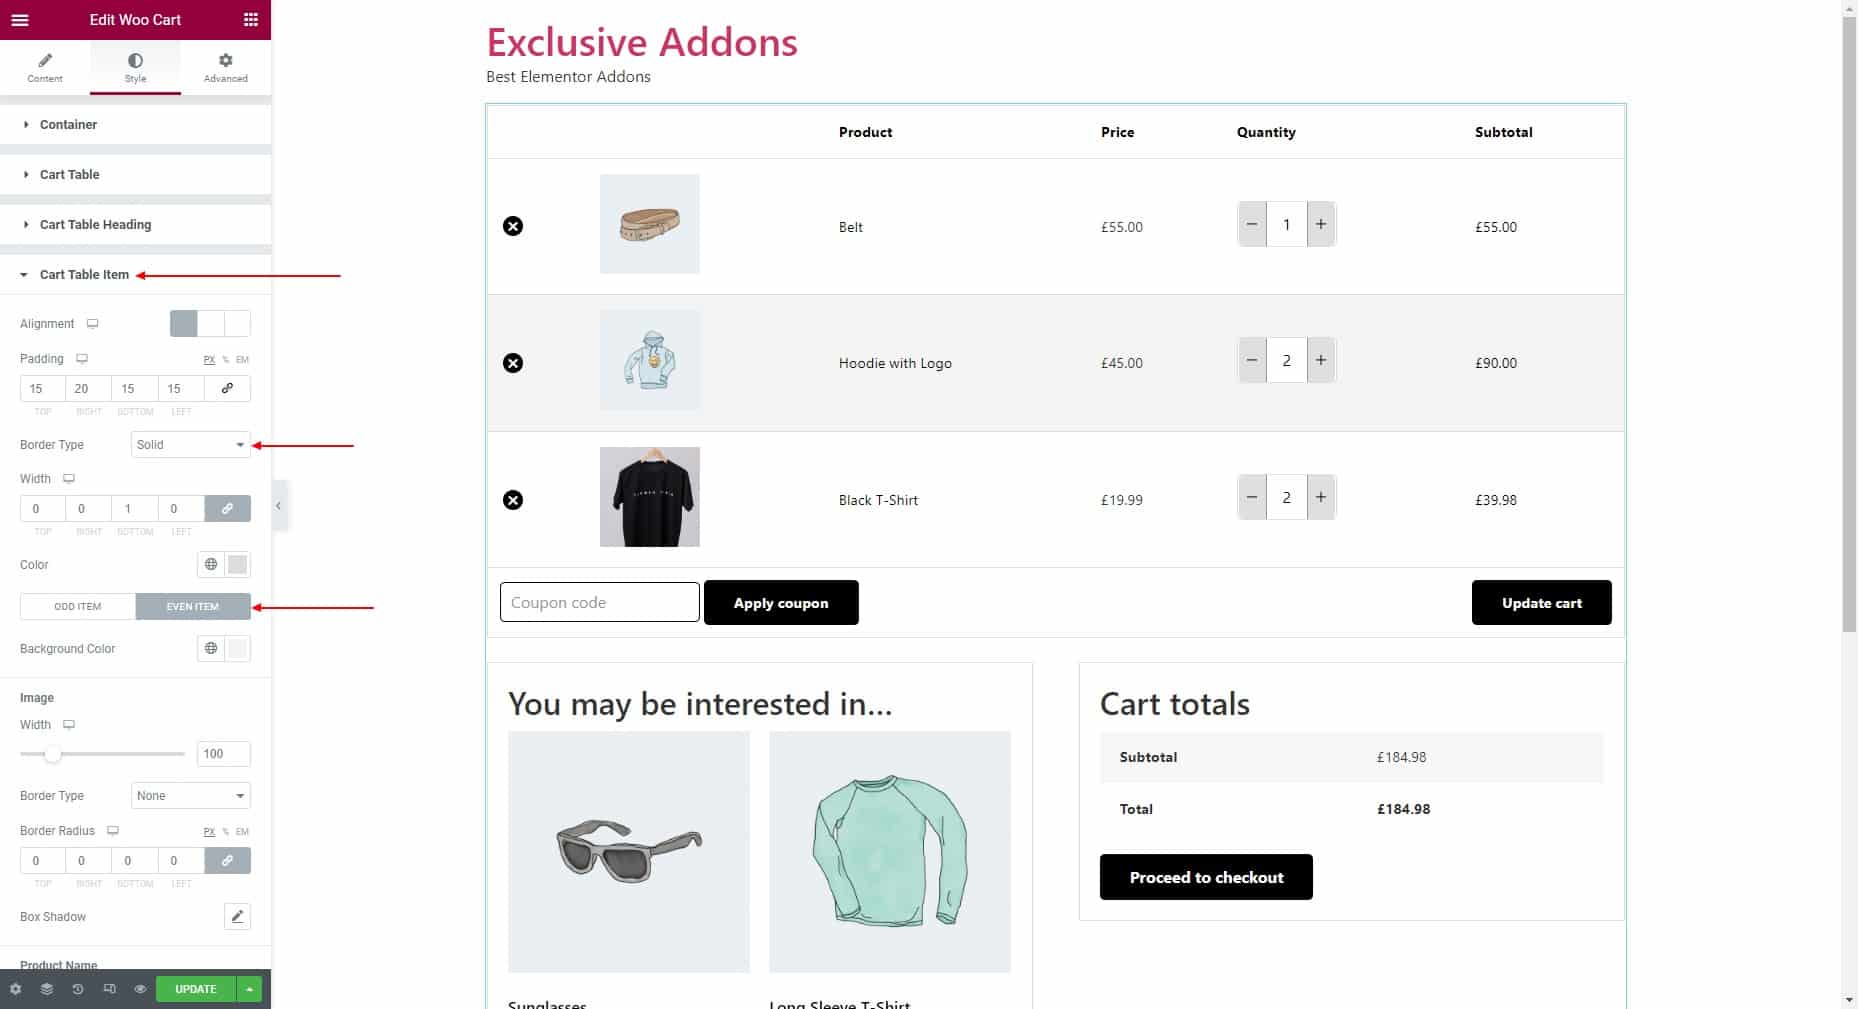
4.4 Cart Table Item
Set alignment, padding, border type, border width, border color, and border radius for Cart table items. Then set individual background colors for odd items and even items.
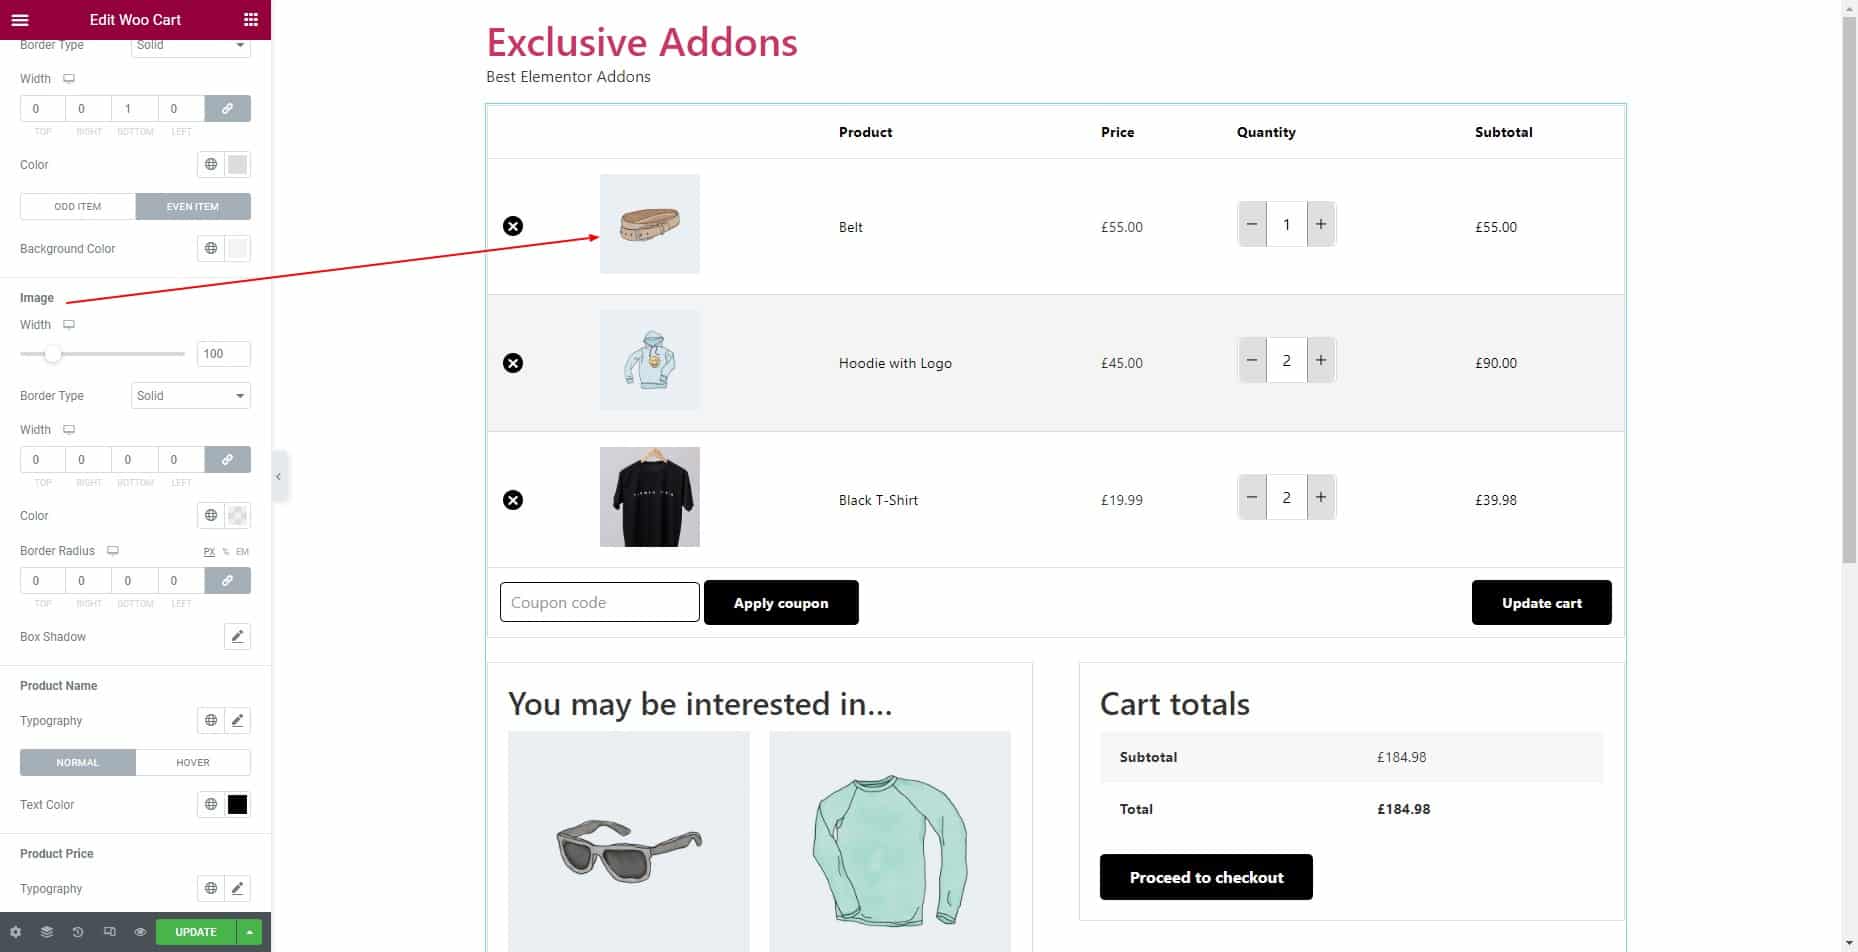
You can customize the image, product name, product price, product quantity, and product subtotal style under the Cart Table Item section.
Image: Adjust the image width, then choose border type, border width, border color, and border radius.
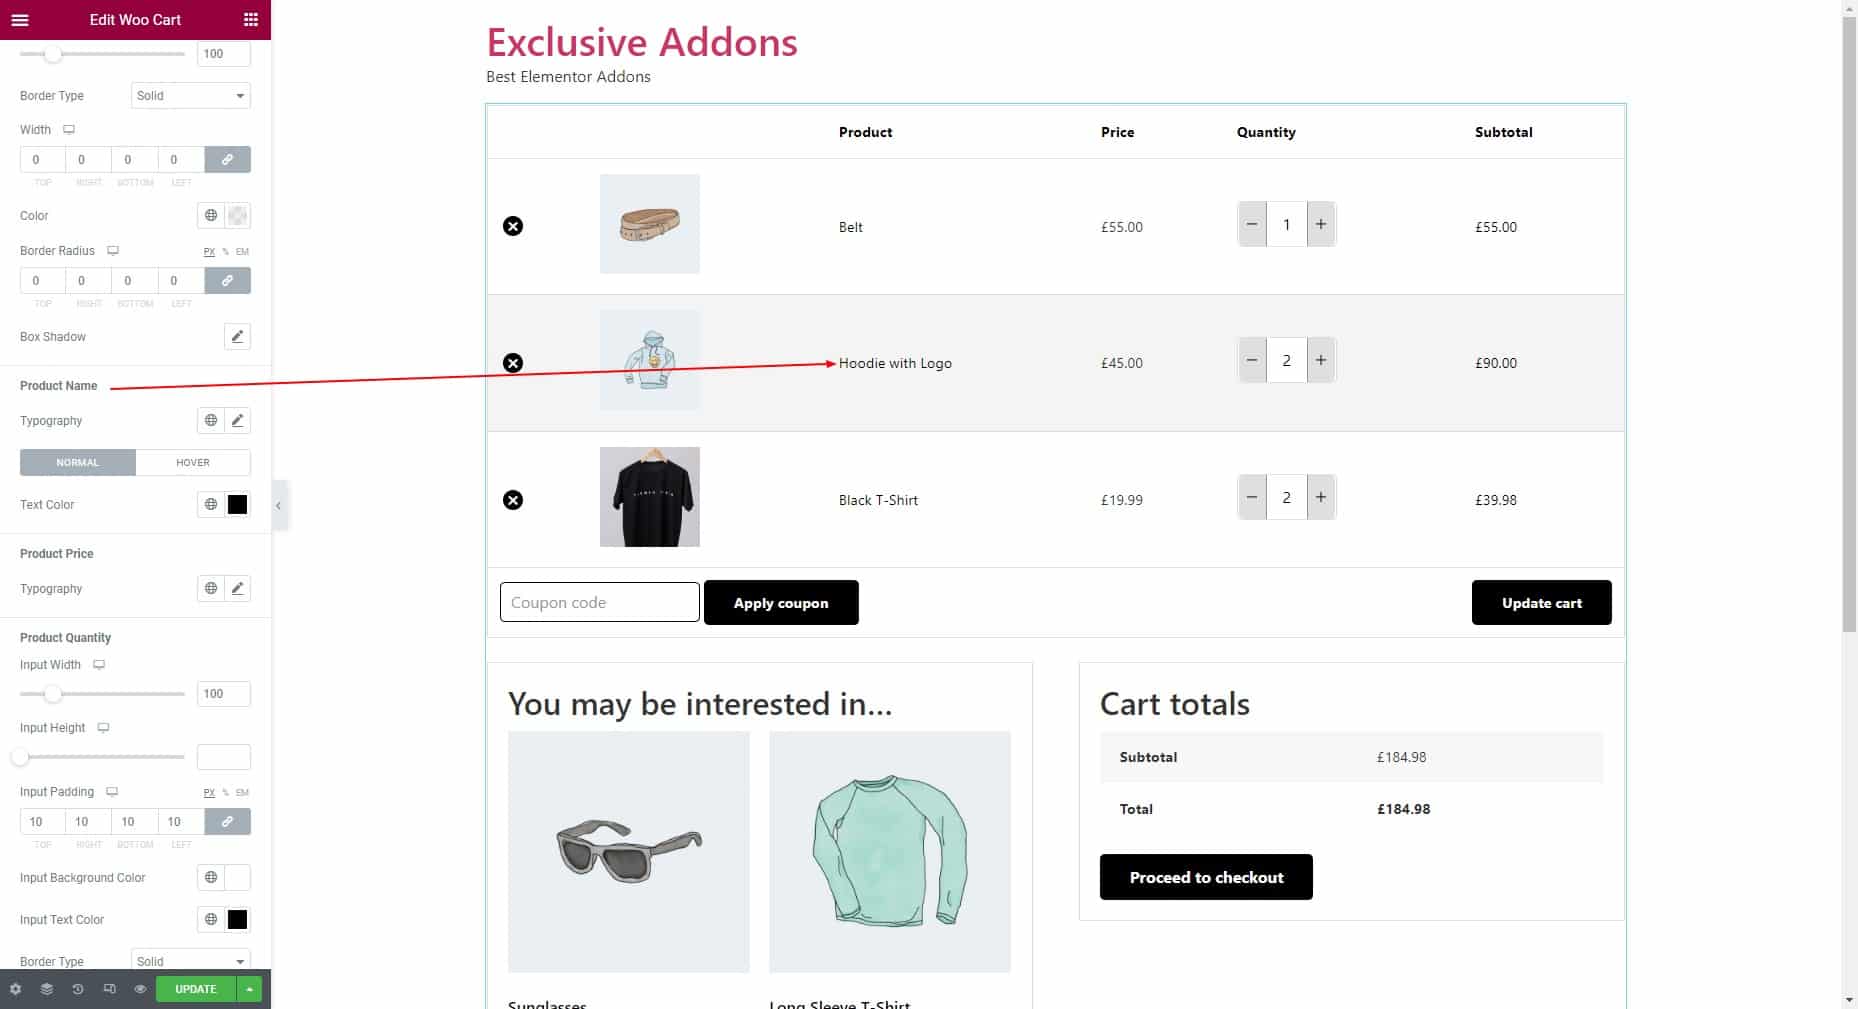
Product Name: Set the typography, then choose different text colors for “Normal” and “Hover” states.
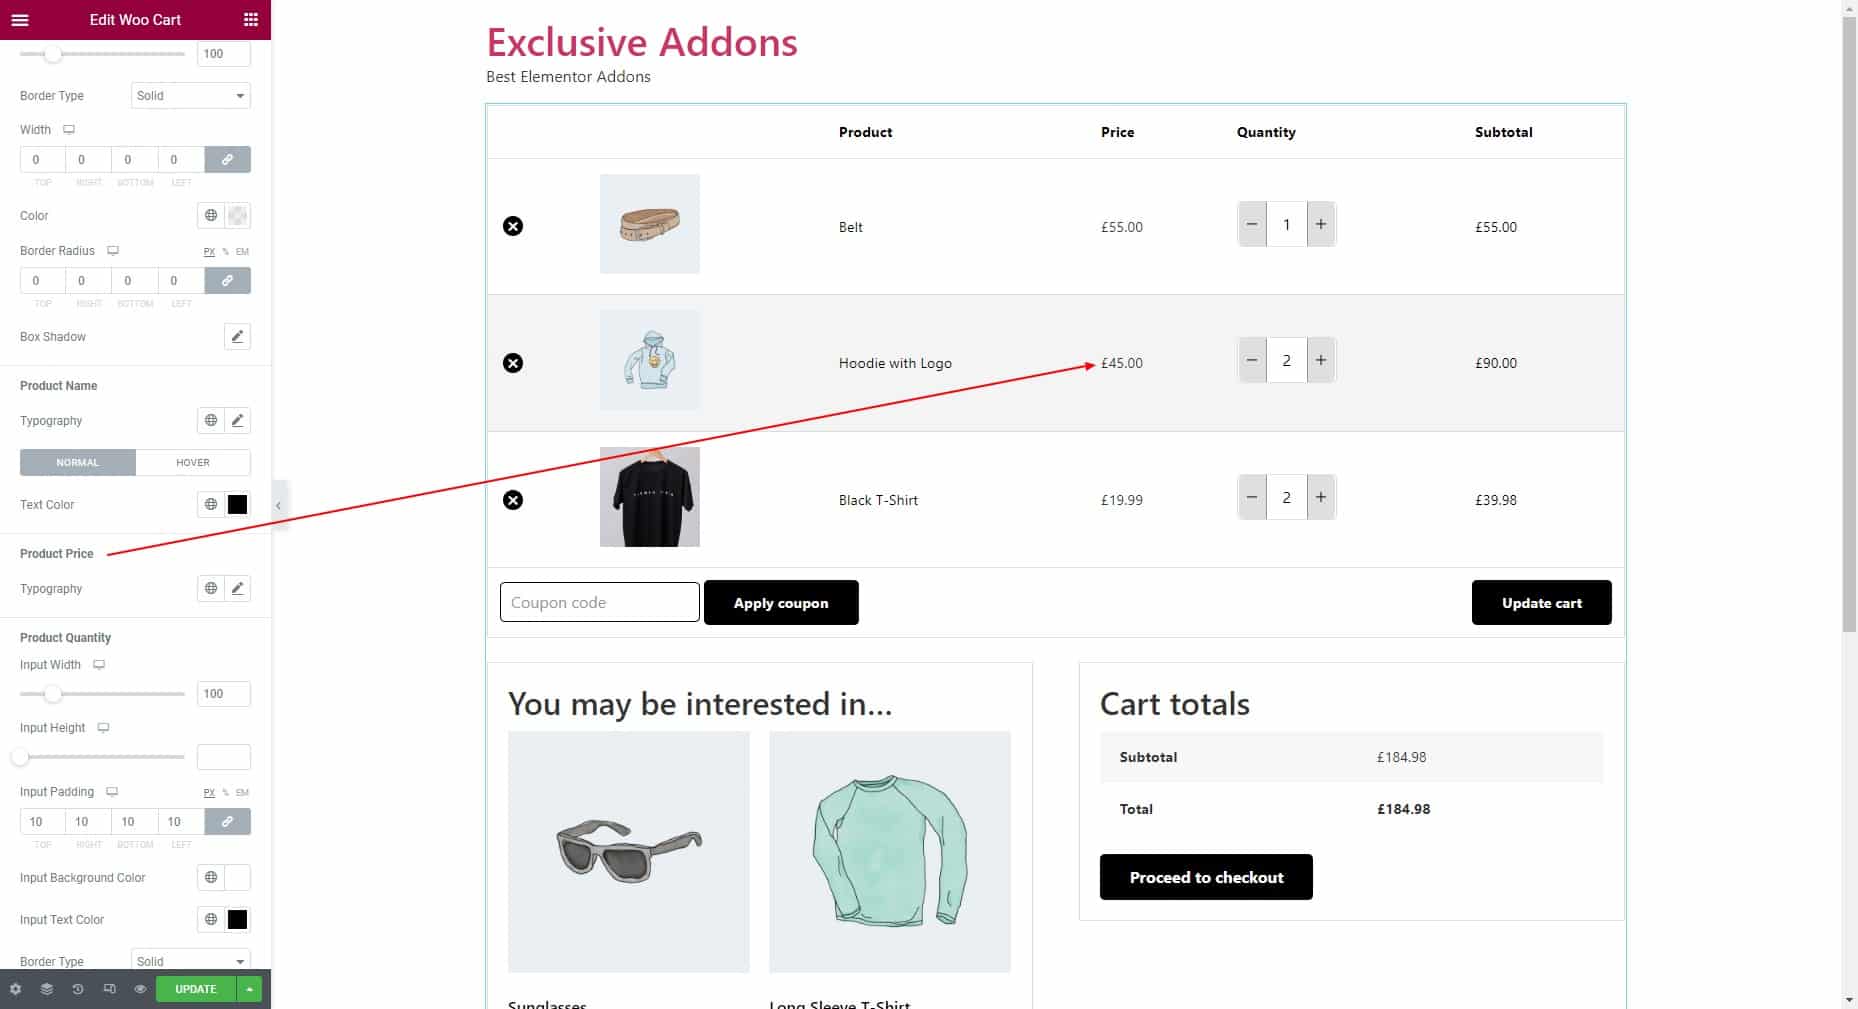
Product Price: Set the typography for the product price.
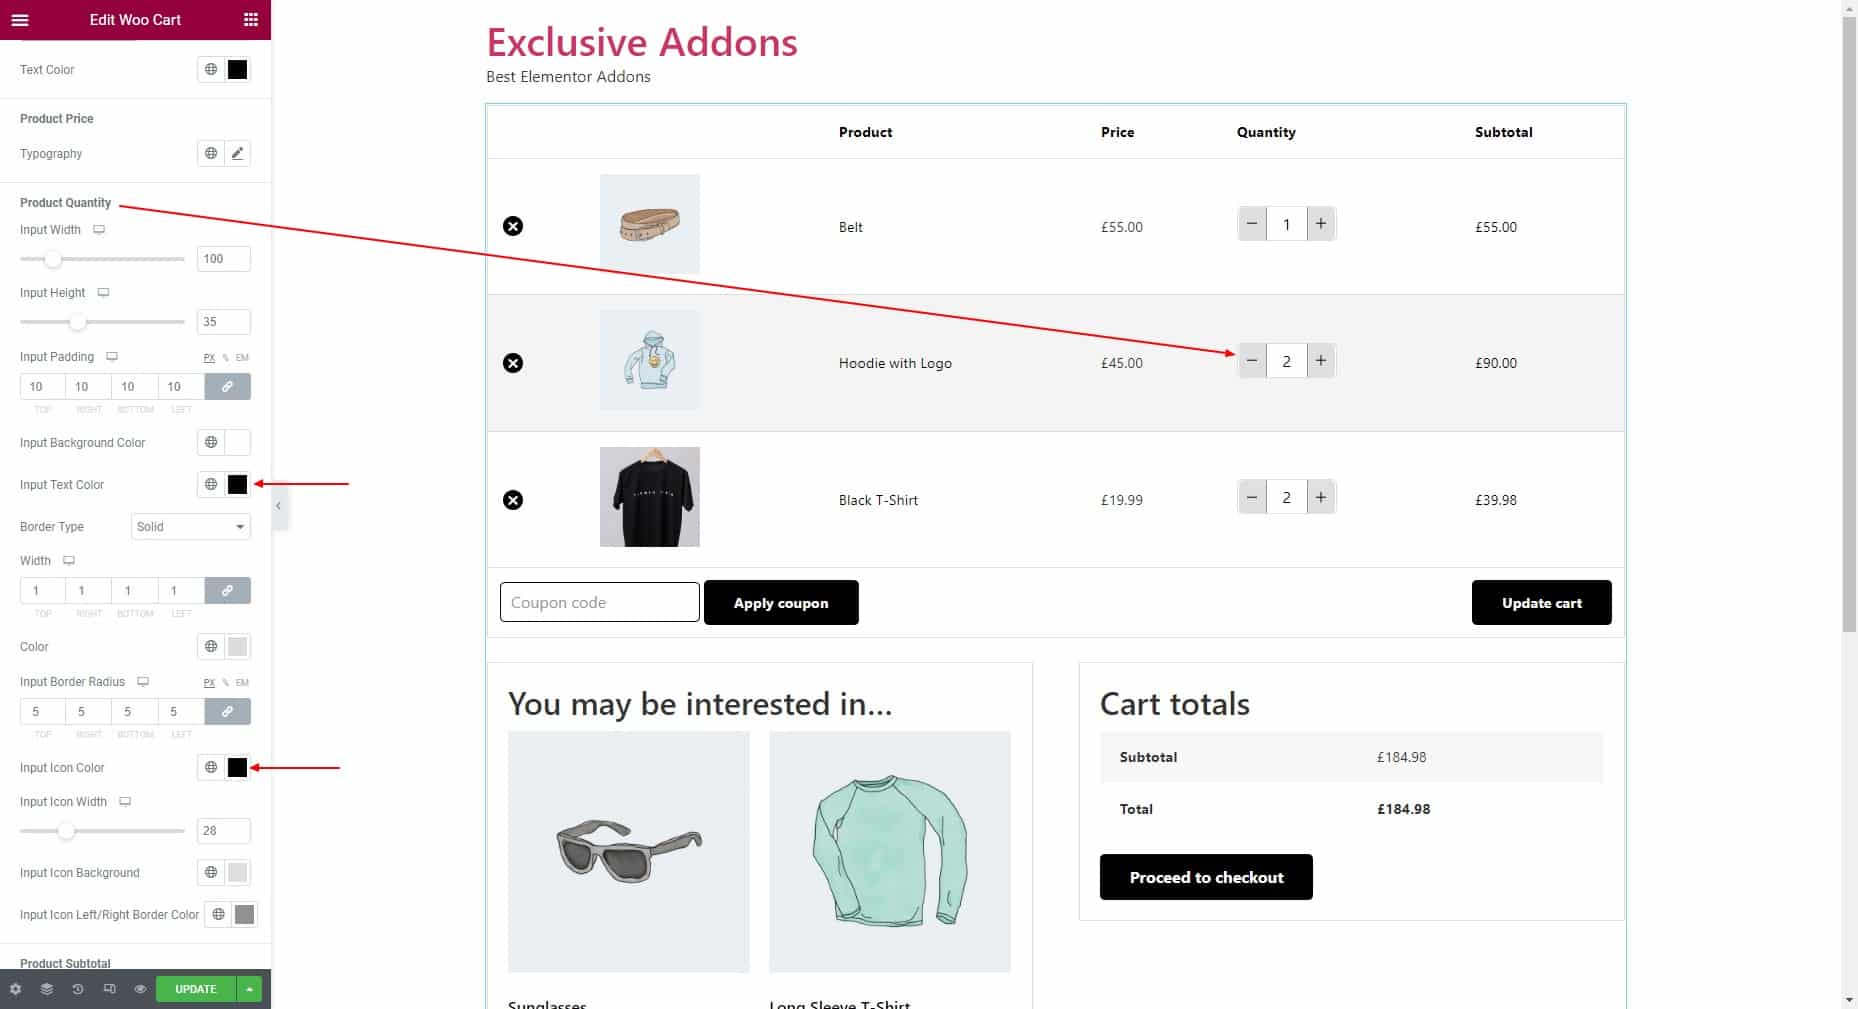
Product Quantity: Adjust input width, input height, input padding, input background color, and input text color. Then choose the border type, border width, border color, and border radius. After that, set the input icon color, icon width, icon background color, and icon left/right border color.
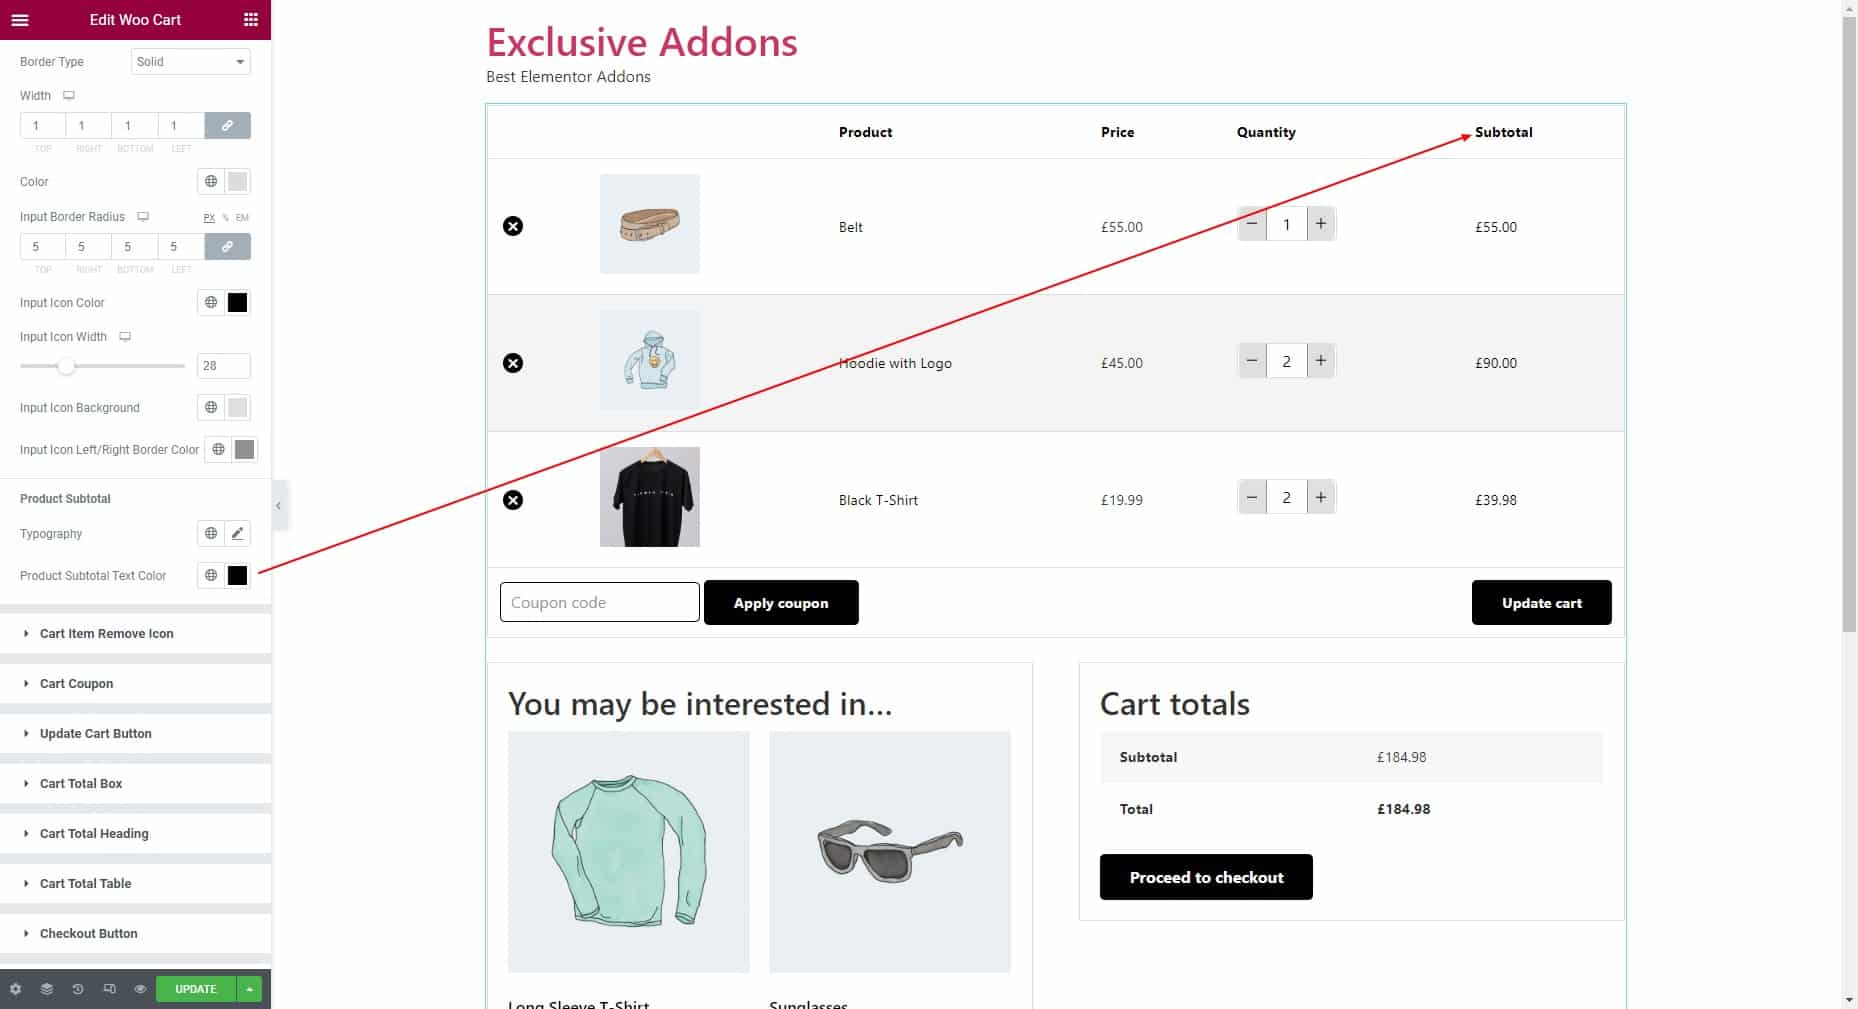
Product Subtotal: Set typography and product subtotal text color.
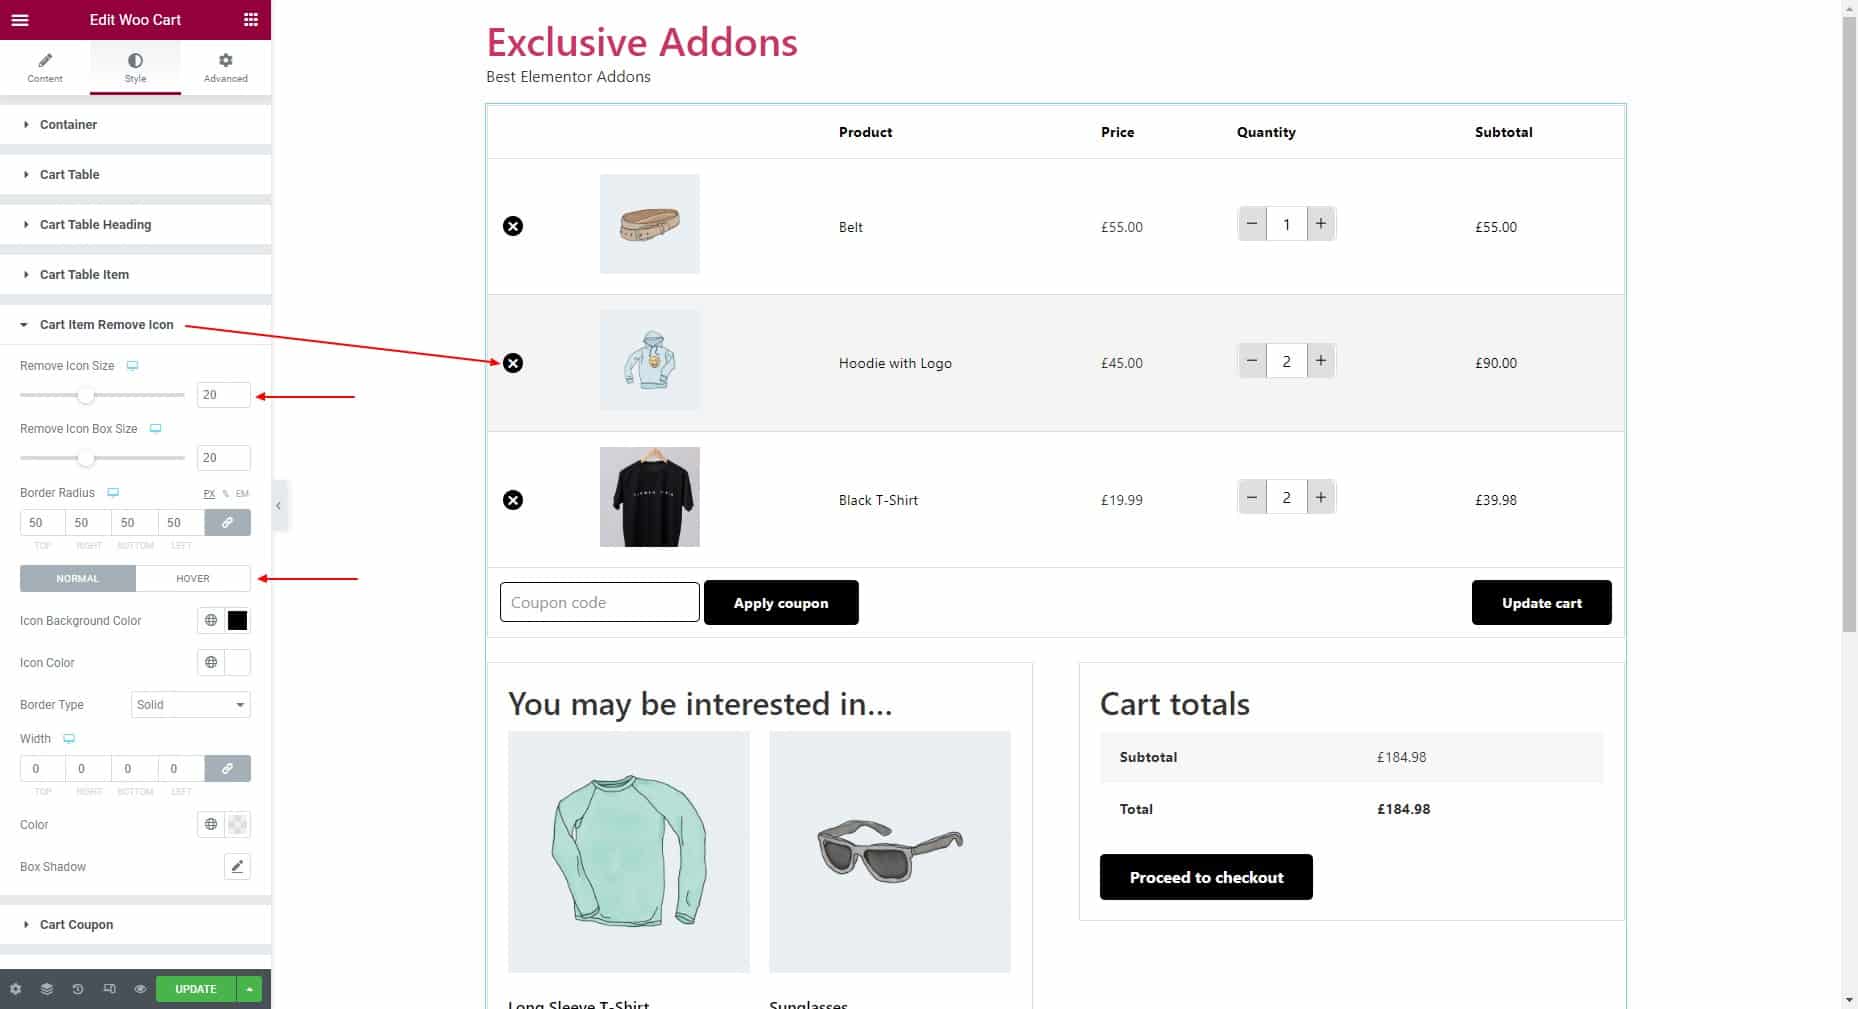
4.5 Cart Item Remove Icon
Adjust the icon size, icon box size, and border radius. Then choose an individual icon background color, icon color, border type, border width, border color, and border radius for “Normal” and “Hover” states.
4.6 Cart Coupon
Set the coupon section background, section padding, border type, border width, border color, and border radius.

Under the Cart Coupon section, you can customize Cart Coupon Input and Cart Coupon Button styles.
Cart Coupon Input: Adjust the input width and input height. Then set input padding, input background color, typography, input text color, input placeholder text color, border type, border width, border color, and border radius.

Cart Coupon Button: Set Coupon button padding, typography, and coupon button border radius. Then choose individual background color, text color, border type, border width, border color, and border radius for “Normal” and “Hover” states.

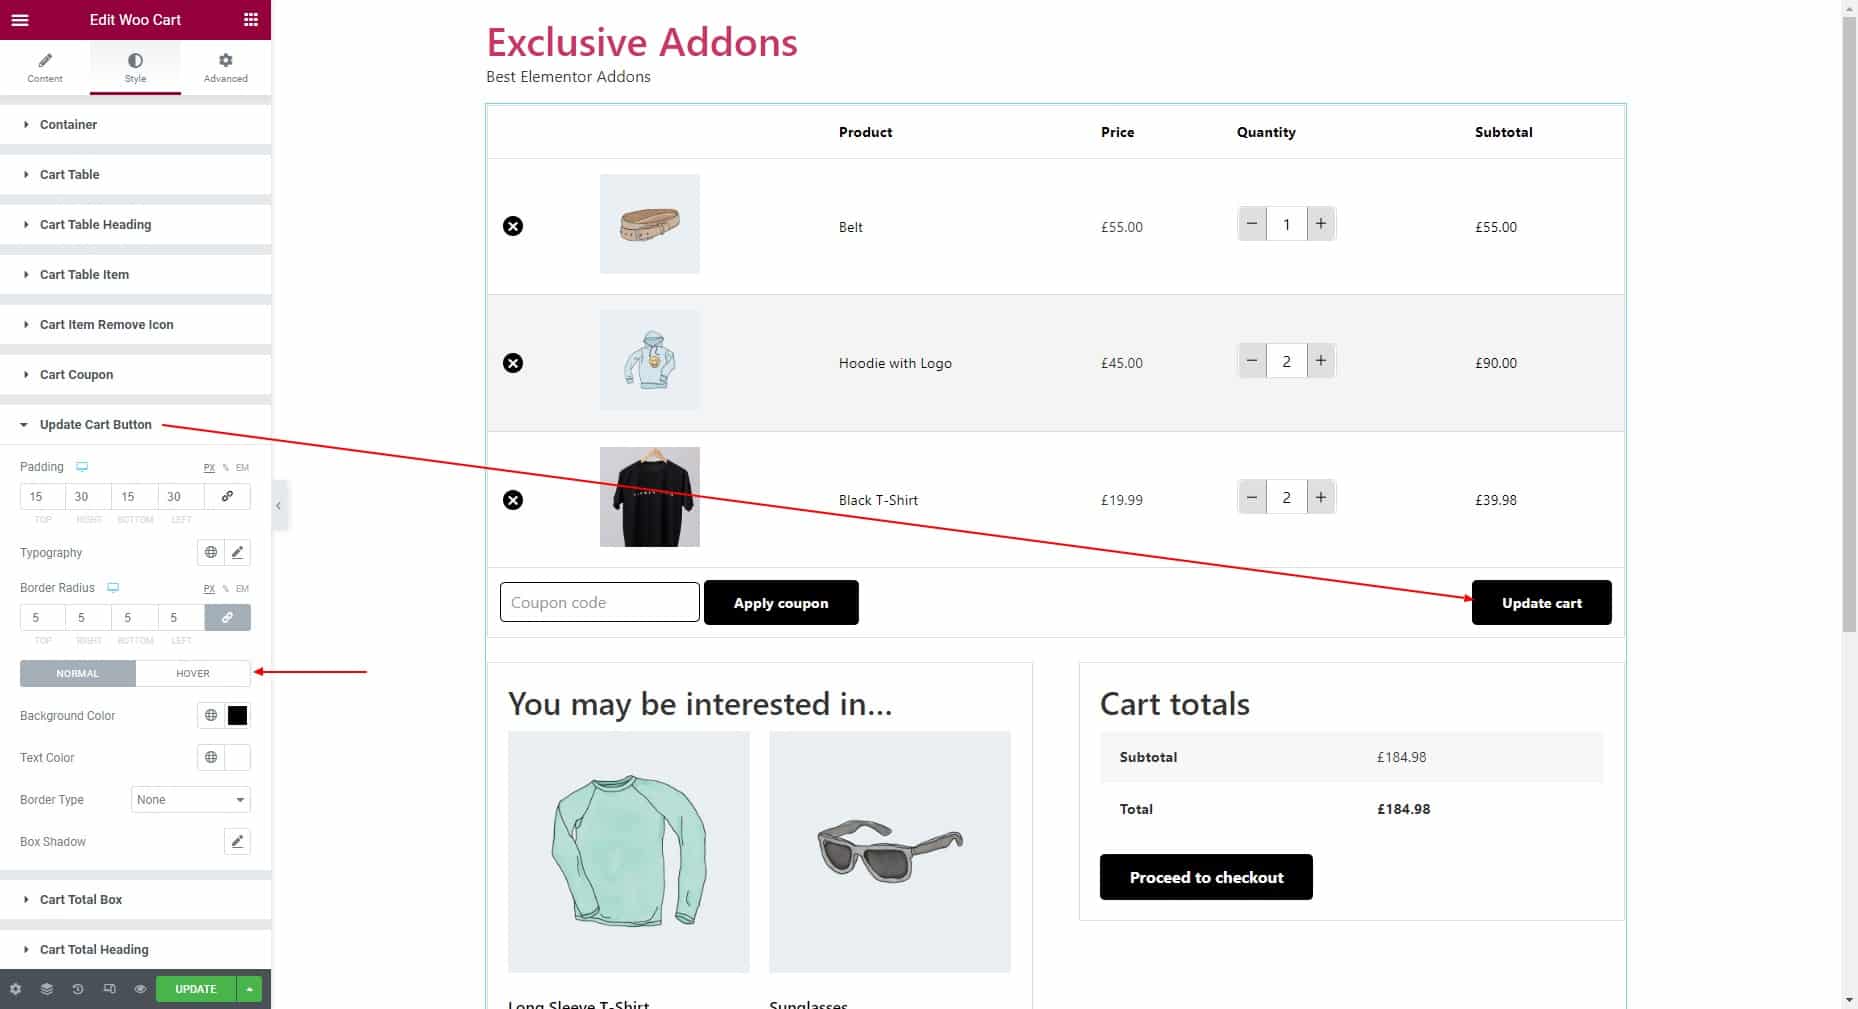
4.7 Update Cart Button
Set padding, typography, and border radius for the Update Cart button. Then choose individual background color, text color, border type, border width, border color, and border radius for “Normal” and “Hover” states.
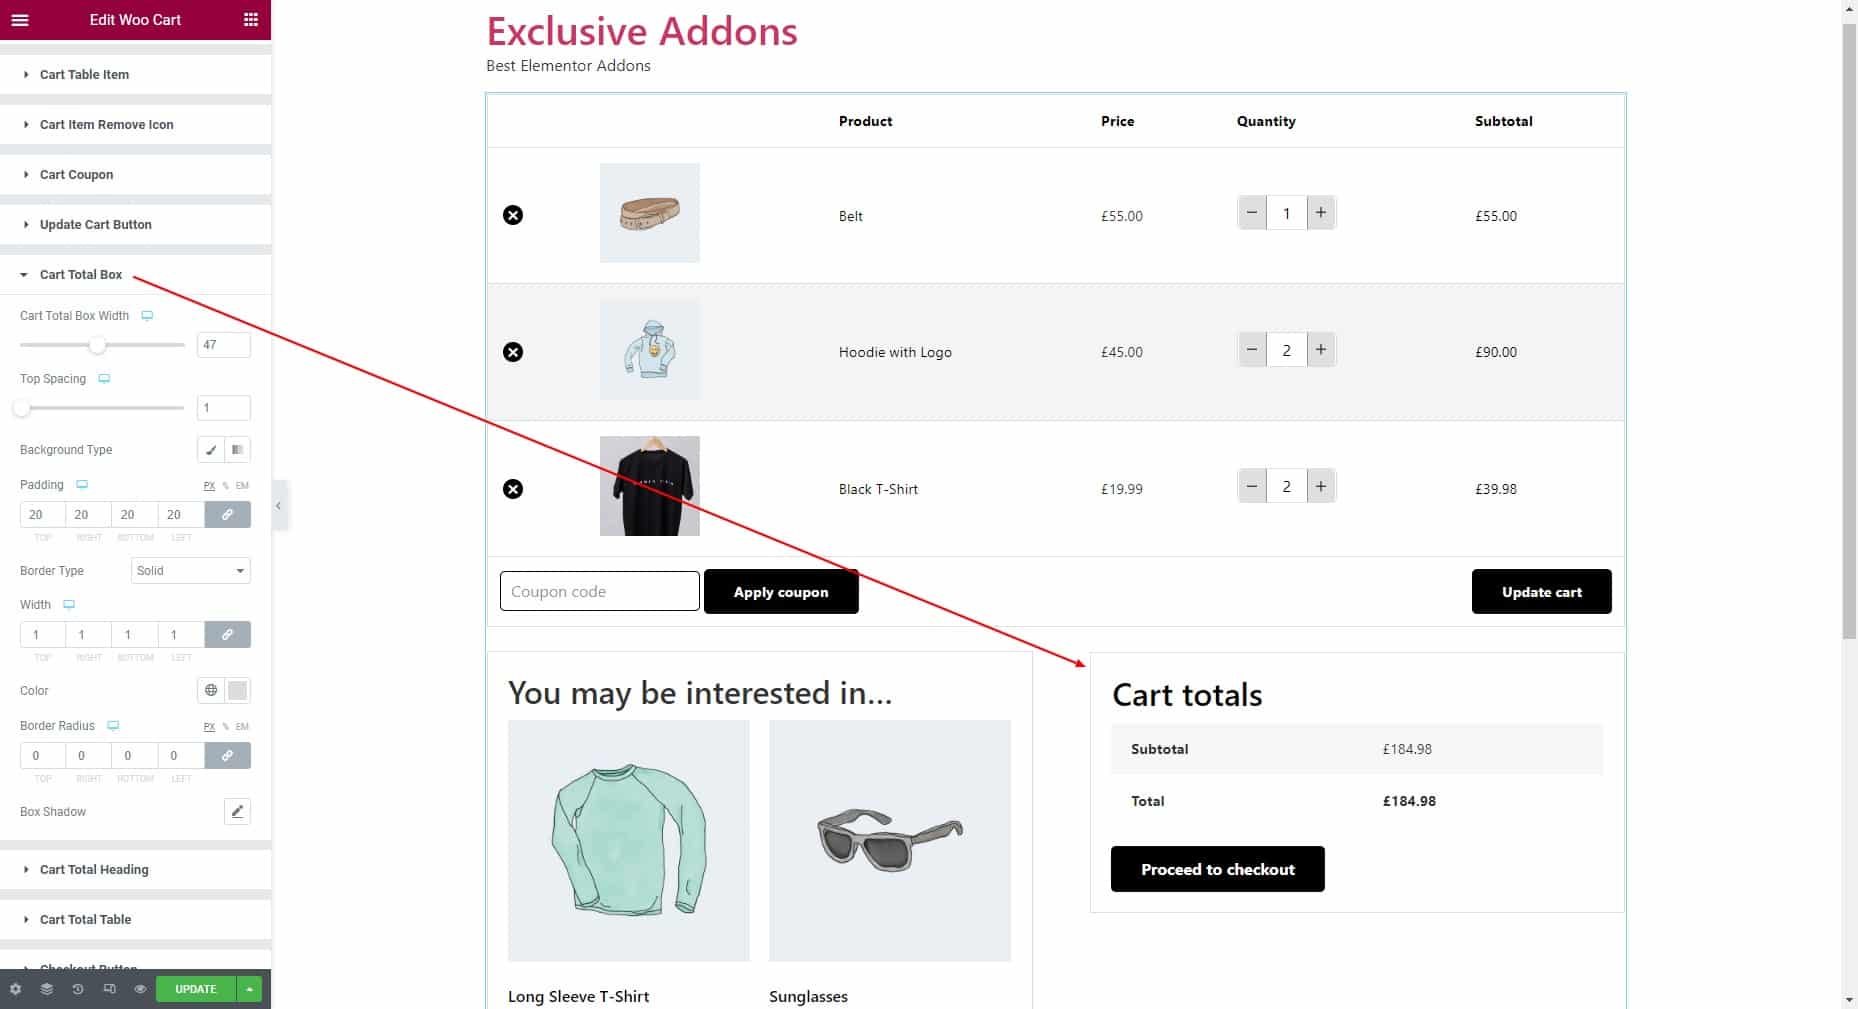
4.8 Cart Total Box
Adjust the cart total box width, top spacing, then set background type, padding, border type, border width, border color, and border radius for the Cart Total Box.
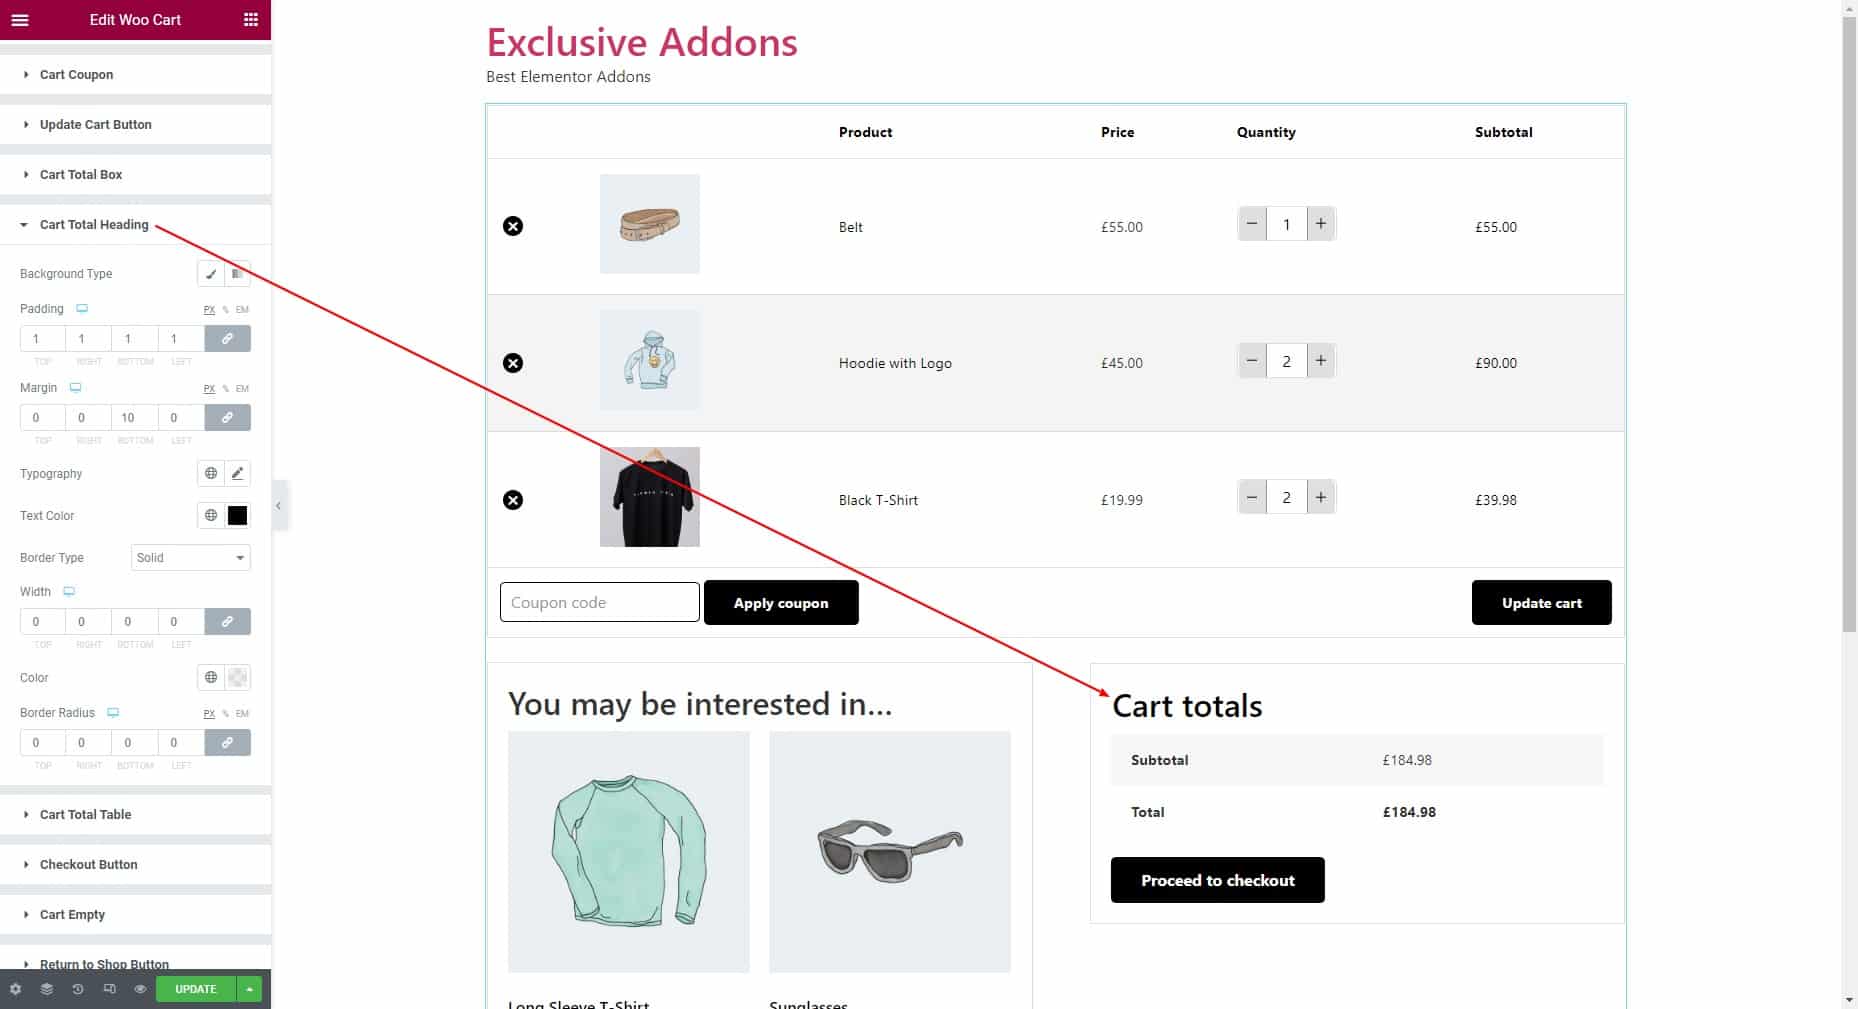
4.9 Cart Total Heading
Set background type, padding, margin, typography, text color, border type, border width, border color, and border radius for the Cart Total Heading.
4.10 Cart Total Table
Set padding, border type, border width, border color, and border radius for the Cart Total Table.
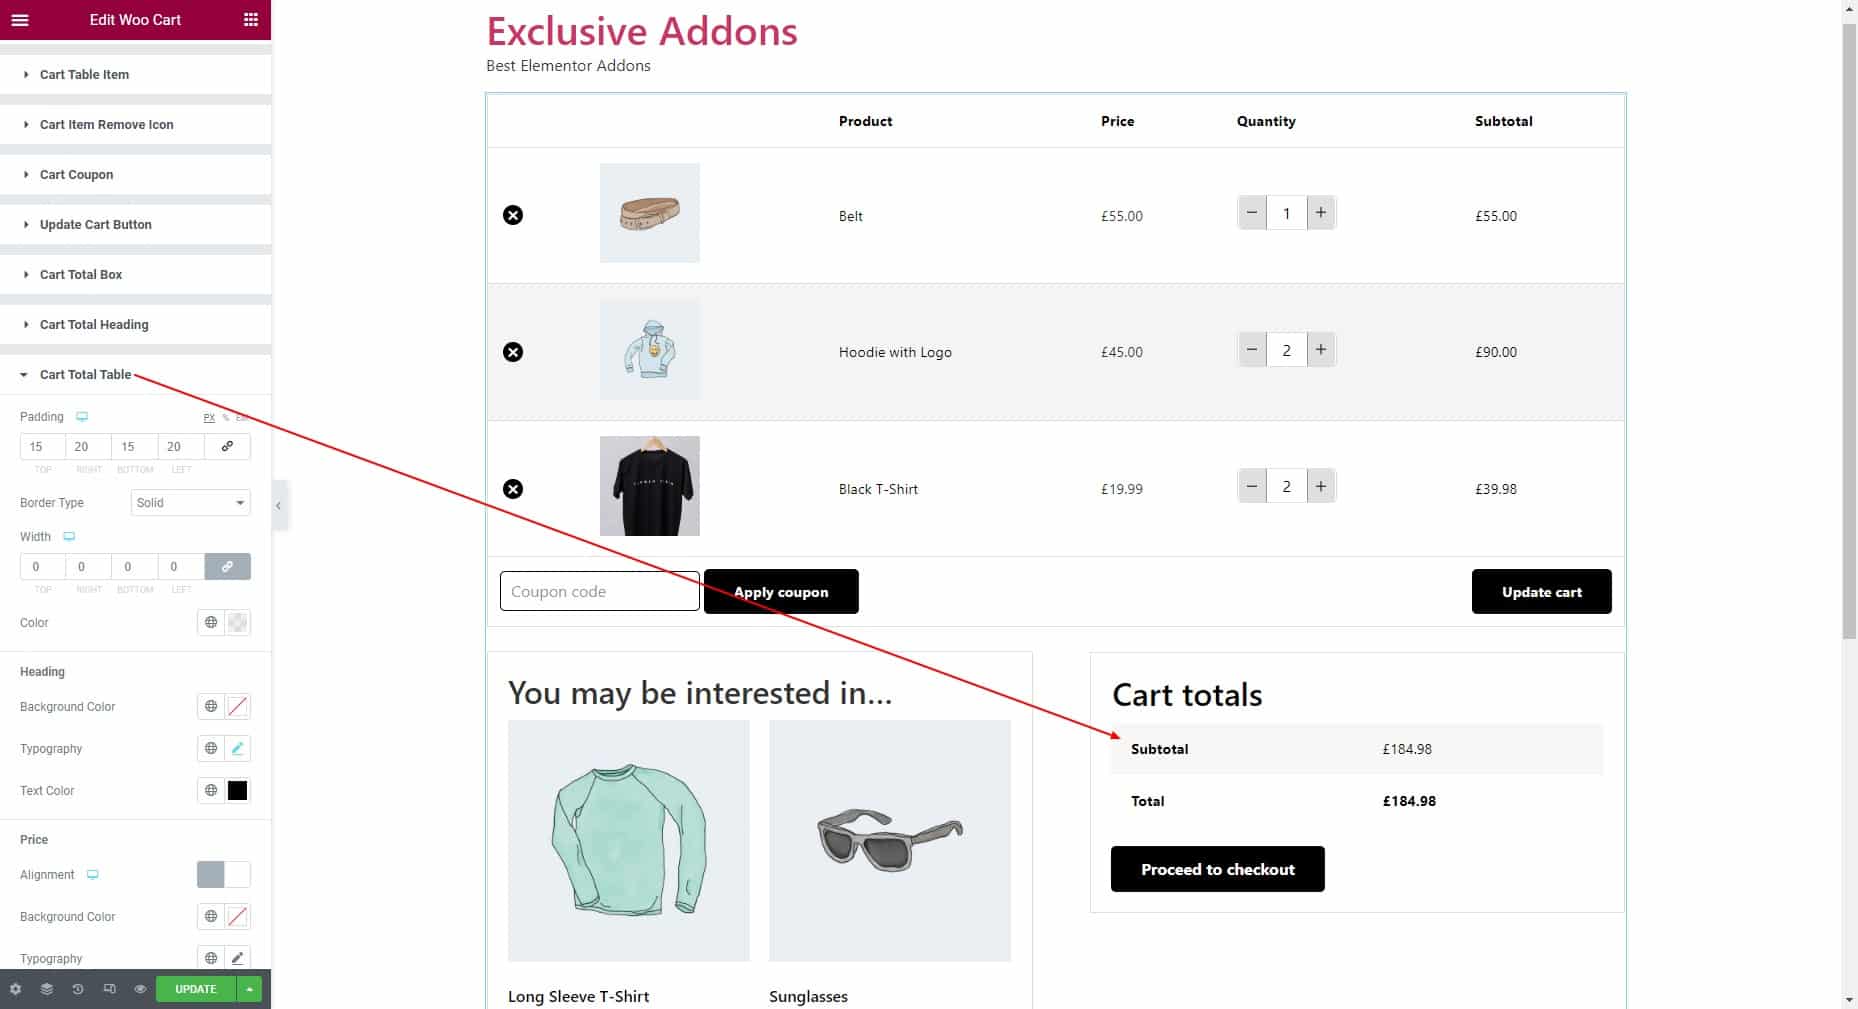
Under this section, you can customize Heading and Price styles.
Heading: Set the background color, typography, and text color.
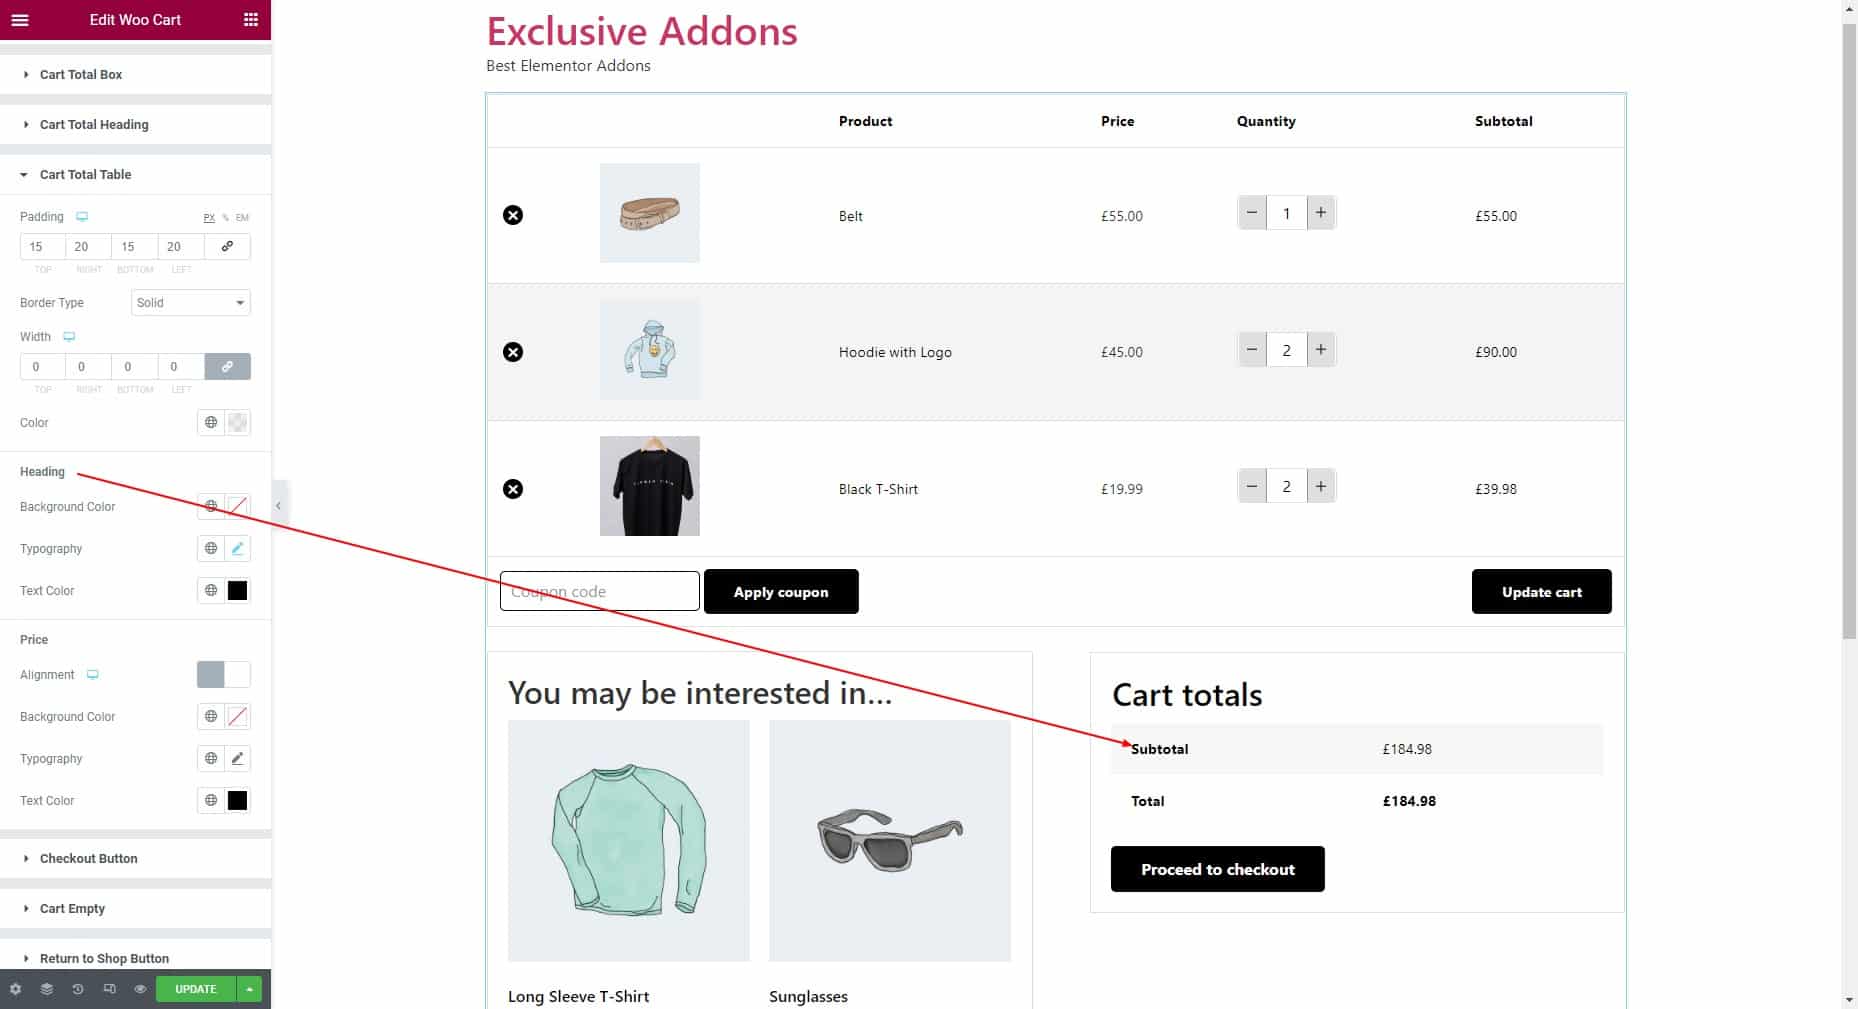
Price: Set the alignment, background color, typography, and text color.

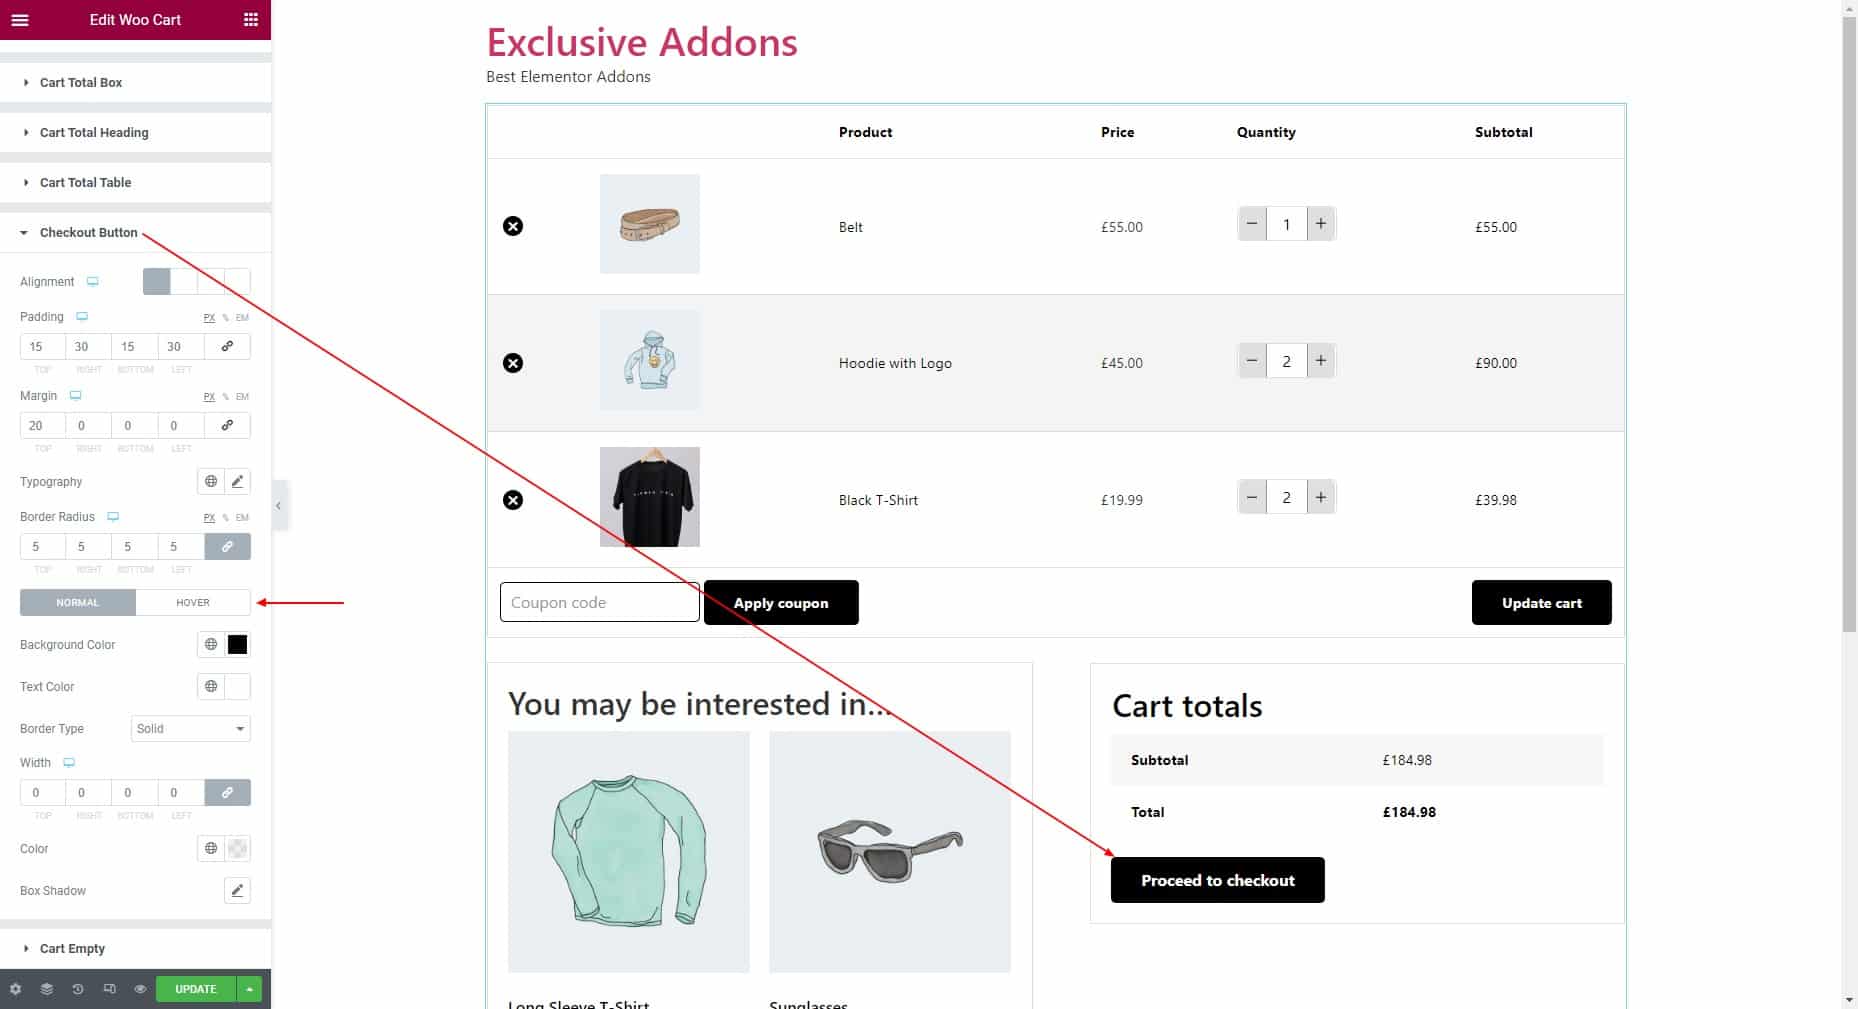
4.11 Checkout Button
Set the alignment, padding, margin, typography, and border radius for the checkout button. Then choose individual background color, text color, border type, border width, border color, and border radius for “Normal” and “Hover” states.
4.12 Cart Empty
Set the padding, margin, background type, typography, text color, icon color, border type, border width, border radius, and border color.

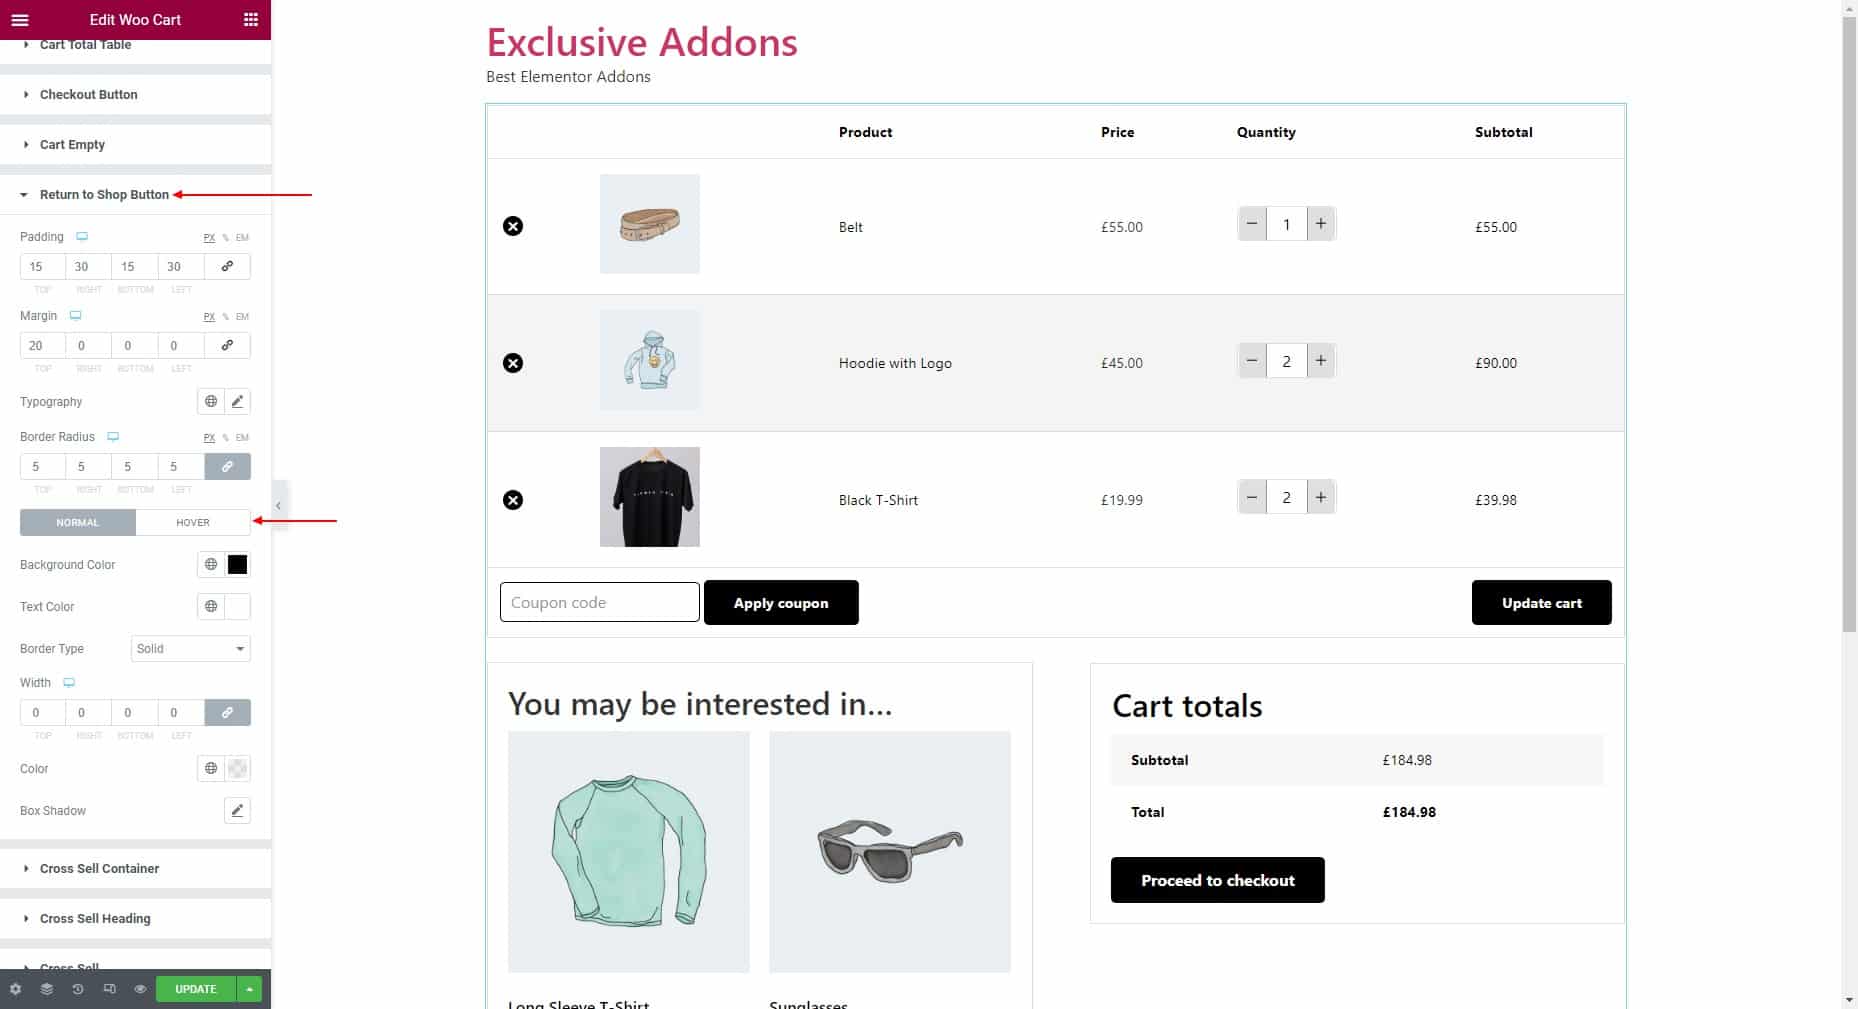
4.13 Return to Shop Button
Set the padding, margin, typography, and border radius. Then choose individual background color, text color, border type, border width, border color, and border radius for “Normal” and “Hover” states.
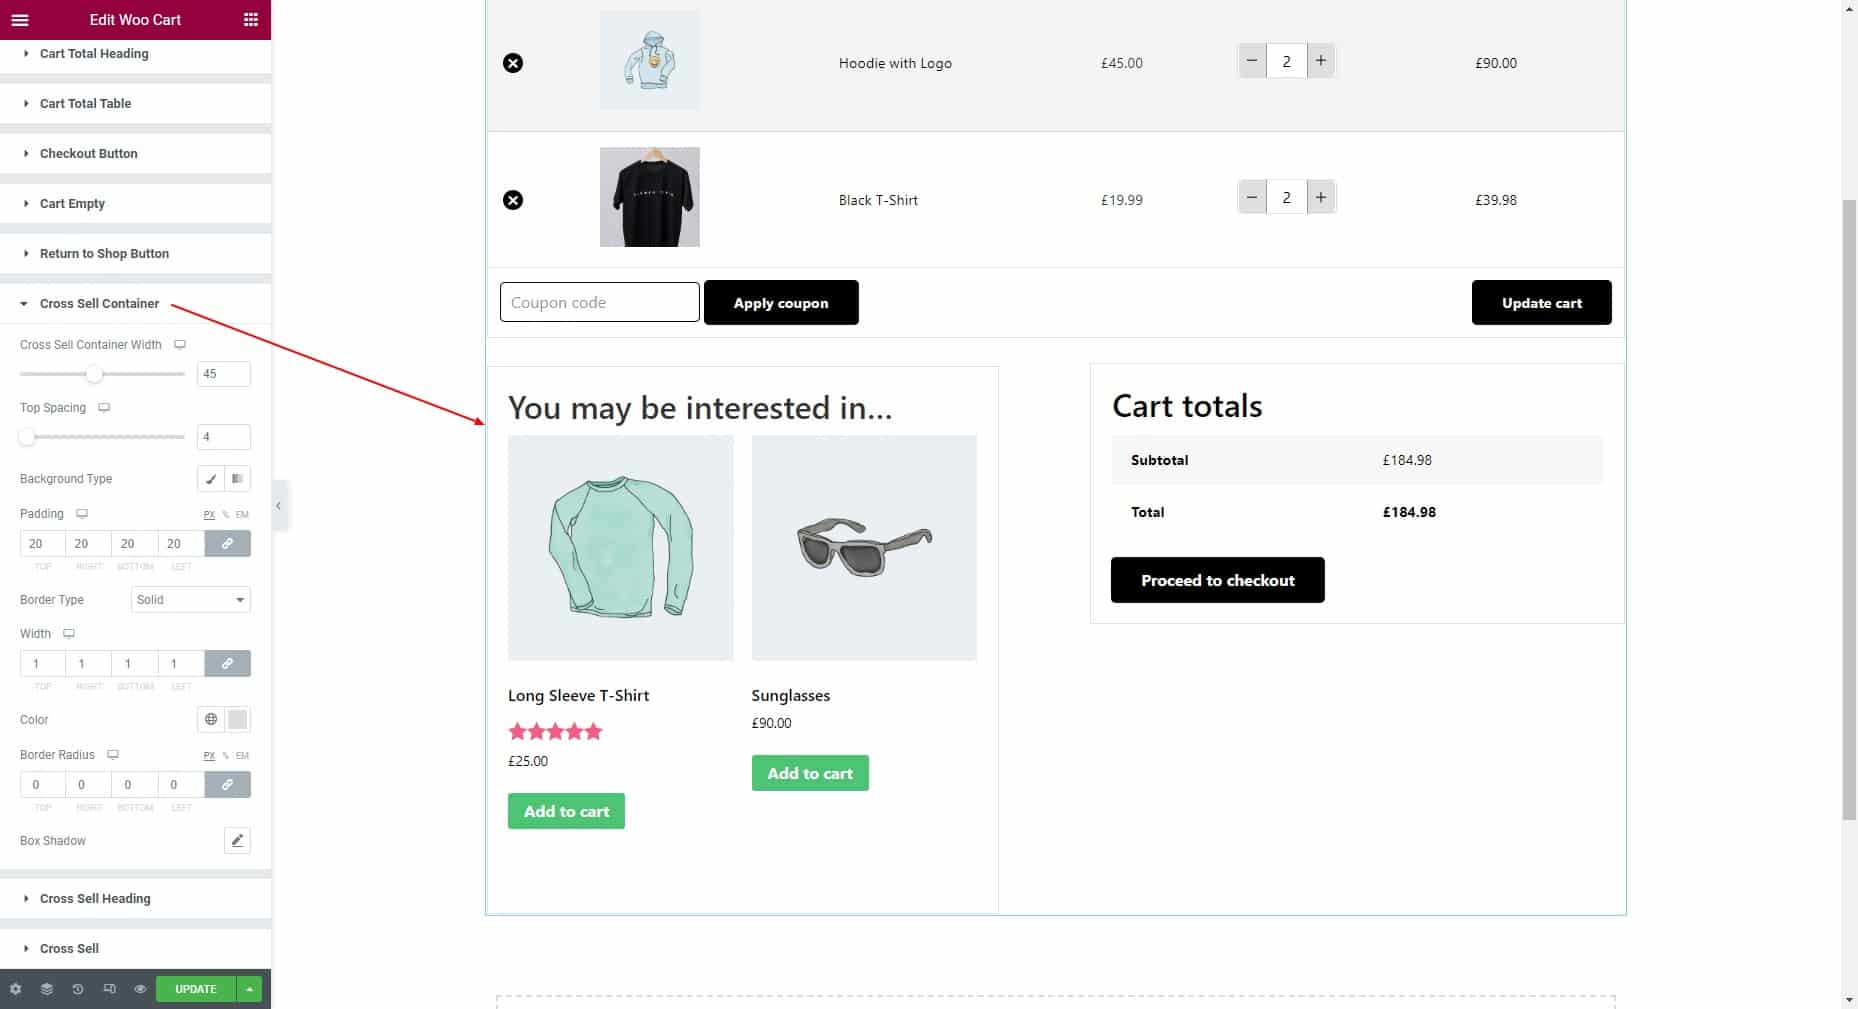
4.14 Cross Sell Container
Adjust the cross sell container width and top spacing. Then set the background type, padding, border type, border width, border color, and border radius.
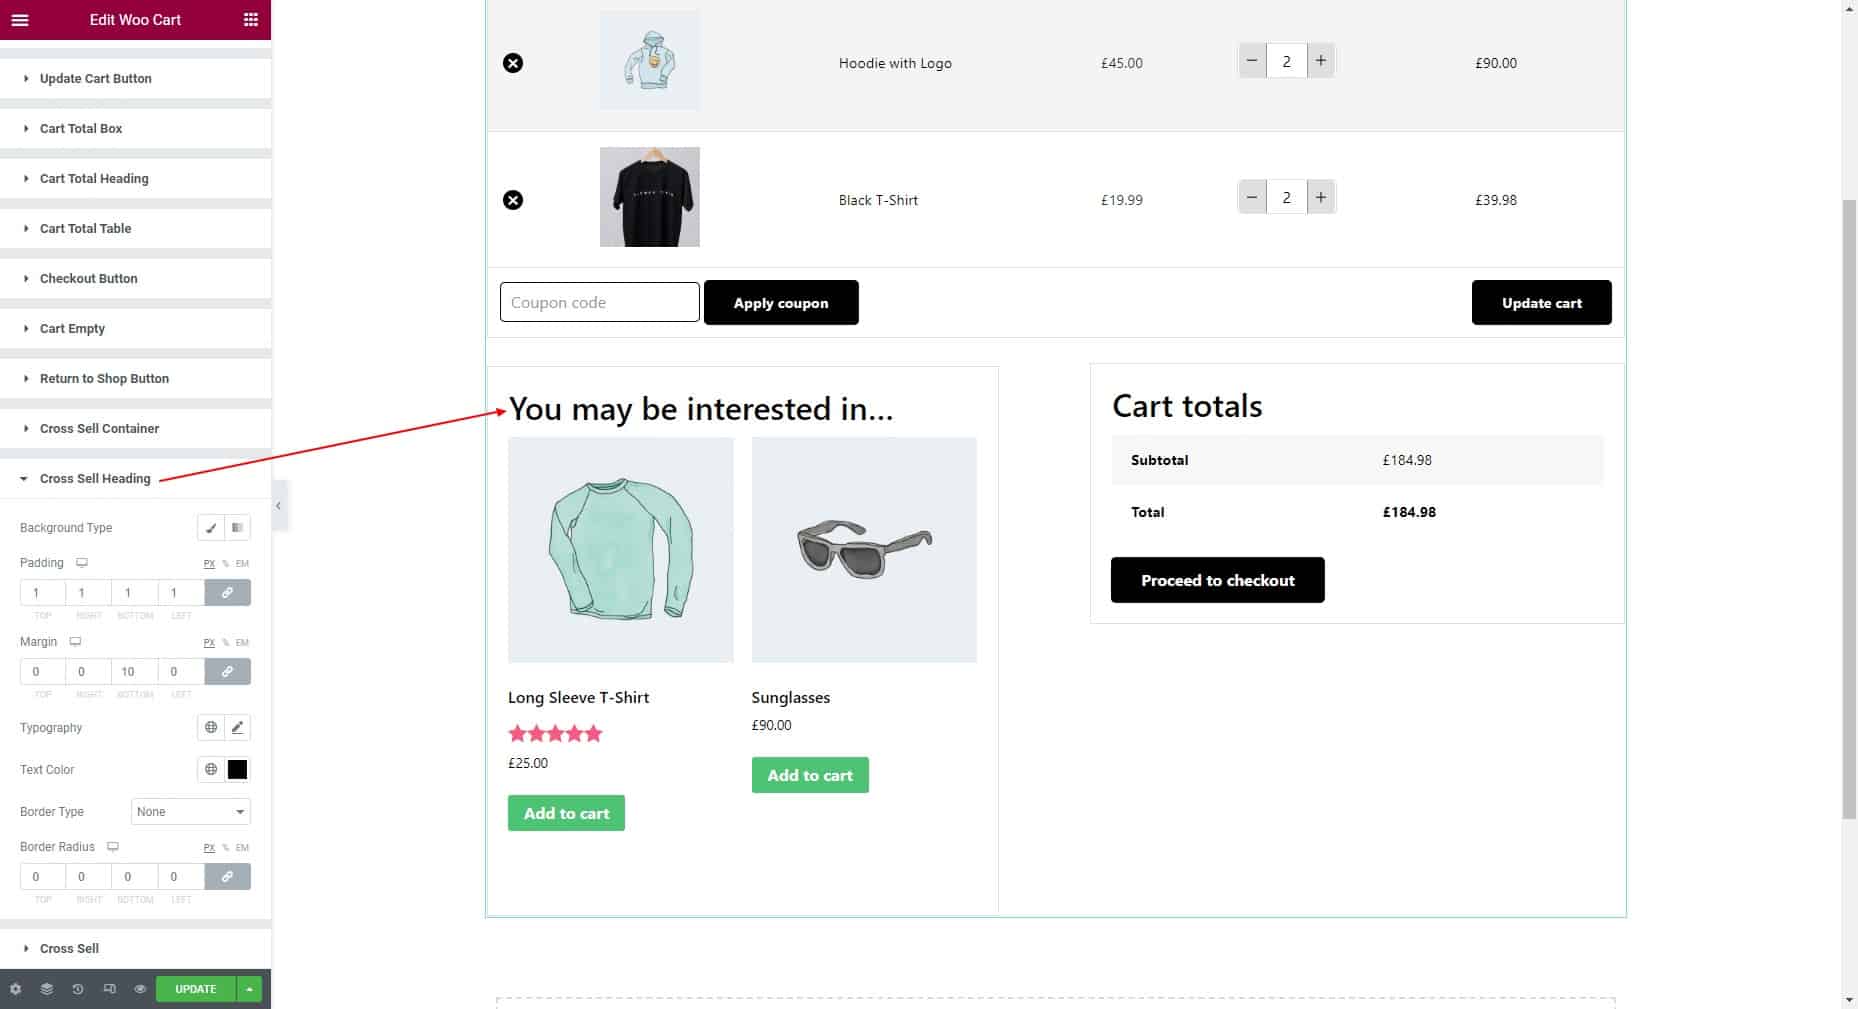
4.15 Cross Sell Heading
Set the background type, padding, margin, typography, text color, border type, border width, border color, and border radius.
4.16 Cross Sell
Under the Cross Sell section, you can customize the Content Box, Image and Tags, Tags, Sale Tag, Title, Price, Rating, and Button.
Content Box: Set alignment, background type, padding, border radius, border type, border width, and border color.
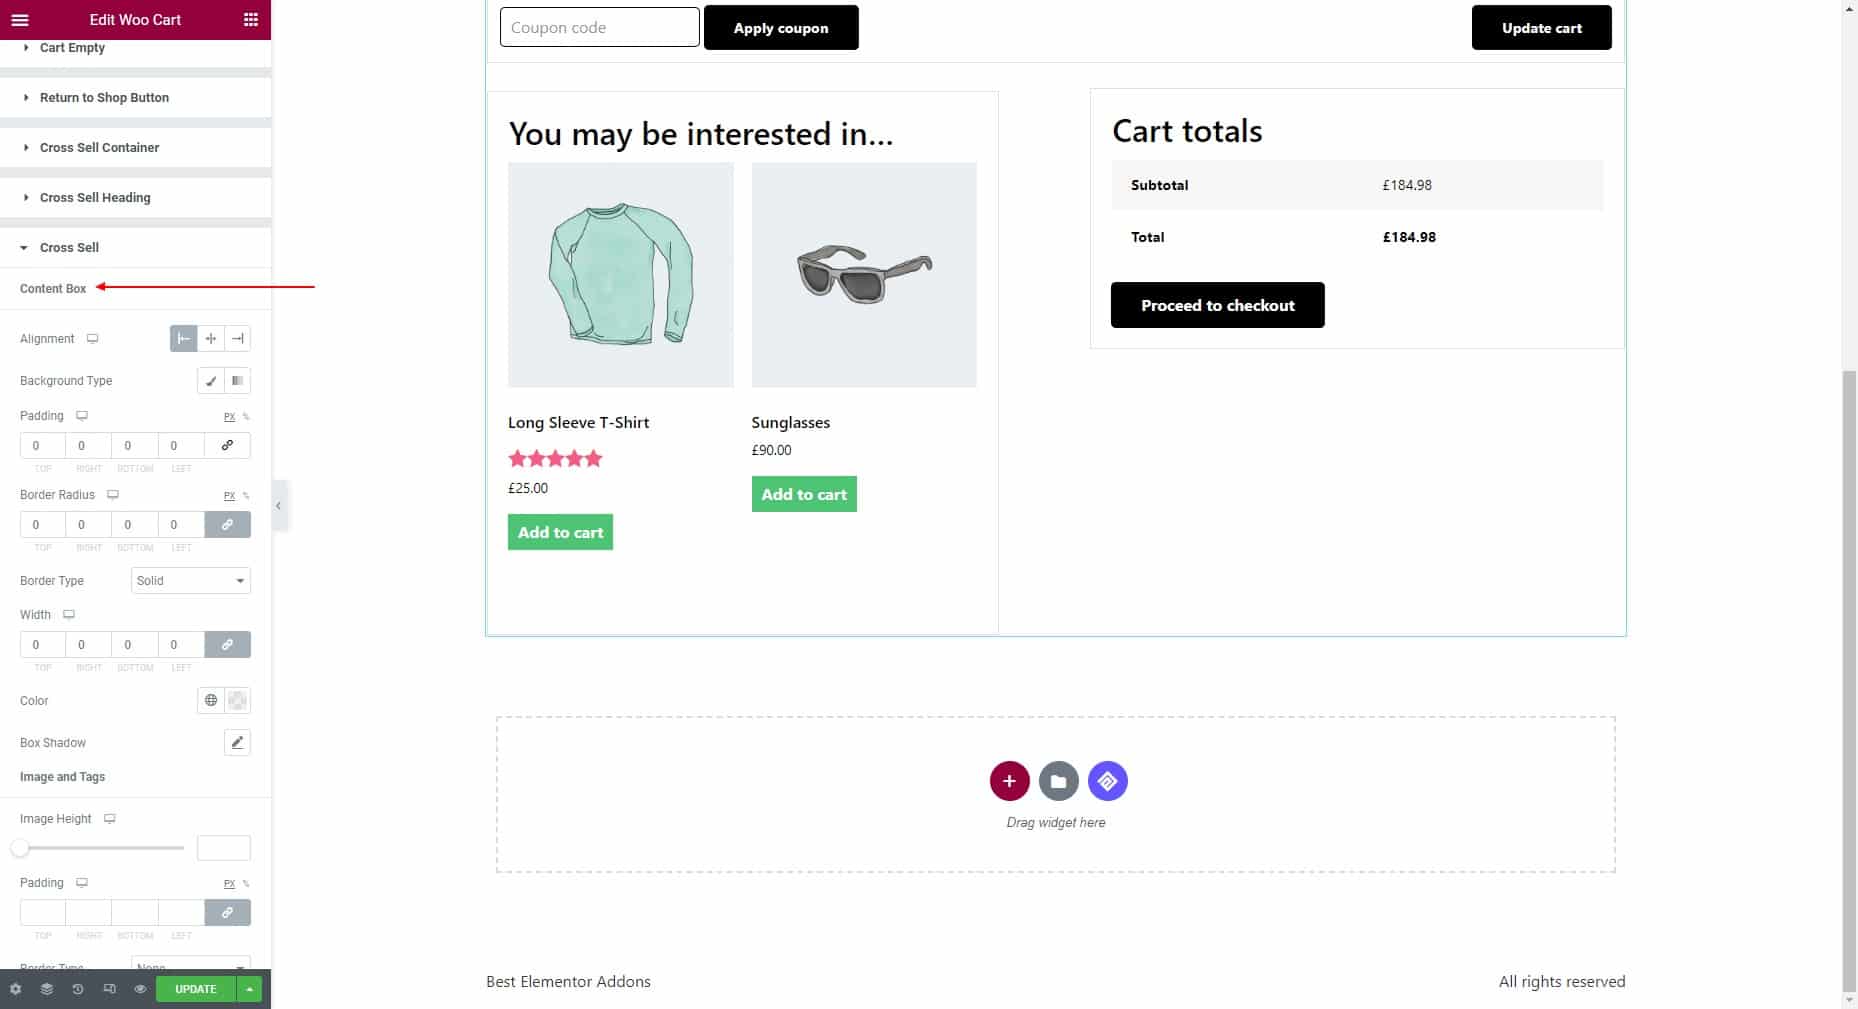
Image and Tags: Adjust the image height, padding, border type, border width, border color, and border radius.

Tags: Adjust the position from right side, width, height, padding, and border radius.
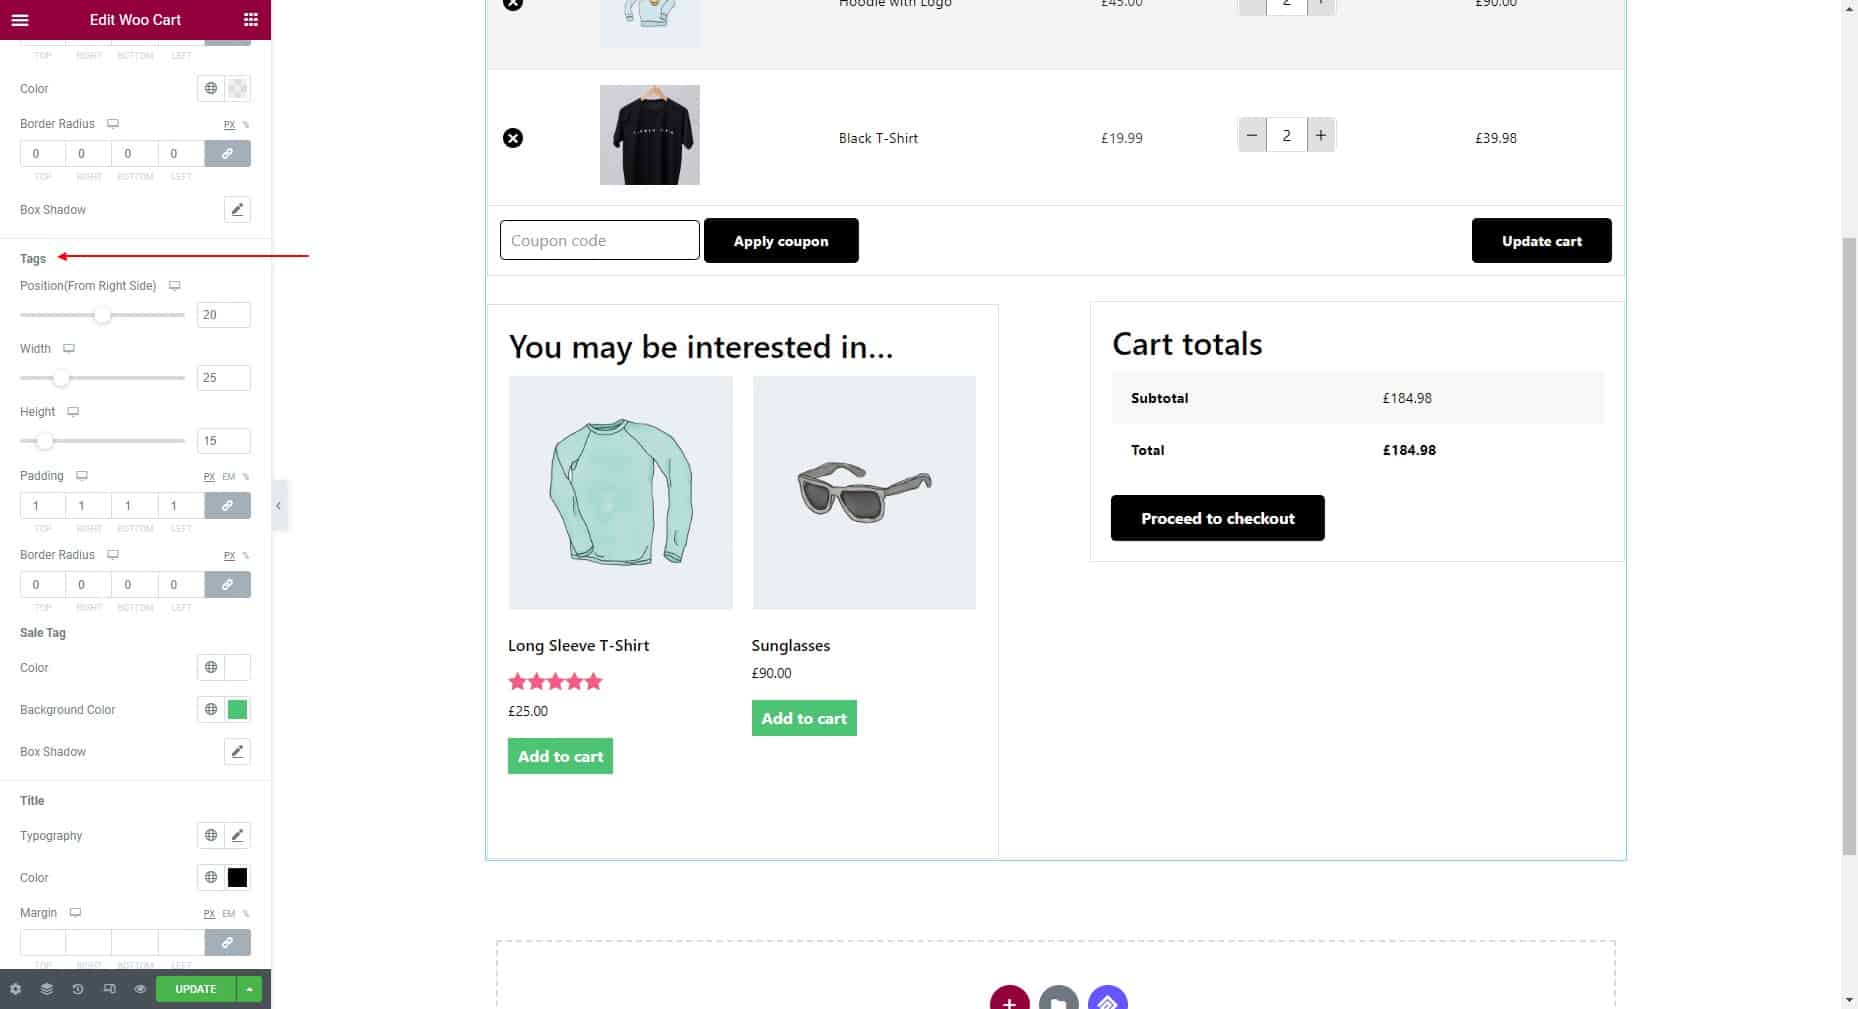
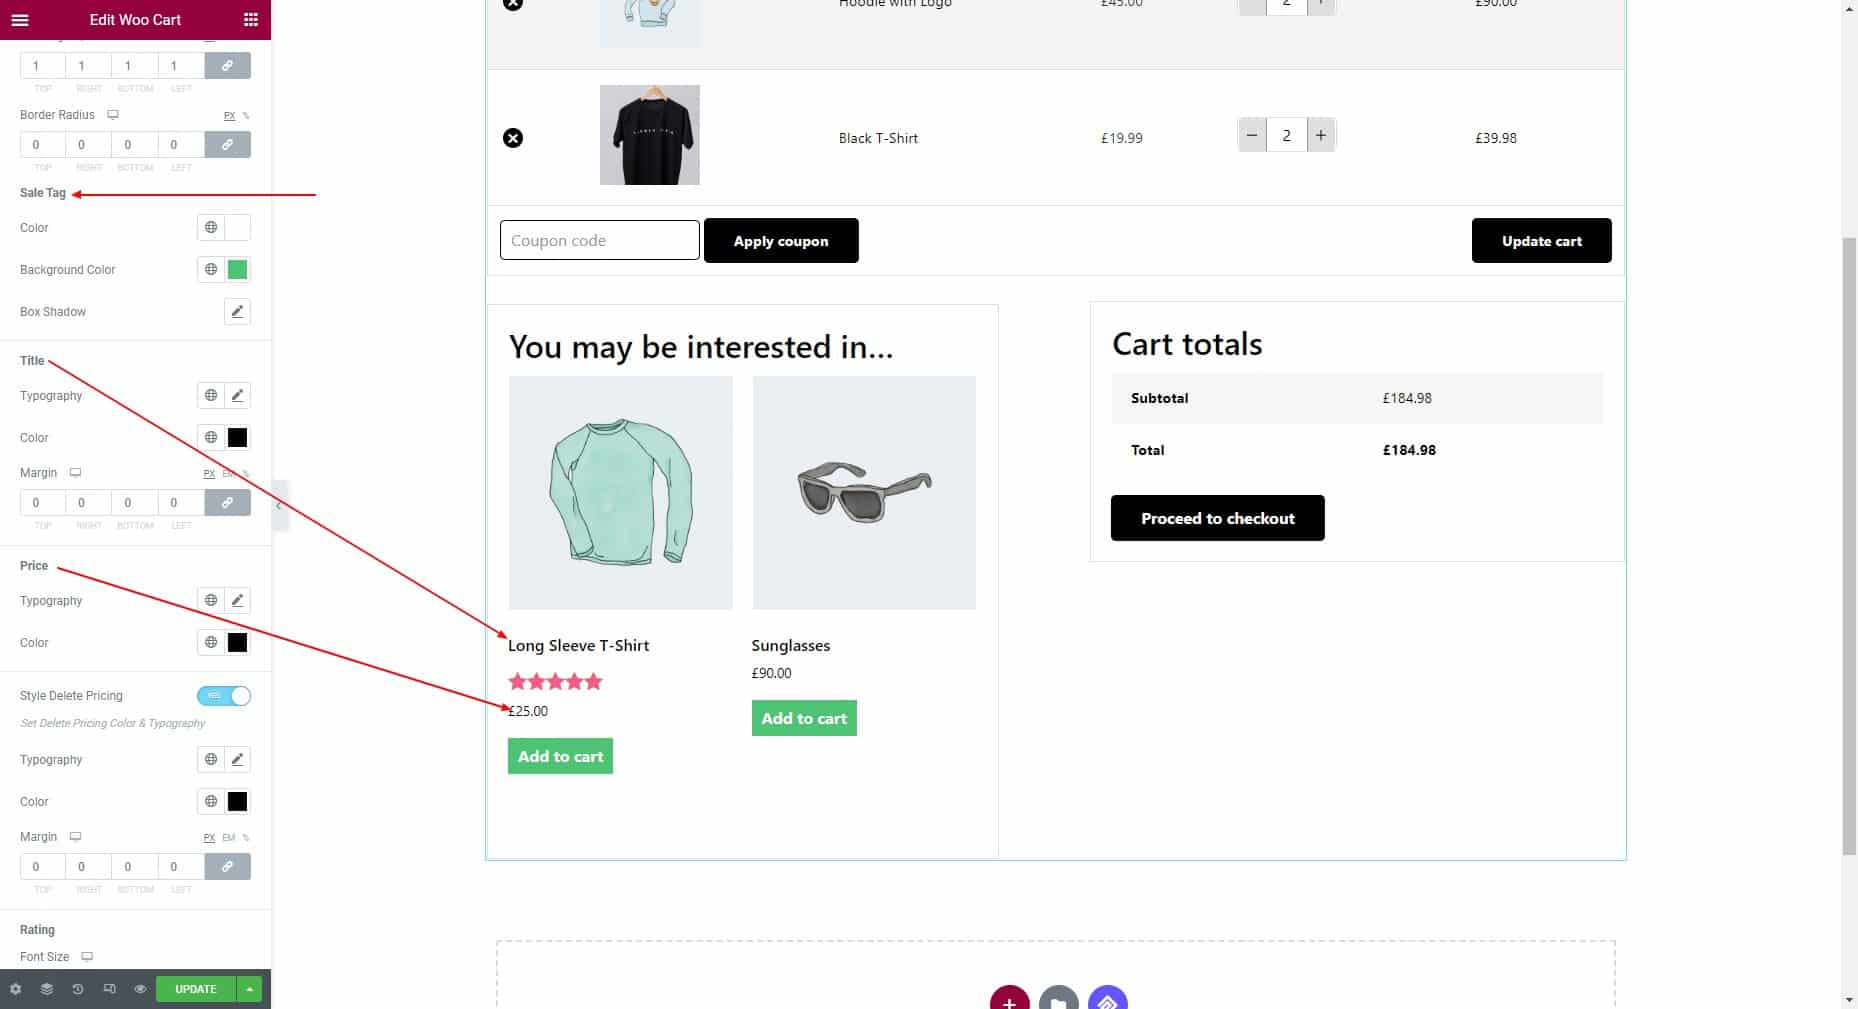
Sale Tag: Set the color, background color, and box shadow.
Title: Set the typography, color, and margin.
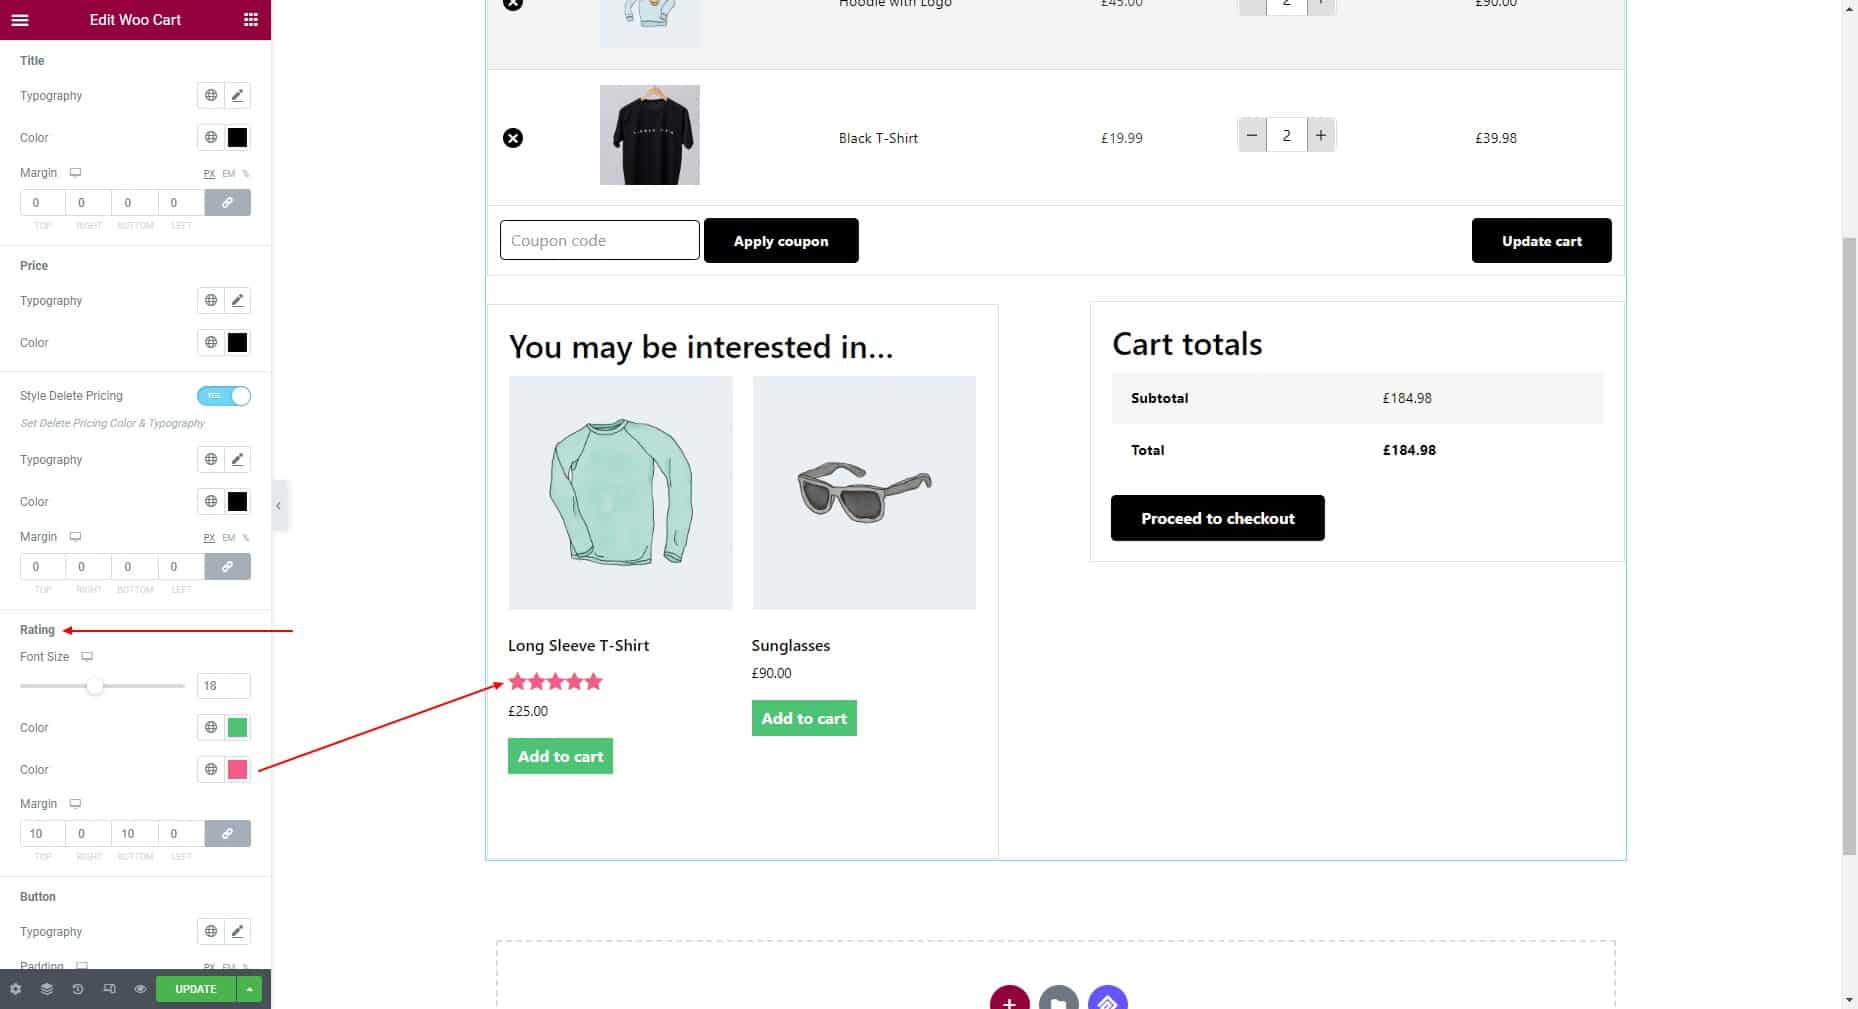
Price: Set the typography, color, and margin. Enable “Style Delete Pricing” to set its typography, and color.
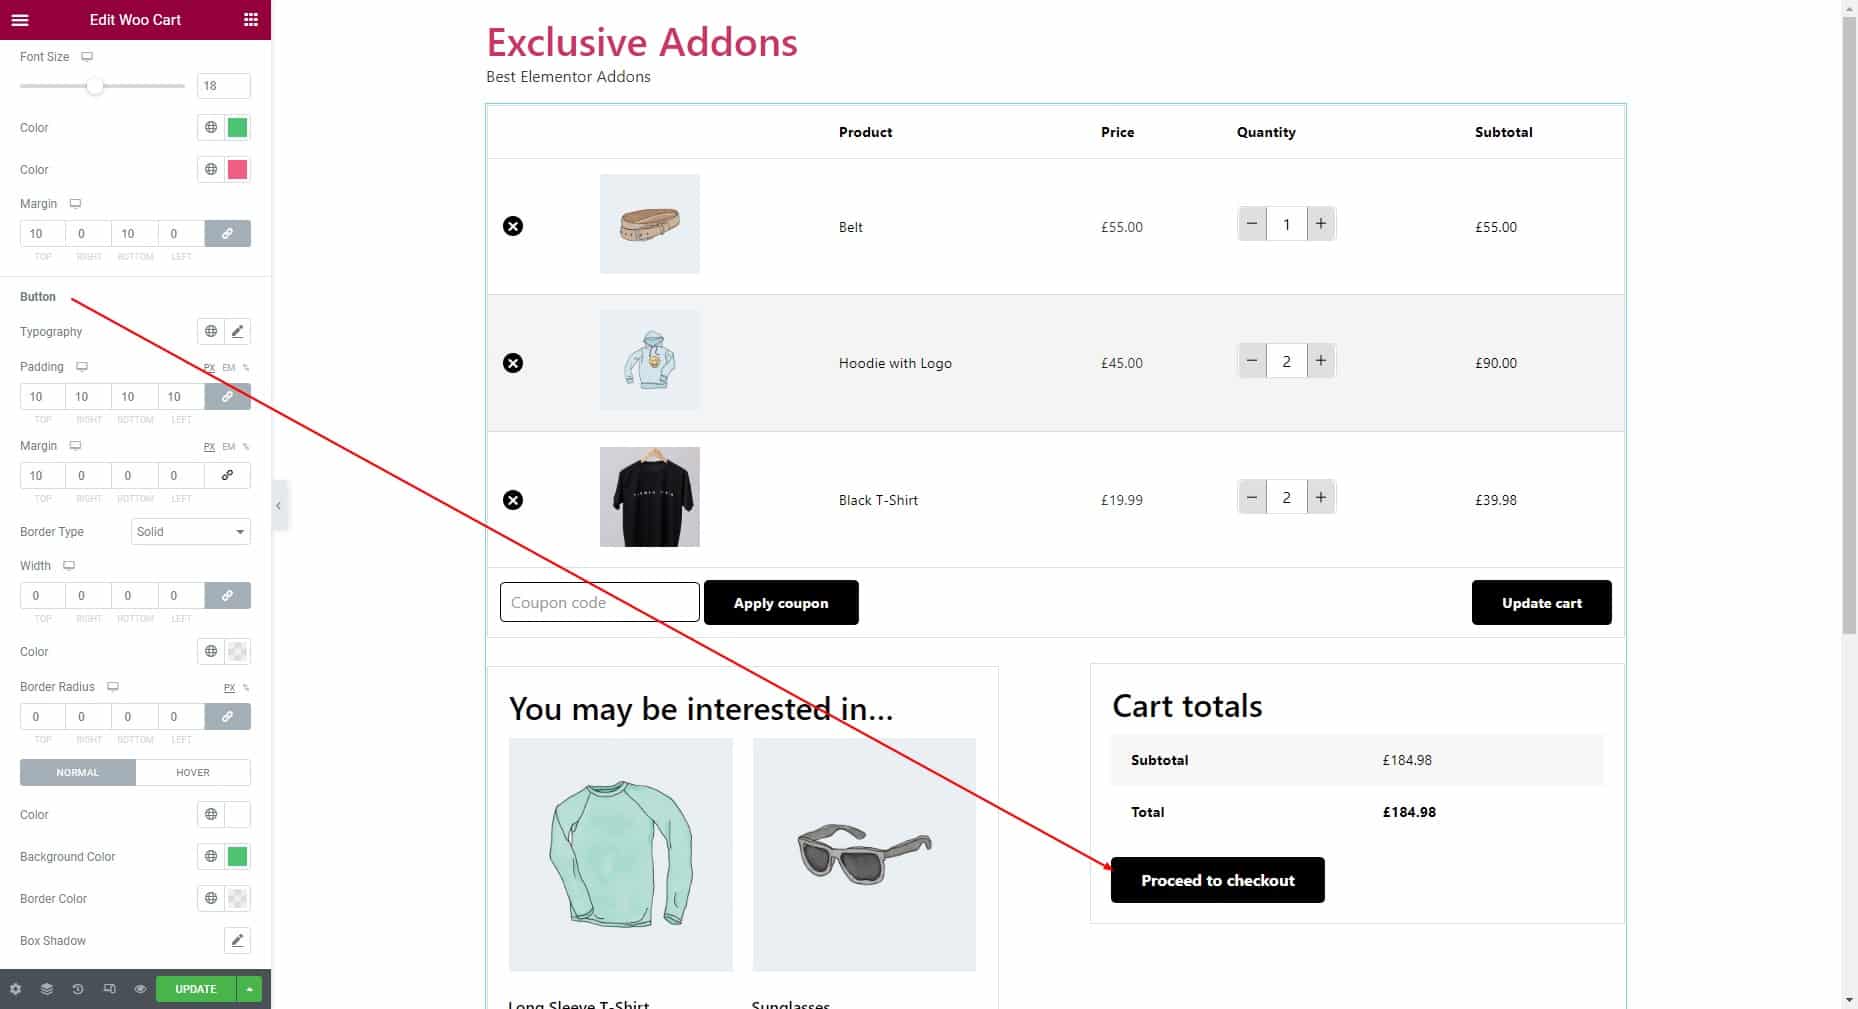
Rating: Adjust the font size, colors, and margin.
Button: Set typography, padding, margin, border type, border width, border color, and border radius. Then choose individual text color, background color, and border color for “Normal” and “Hover” states.
STEP 4:
Finally, click on the Update button to finalize the changes you made.