How to configure and style Elementor Table Widget
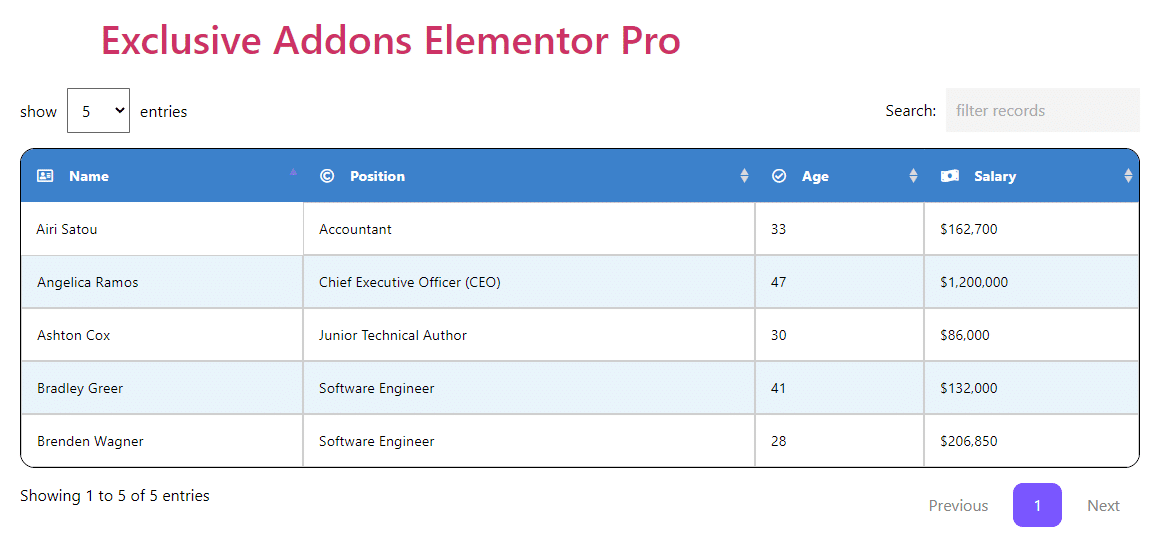
The best possible way to show your content in a data table on your WordPress site. Create a stylish and customizable data table using Table Widget of Exclusive Addons Elementor.
STEP 1:
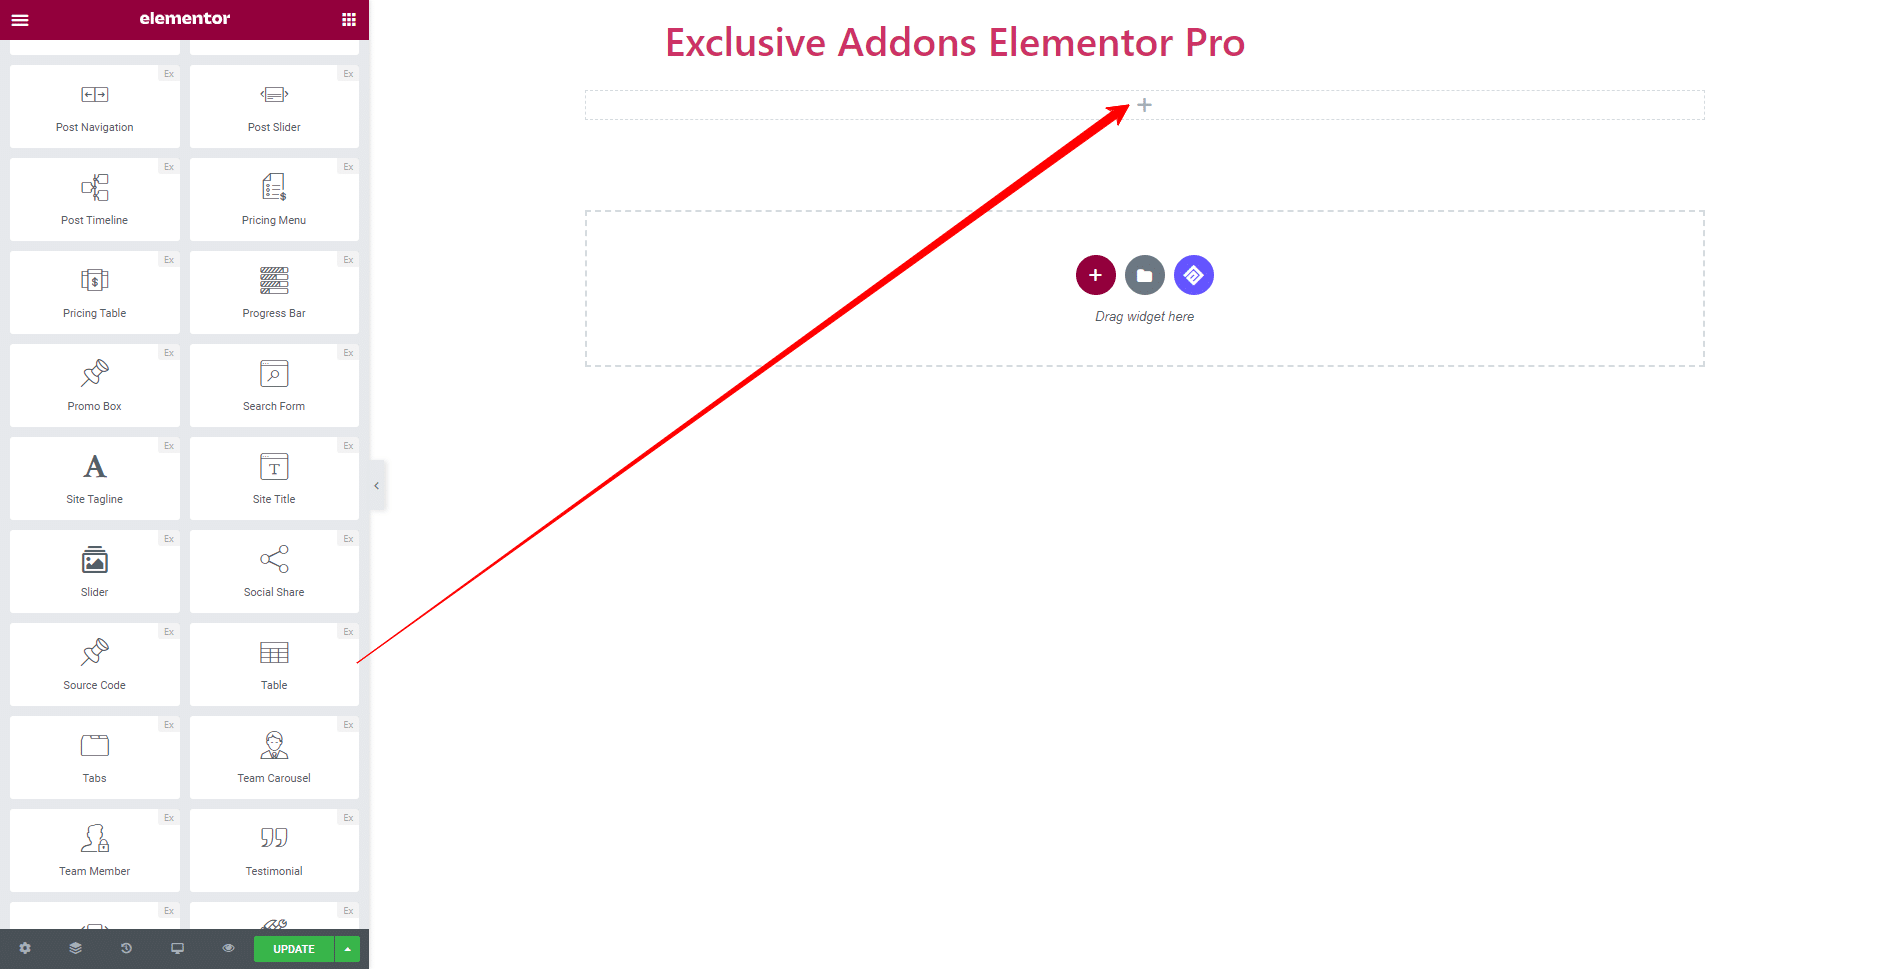
Select the ‘Table Widget‘ from Elementor panel. Then drag and drop it in the selected area.
STEP 2:
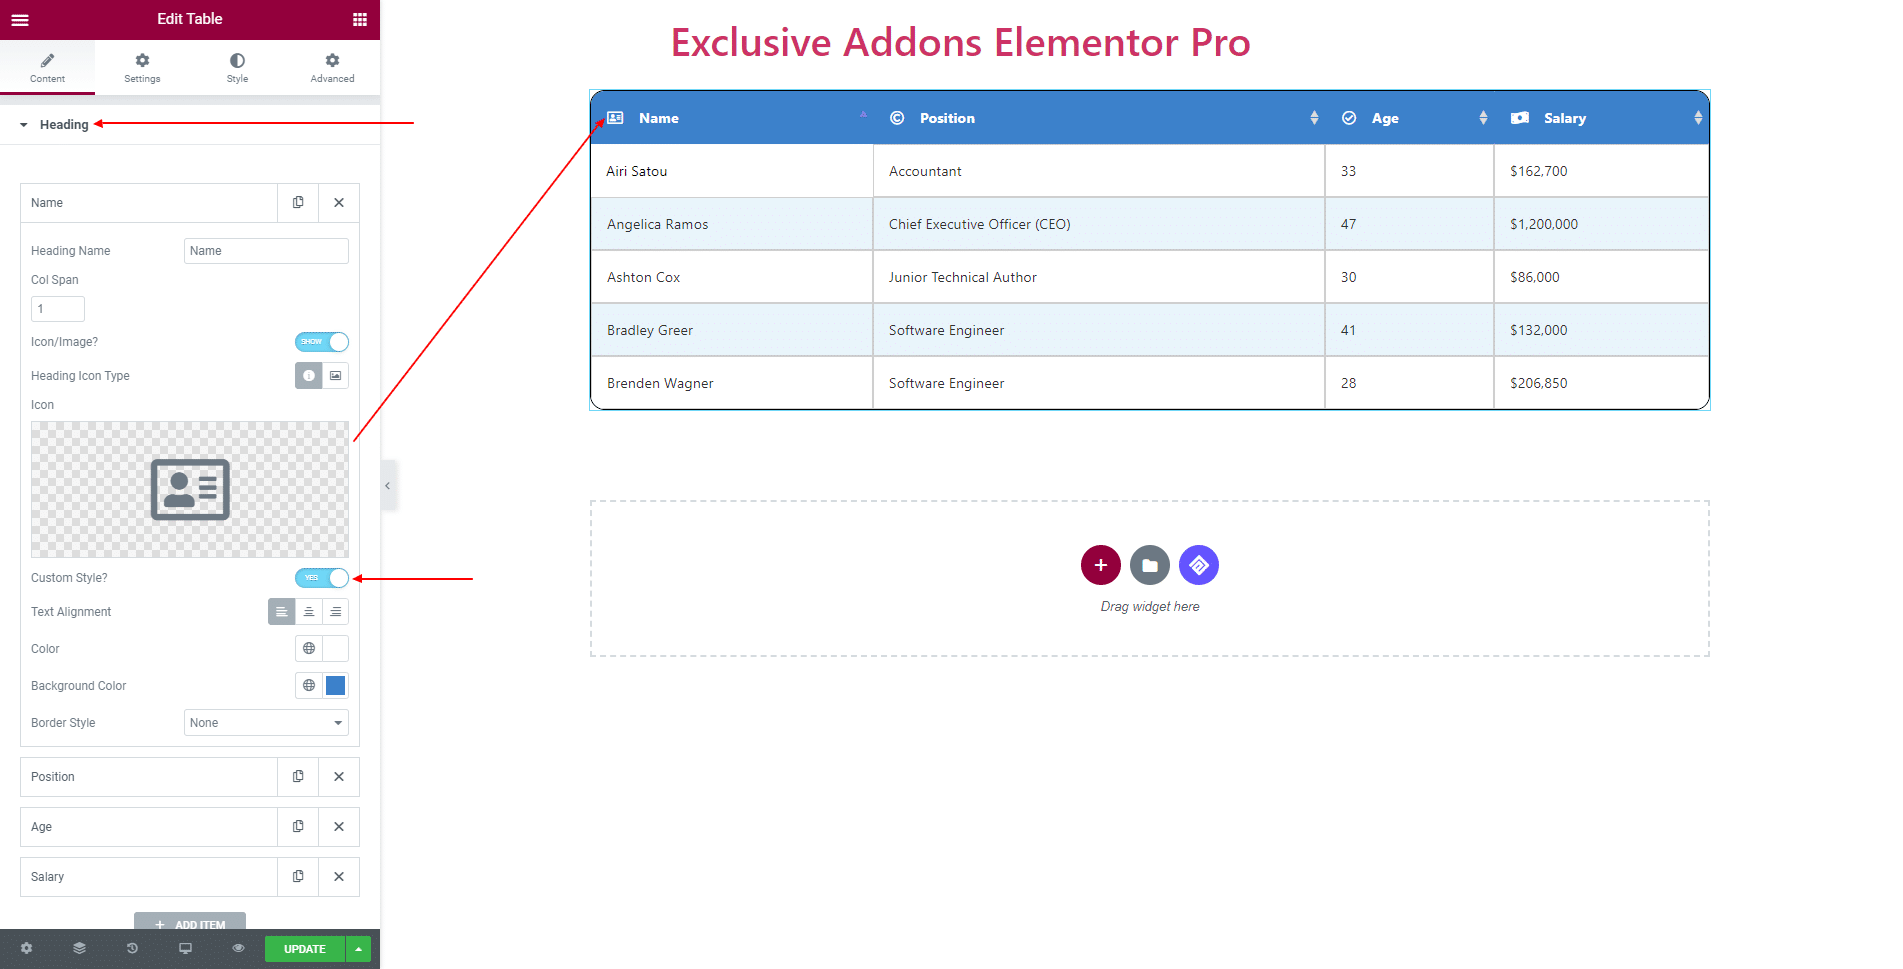
Content tab allows you to configure Heading and Body section of the Table.
2.1 In Heading section, you can set individual Heading Name, Col Span, ‘Show’ or ‘Hide’ Icon/Image, select Heading Icon Type, and set the Icon or Image.
Also can enable Custom Style and change Text Alignment, Color, Background Color, Border Style.
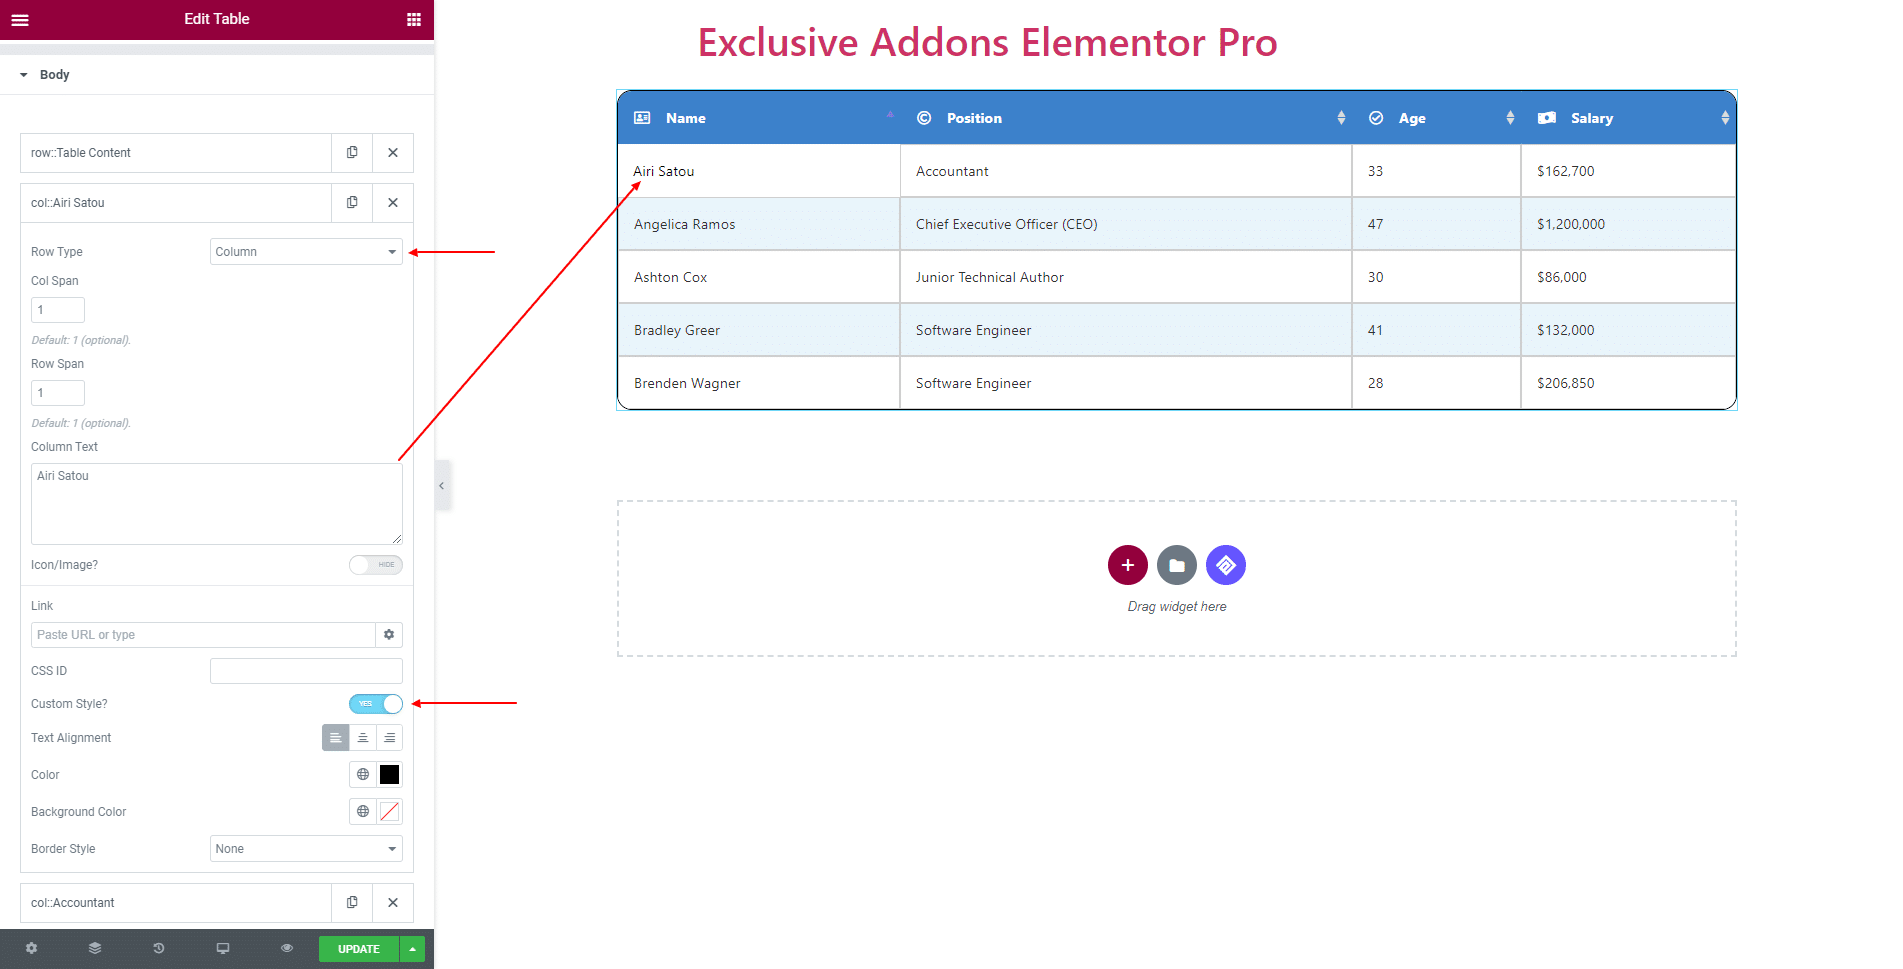
2.2 In Body section, add a number of rows and columns by clicking ‘Add ITEM‘ or delete one with the ‘Cross‘ button.
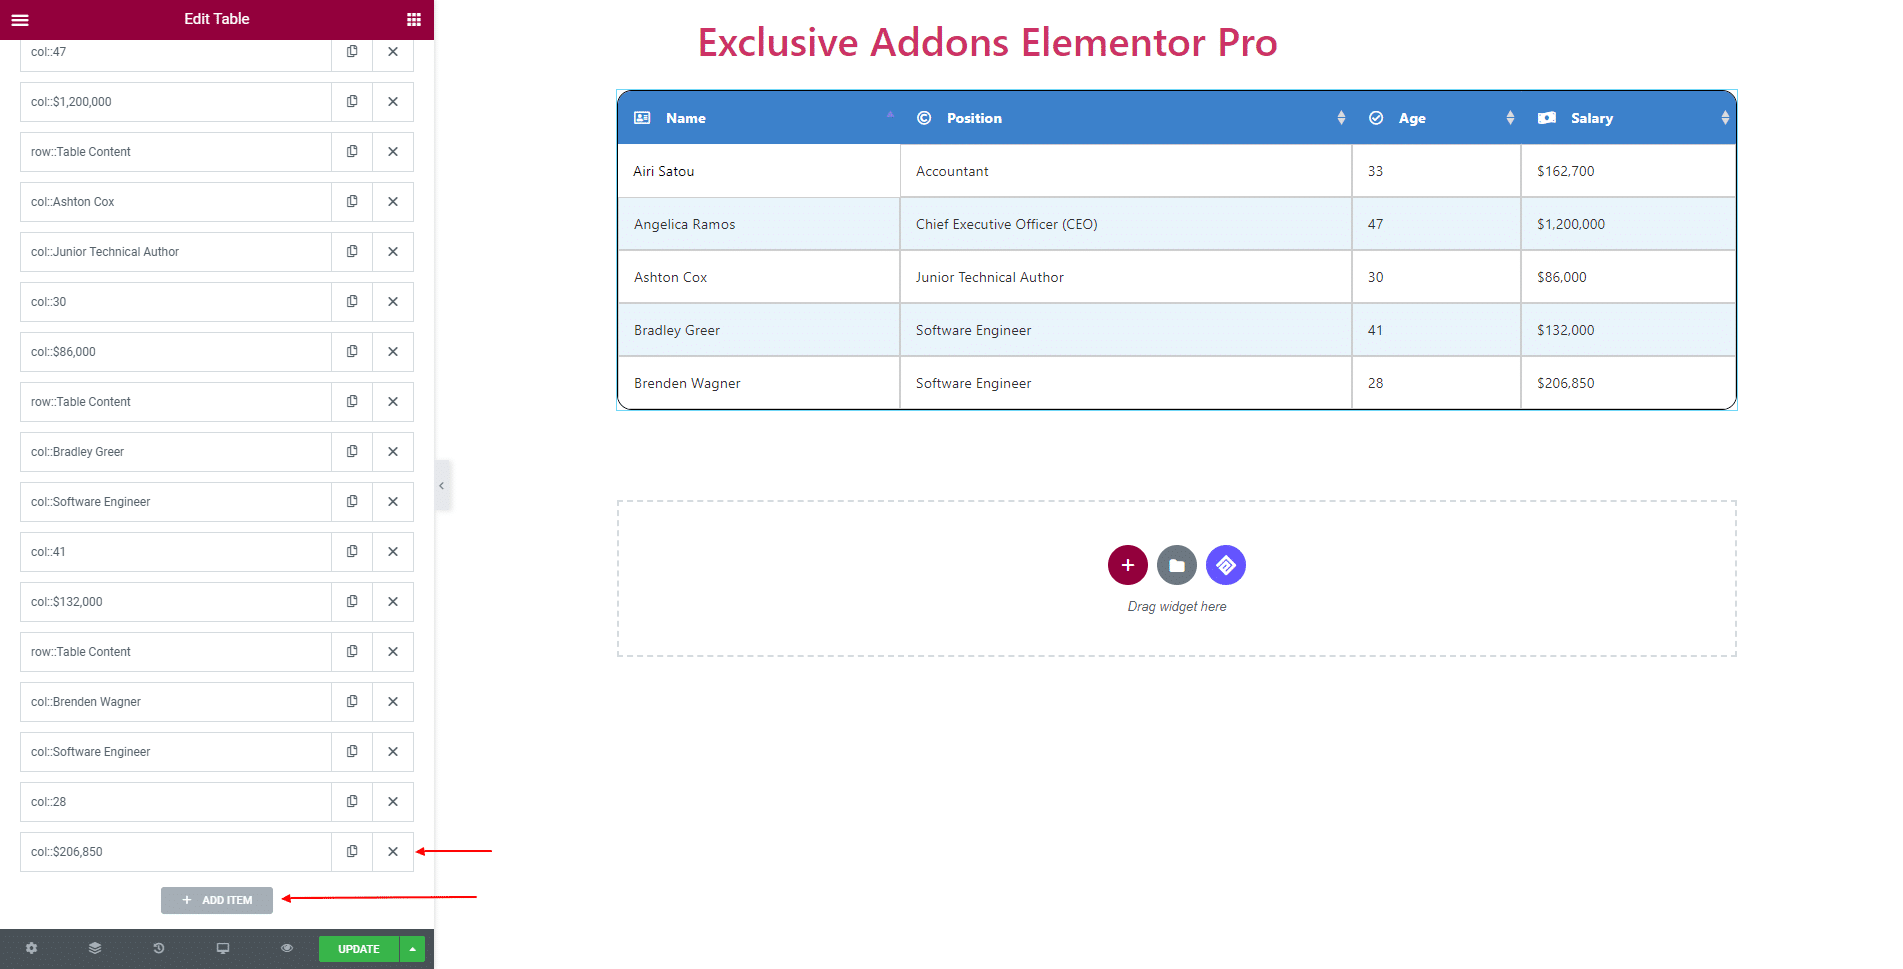
For each item, you can select Row Type to ‘Row‘ or ‘Column‘. In terms of ‘Column’ set Column Span, Row Span, Column Text, Link, and CSS ID.
Also can ‘Show’ or ‘Hide’ Icon/Image and enable Custom Style.
STEP 3:
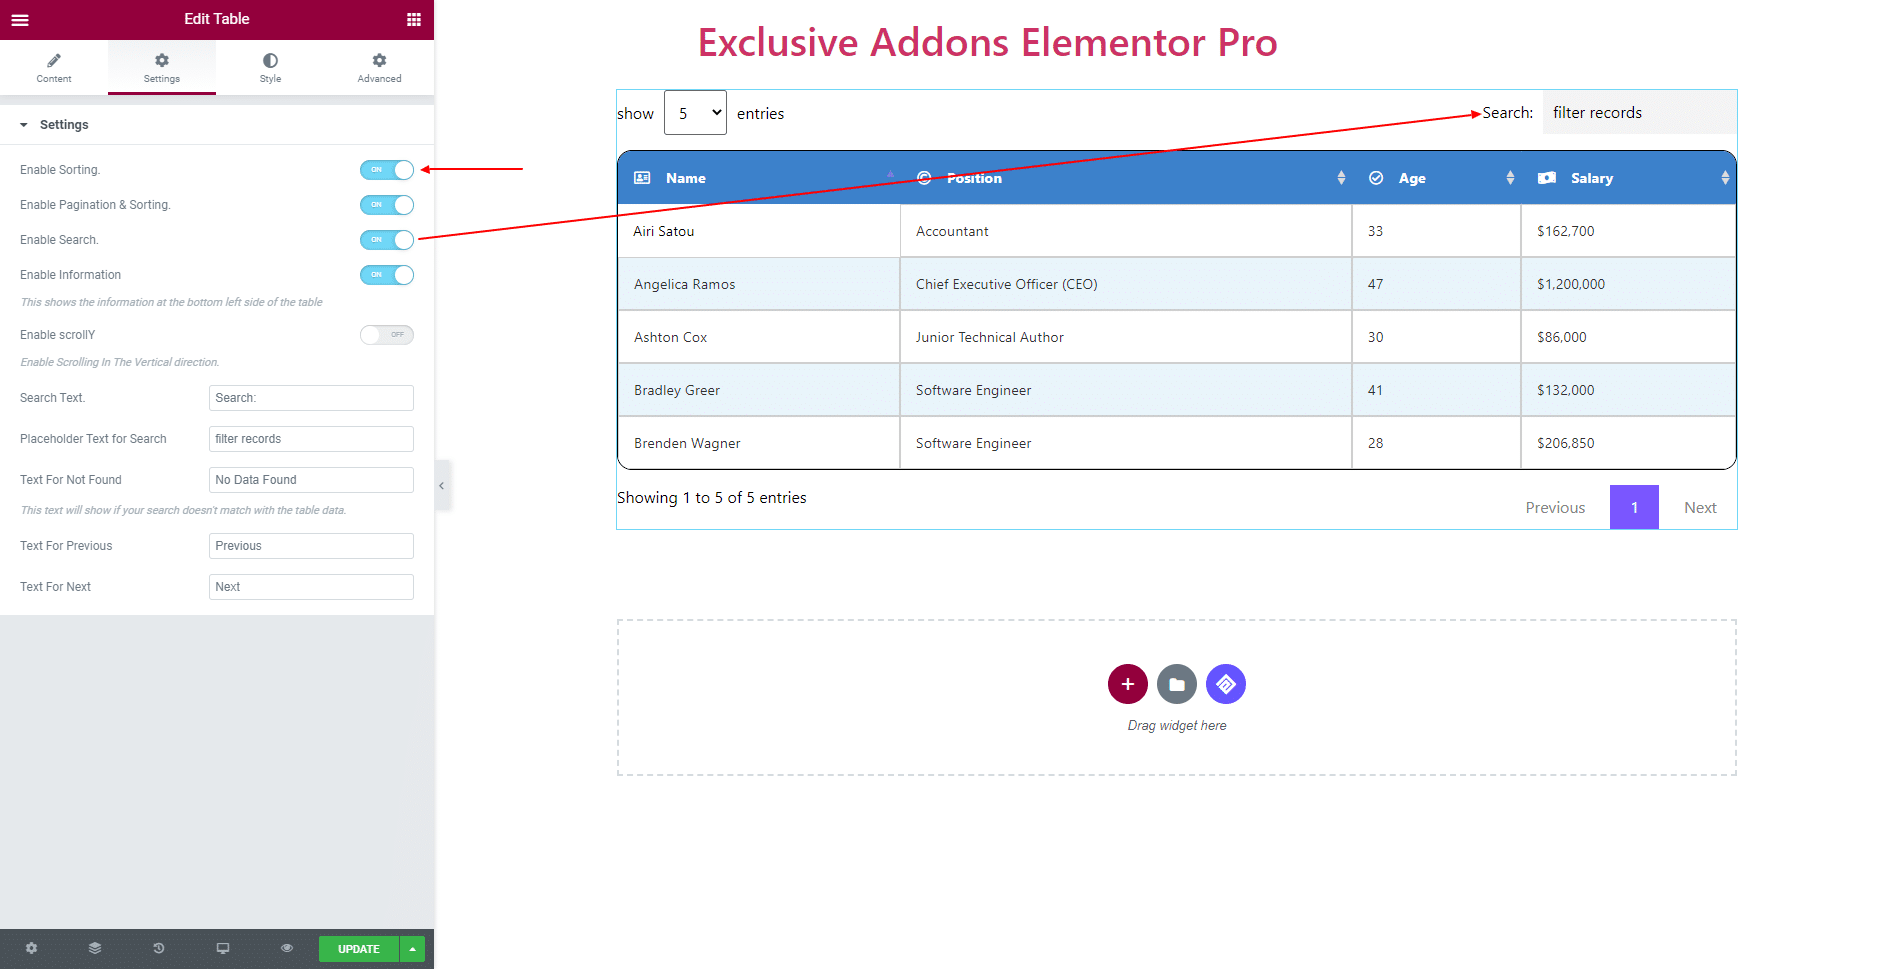
In the Setting tab, you can enable the following features: Sorting, Pagination & Sorting, Search, Information, and ScrollY.
If enabled, you get to set Search Text, Placeholder Text for Search, Text For Not Found, Text for Previous, and Text For Next.
STEP 4:
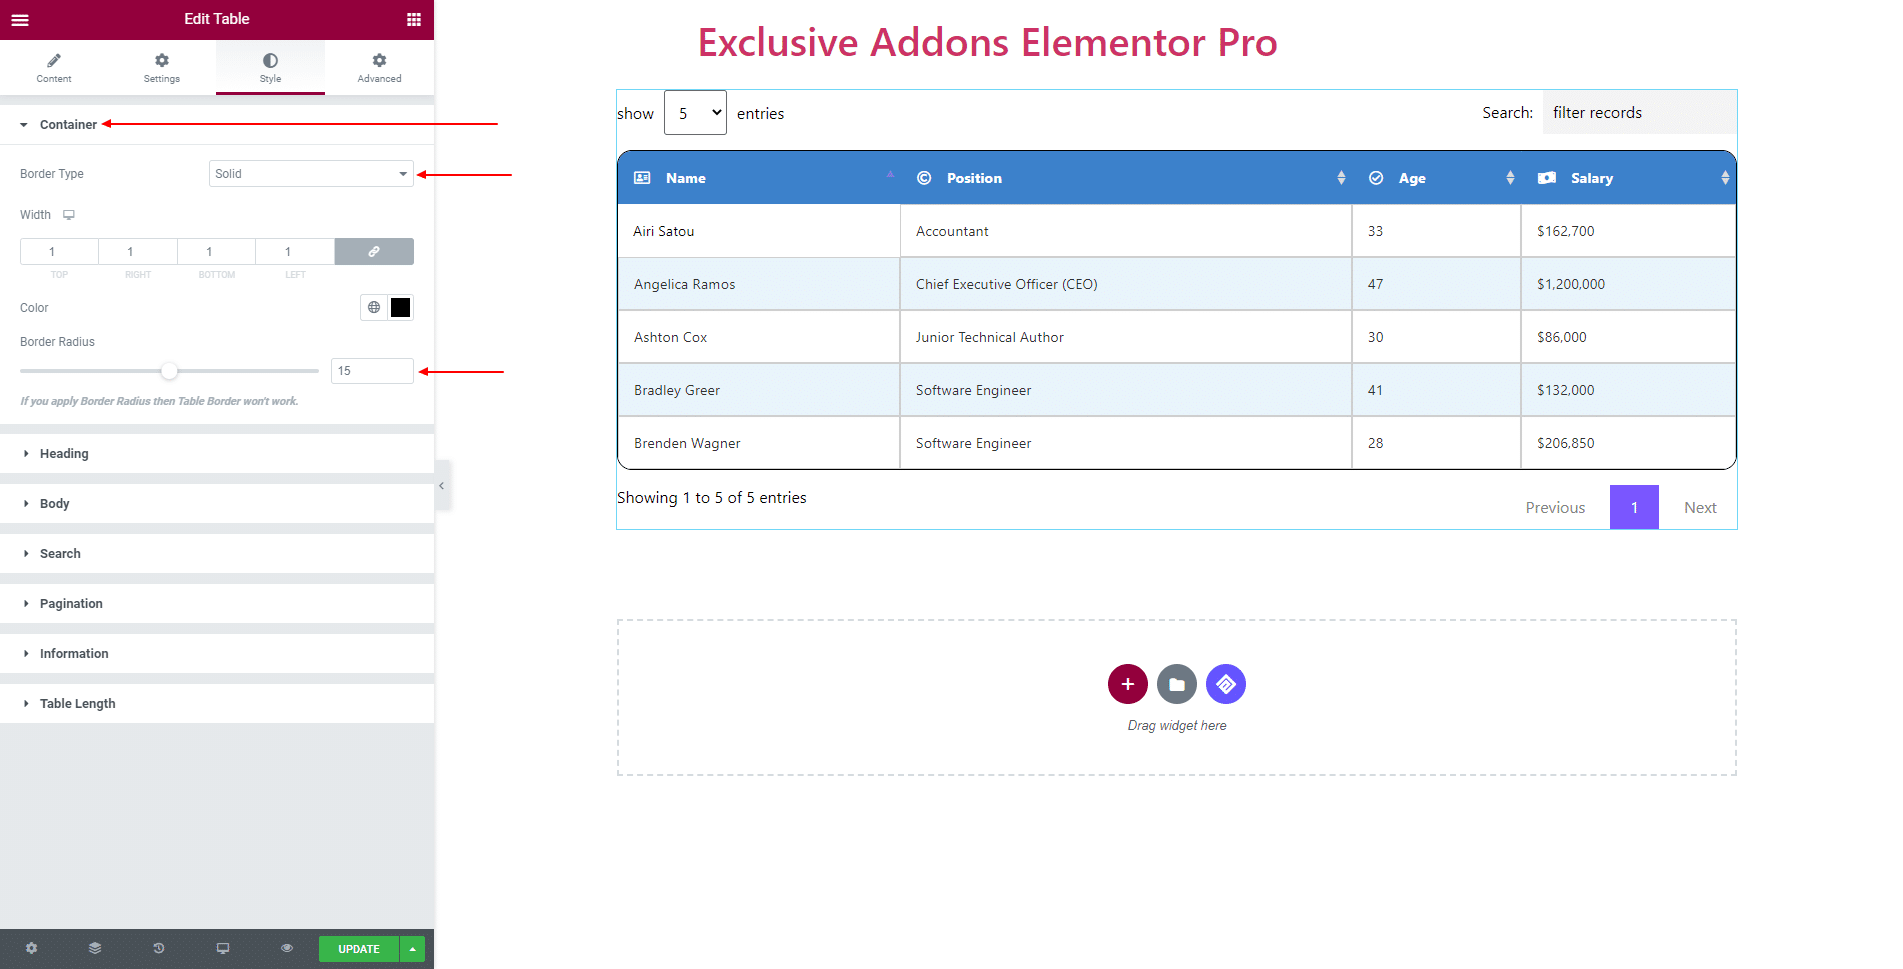
Style tab allows you to customize Container, Heading, Body, Search, Pagination, Information, and Table Length.
4.1 In Container section, select Border Type, Border Color, and Border Radius.
4.2 In Heading section, change the Typography, Text Alignment, Padding, Border Radius, and use different Color, Background Color, Border Type for both ‘Normal’ and ‘Hover’ state. Also, set properties Icon/Image.

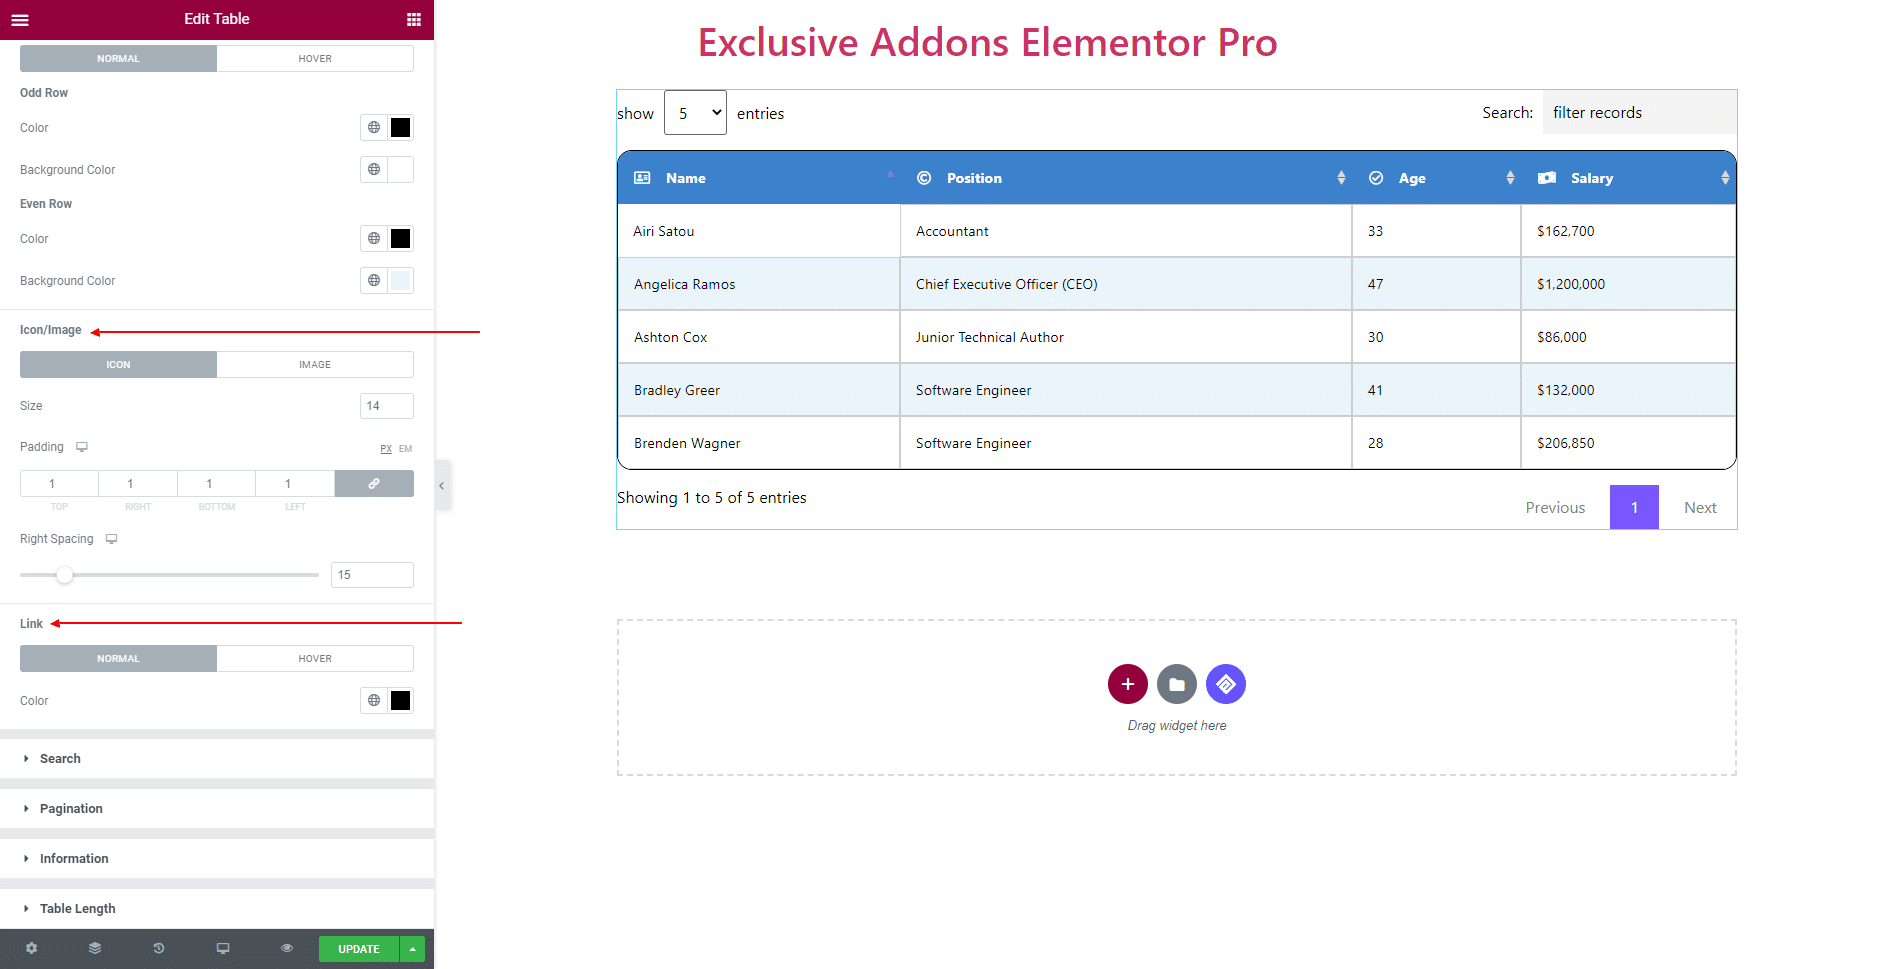
4.3 In Body section, choose Typography, Text Alignment, Padding, and Border Type.
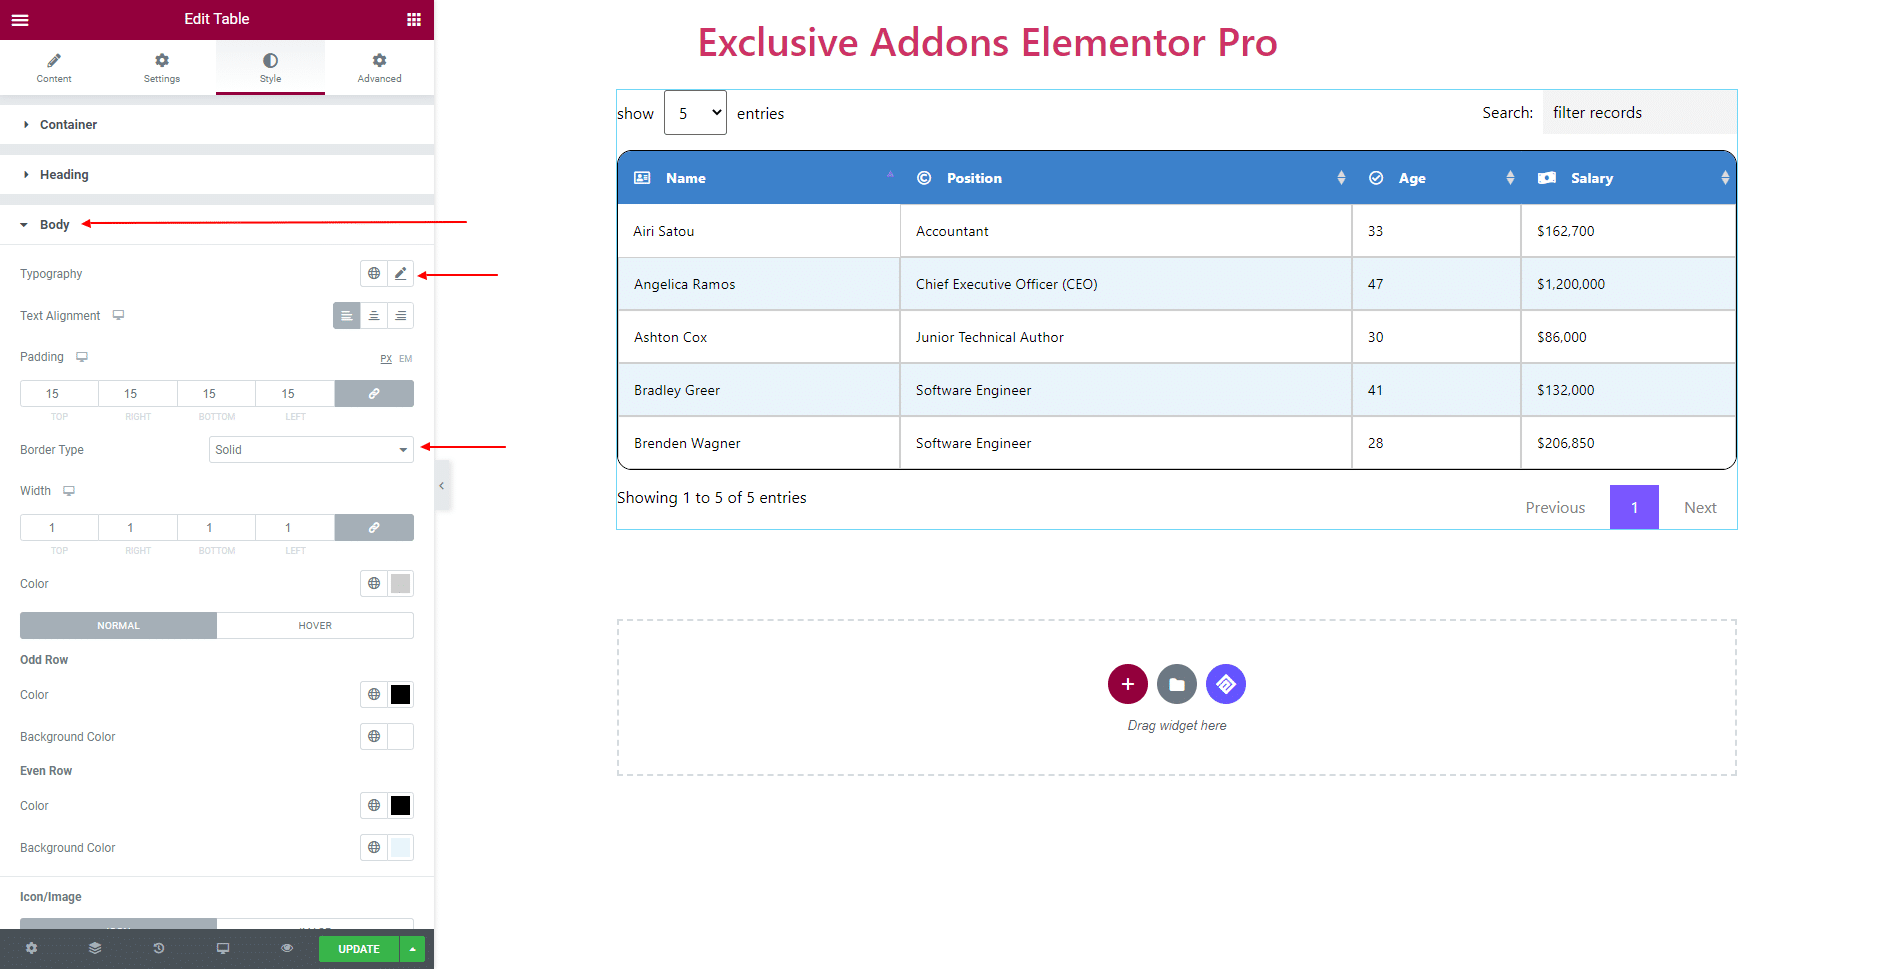
Use different ‘Odd Row‘ and ‘Even Row‘ Color and Background Color for ‘Normal’ and ‘Hover’ state.
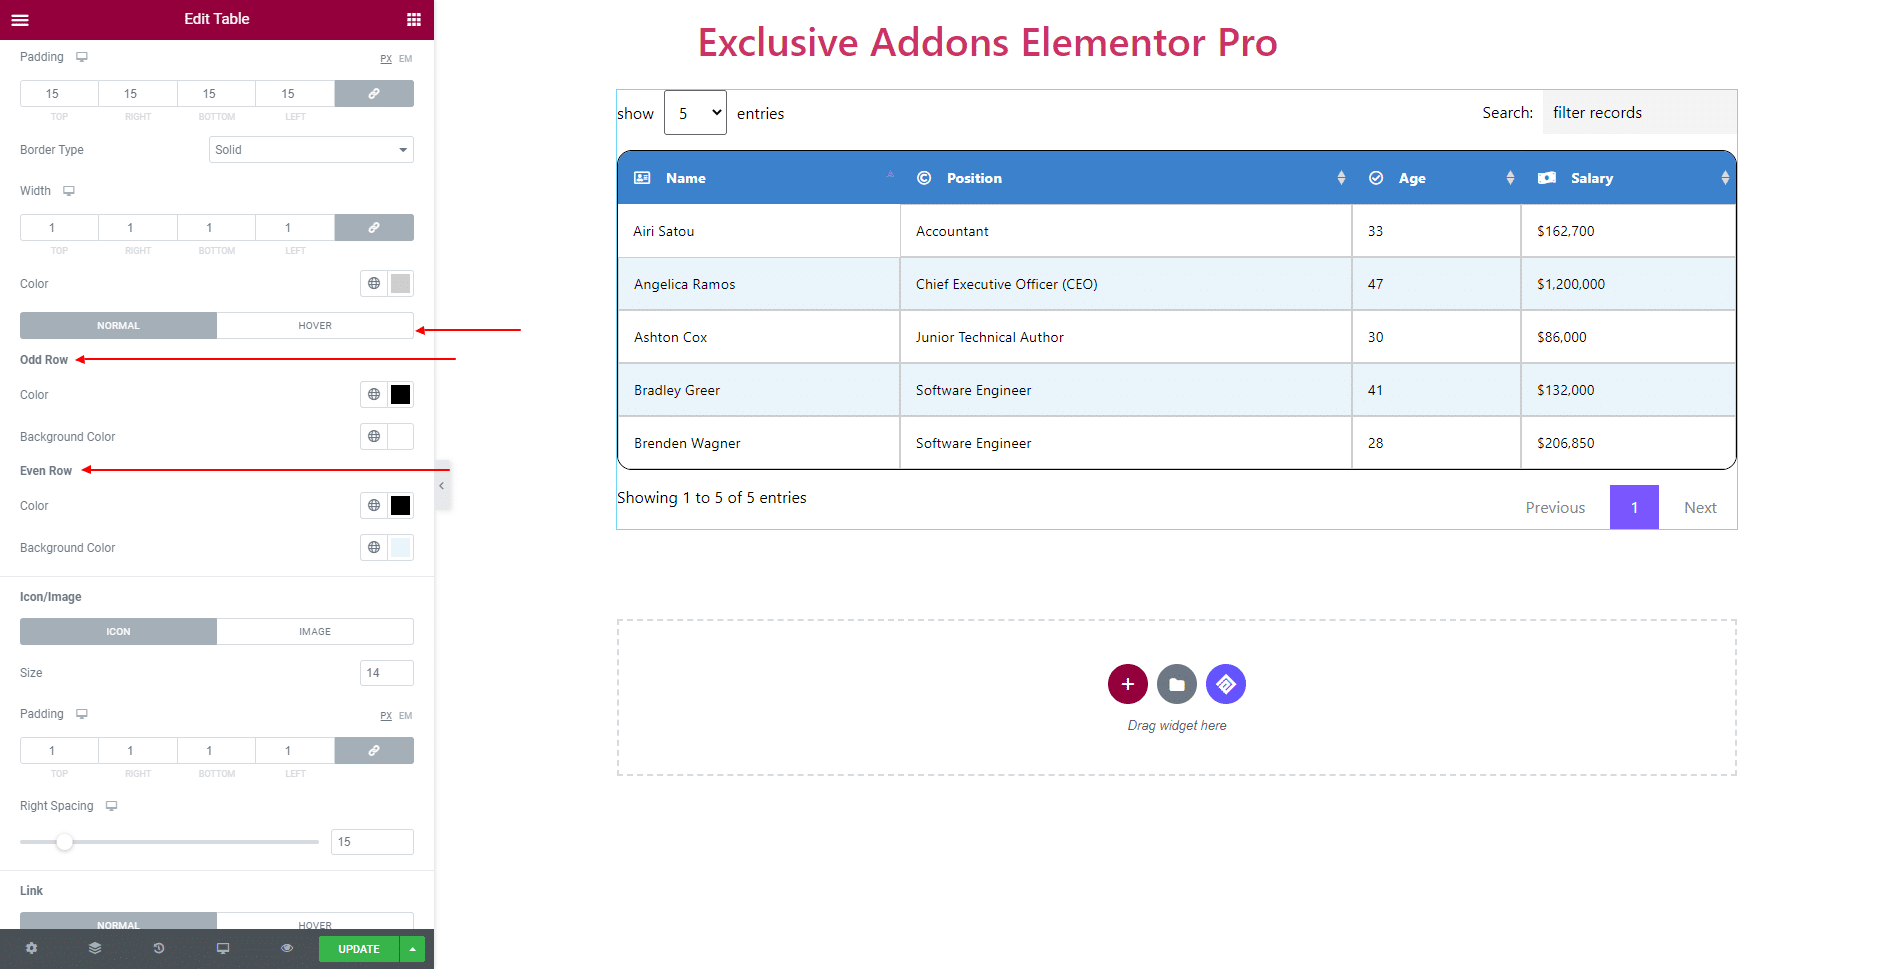
For Icon/Image set the attributes by changing Size, Padding, Right Spacing, and so on. You can use different colors for ‘Normal’ and ‘Hover’ state.
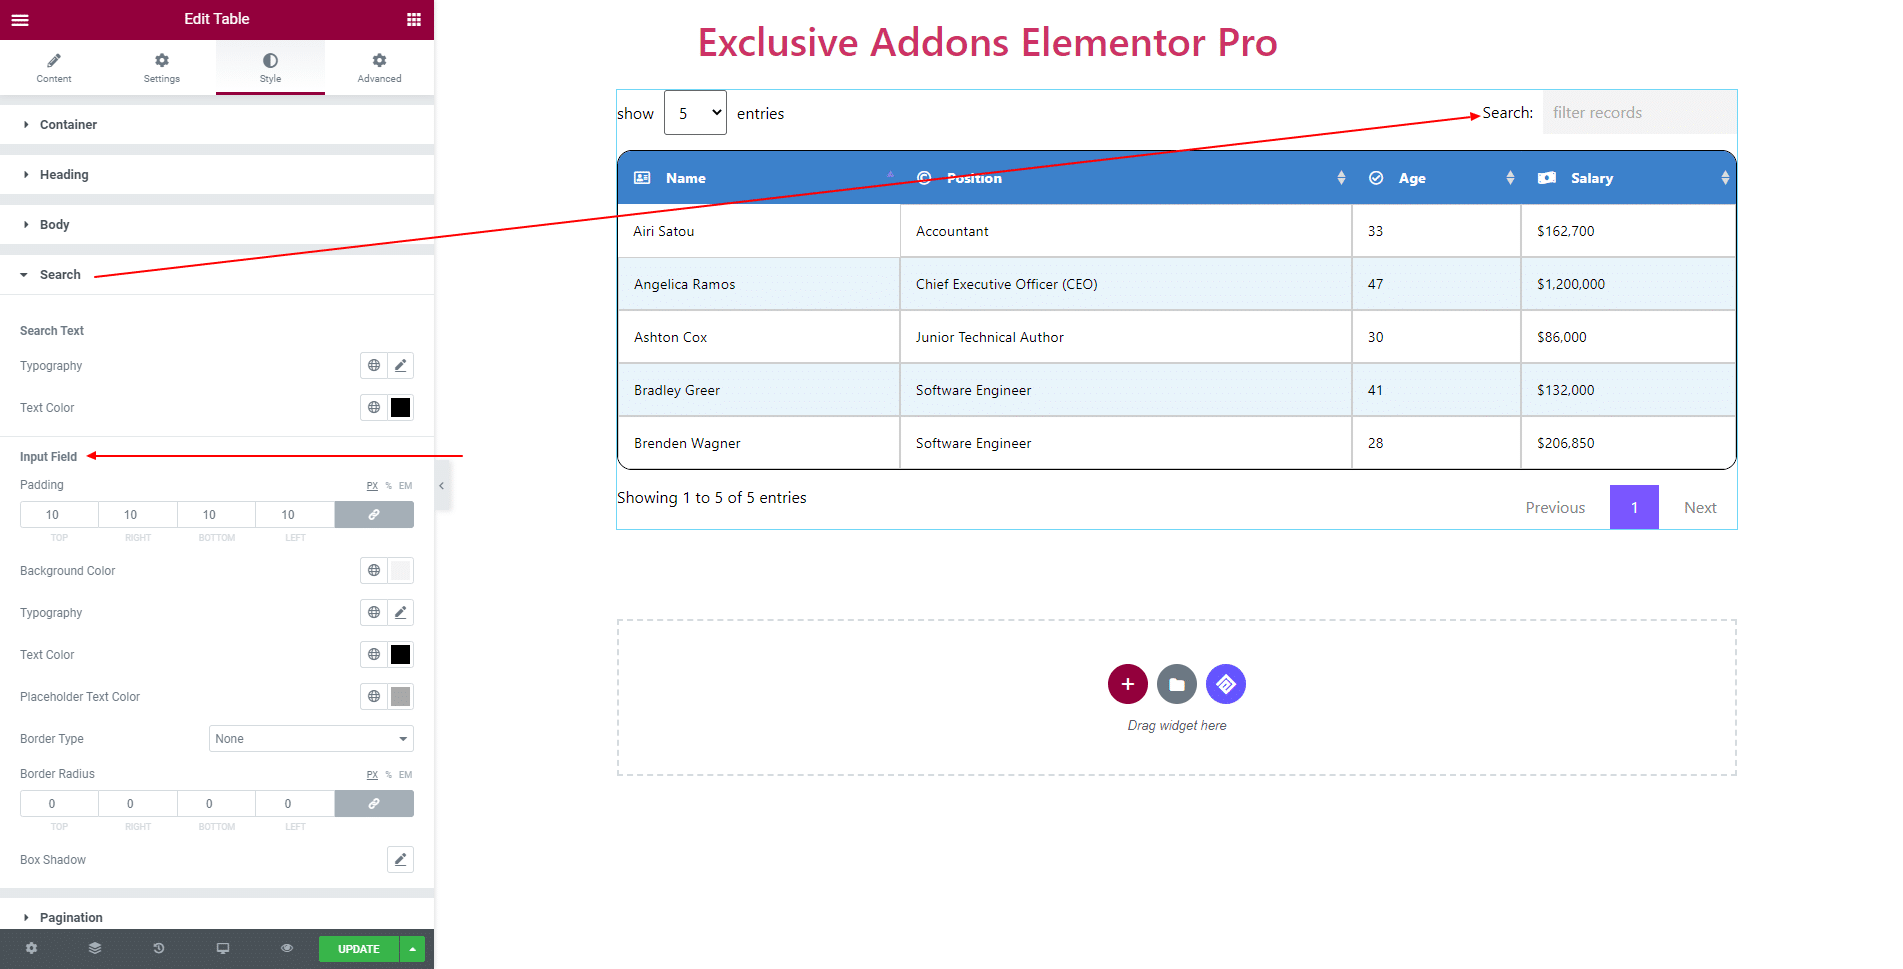
4.4 In Search section, choose Typography and Text Color for ‘Search Text’. Set Padding, Background Color, Typography, Text Color, Placeholder Text Color, Border Type, and Border Radius for ‘Input Field’.
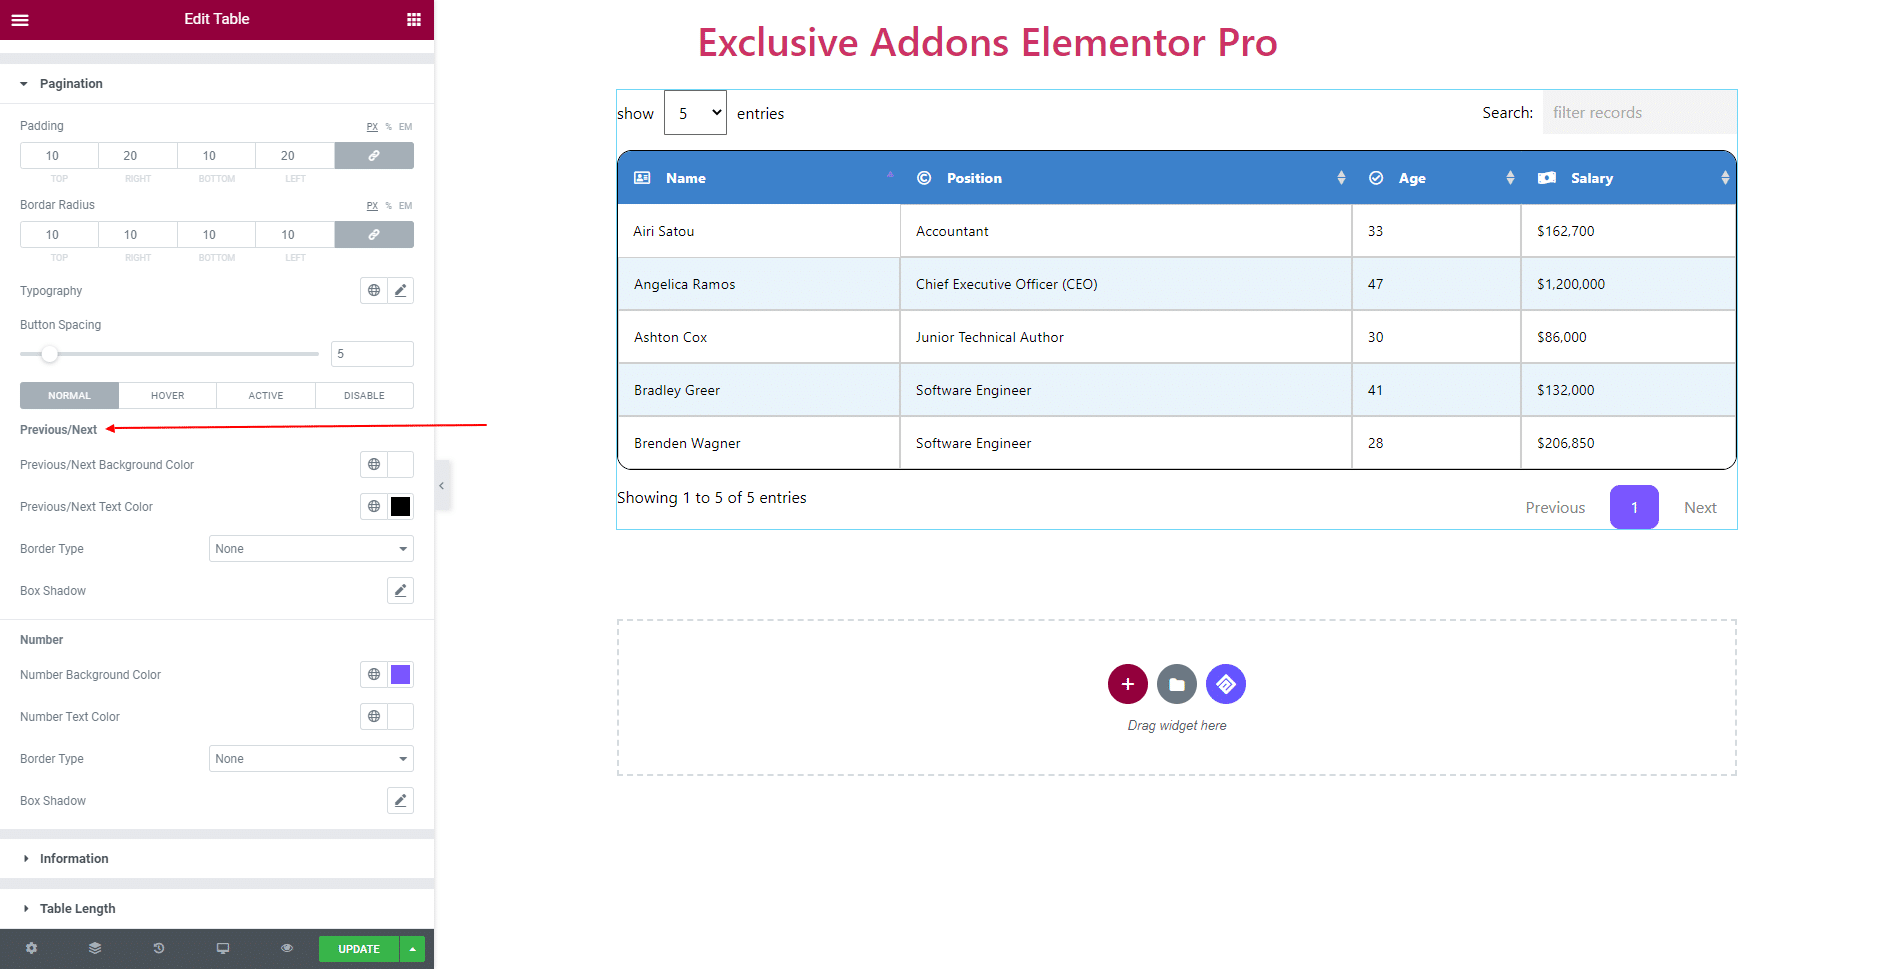
4.5 For Pagination section, you can it’s Padding, Border Radius, Typography, Button Spacing.
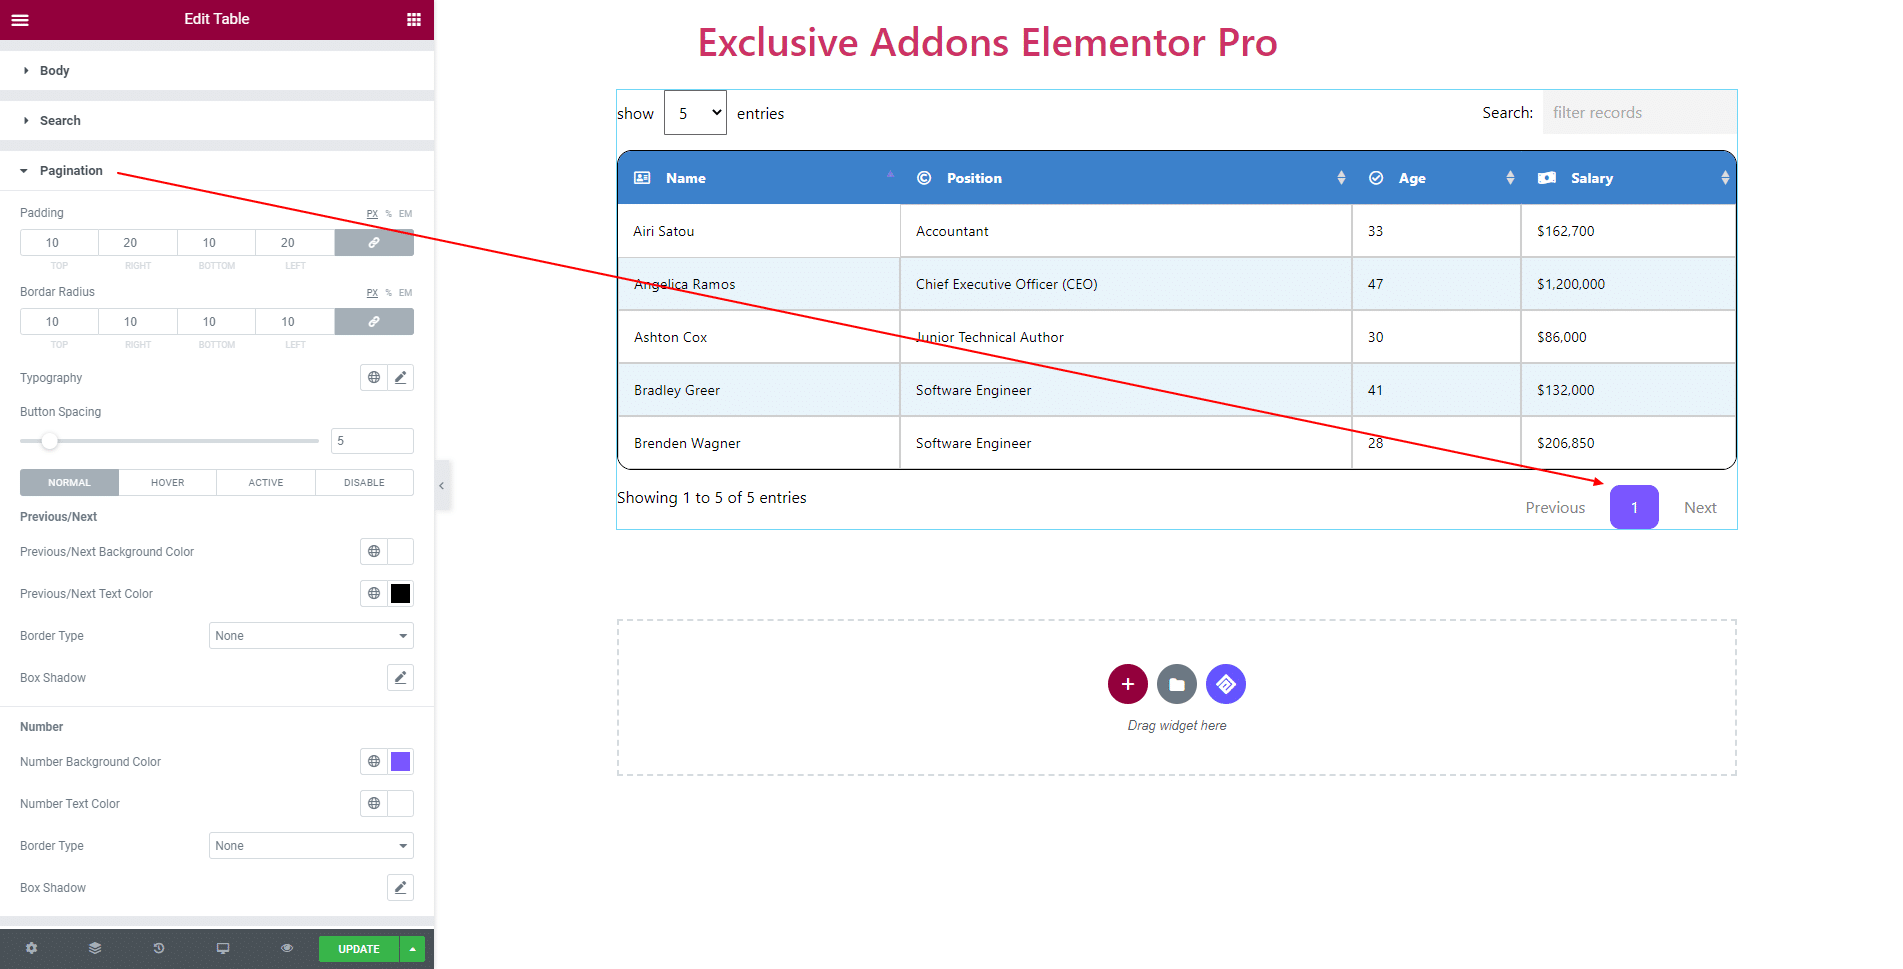
You can choose Number Background, Text Color, Border Type, and Box Shadow for ‘Number’.
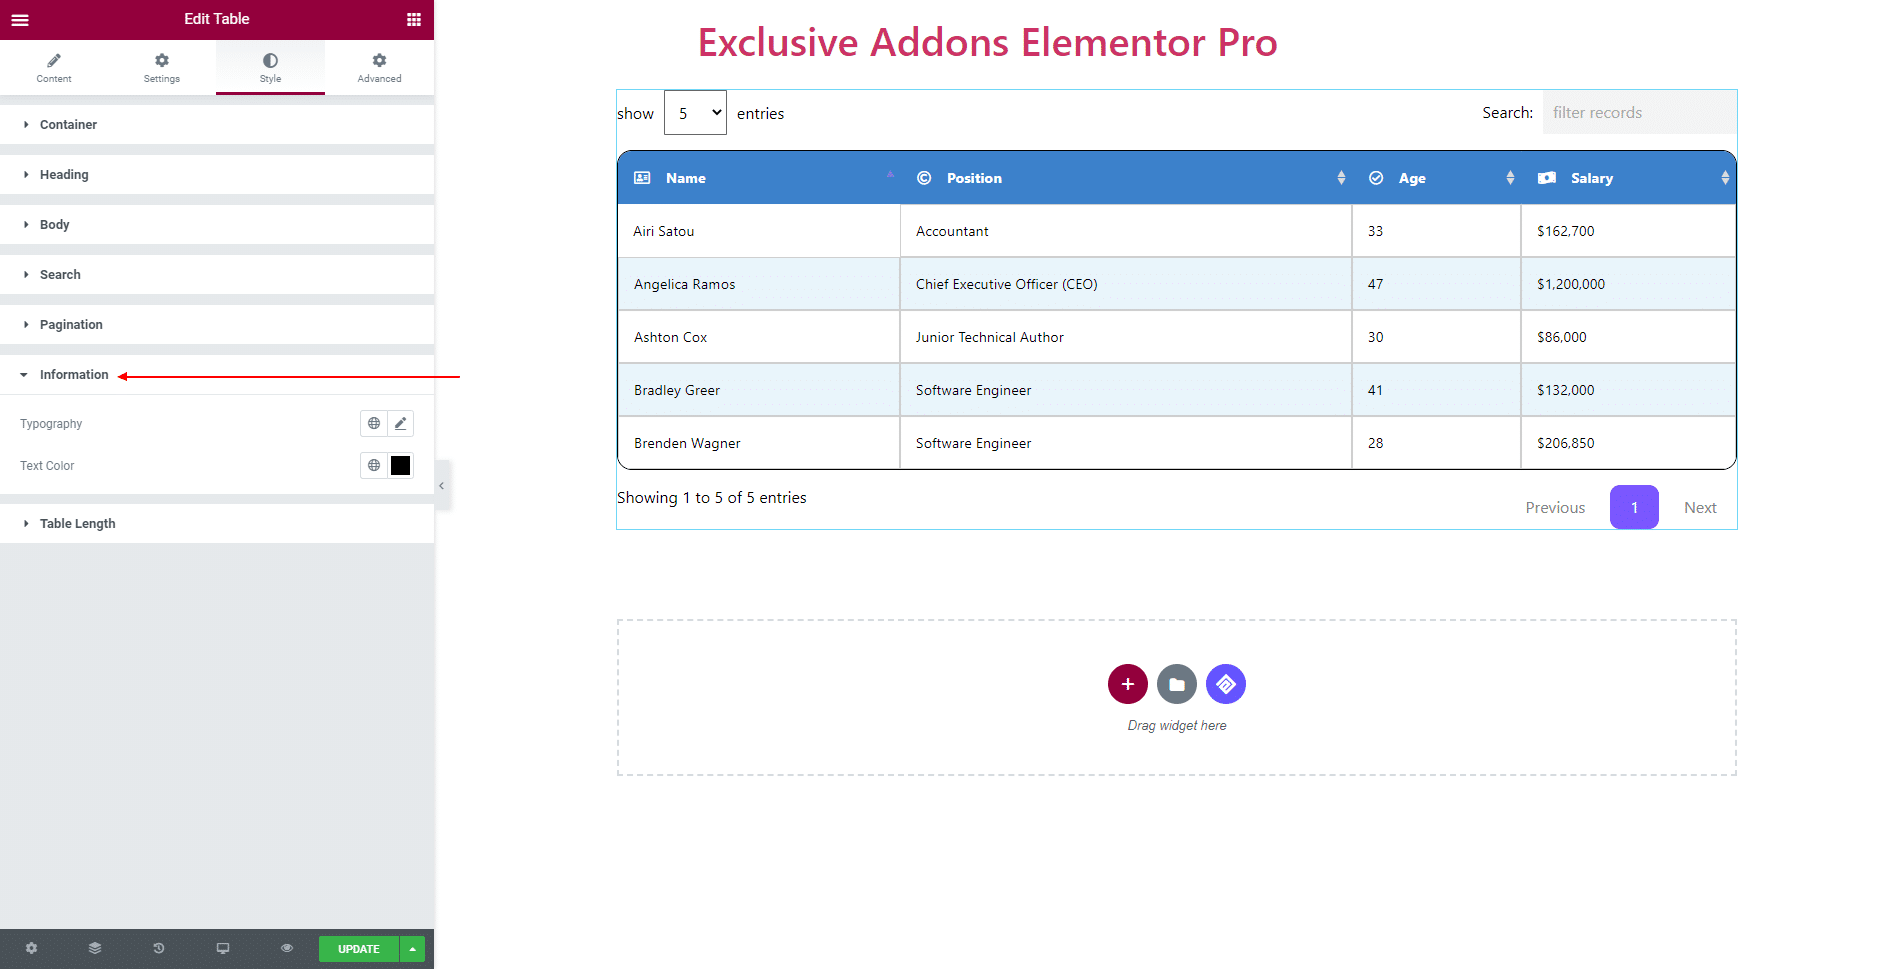
4.6 For Information section, you can set its Typography and Text Color.
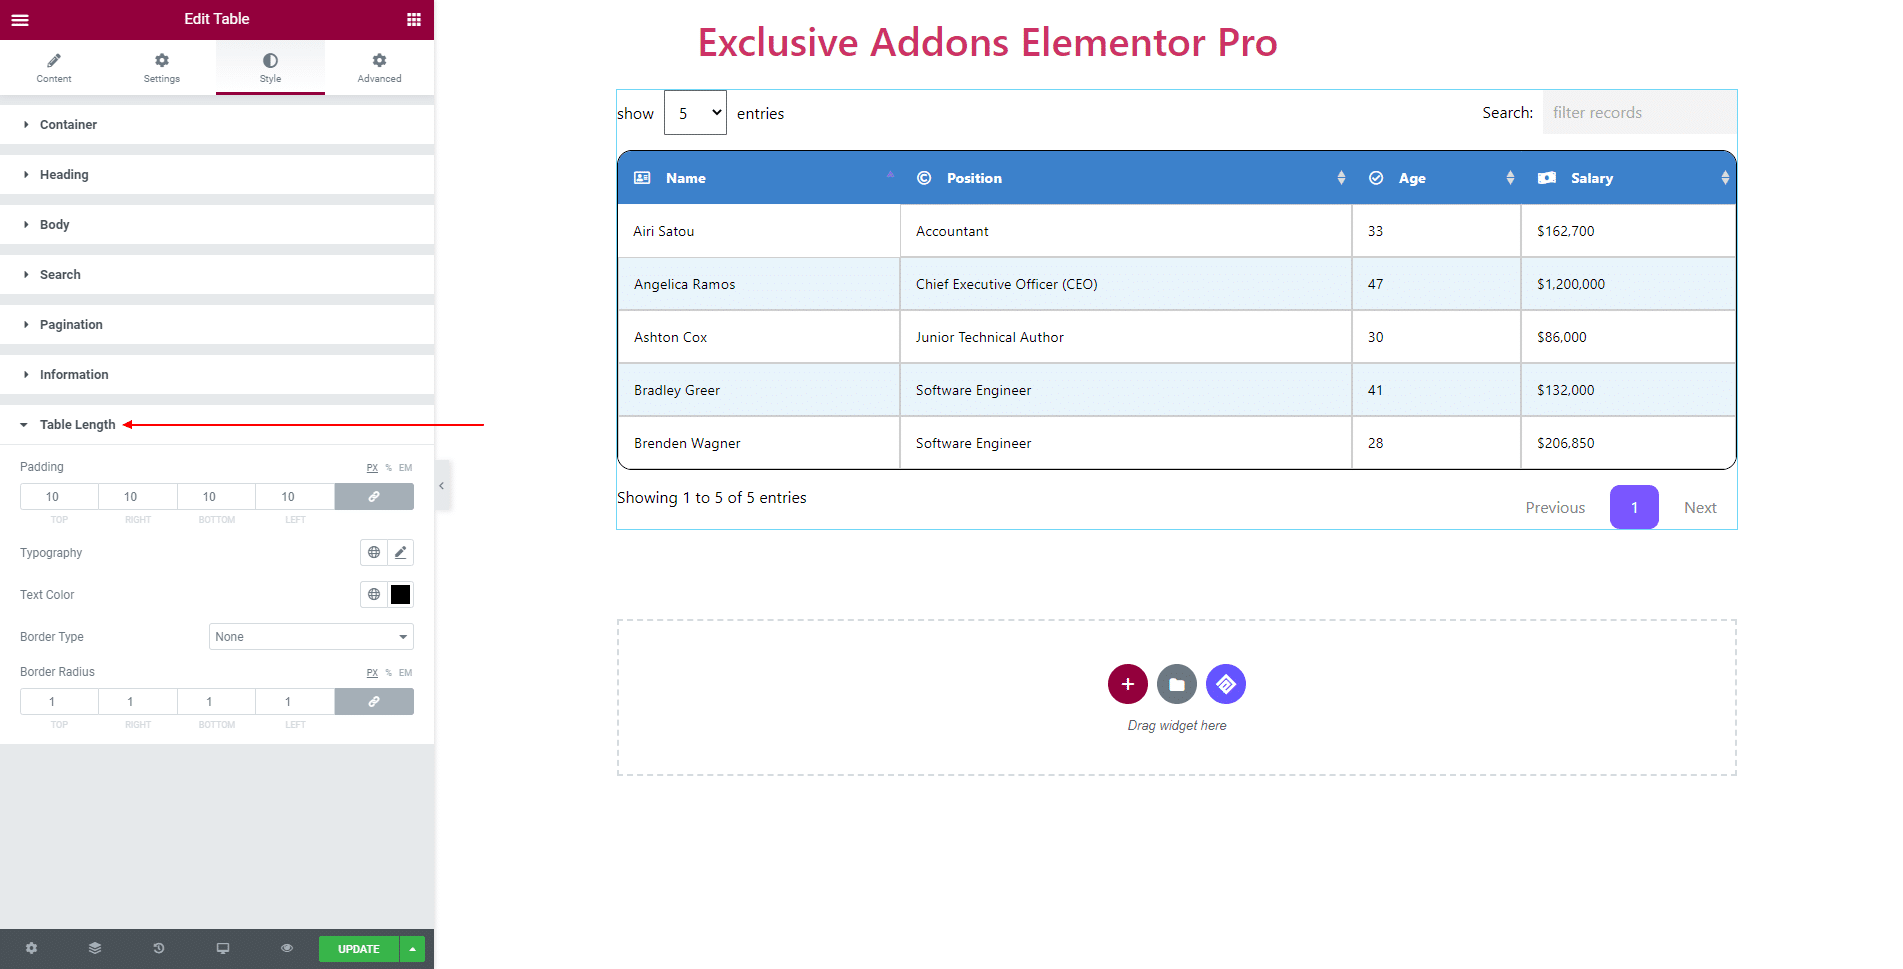
4.7 In terms of Table Length, you can change its Padding, Typography, Text Color, Border Type, and Border Radius.
STEP 5:
Finally, hit the Update button, and include a stylish Table Widget on your Wordpress site.