How to configure and style Elementor List Group Widget
Well-organized and concise content always pleases the readers. Helps them scanning information with ease.
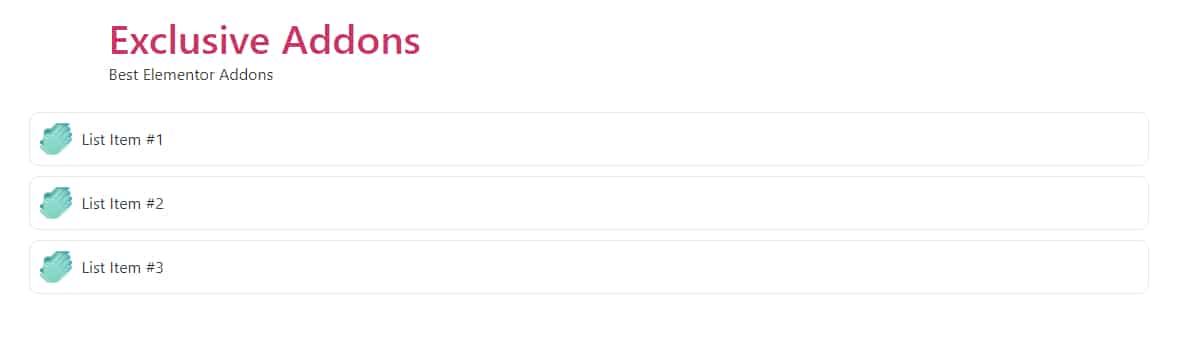
Showing your information in a formatted manner is now trouble-free. Thanks to our List Group Widget. The ultimate listing widget provides an attractive way of listing information and showing it in a trendy fashion.
Here you will find the full process of using the Exclusive Addons Elementor List Group widget.
STEP 1:
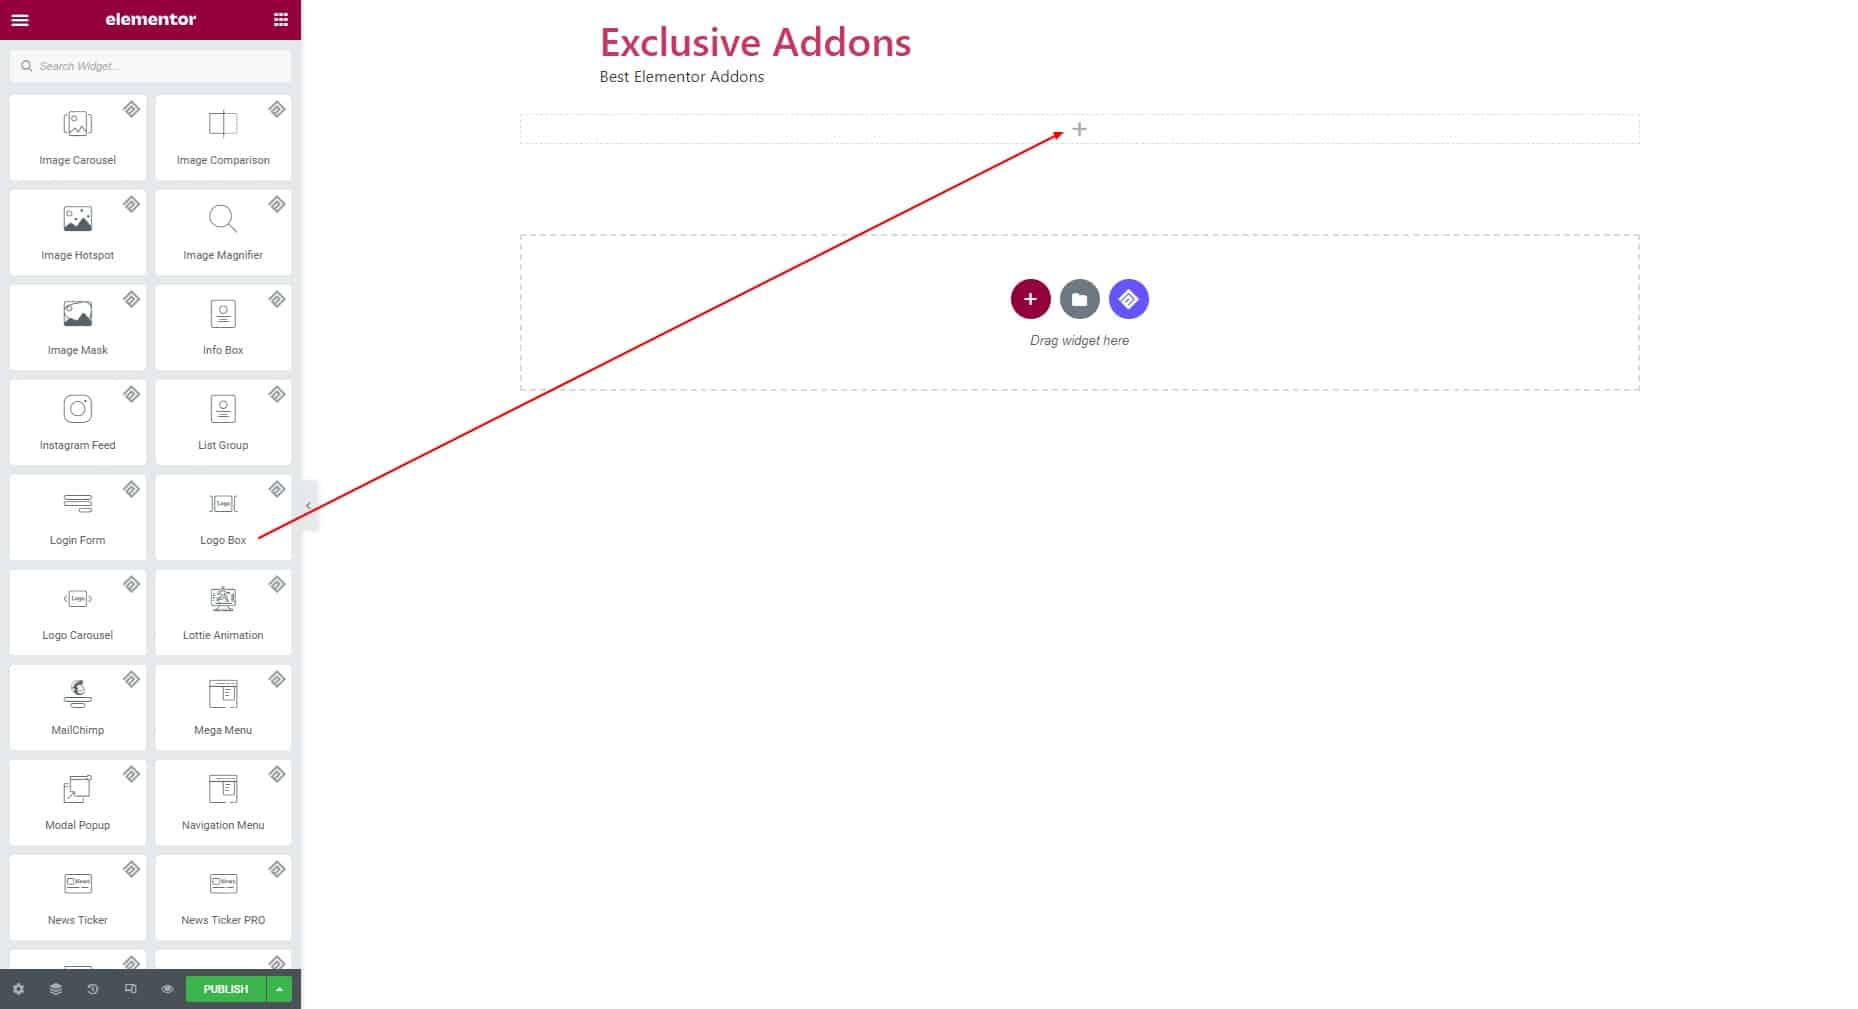
Select the List Group widget from Elementor panel. Then Drag and Drop it in the selected area.
STEP 2:
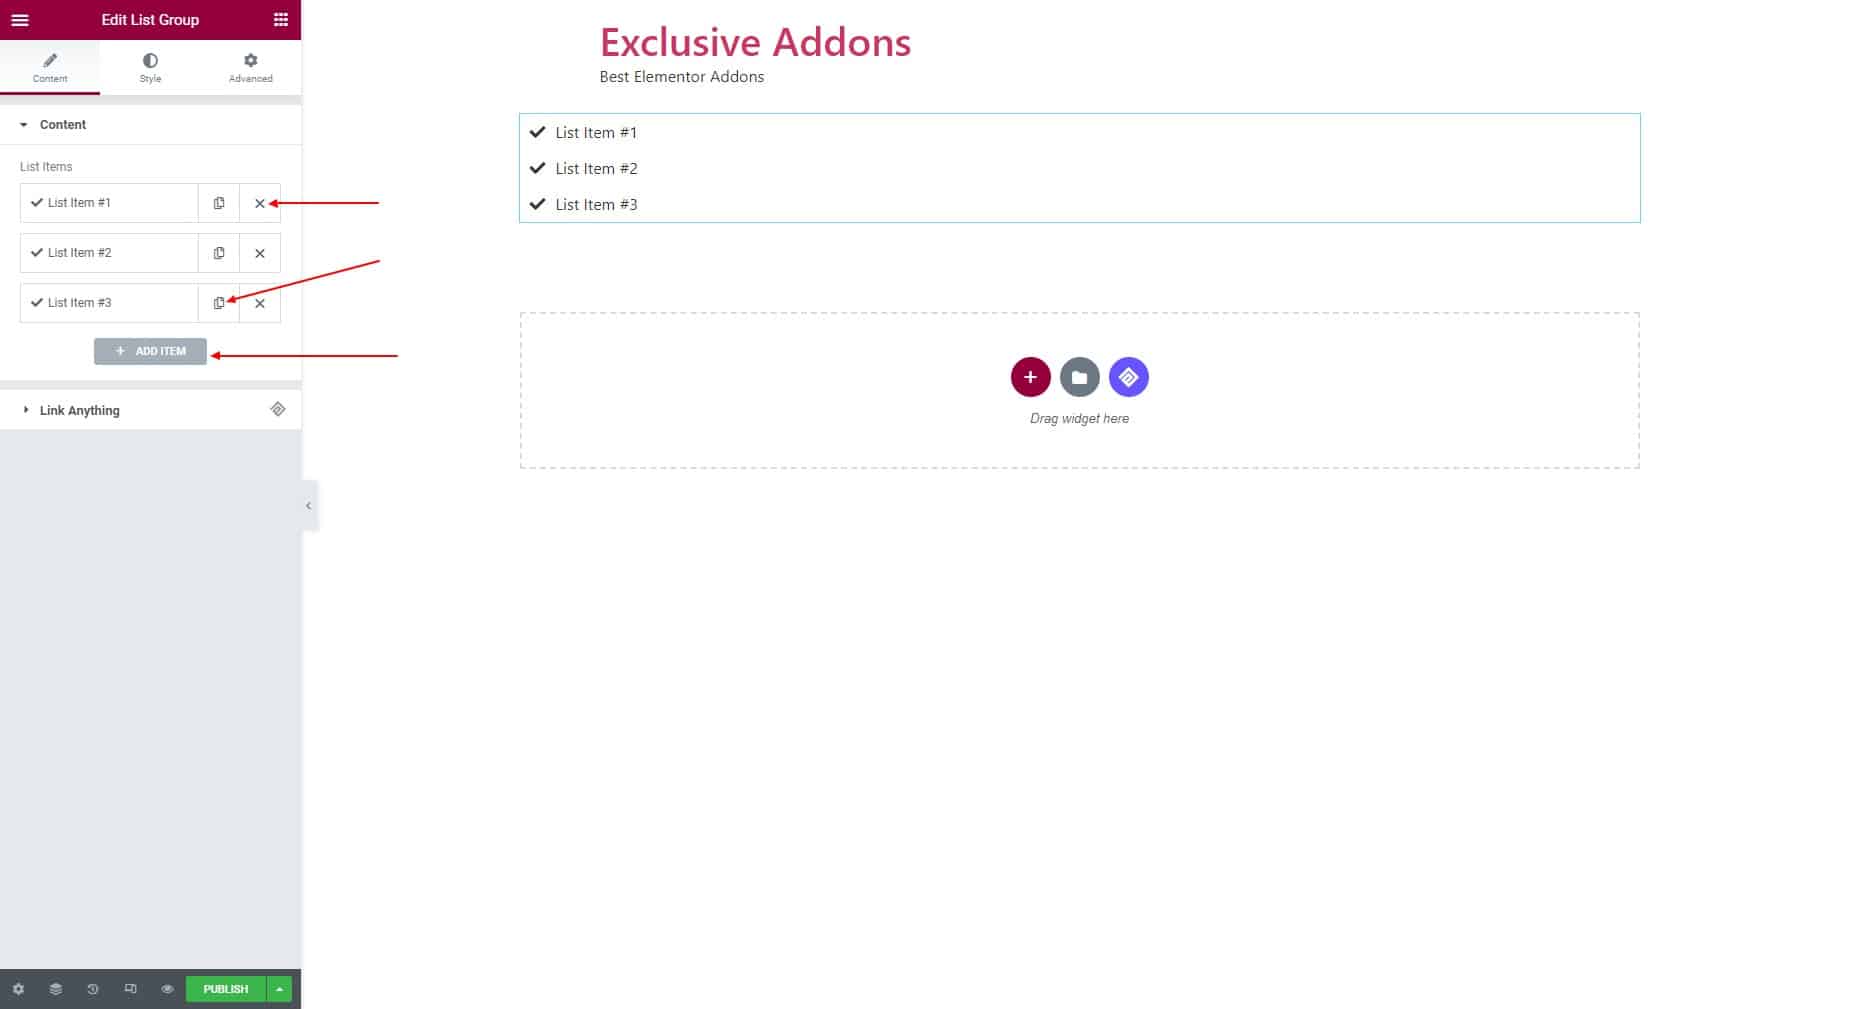
Content tab allows you to configure the List Group Widget.
2.1 Add as many list times as you want. Hit the Add ITEM button to add more items. You can delete any item by clicking the Cross button. Copy button will let you copy items.
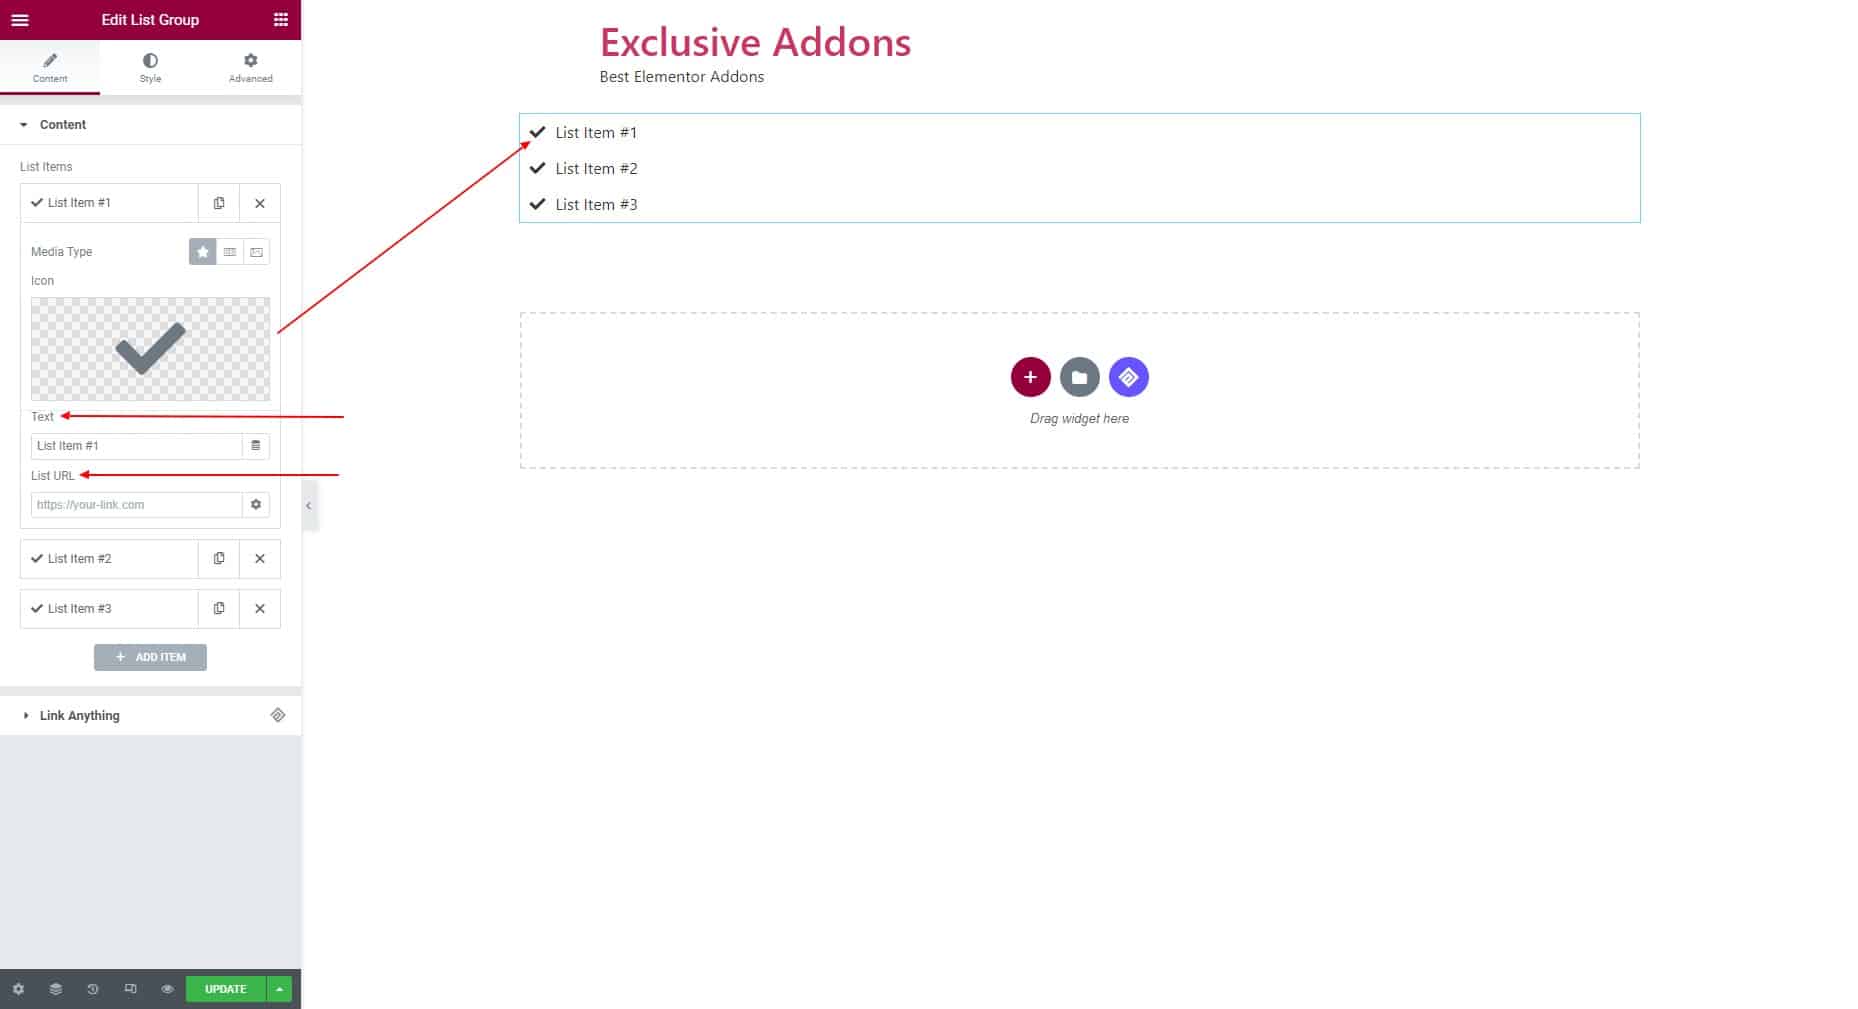
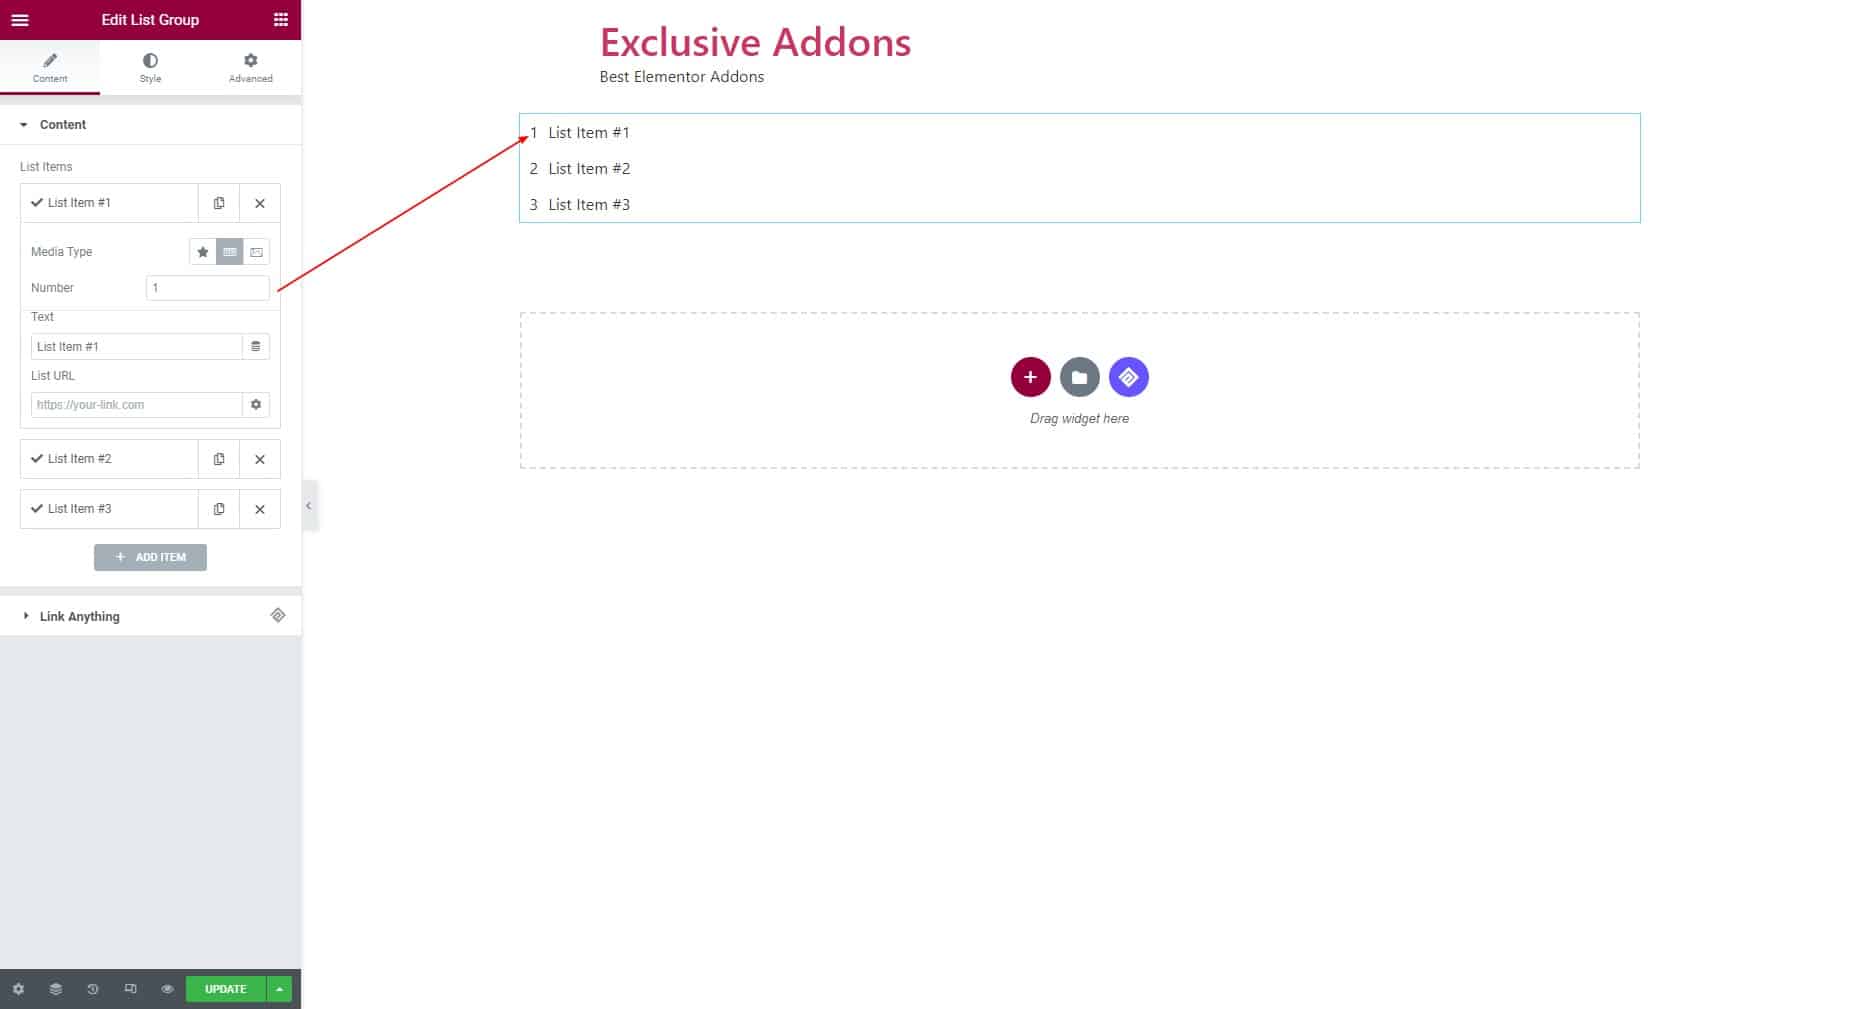
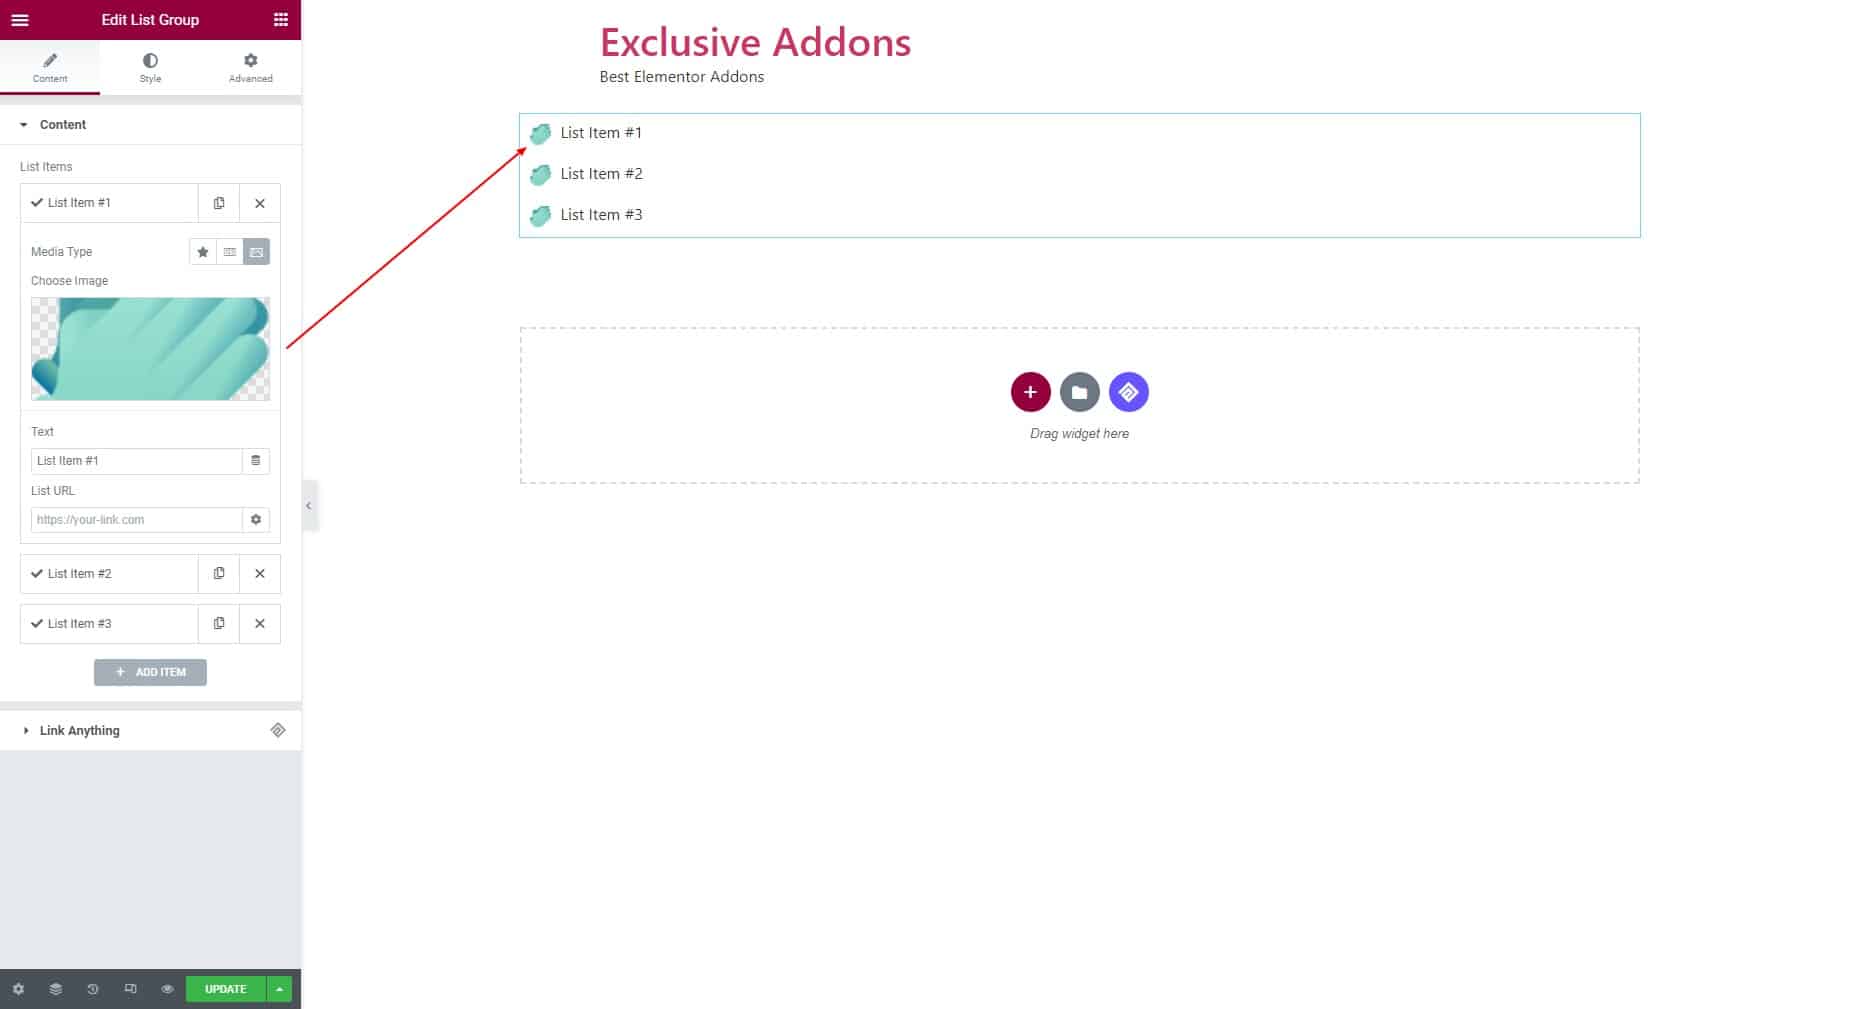
2.2 For each item, you can set Text and URL individually. You have the option of choosing Media Type to Icon, Number, or Image.
For Icon, choose an icon from the Elementor icon library or Exclusive Addons icon library.
Set the media type to Number, and assign a number separately for each item.
If you choose Image as media type, you get to set custom images for bullet points icon.
STEP 3:
Style tab allows you to customize Container, List Item, Icon, and Text section.
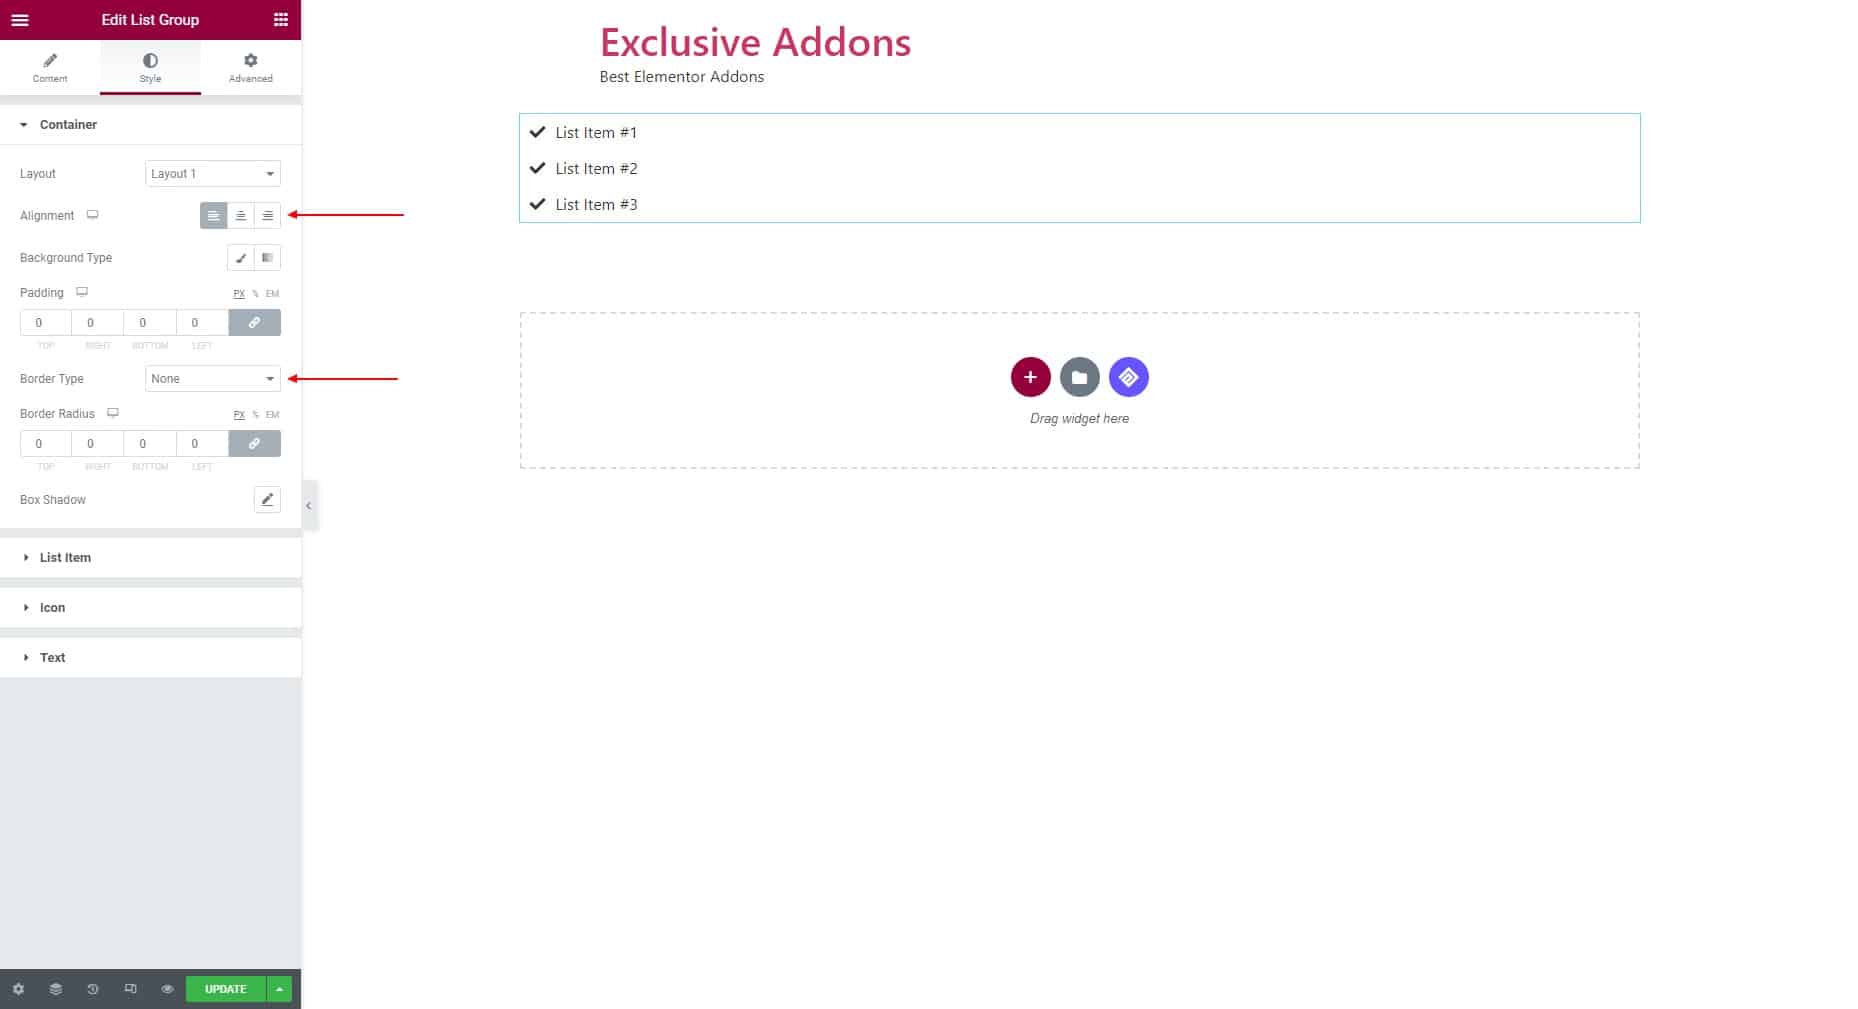
3.1 In Container section, you can set Alignment to left, right, and center. Also, choose Background Type, set Padding, Border Type, and other usual attributes.
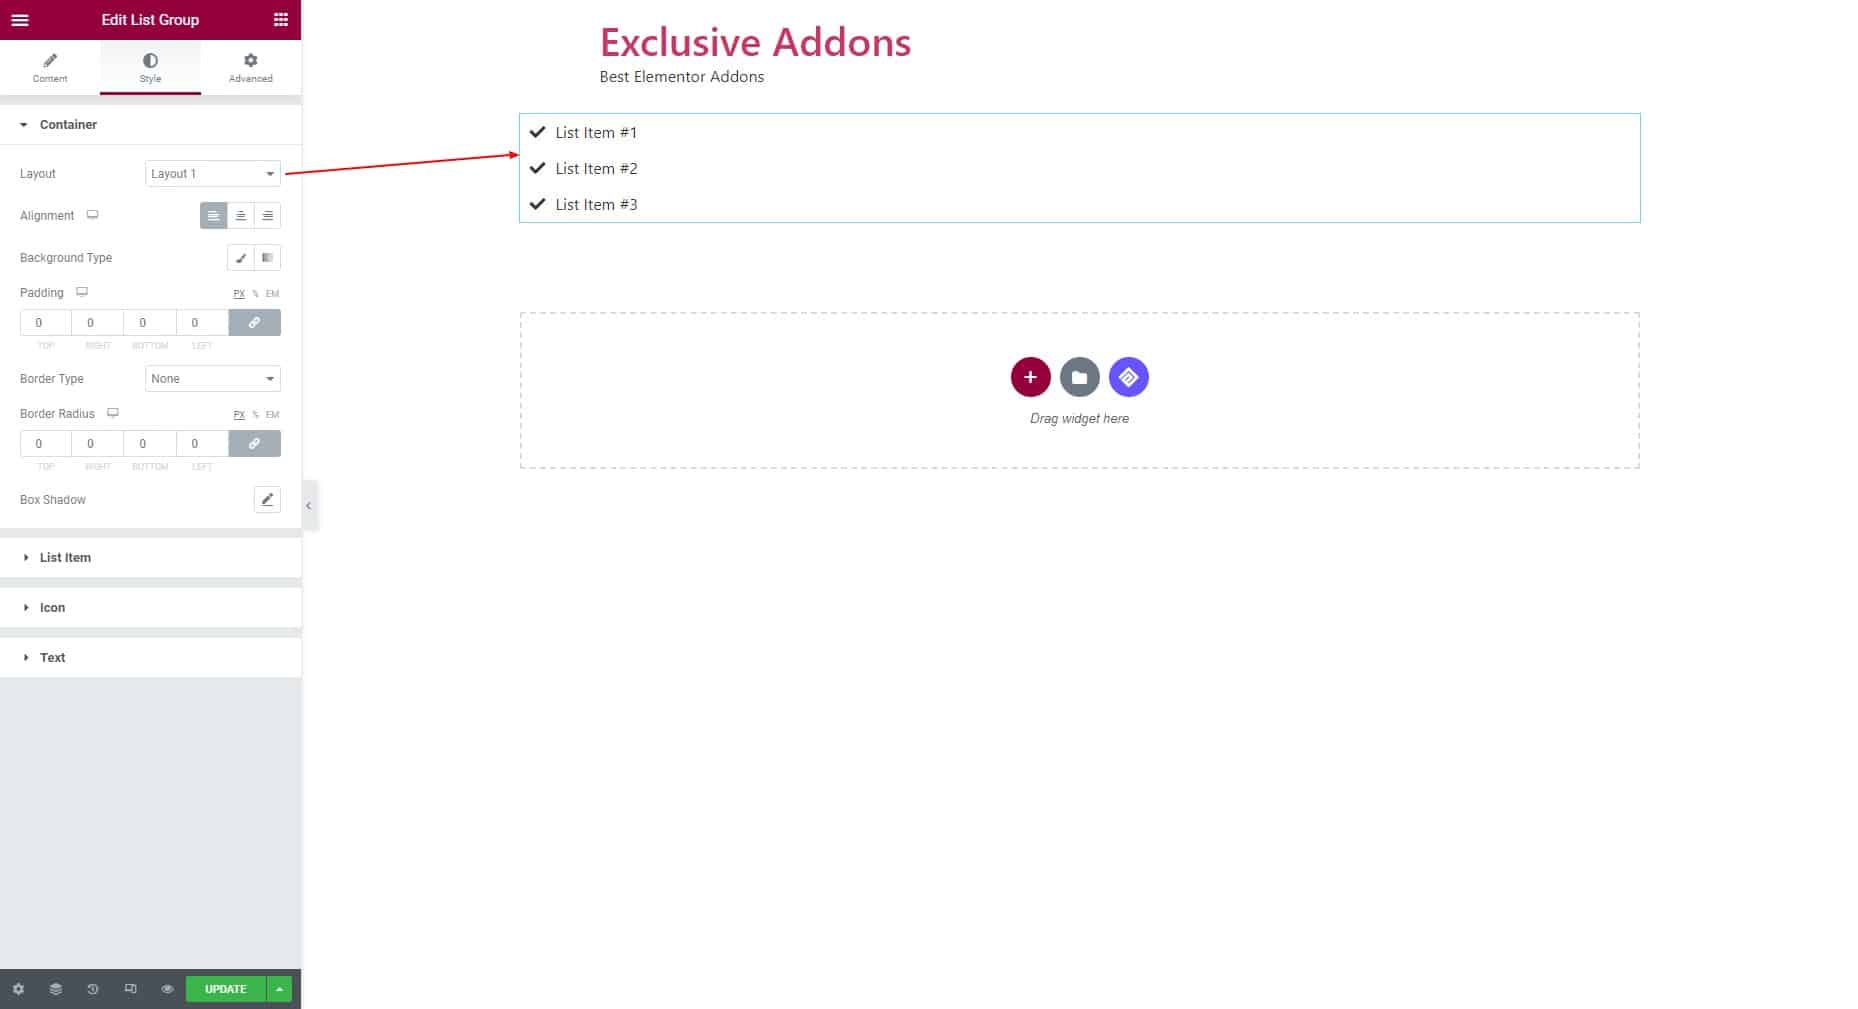
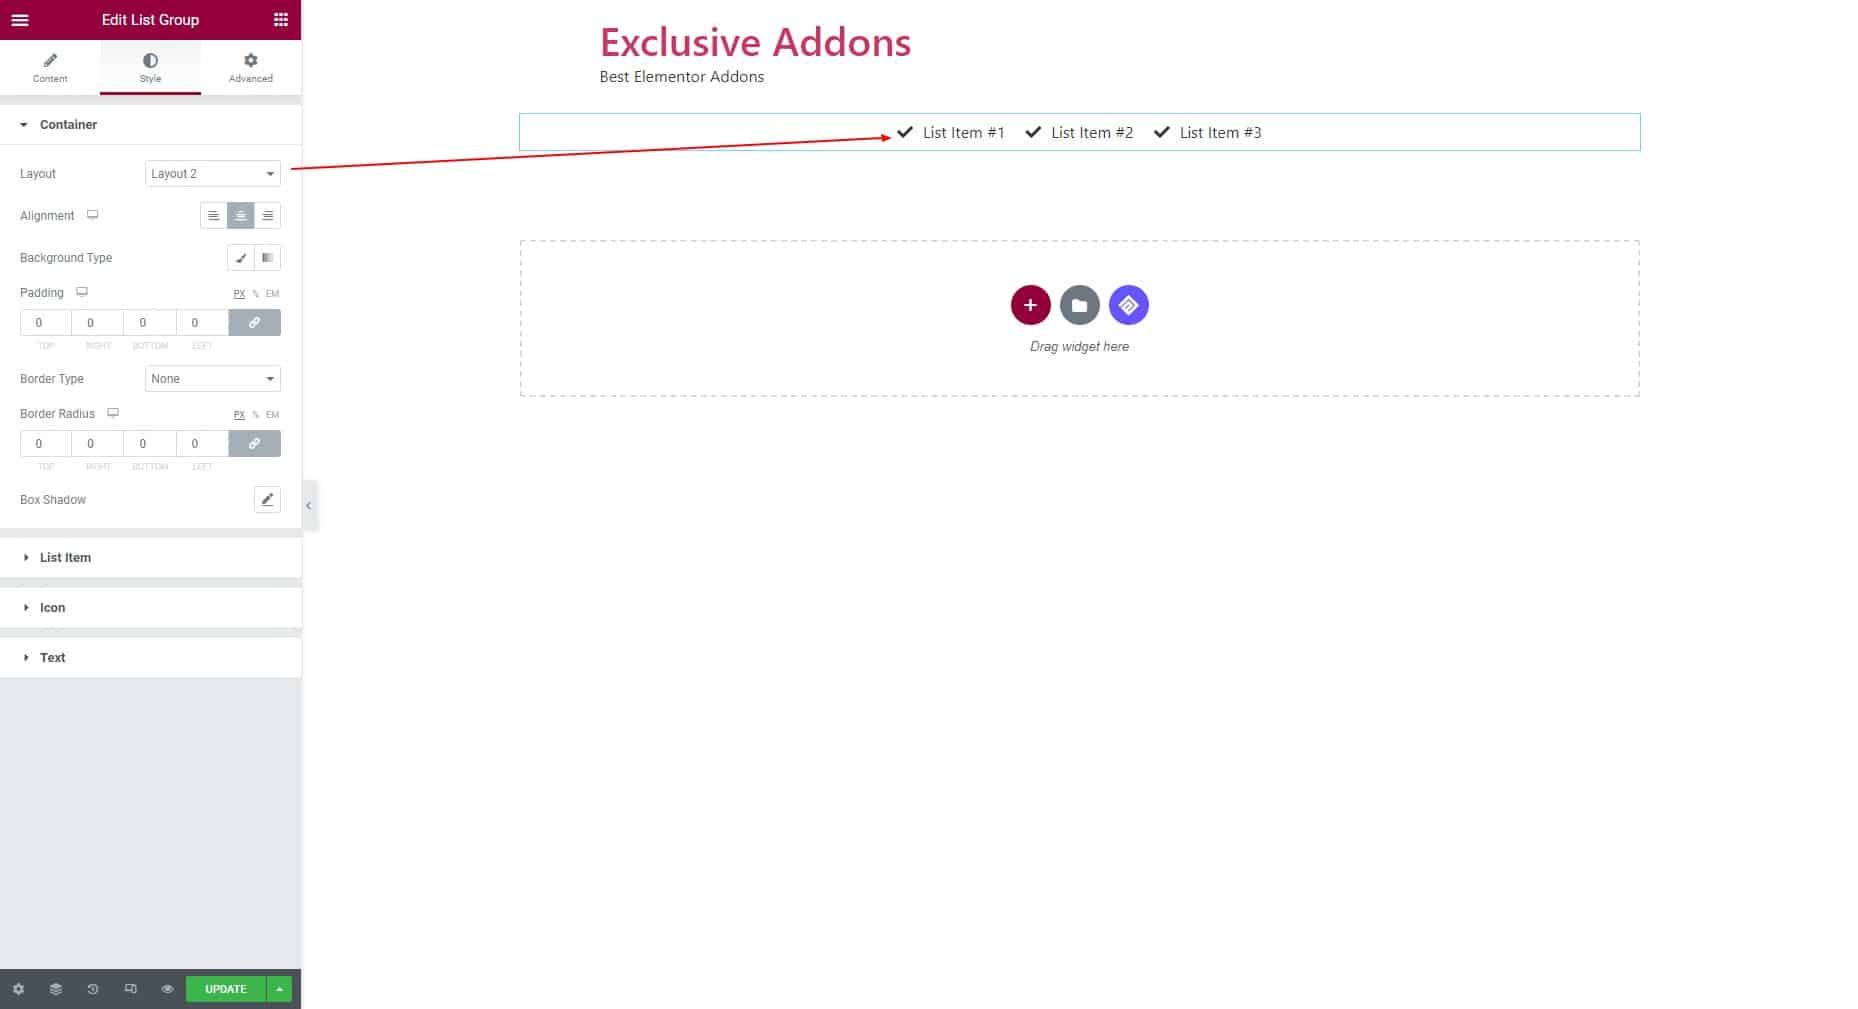
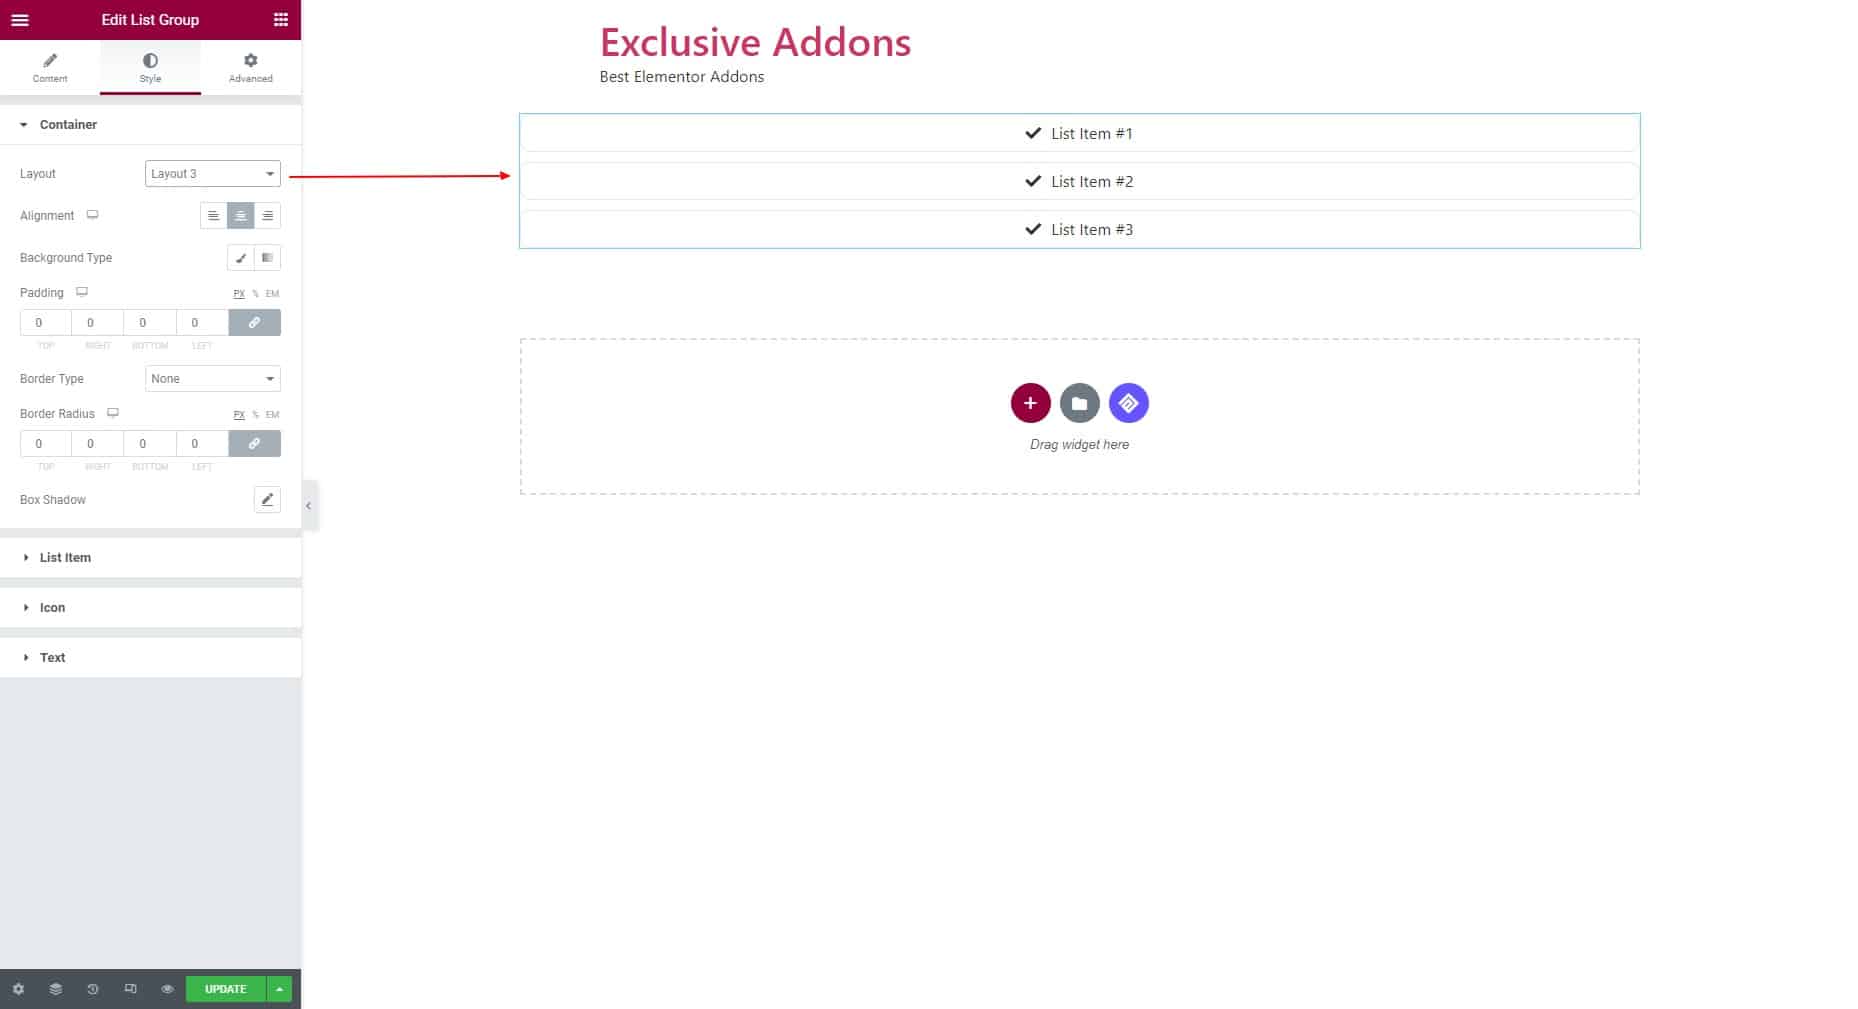
What amazing is, three Layouts are available to give your web design a different look.
Layout-1
Layout-2
Layout-3
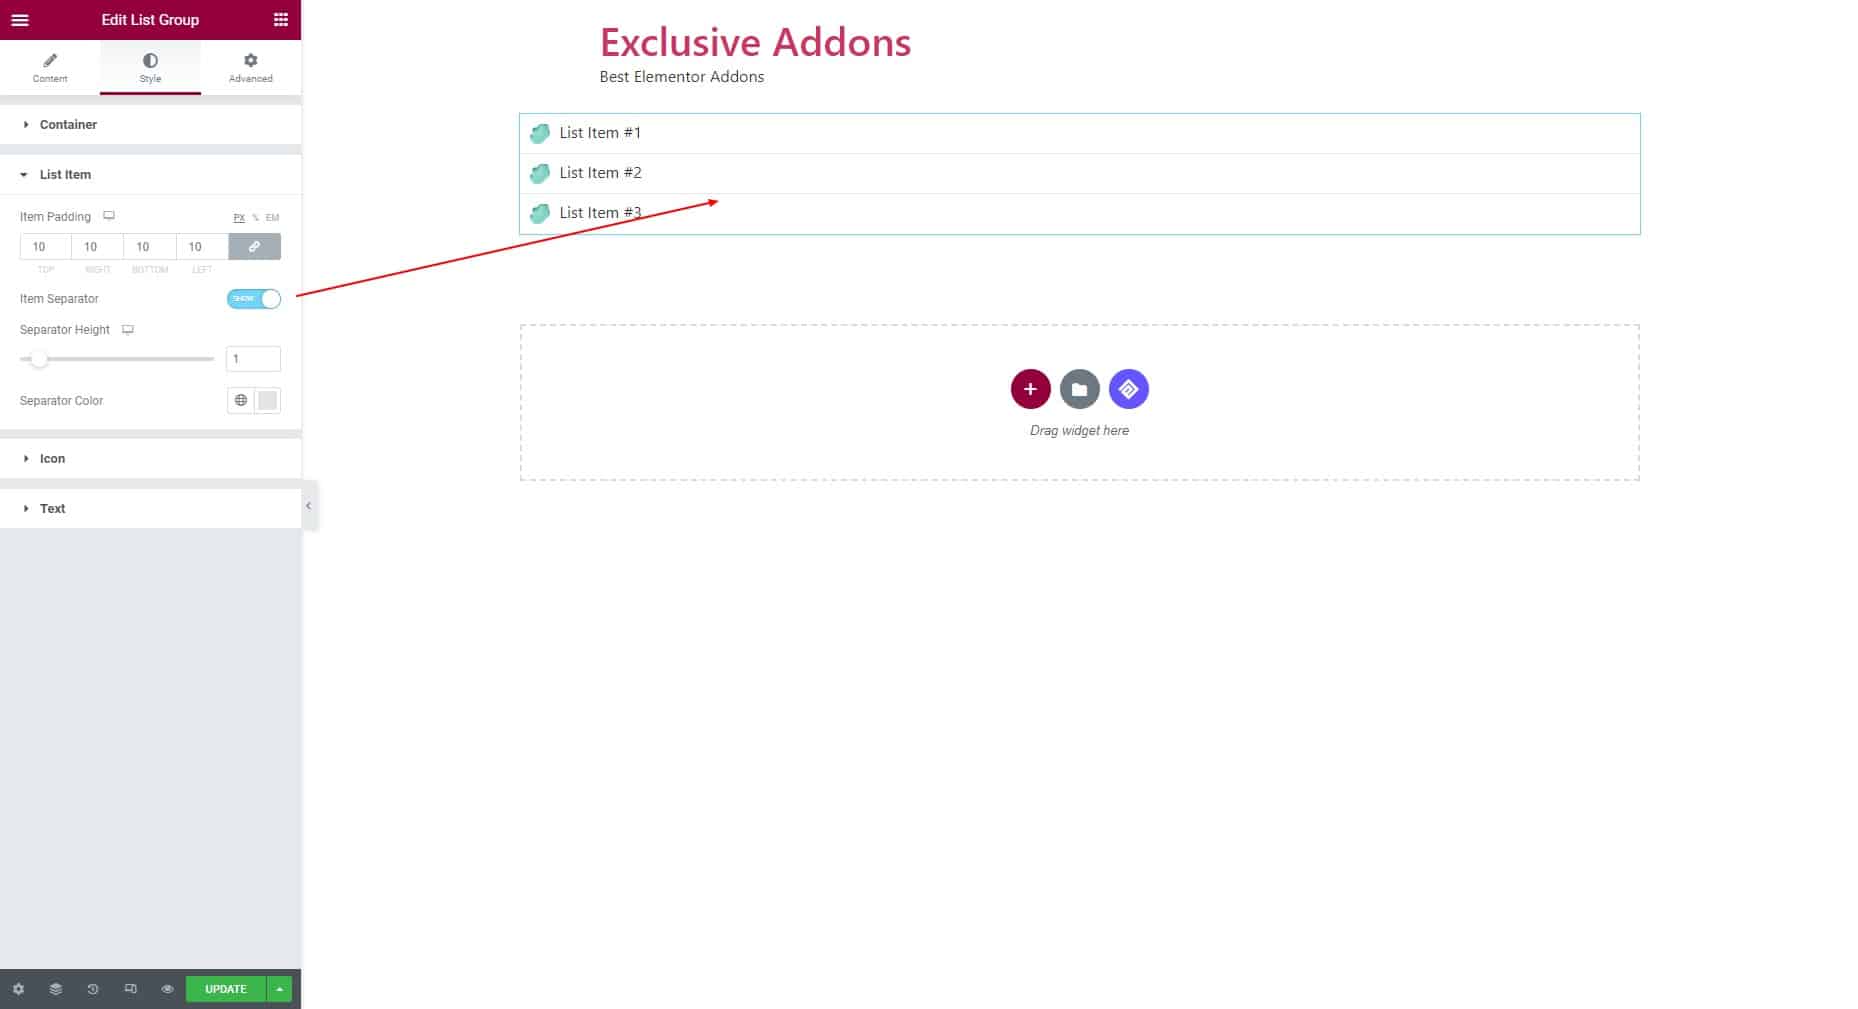
3.2 In terms of List Item section, set Item Padding. Also, have option to show or hide Item Separator. If you enable separator, you get to adjust Separator Height and Separator Color.
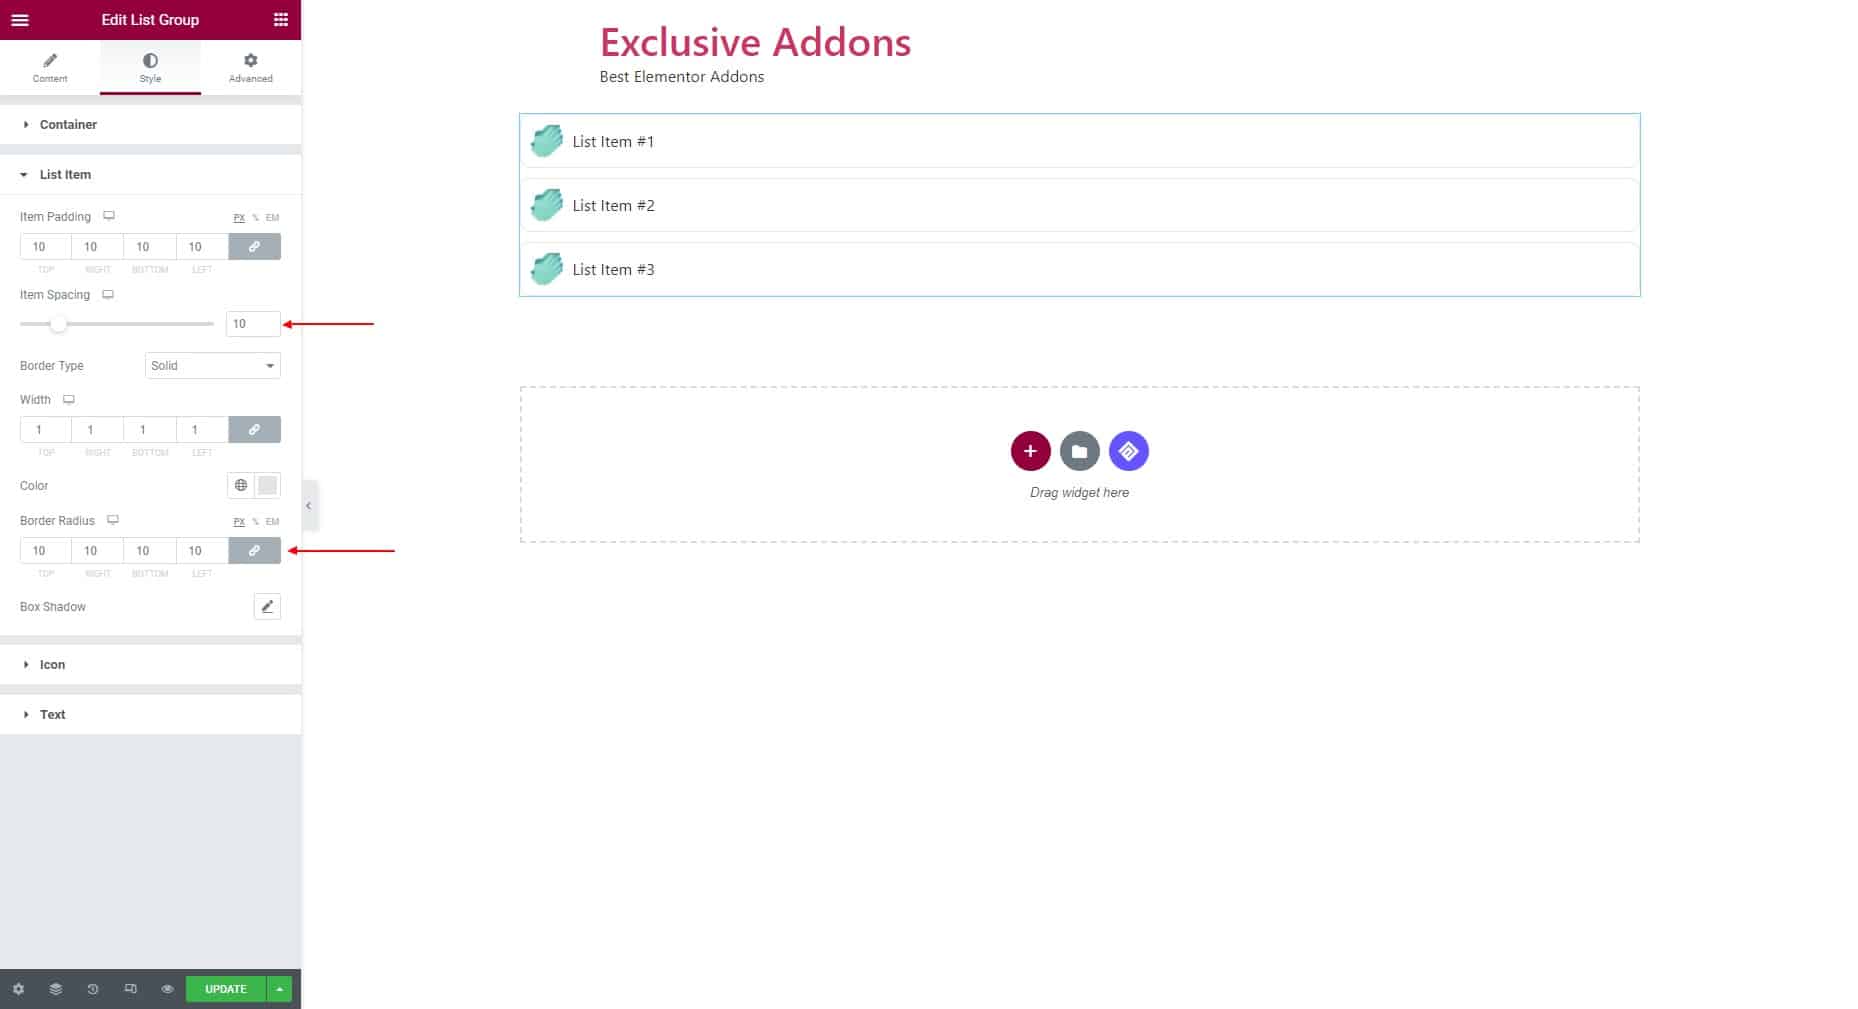
If you choose Layout-3, certain options like Item Spacing, Border Type, Border Radius will appear. Also, Item Separator will disappear at Layout-3.
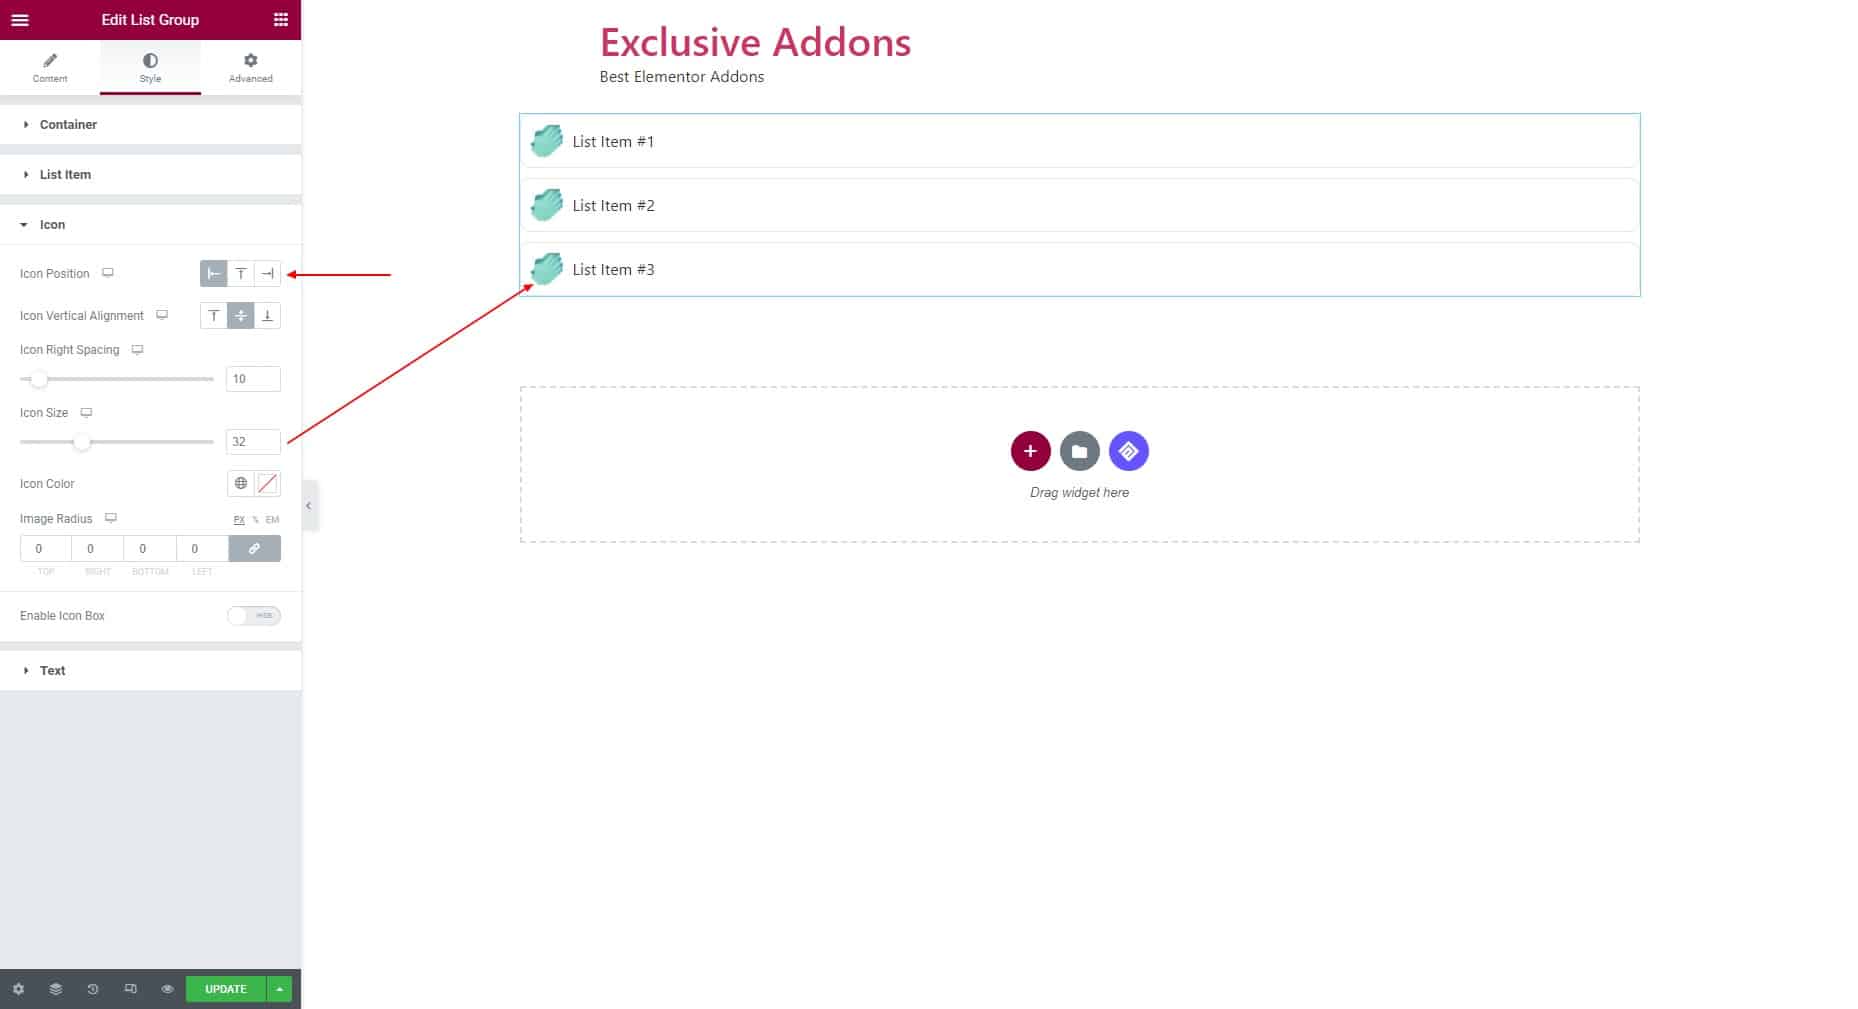
3.3 For Icon section, set Icon Position to Left, or Right, or Center. Set Icon Vertical Alignment to Top, or Bottom, or Center. Adjust Icon Right Spacing to set the gap between icon and text.
You get to set Icon Color, Image Radius and adjust Icon Size as well.
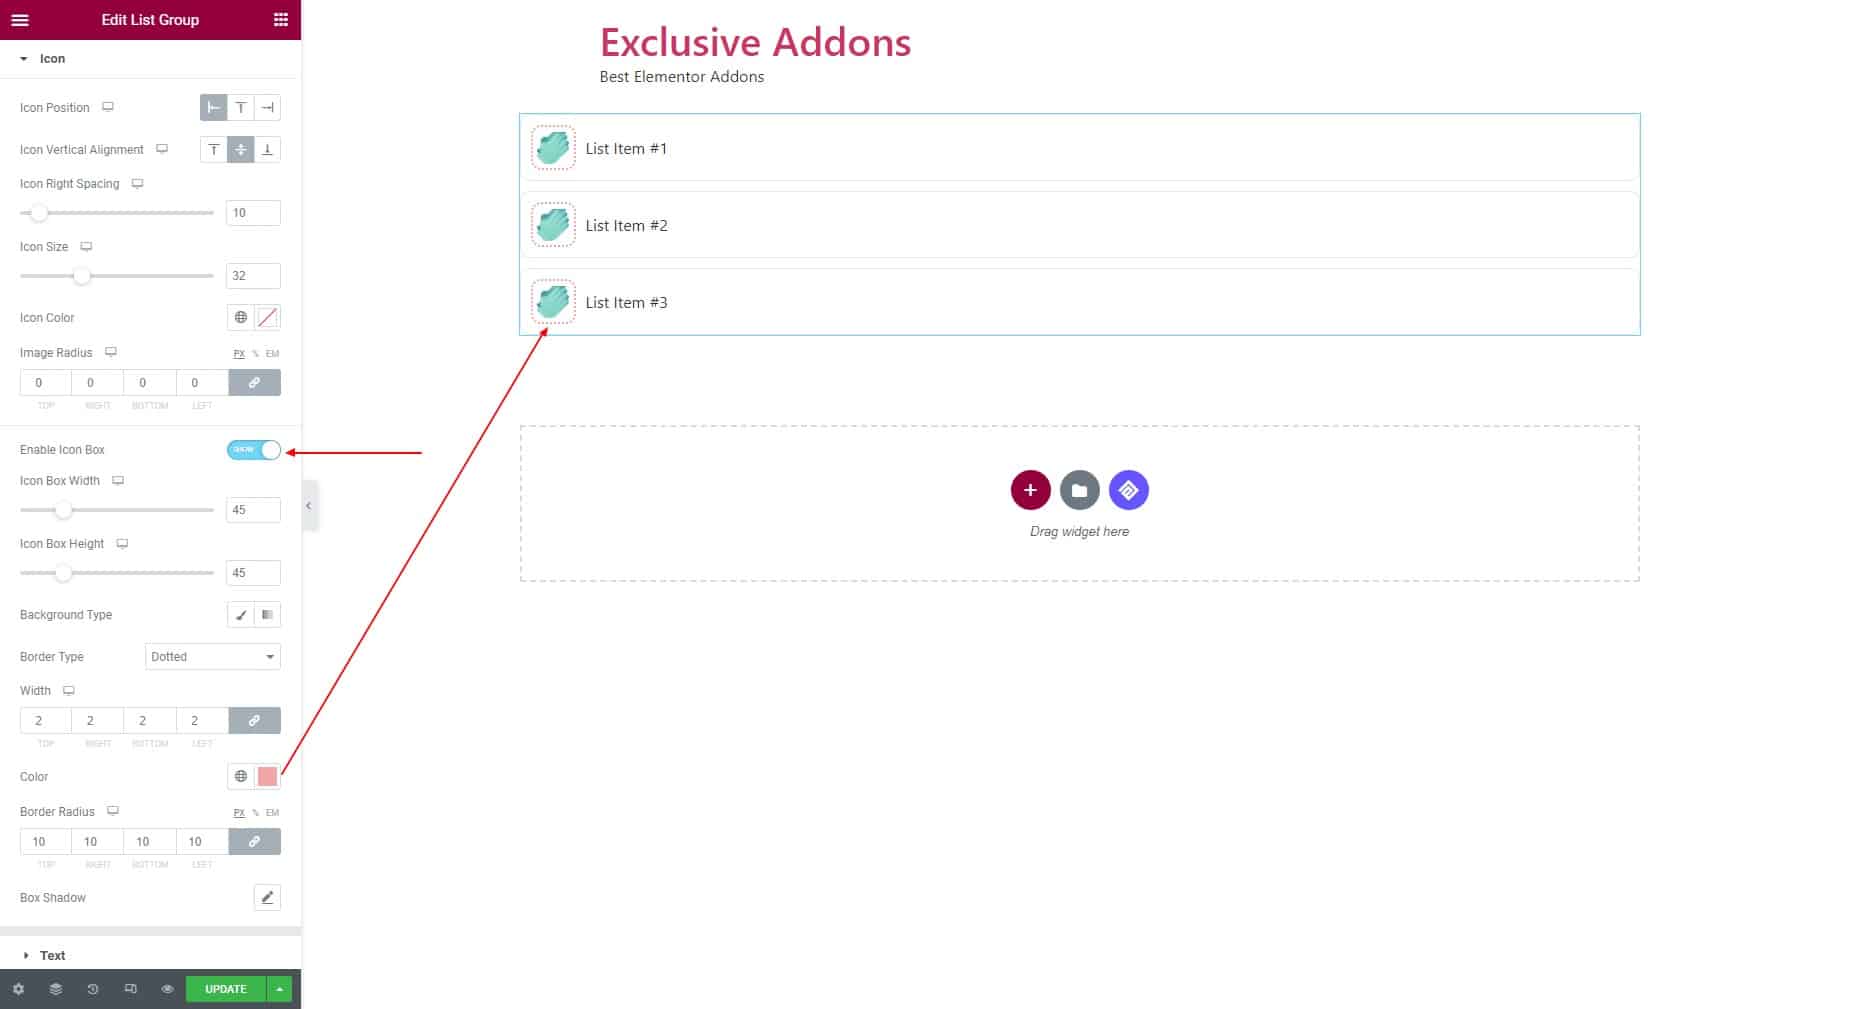
Option to Enable Icon Box is available. If enable the feature, you can set Icon Box Width, Icon Box Height, choose Border Type, and set Border Radius. Also, you get to select Background Type to Classic or Gradient.
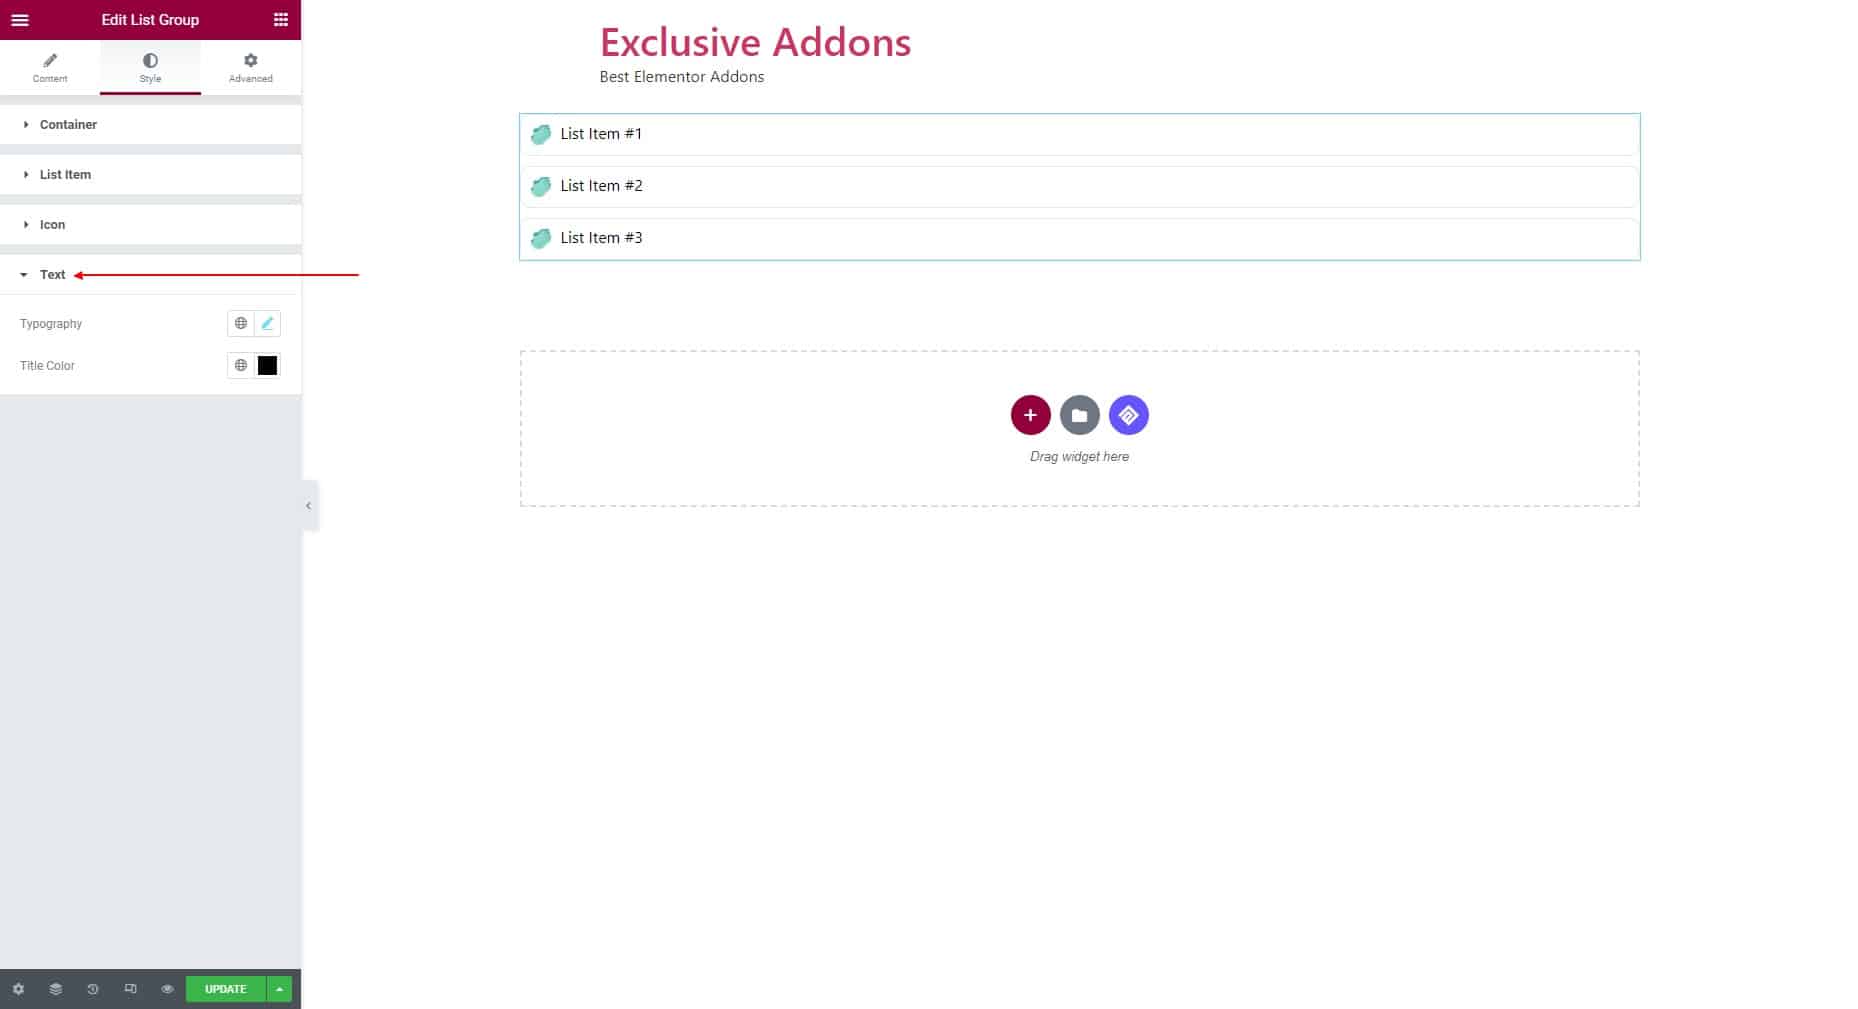
3.4 Set Typography and Title Color from the Text section.
STEP 4:
Finally, hit the Update button, and include a stylish listing widget on your wordpress site.