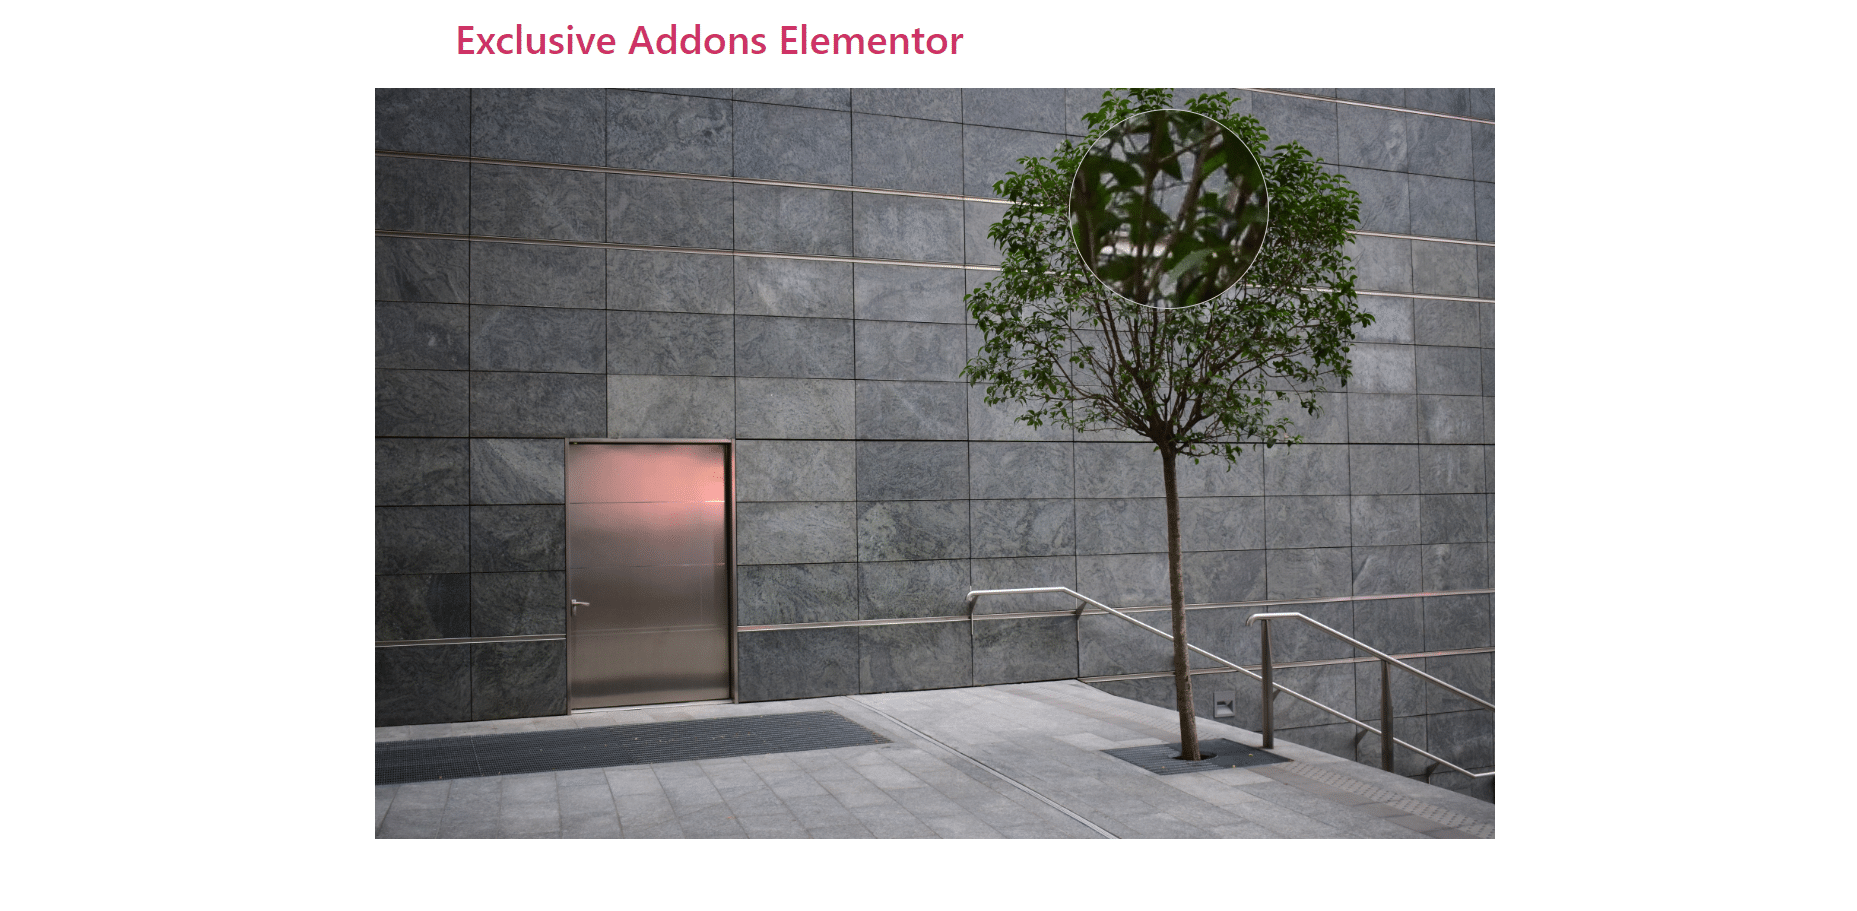
How to configure and style Image Magnifier Widget.
Add an amazing & exclusive tool to zoom into photos on your web page using Exclusive Addons Image Magnifier Widget for Elementor.
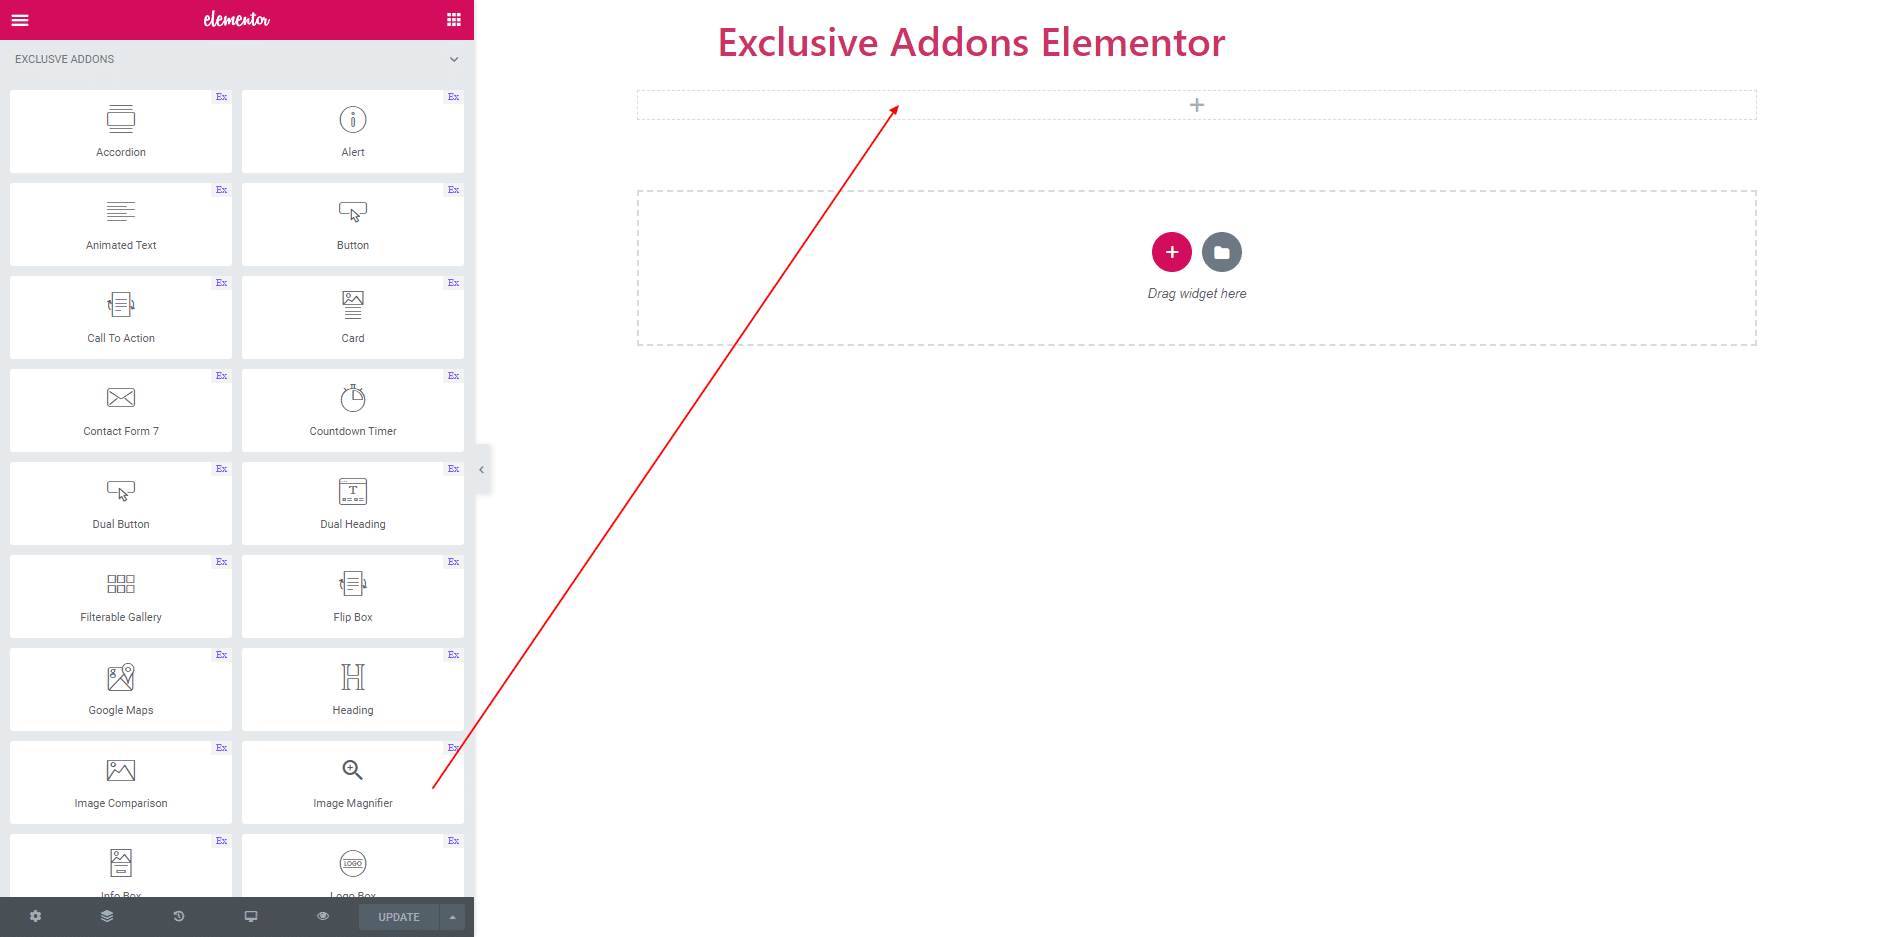
STEP 1:
Select the ‘Image Magnifier’ widget from Elementor panel. Then drag and drop it in the selected area.
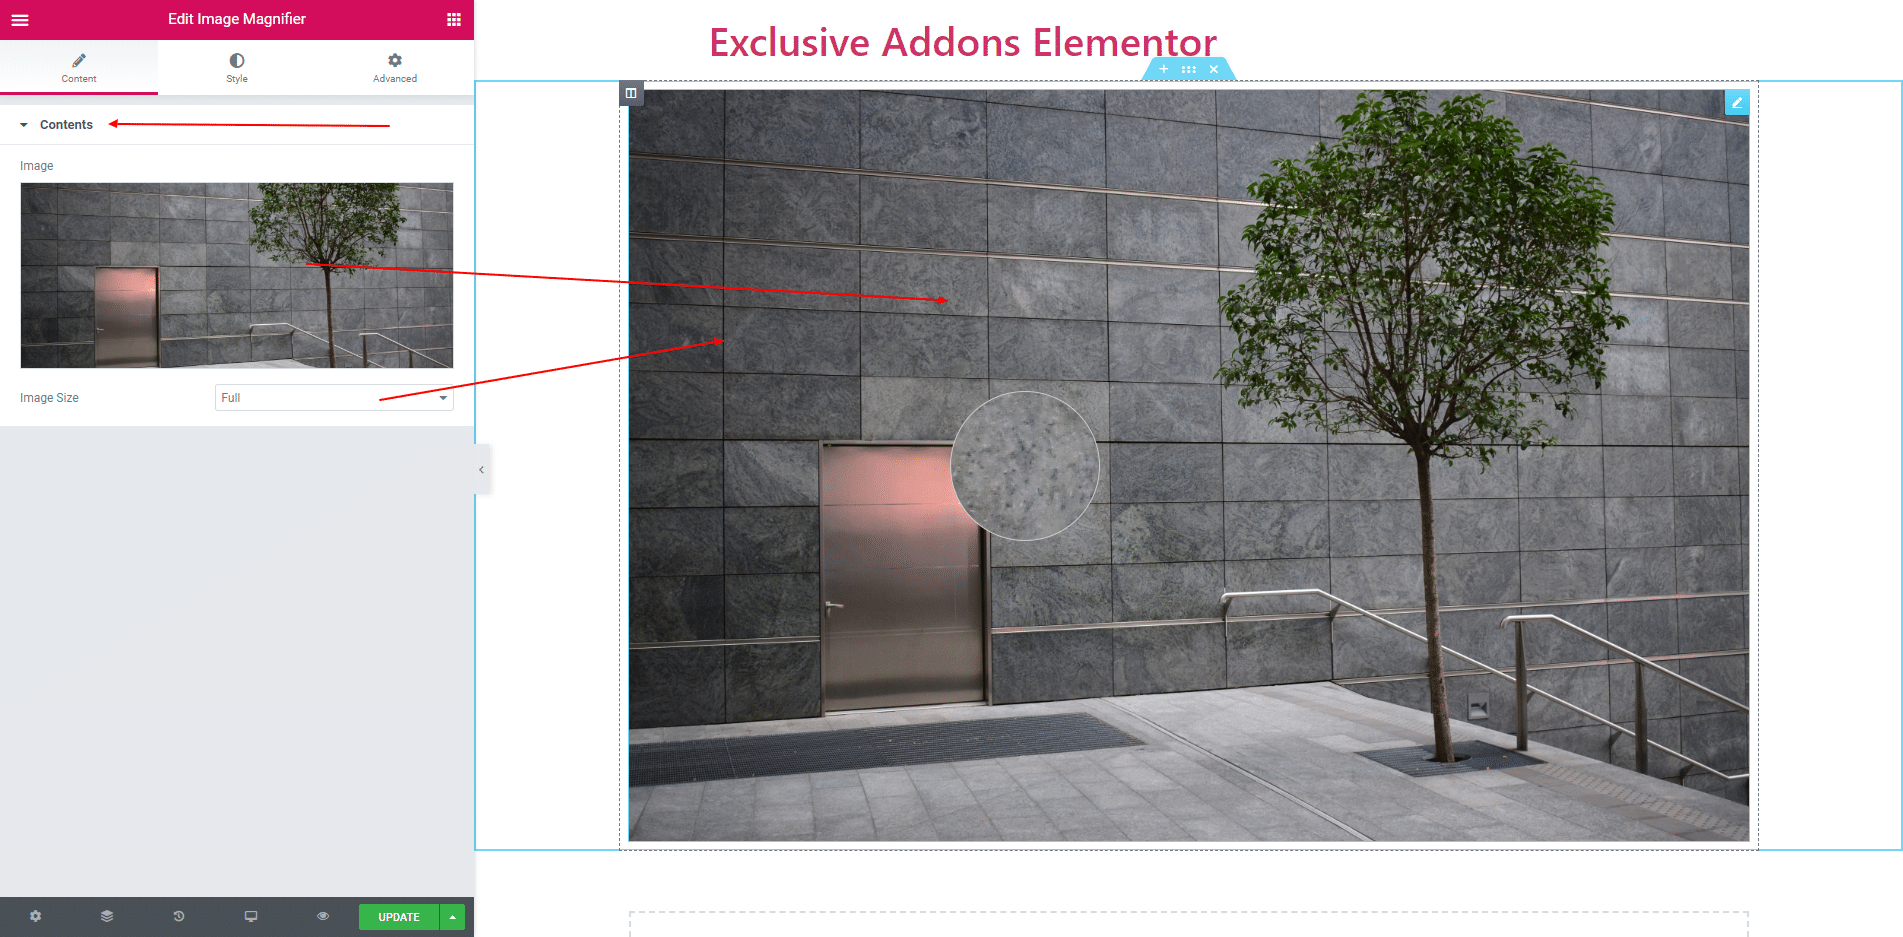
STEP 2:
In content section you can choose an image. You also give image size.
STEP 3:
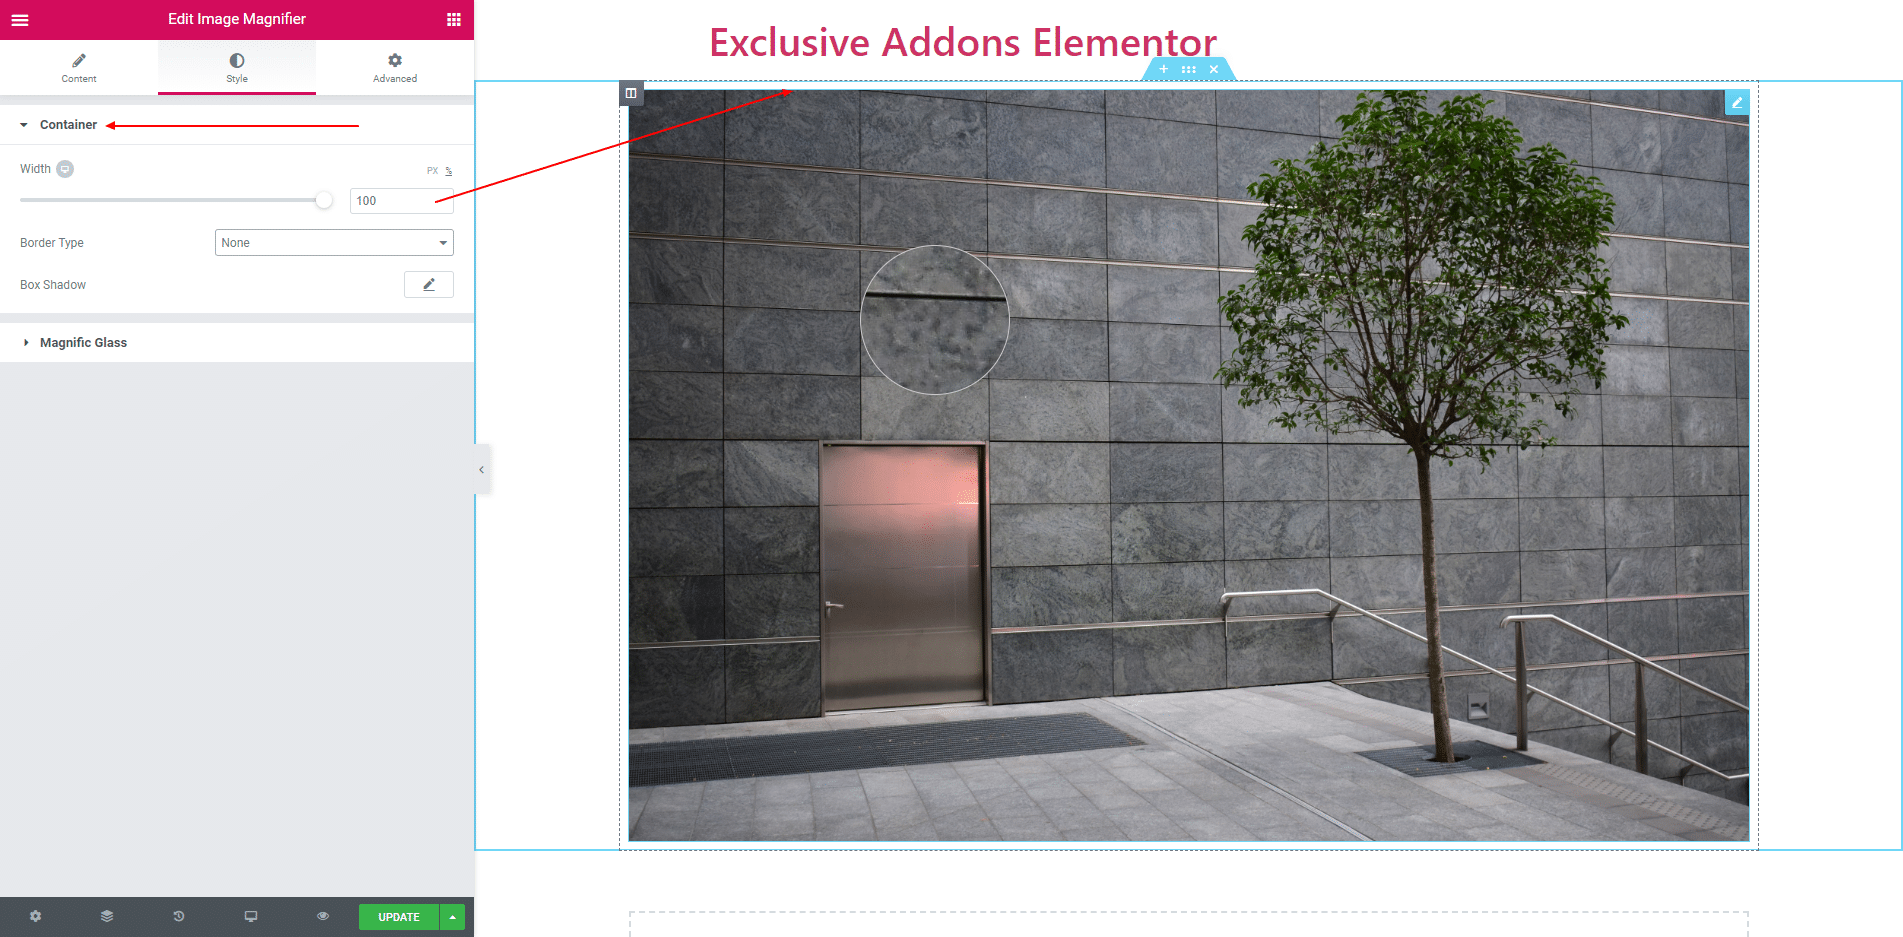
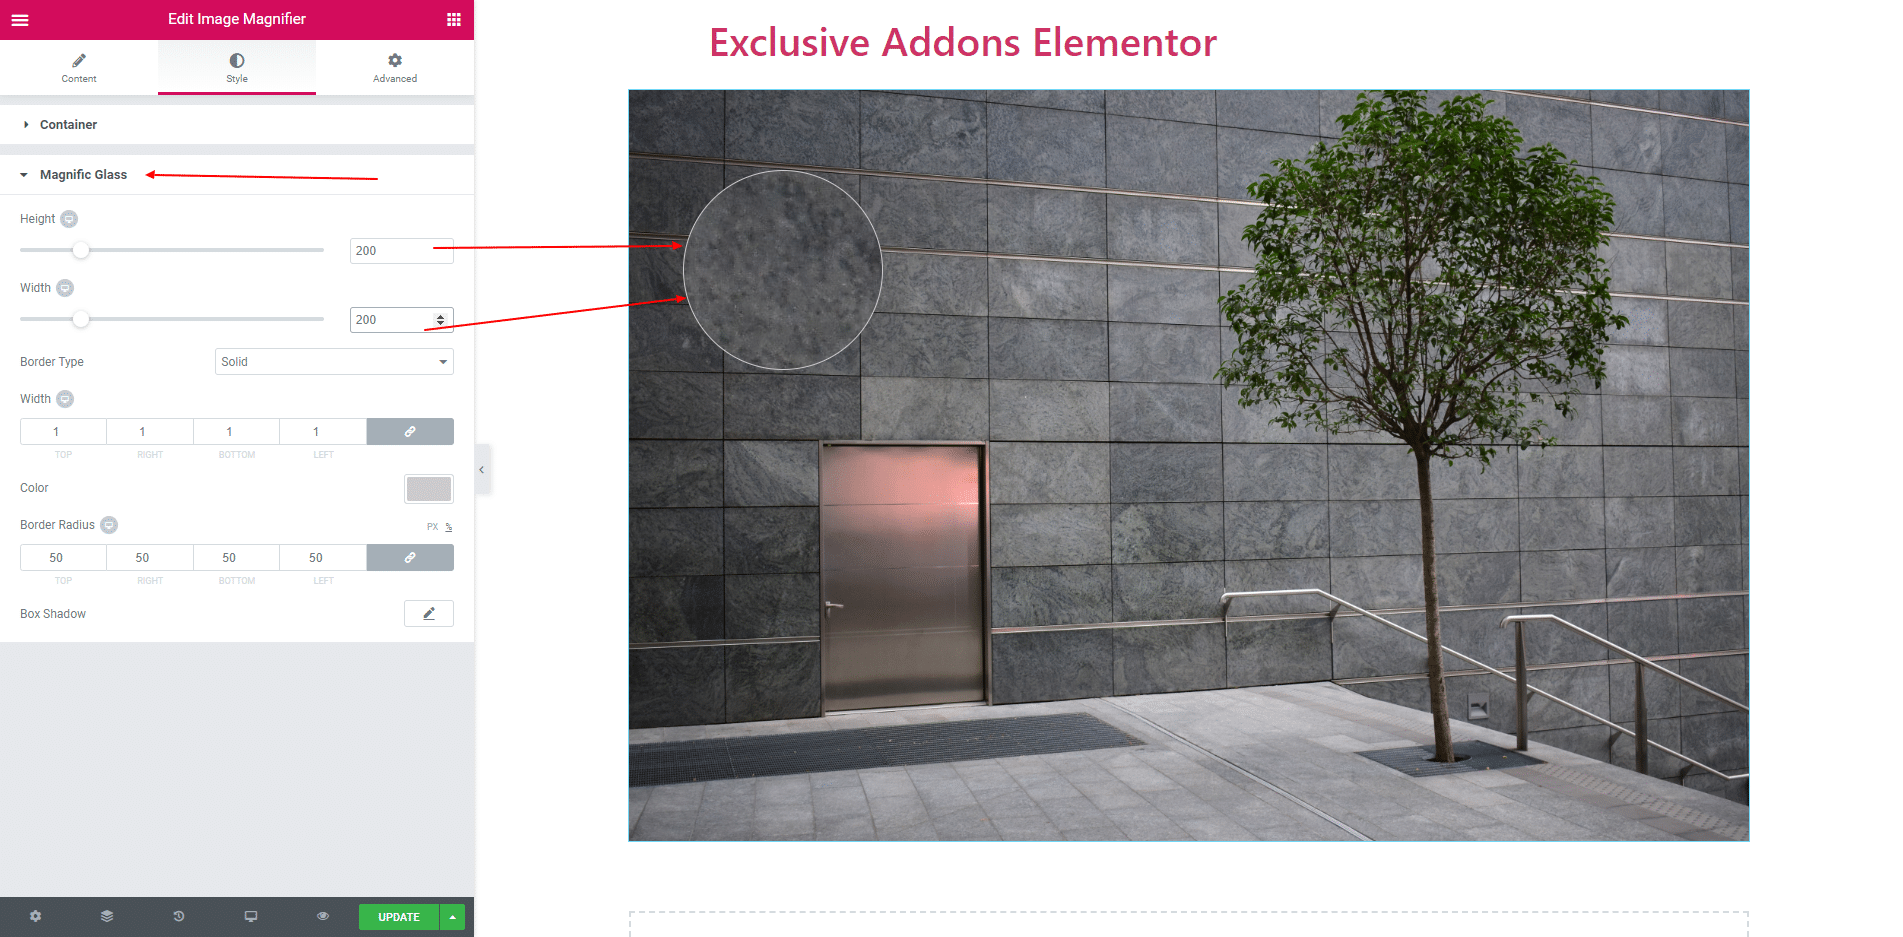
Style section consist of Container and Magnific Glass.
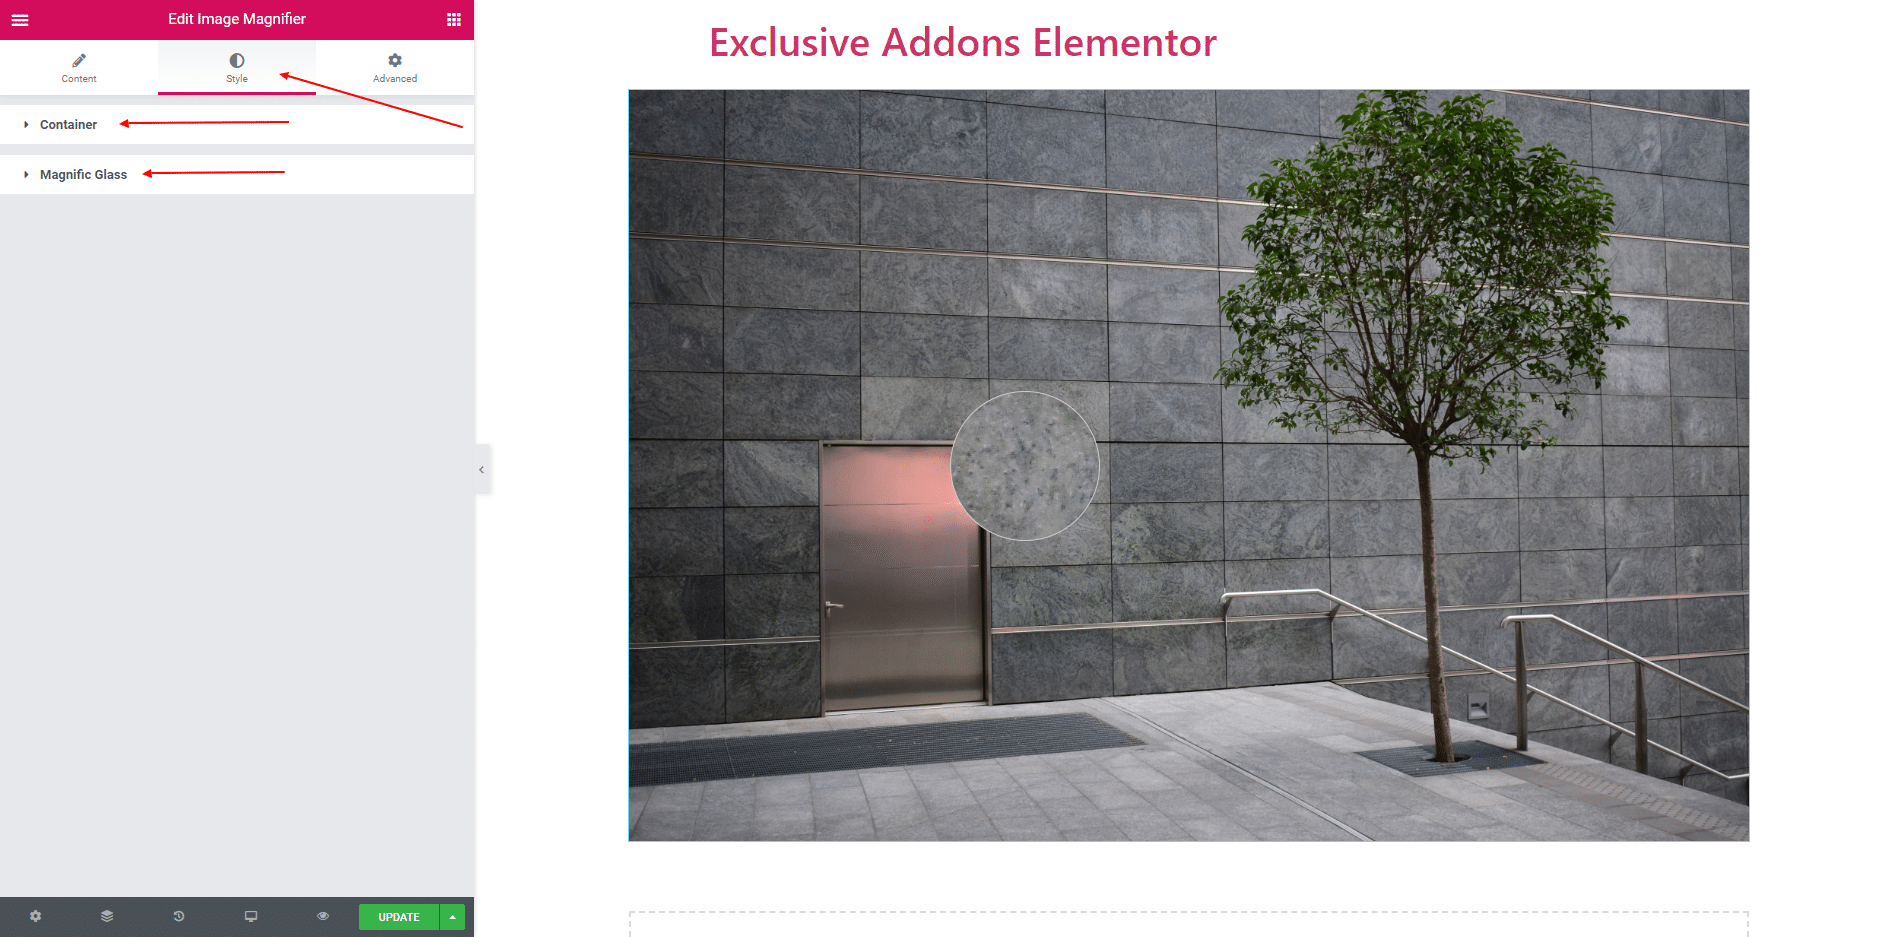
3.1. You can set width, border and box shadow in container section.
3.2. In Magnific Glass section you can design the magnific glass. You can set height, width, border and box shadow.
STEP 4:
Finally, after clicking the update button you will see the beautiful Iamge Magnifier on your webpage.