How to configure and style Elementor Floating Animation Widget
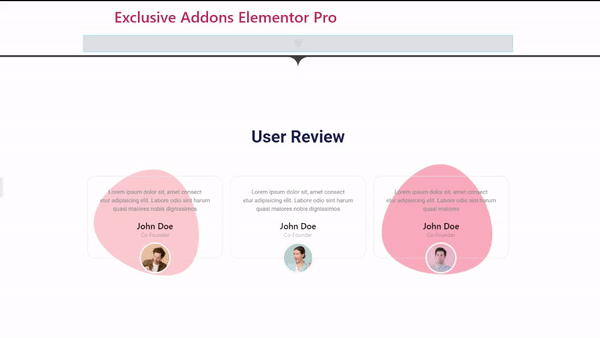
Create unique, organic, and fancy shapes for your WordPress website. Default shapes to SVG code and images. Add any shape you want, and change their attributes using Floating Animation Widget of Exclusive Addons Elementor.
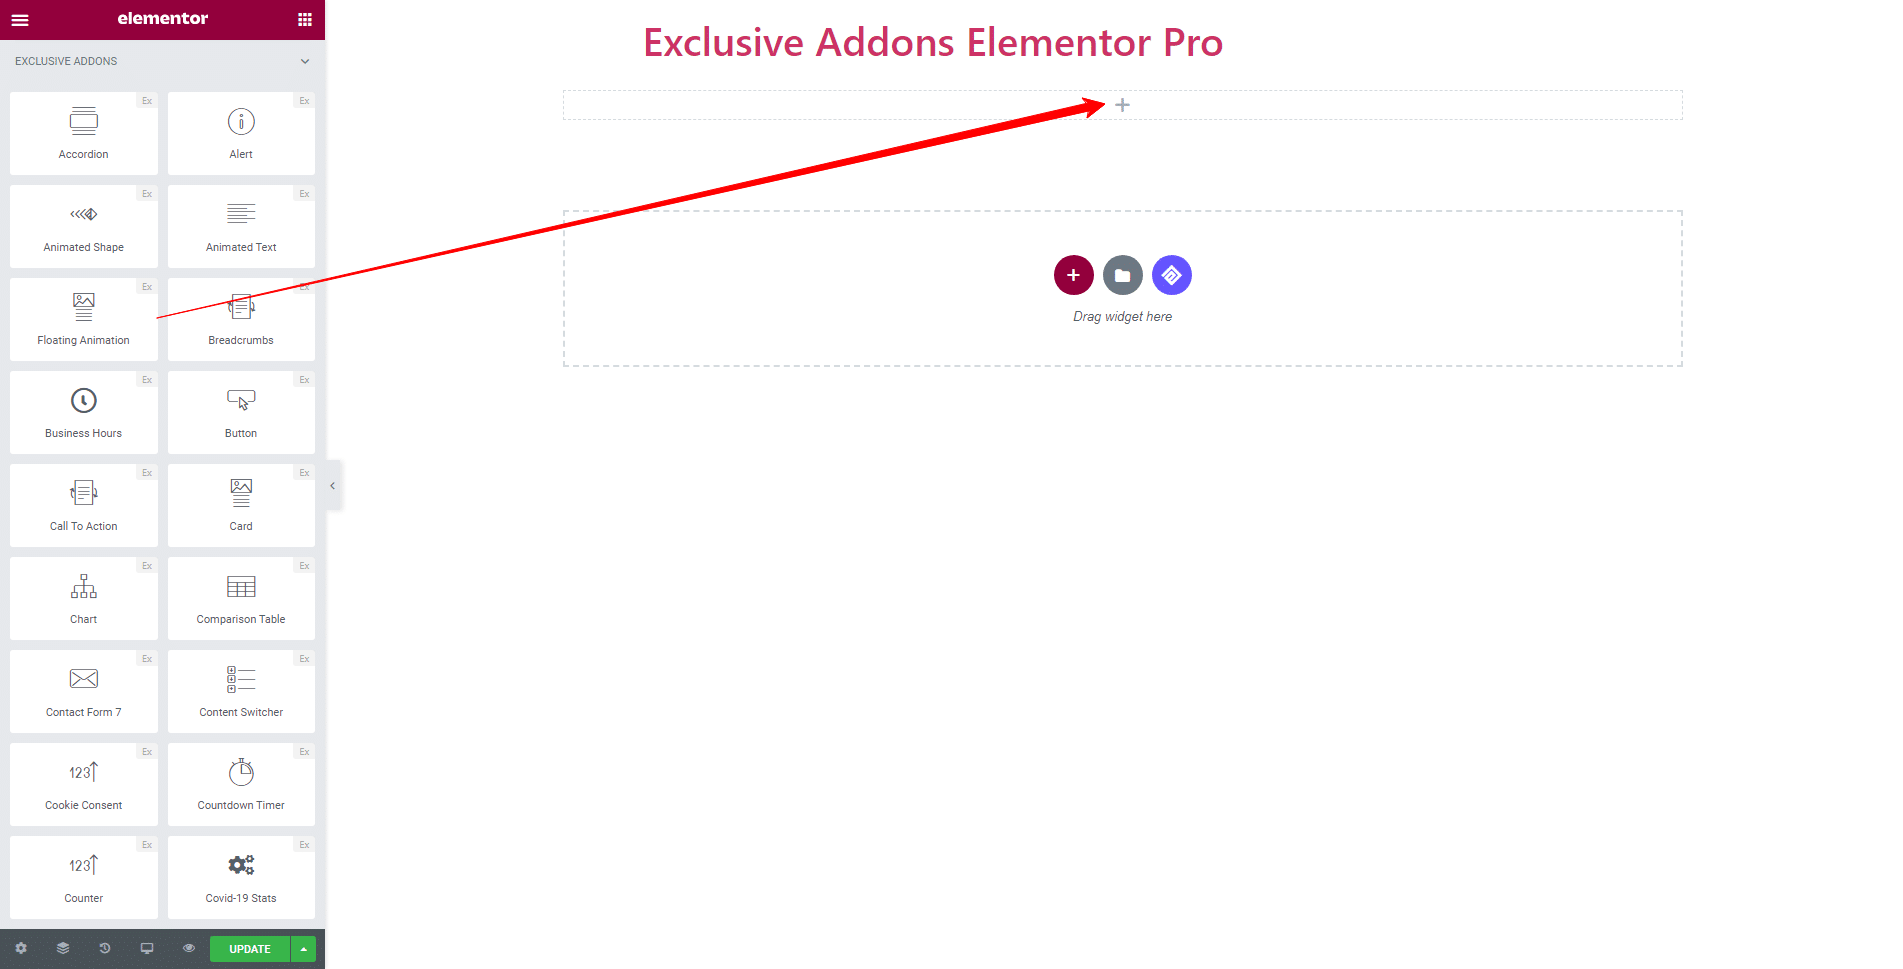
STEP 1:
Select the ‘Floating Animation‘ widget from Elementor panel. Then drag and drop it in the selected area.
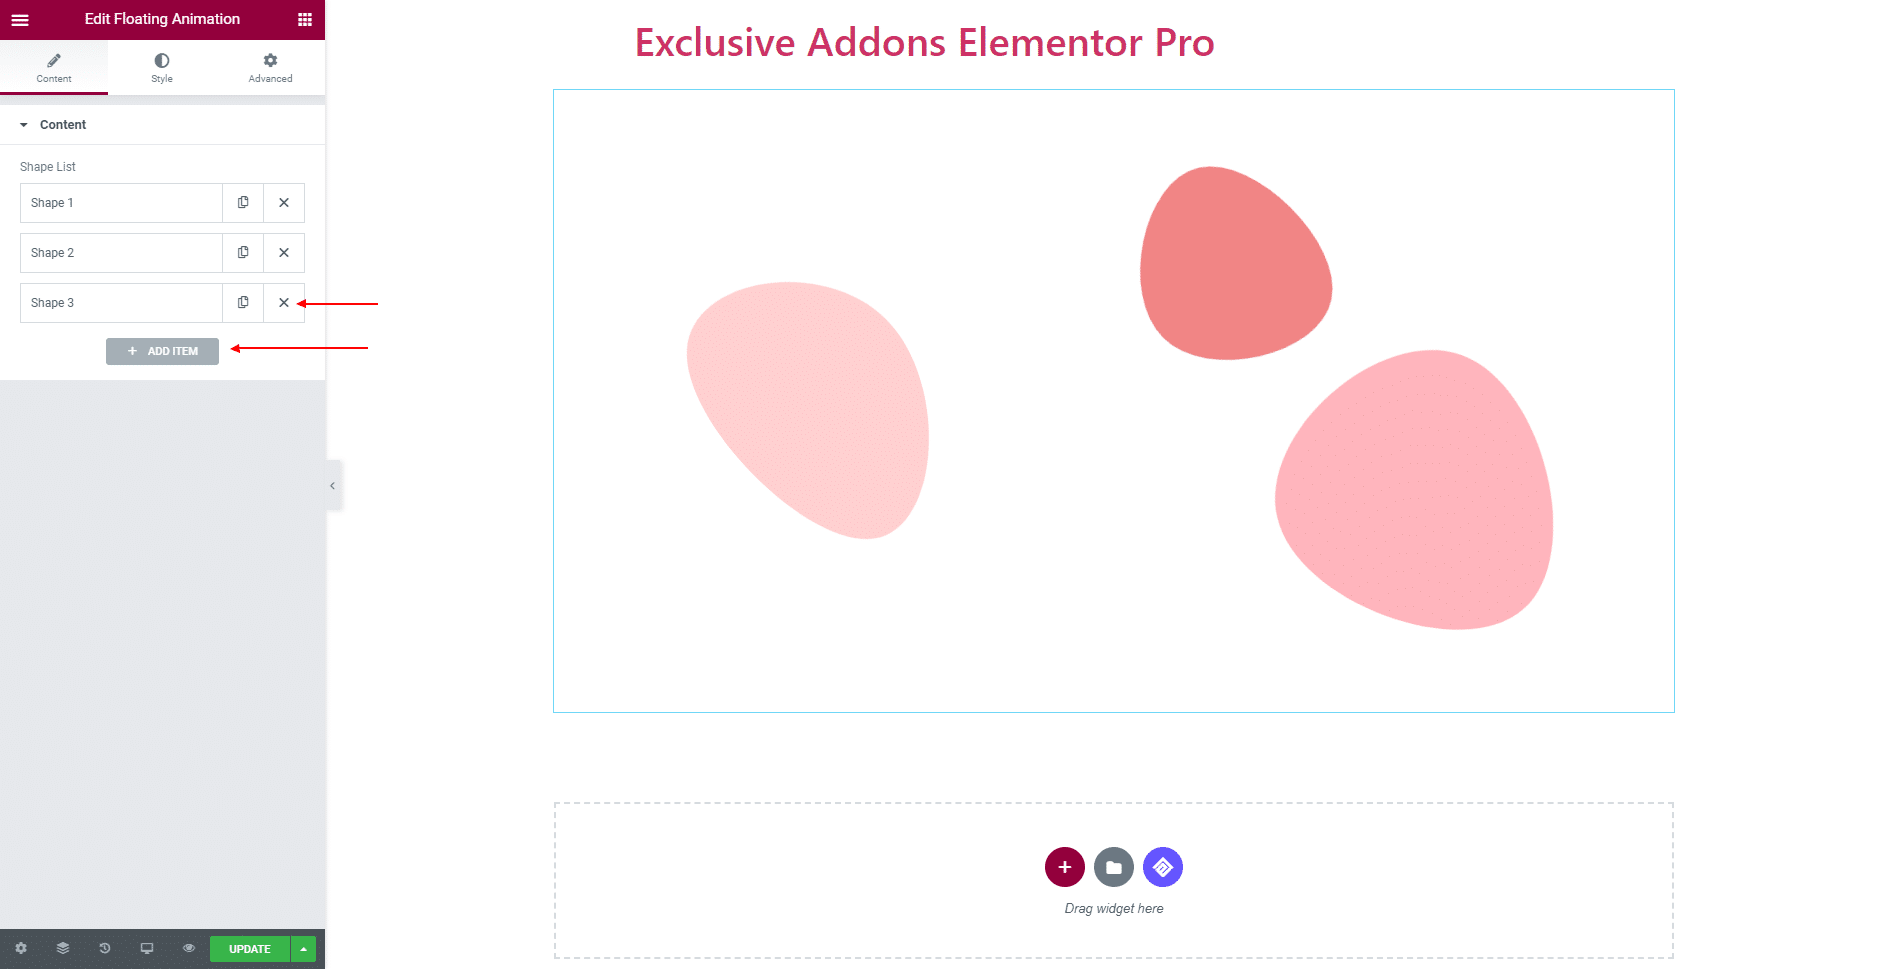
STEP 2:
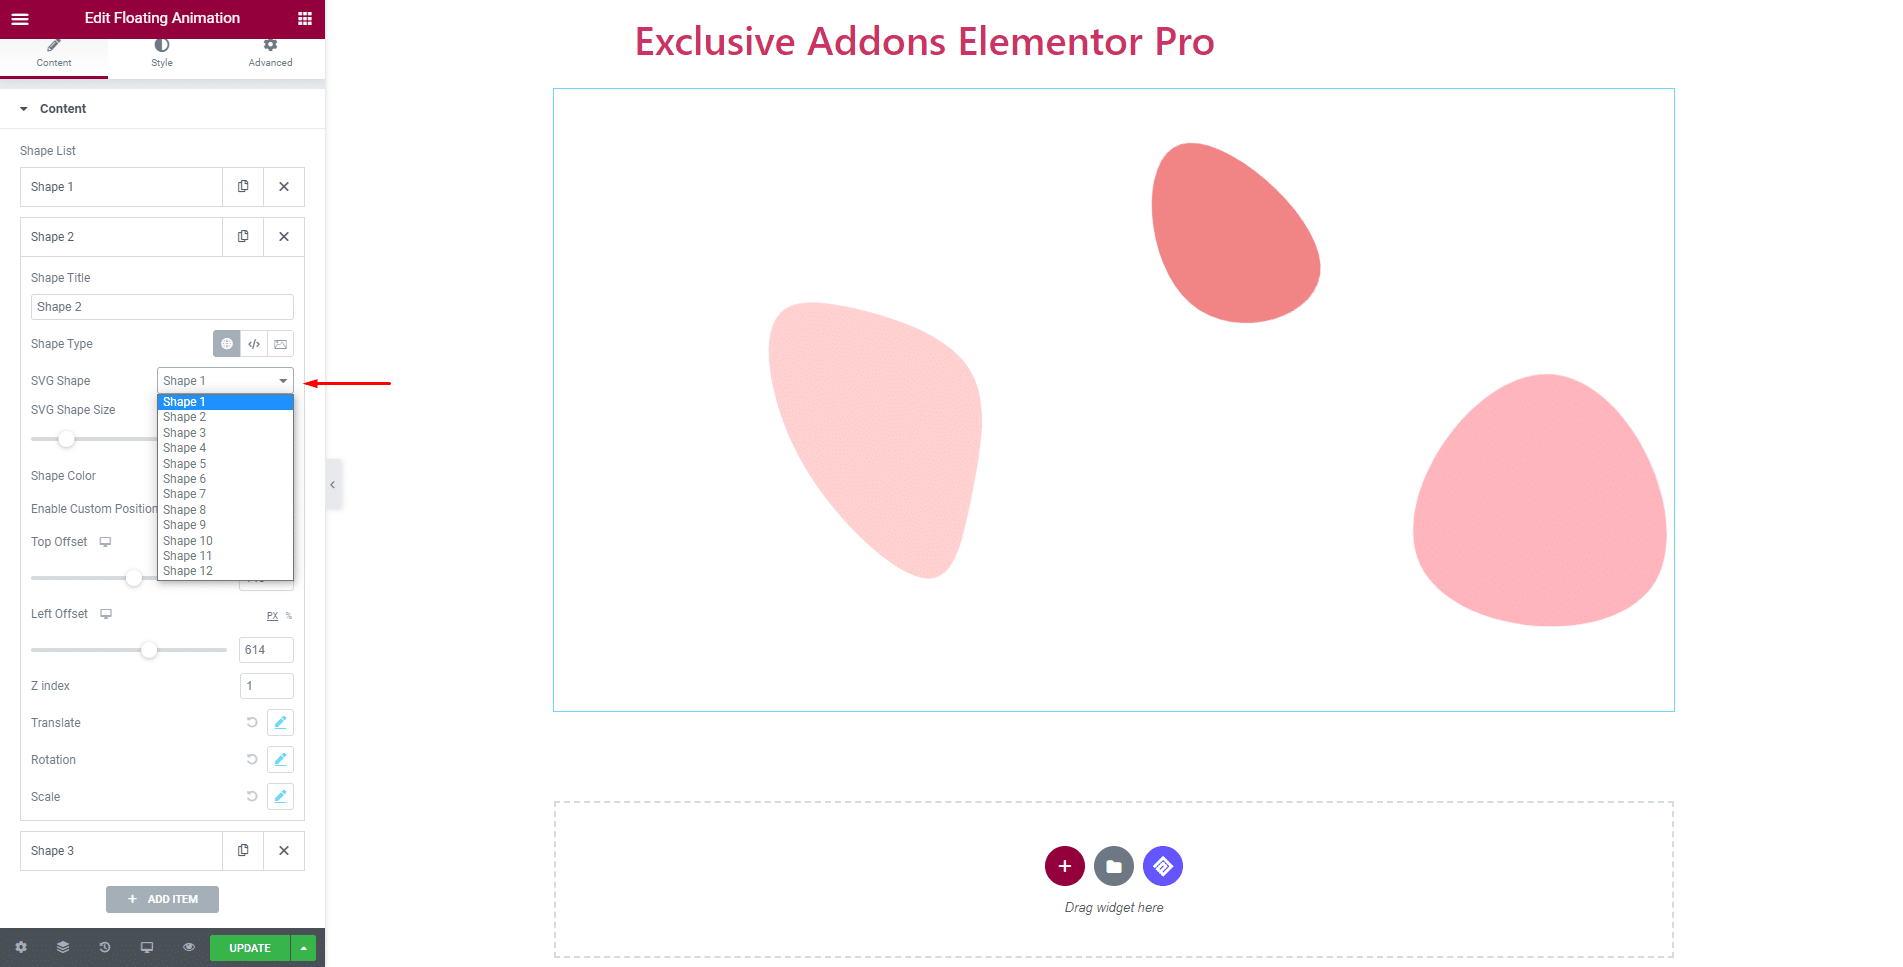
Content tab allows you to add or delete as many as you want. You can also configure each item individually with detailed customizable options.
For each shape, adjust SVG Shape Size, choose Shape Color, and decide over the Z Index, Translate, Rotation, and Scale Parameters. Also, can Enable Custom Position, and change position by adjusting ‘Top Offset’ and ‘Left Offset’.
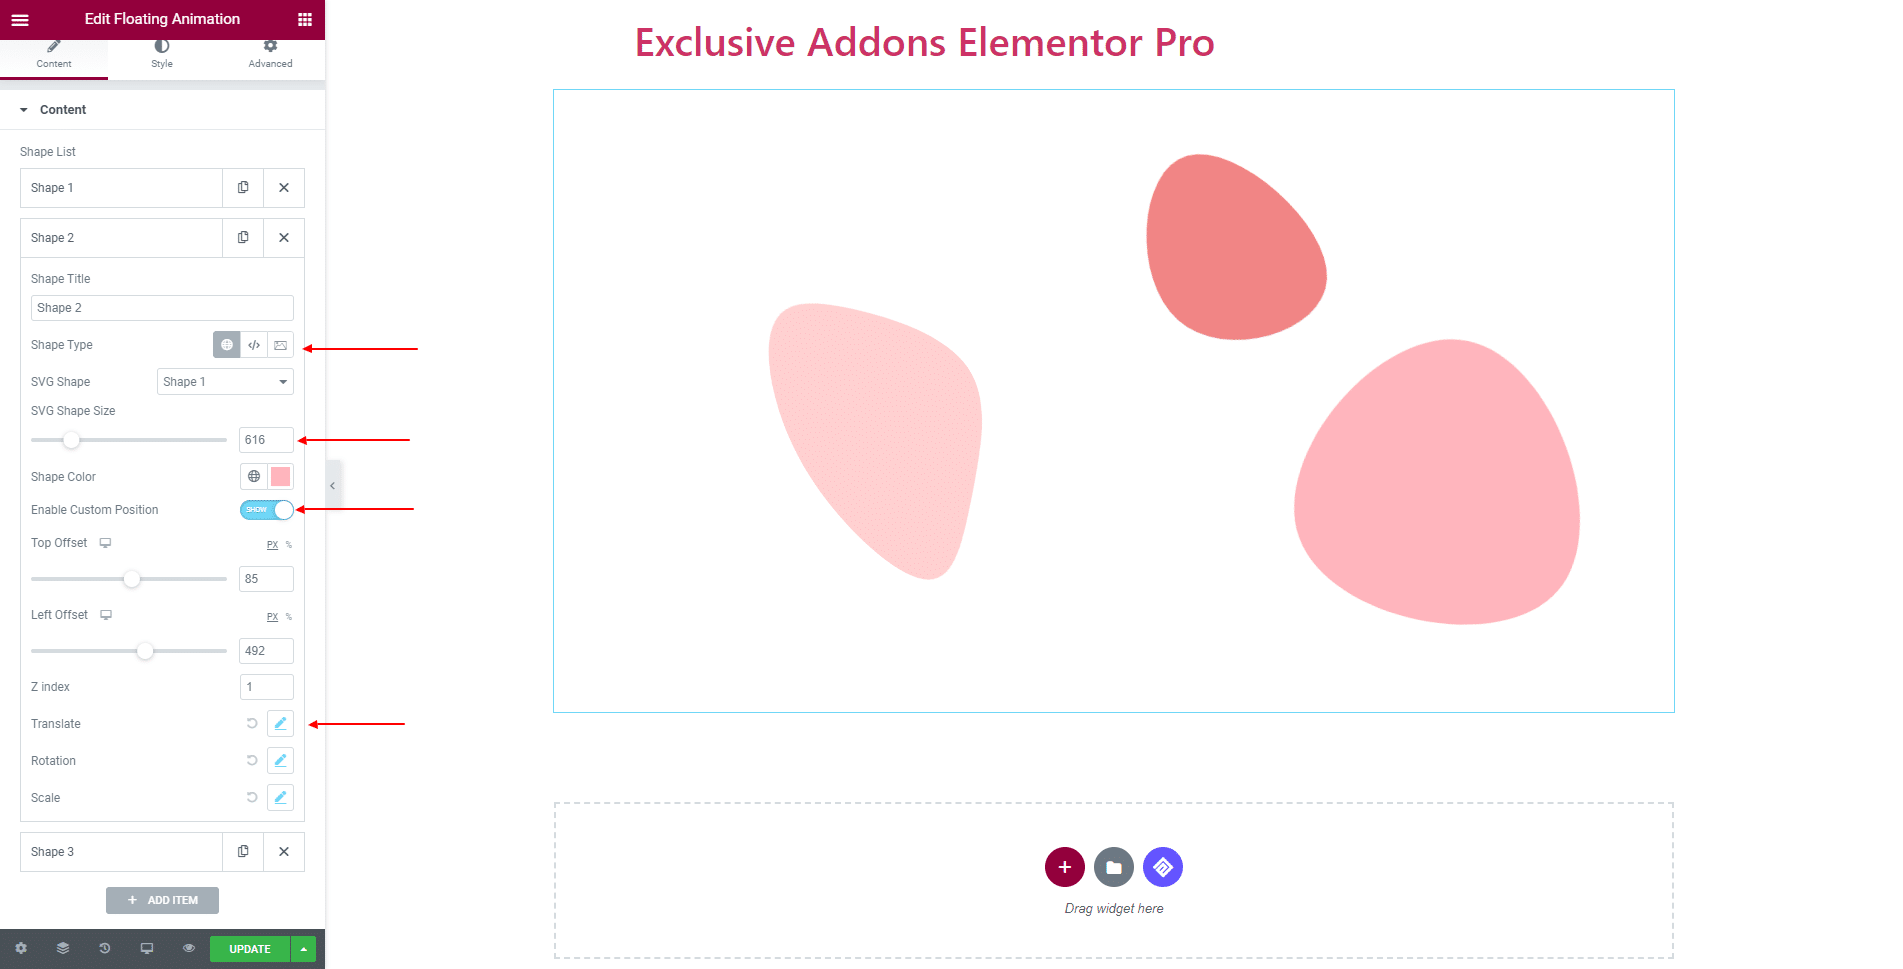
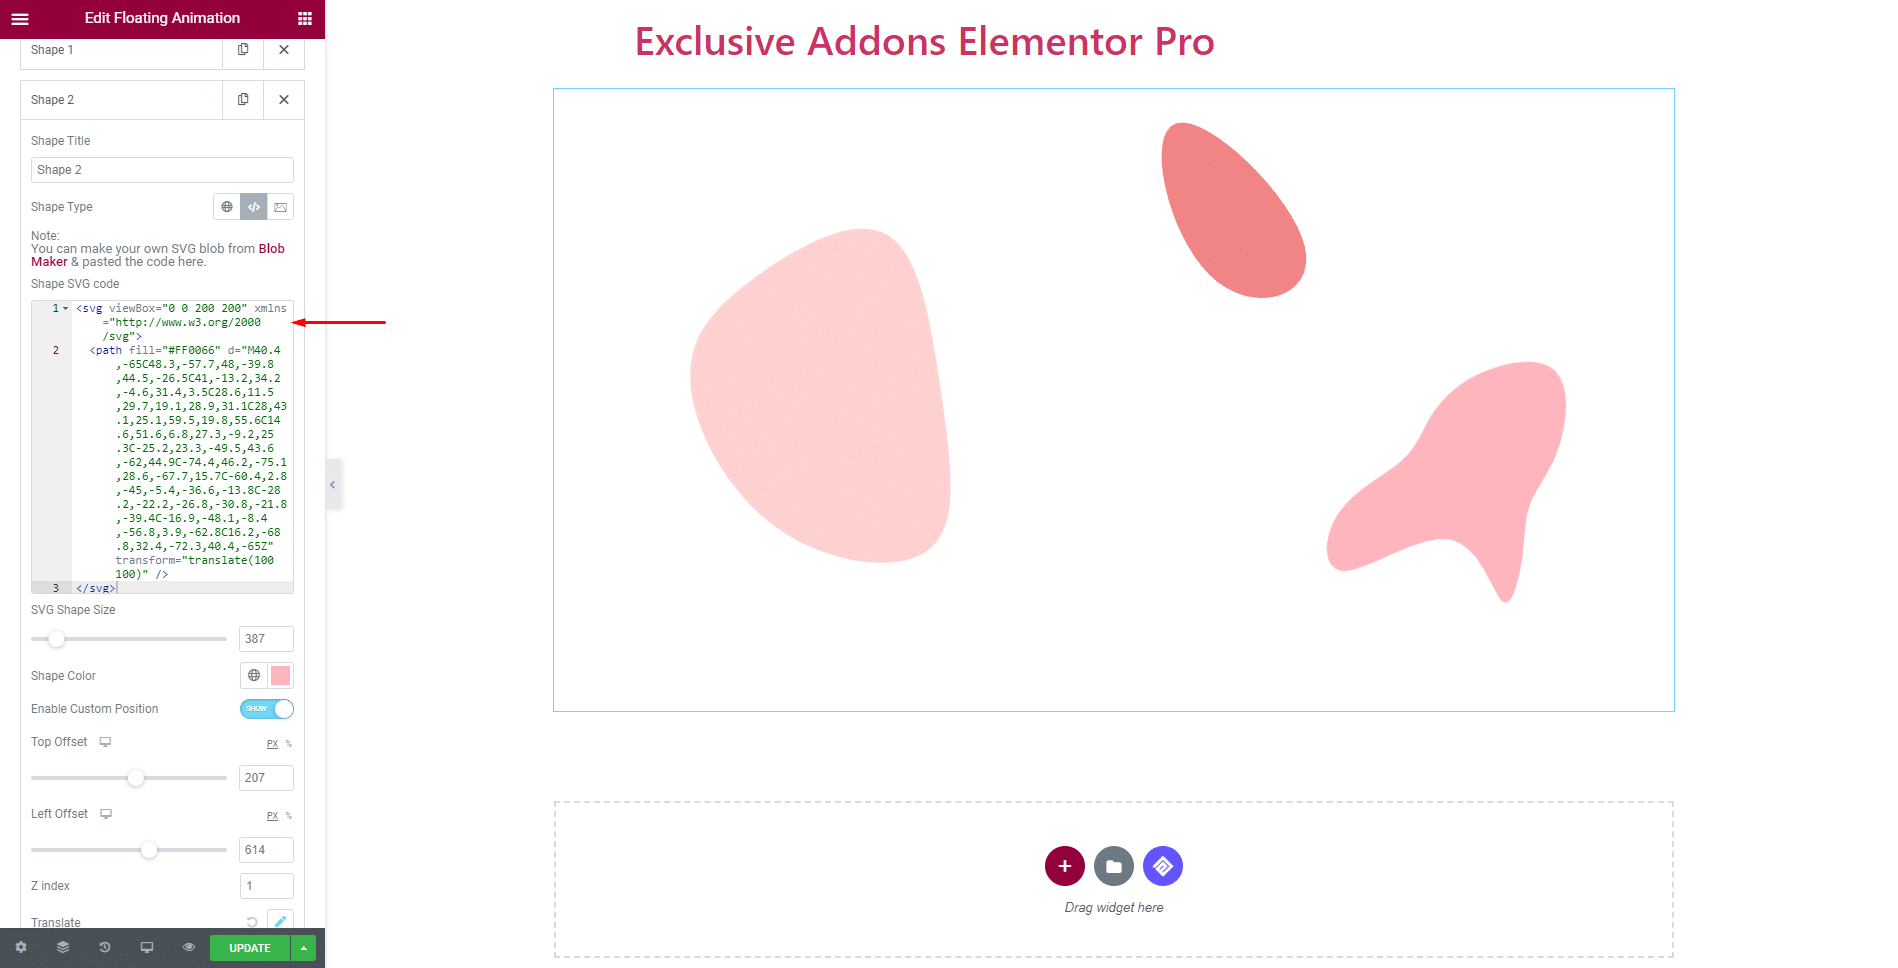
You have the option to select Shape Type as ‘Default’, ‘SVG Code’, and ‘Image’. For Default Shape Types, choose from the 12 exclusively built, stylish SVG Shapes.
As far as the SVG Shape is concerned, go to Blobmaker.app to create unique blob shapes of your own. Then copy and paste the SVG Code here.
Besides, use Image as Floating Shape.
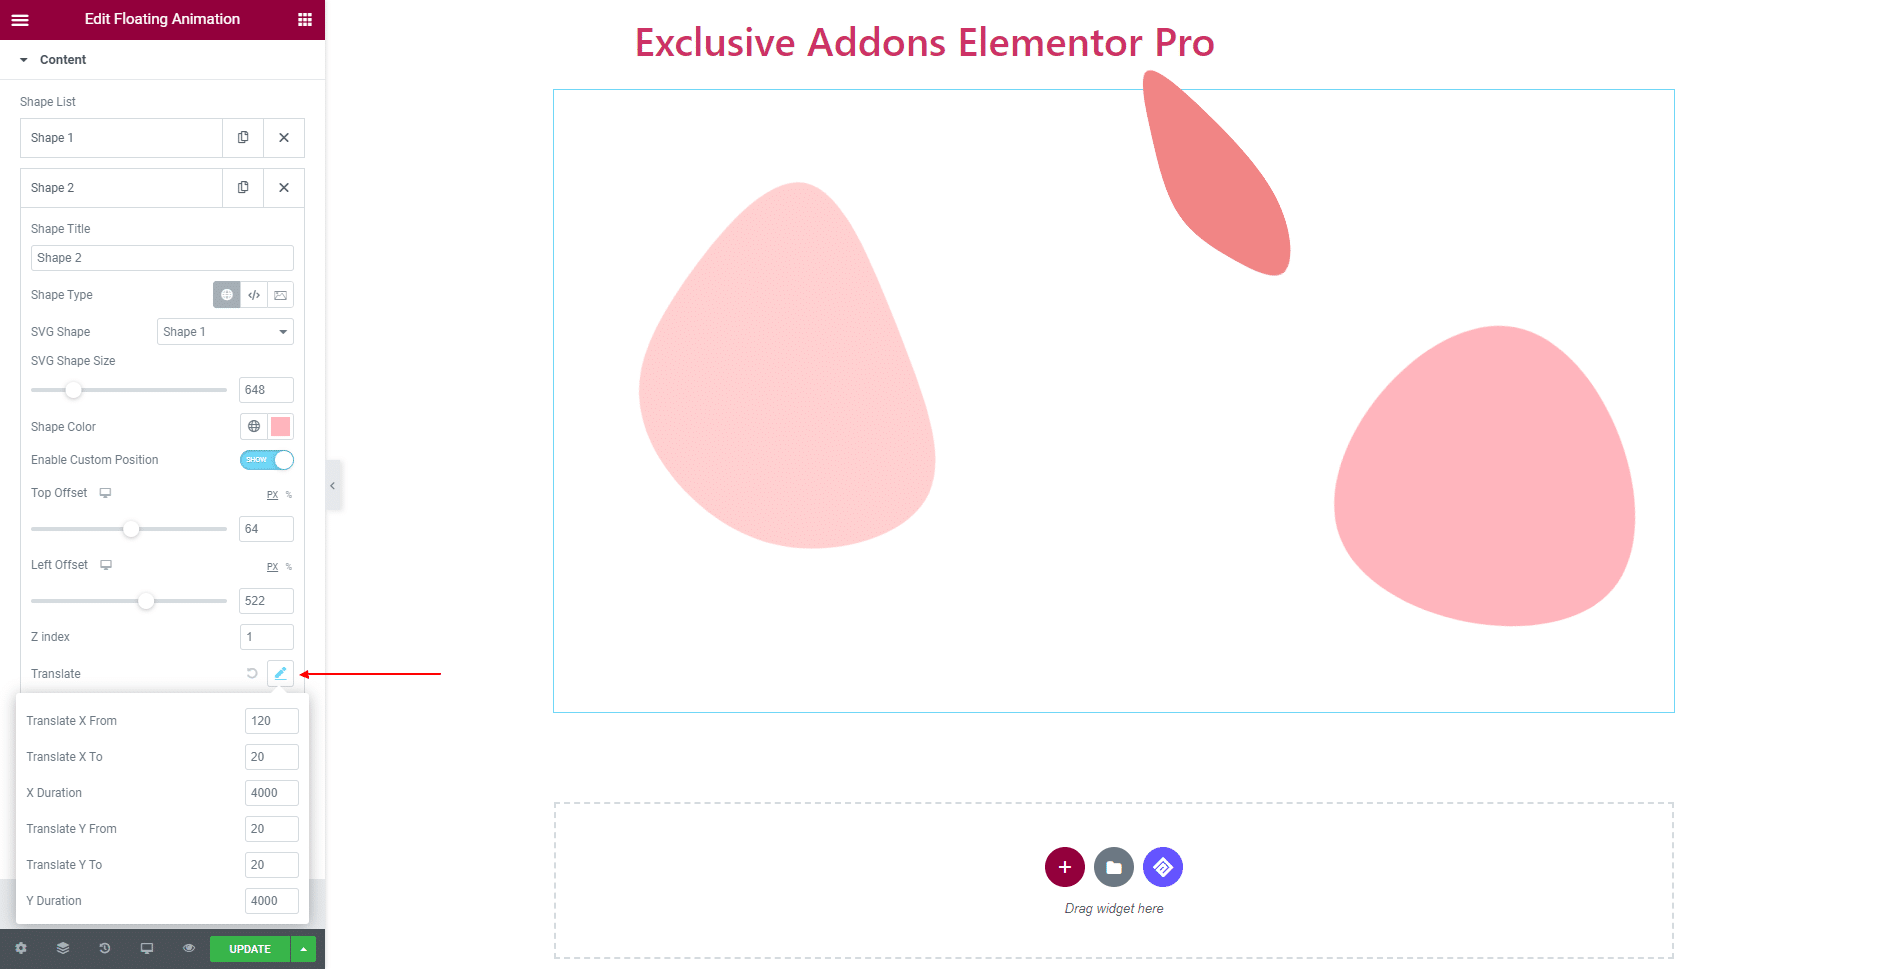
Control the direction of the moving shapes by setting Translate parameters.
Control the rotating of the floating shapes by setting Rotation parameters.

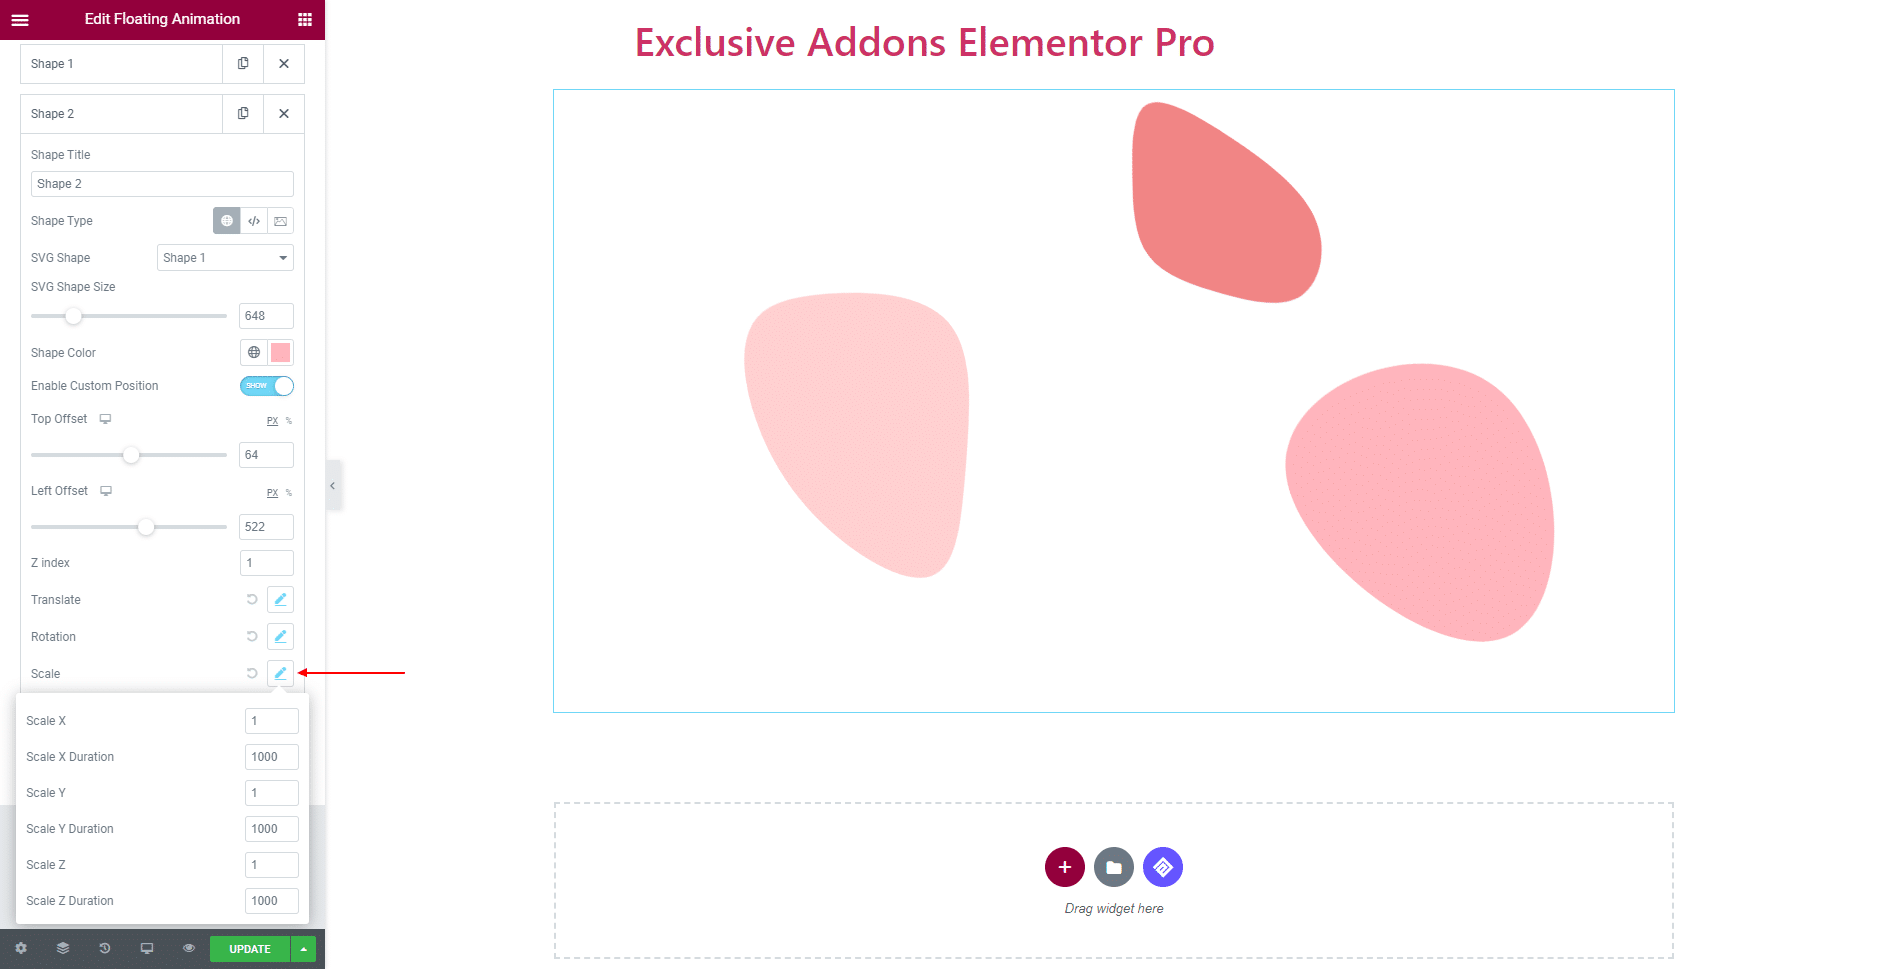
Set shape Scale with X-Y-Z axis and set duration for every axis..
STEP 3:
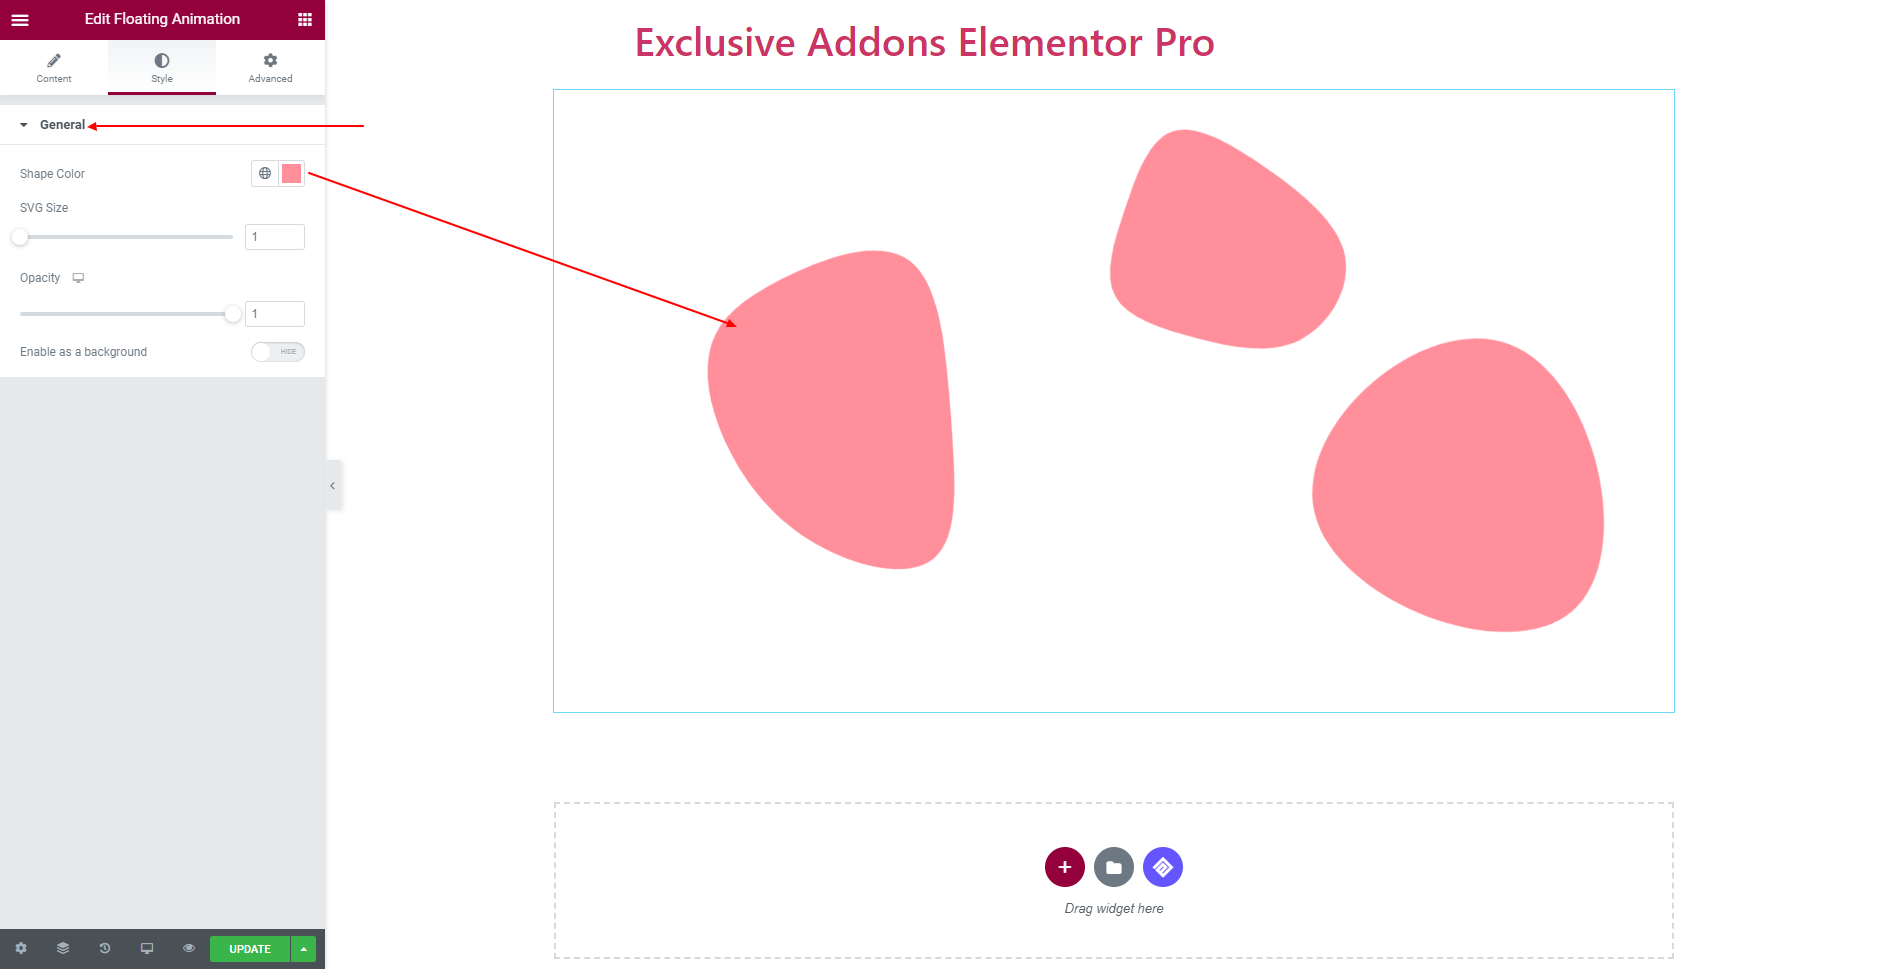
Style tab provides you the global customization options from General section.
You can decide over Shape Color, SVG Size, and Opacity for all the shapes.
Floating Shapes can be used as background. Just turn on Enable as a Background option and set position by adjusting Top Offset, Left Offset, and Z Index.

STEP 4:
Finally, hit the Update button, and include a stylish and creative Floating Animation Widget on your Wordpress site.