How to configure and style Countdown Timer Widget
Add a time countdown feature for offers or campaings on your site using Exclusive Addons Countdown Timer Widget for Elementor.
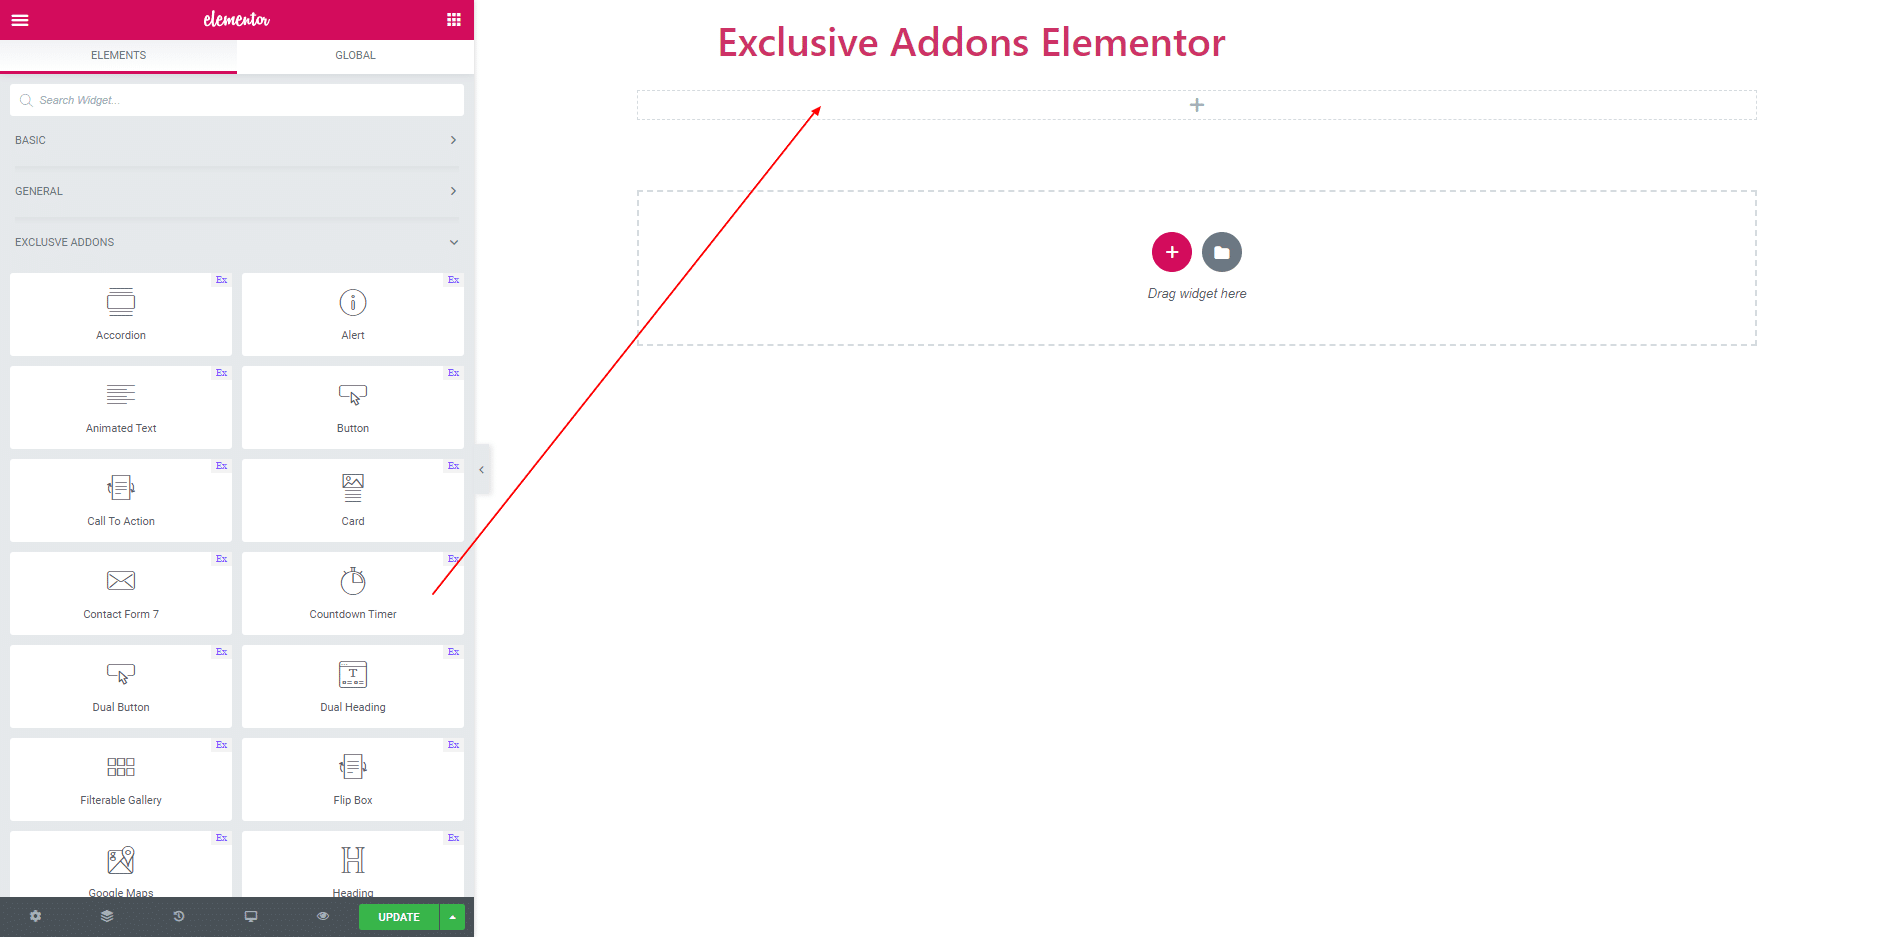
STEP 1:
Select the ‘Countdown Timer’ widget from Elementor panel. Then drag and drop it in the selected area.
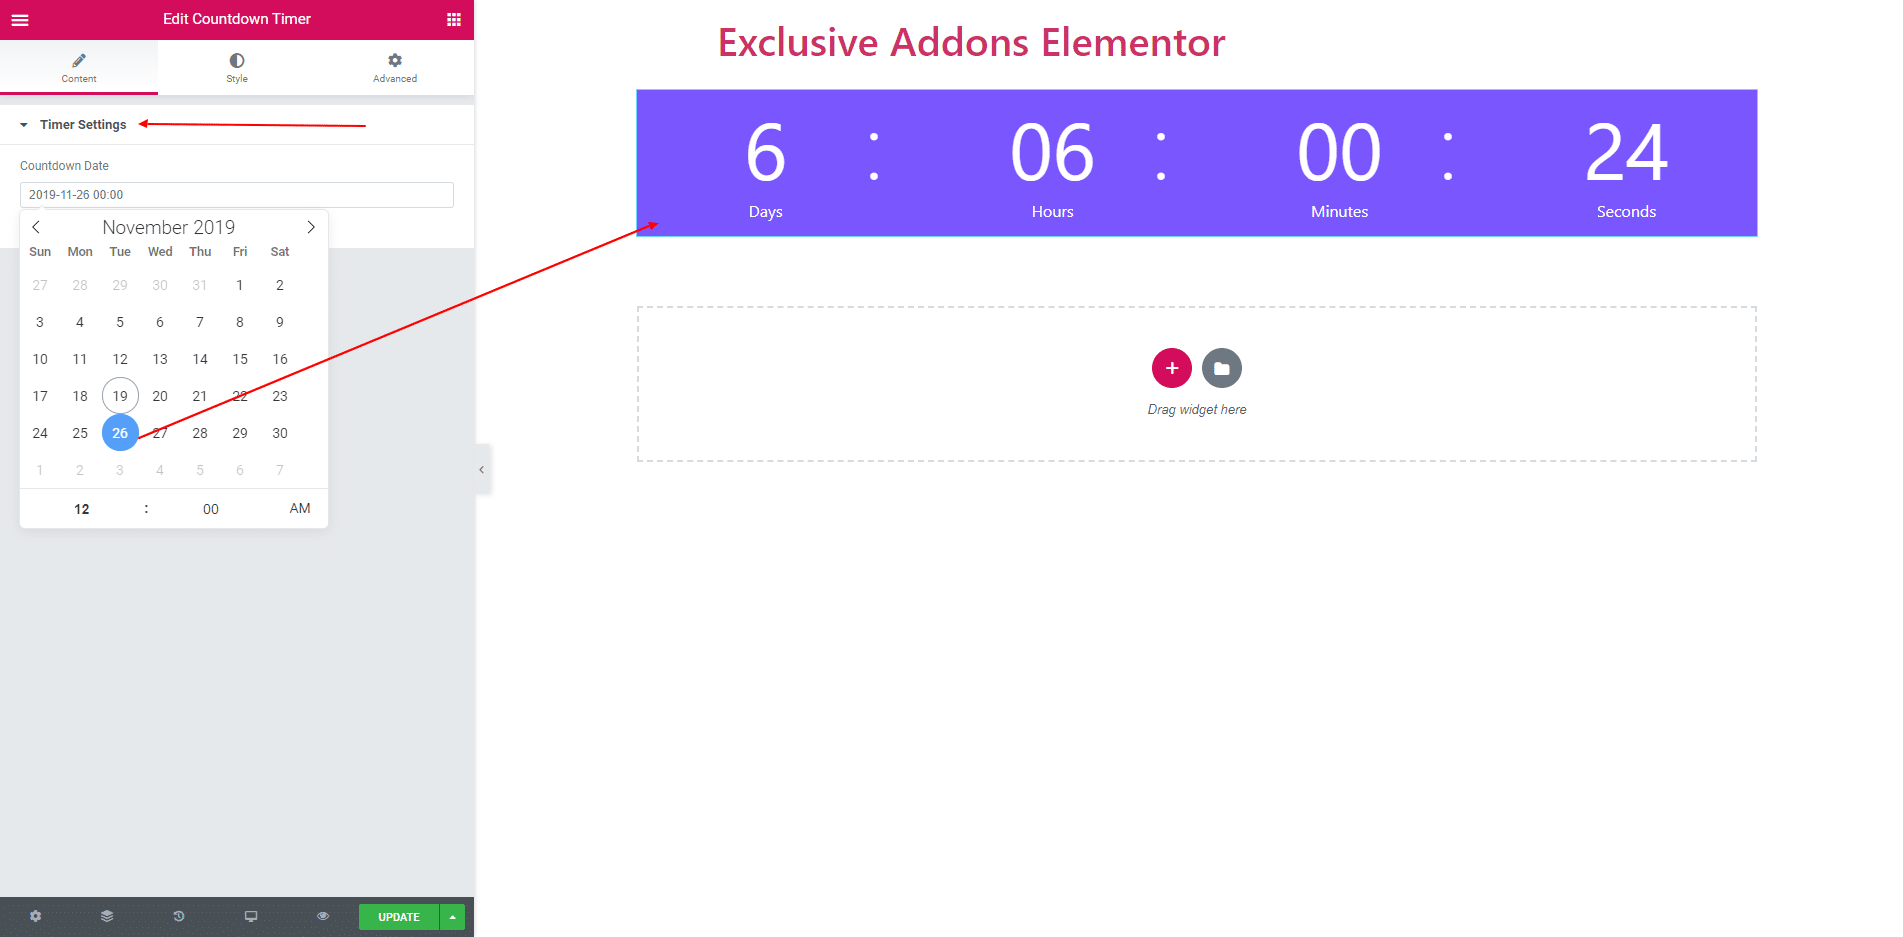
STEP 2:
In Content section you get ‘Time Settings’ for setting up end time.
STEP 3:
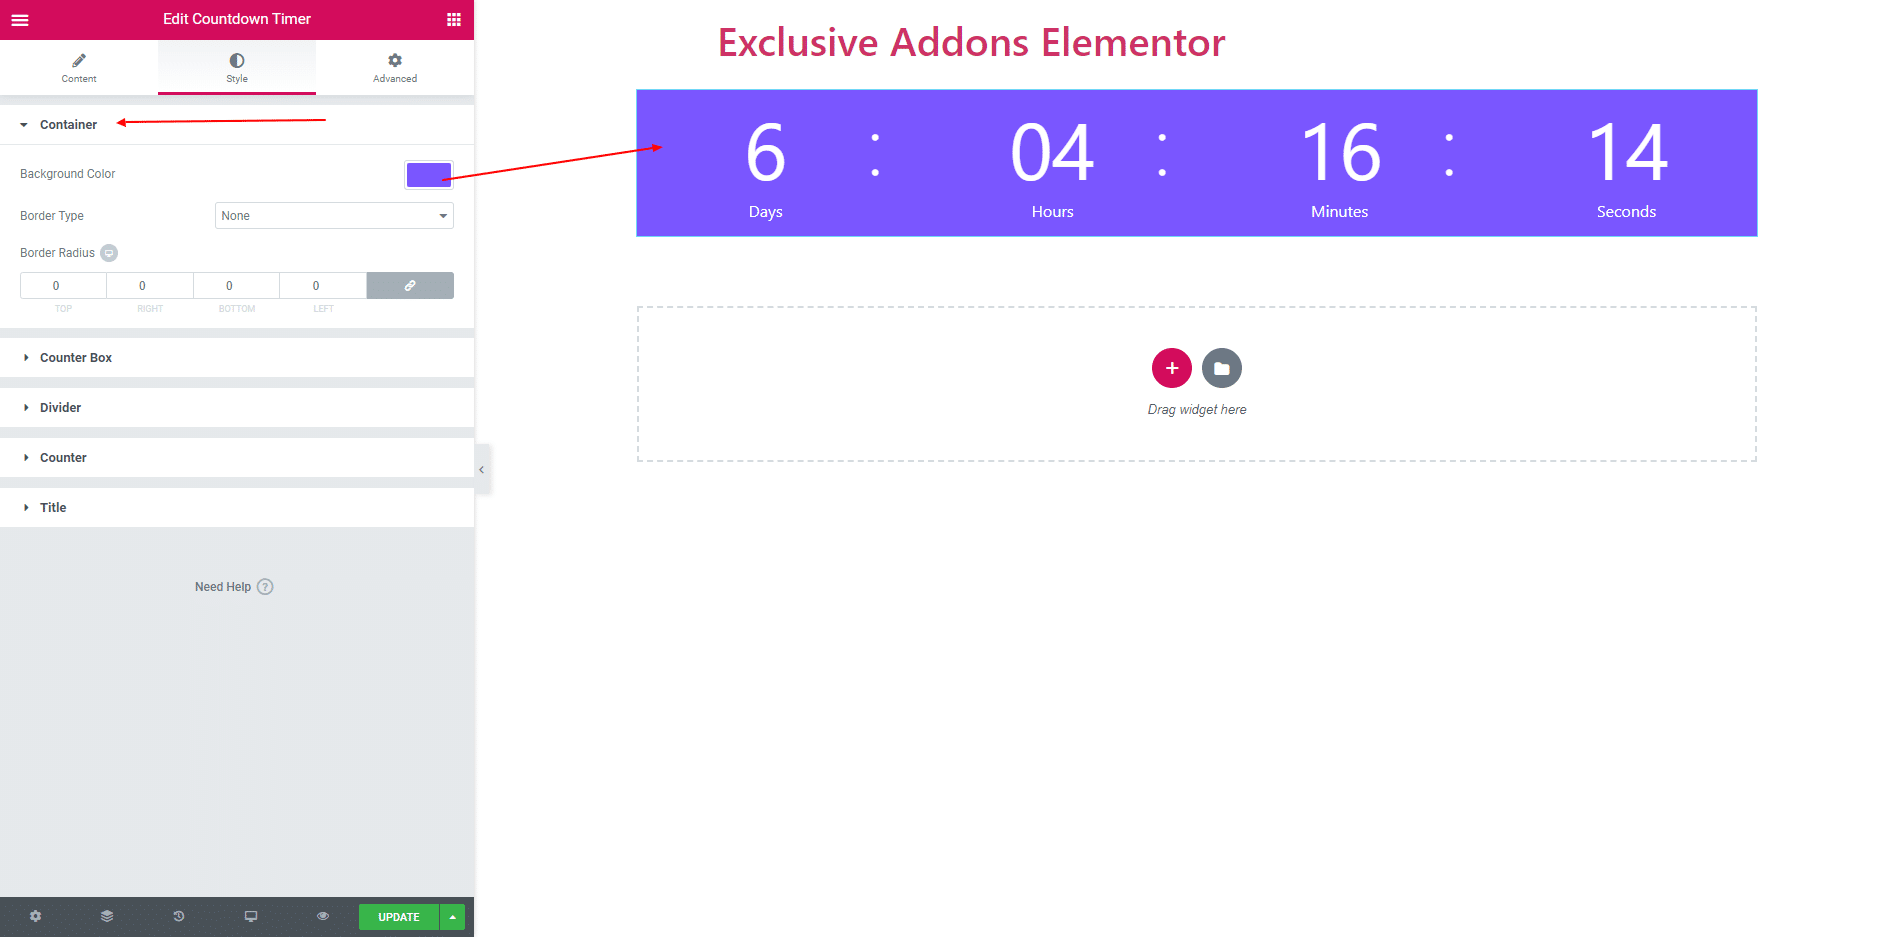
In Style section you get Container, Counter Box, Devider, Counter and Title.
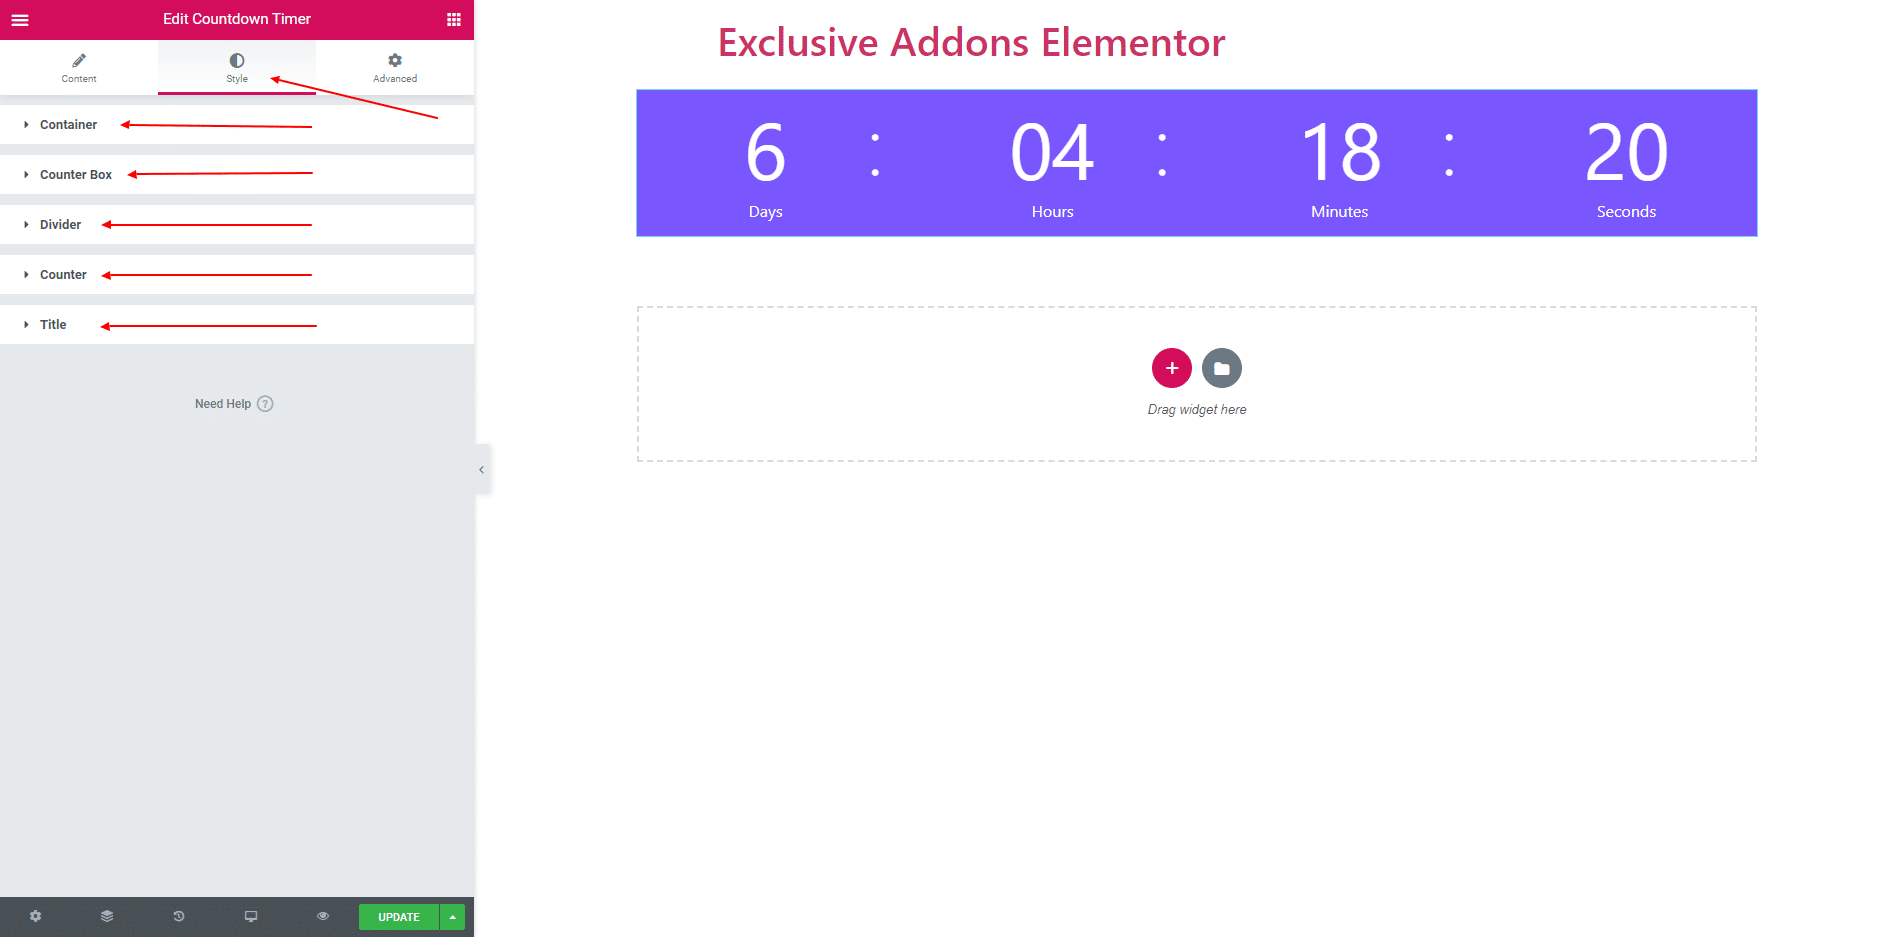
3.1. In Container you cat set Background Color, Border and Border Radius.
3.2. In Counter box you can set Background Color, Border and Border Radius and more options.

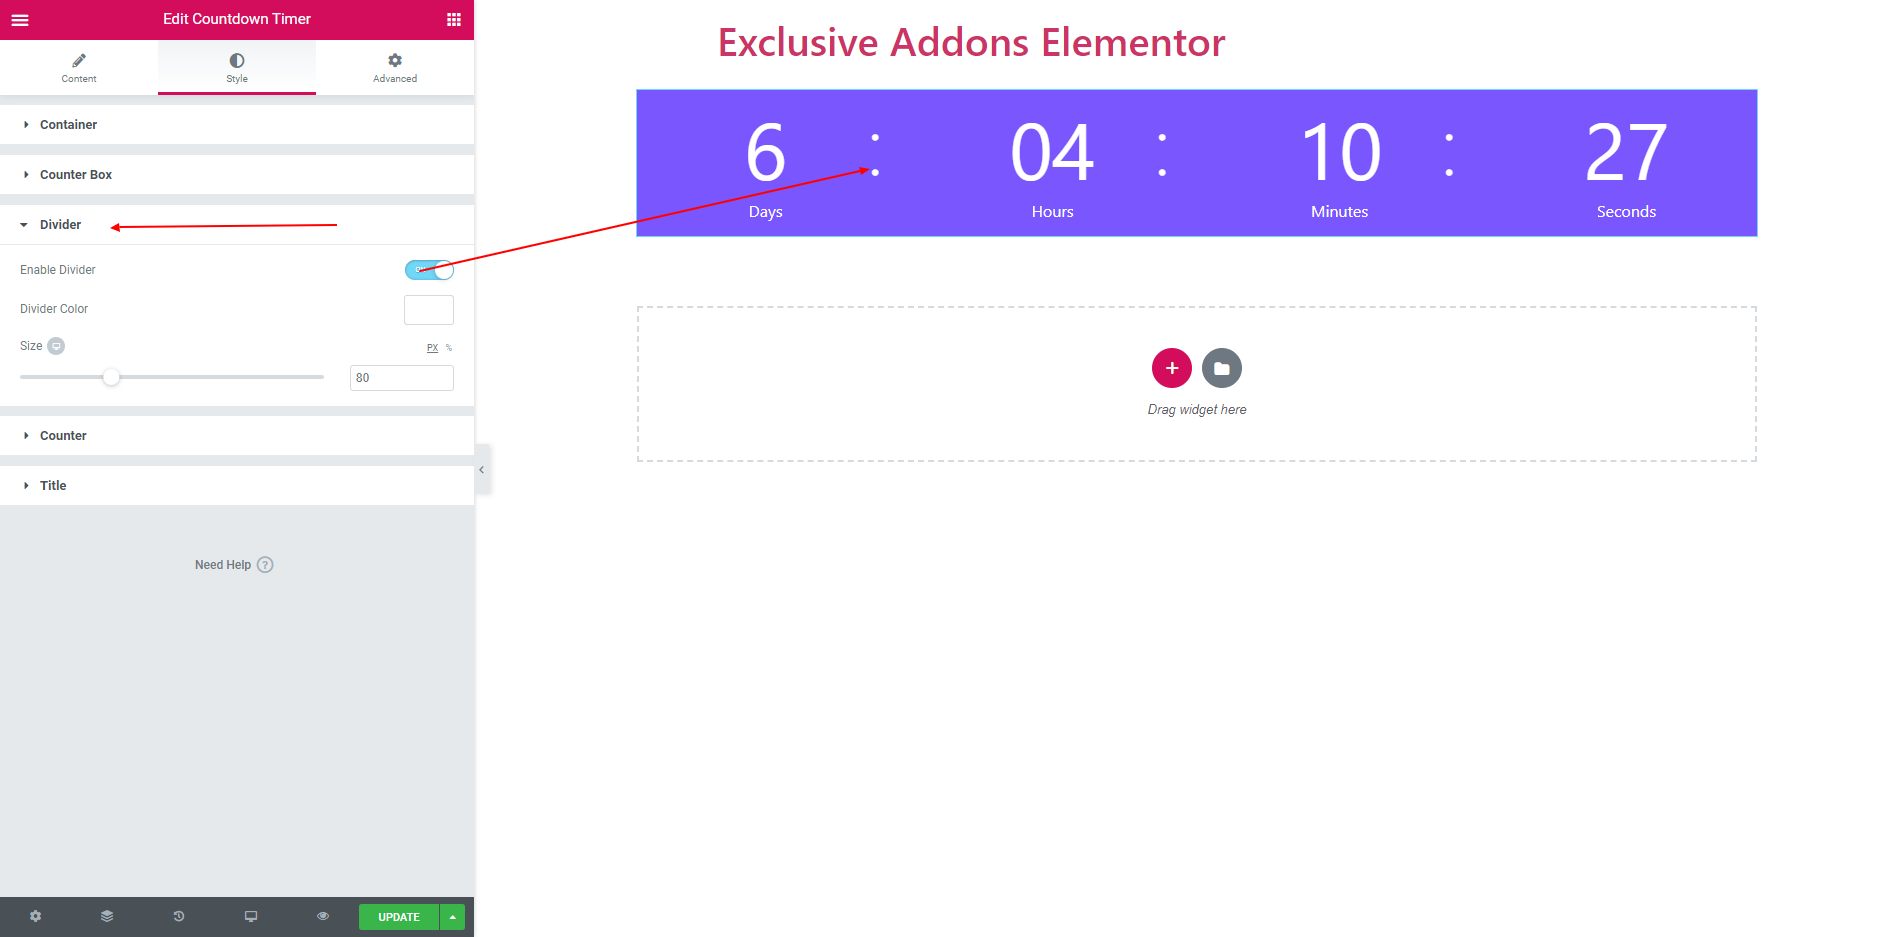
3.3. You can enable or disable Divider from Divider tab. And also set Divider Color and size.
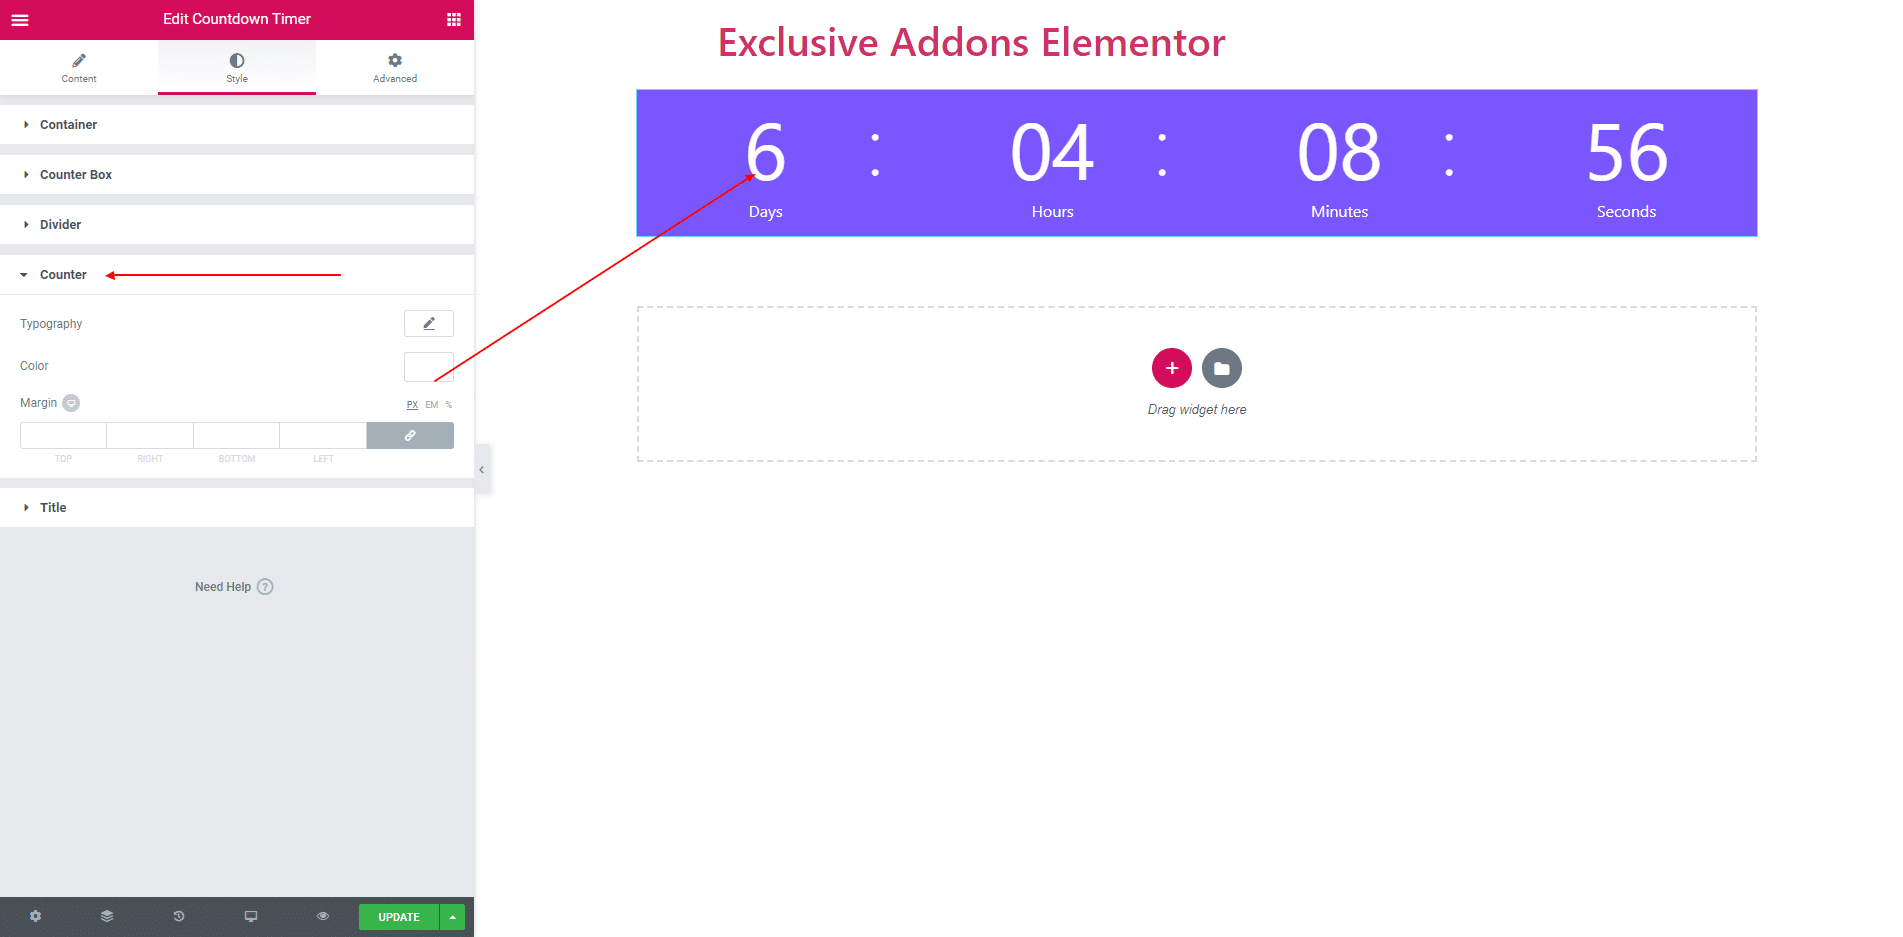
3.4. You can change the time Color, Typography and Margin.
3.5. You can also change the Counter Title Color, Typography and Margin.

STEP 4:
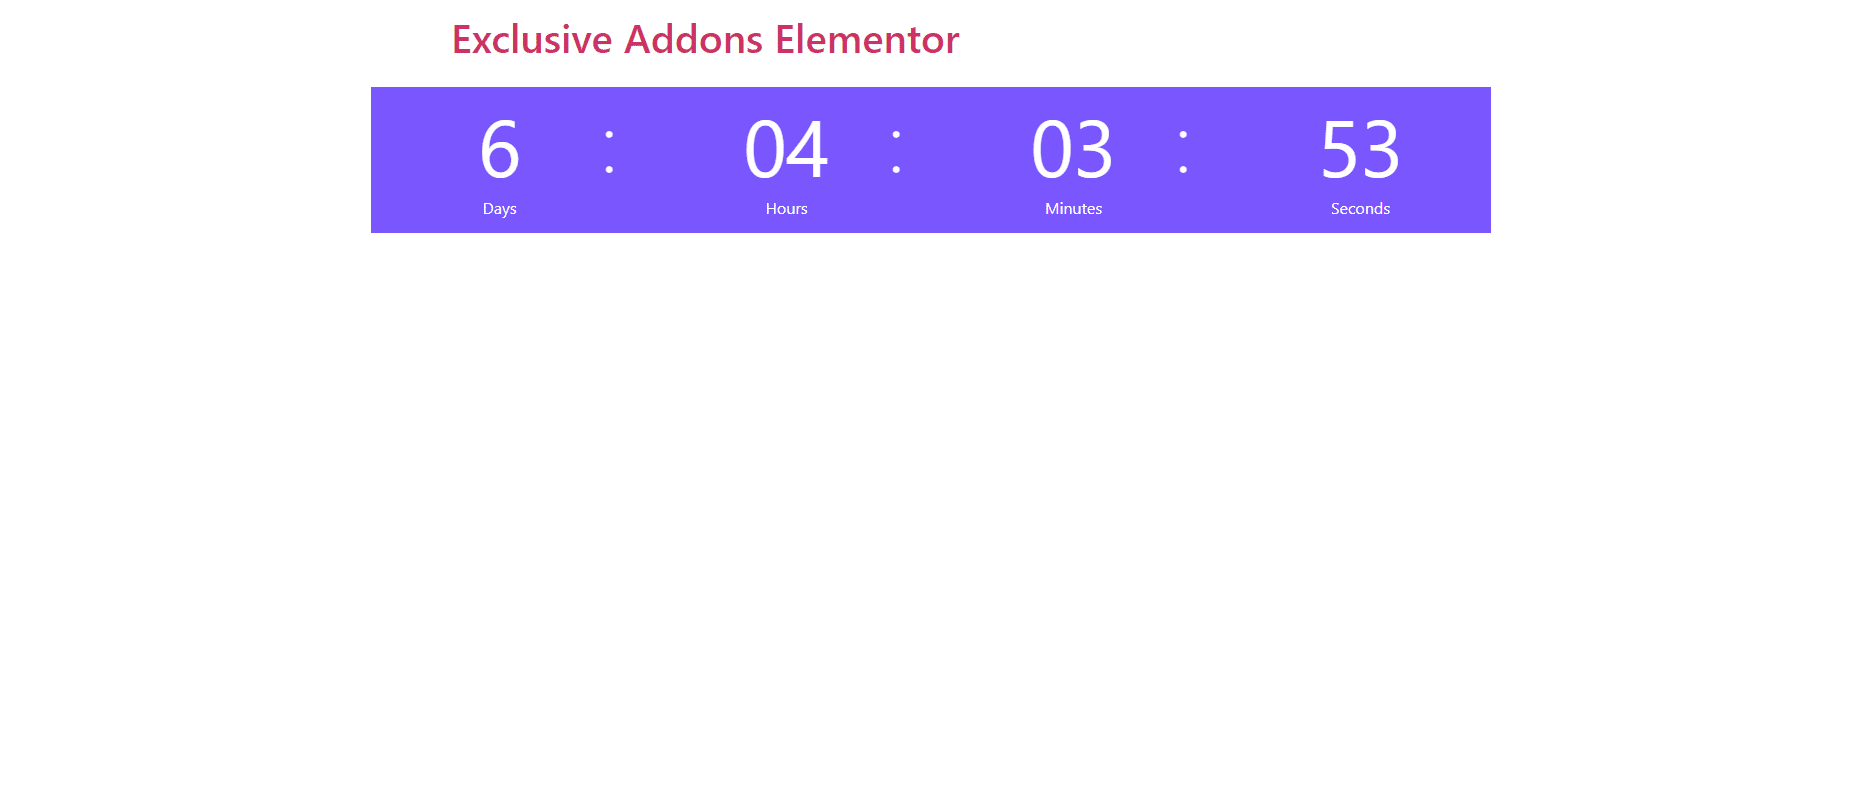
Finally, after clicking the update button you will see the beautiful Countdown Timer on your webpage.