How to configure and style Testimonial Widget
Add user testimonial to gain the trust of your new visitors and show the reviews in a trendy way. Show reviewer’s name, designation and photo using Exclusive Addons Testimonial Widget for Elementor.
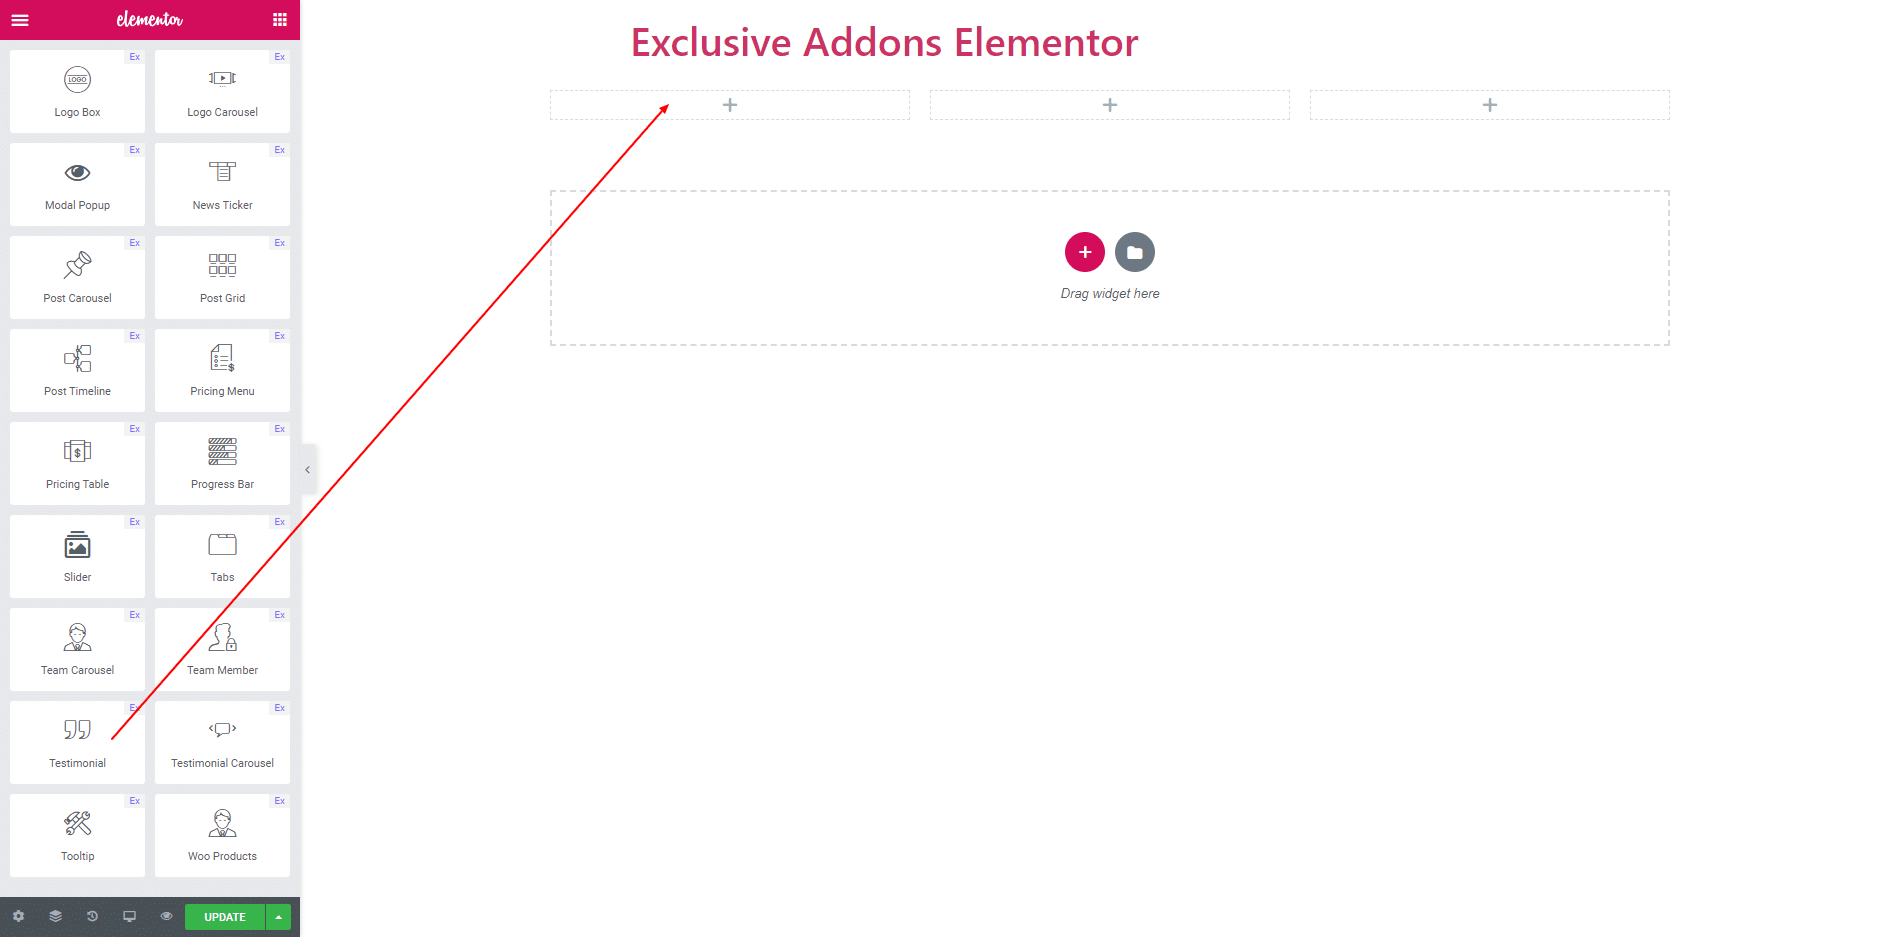
STEP 1:
Select the ‘Testimonial’ widget from Elementor panel. Then drag and drop it in the selected area.
STEP 2:
Content section Consist of Image, Testimonial, Name, Degeination and Rating.
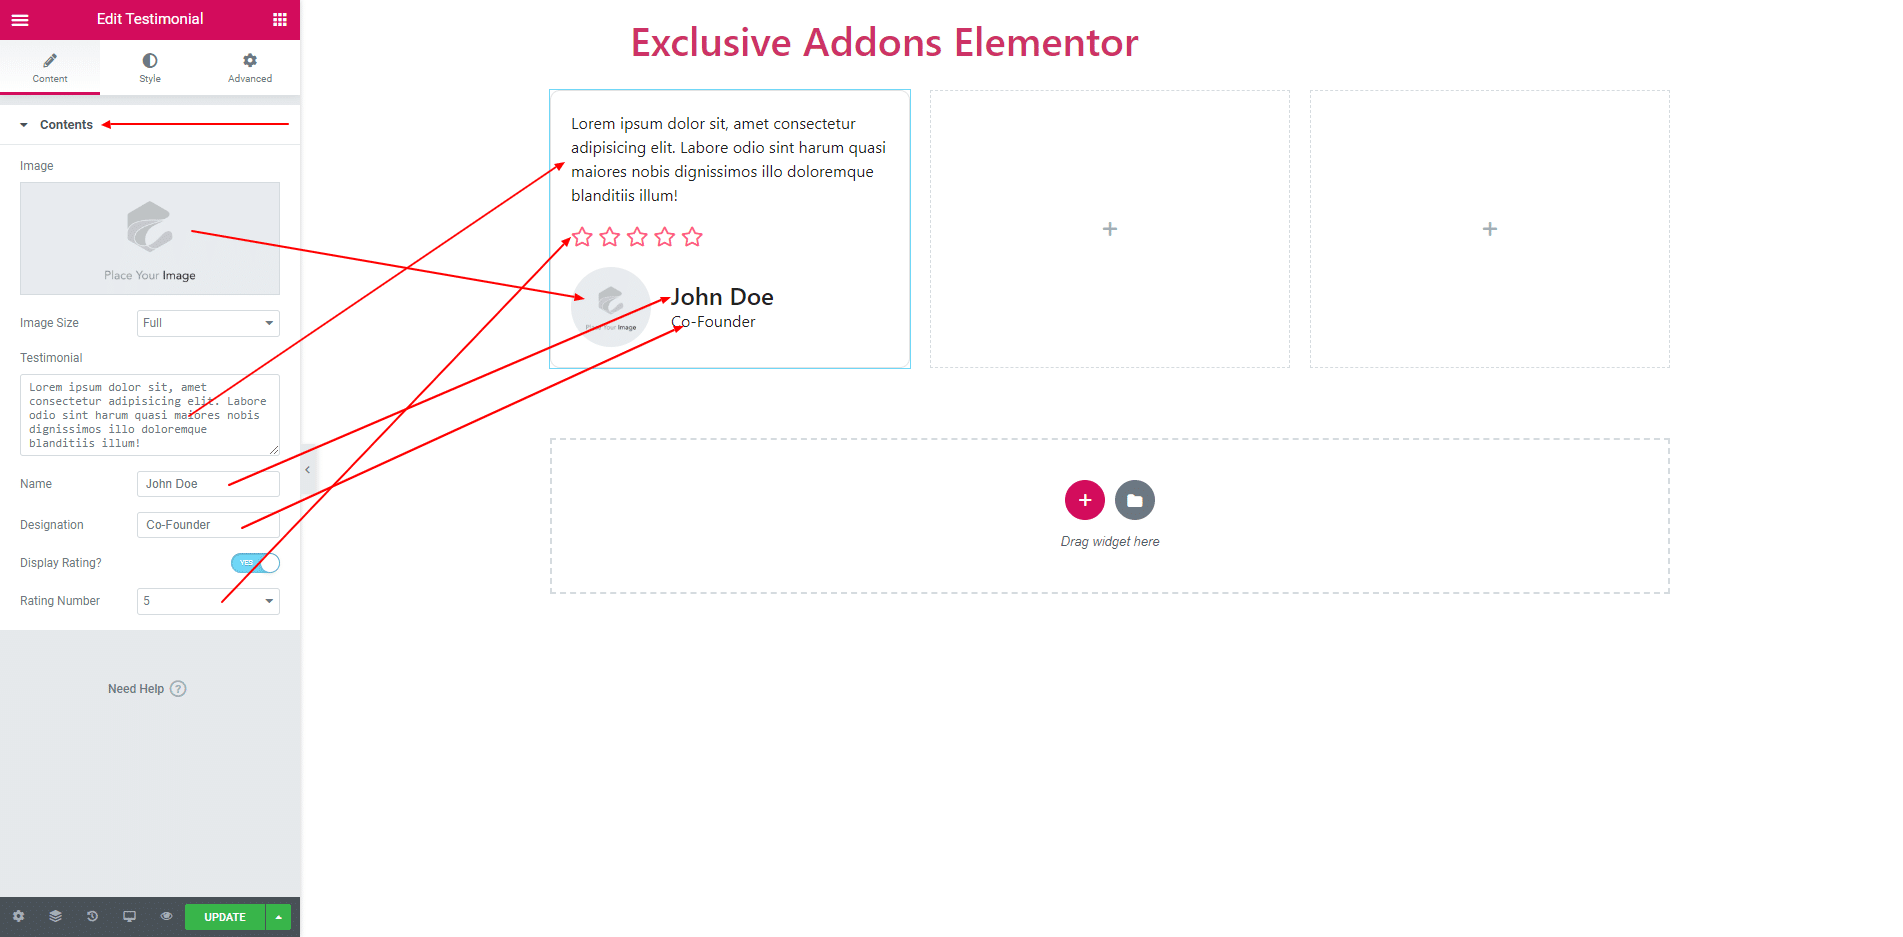
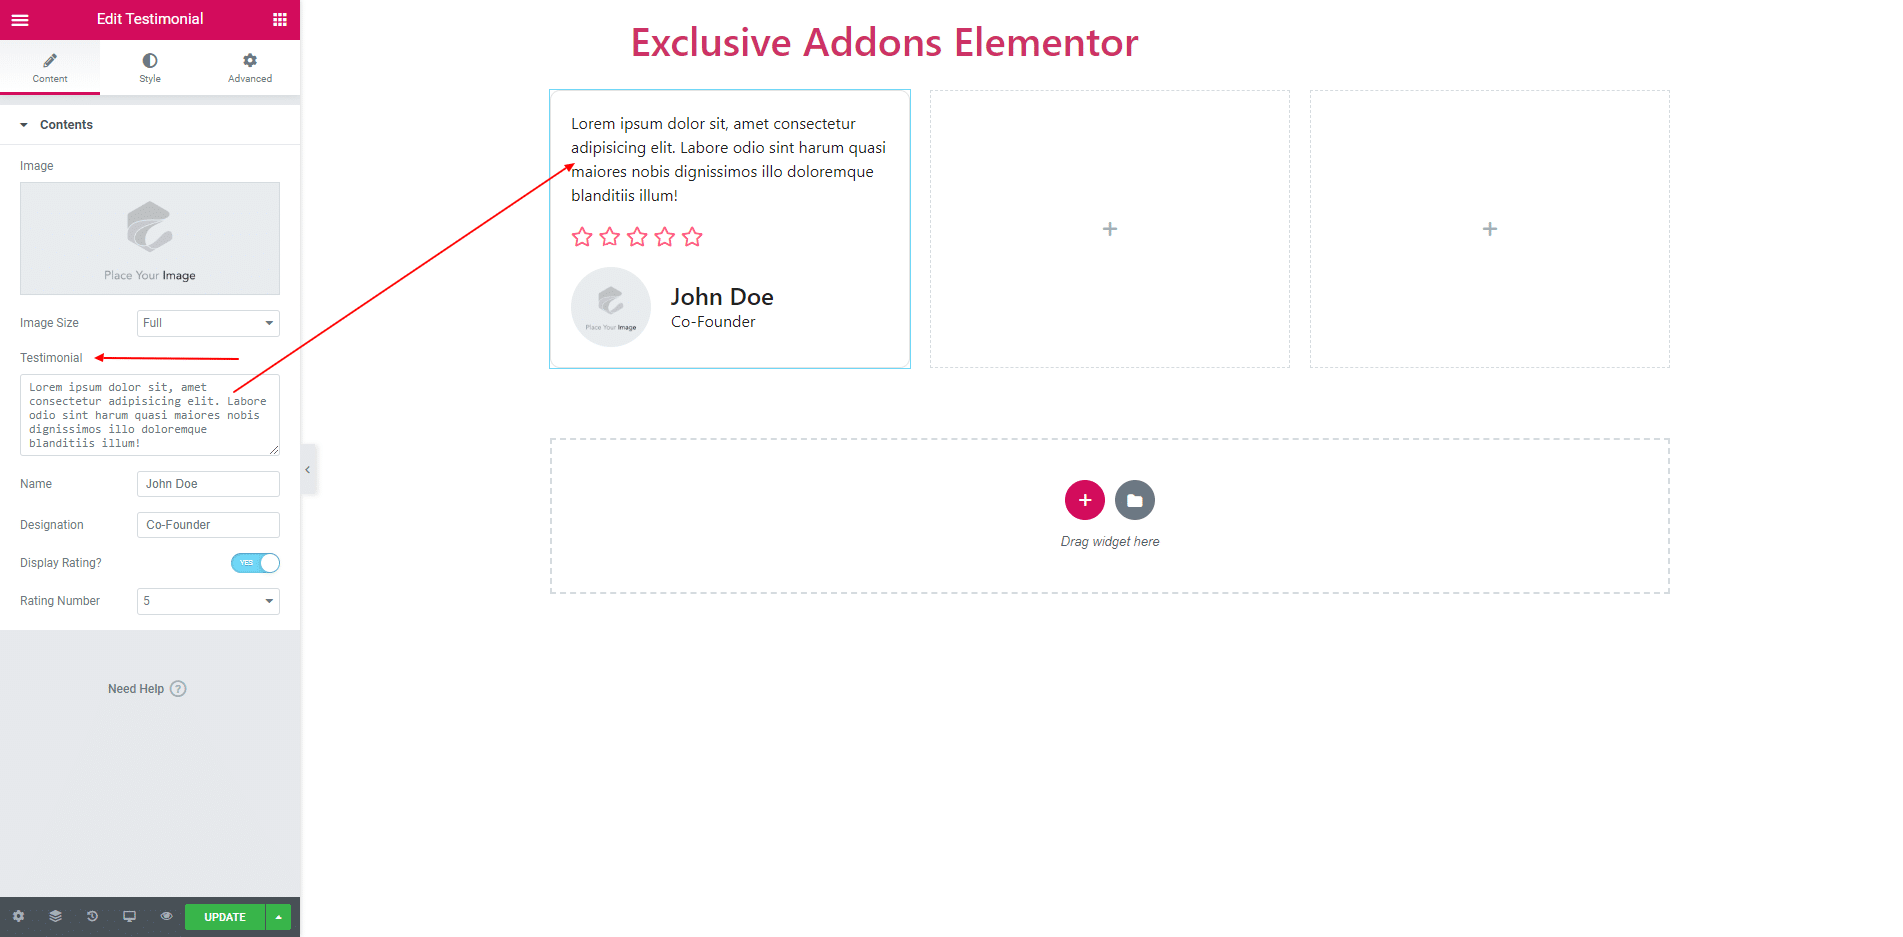
2.1. You can write testimonial in ‘Testimonial’ section.
2.2. Now choose a reviewer image. You can upload the image from your computer or you can download it from elsewhere. You can also set the size of the image. Set your reviewer name and designation.
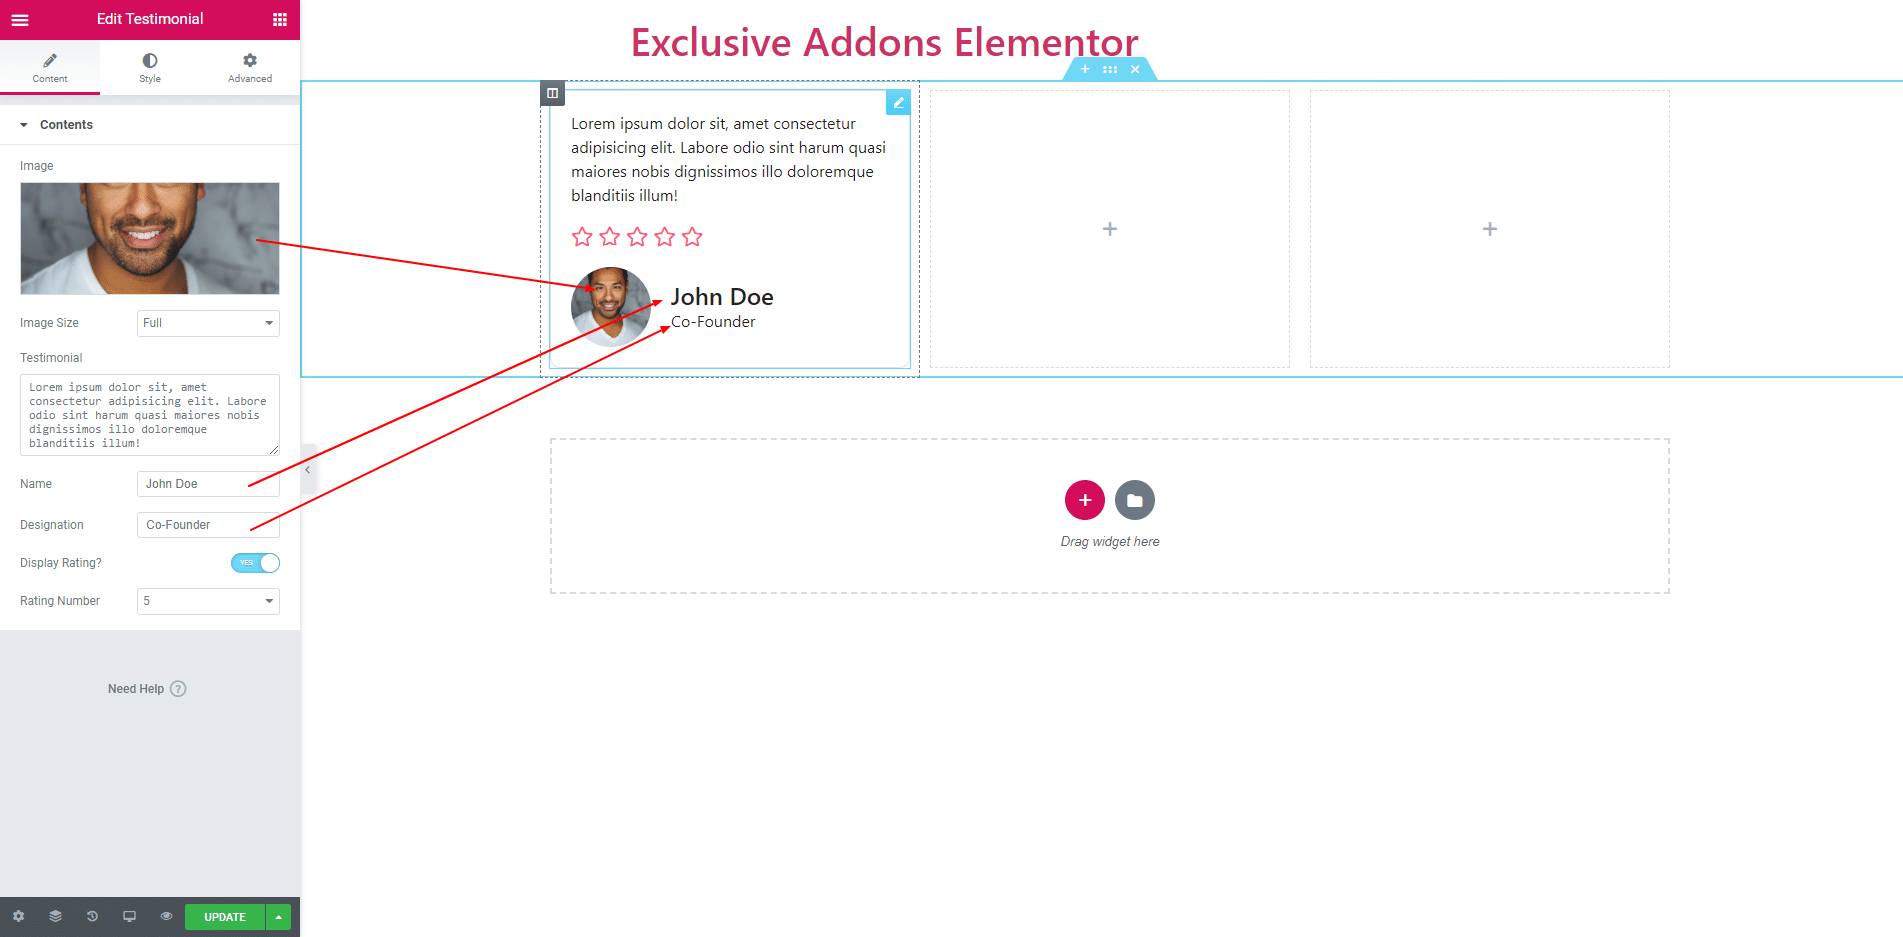
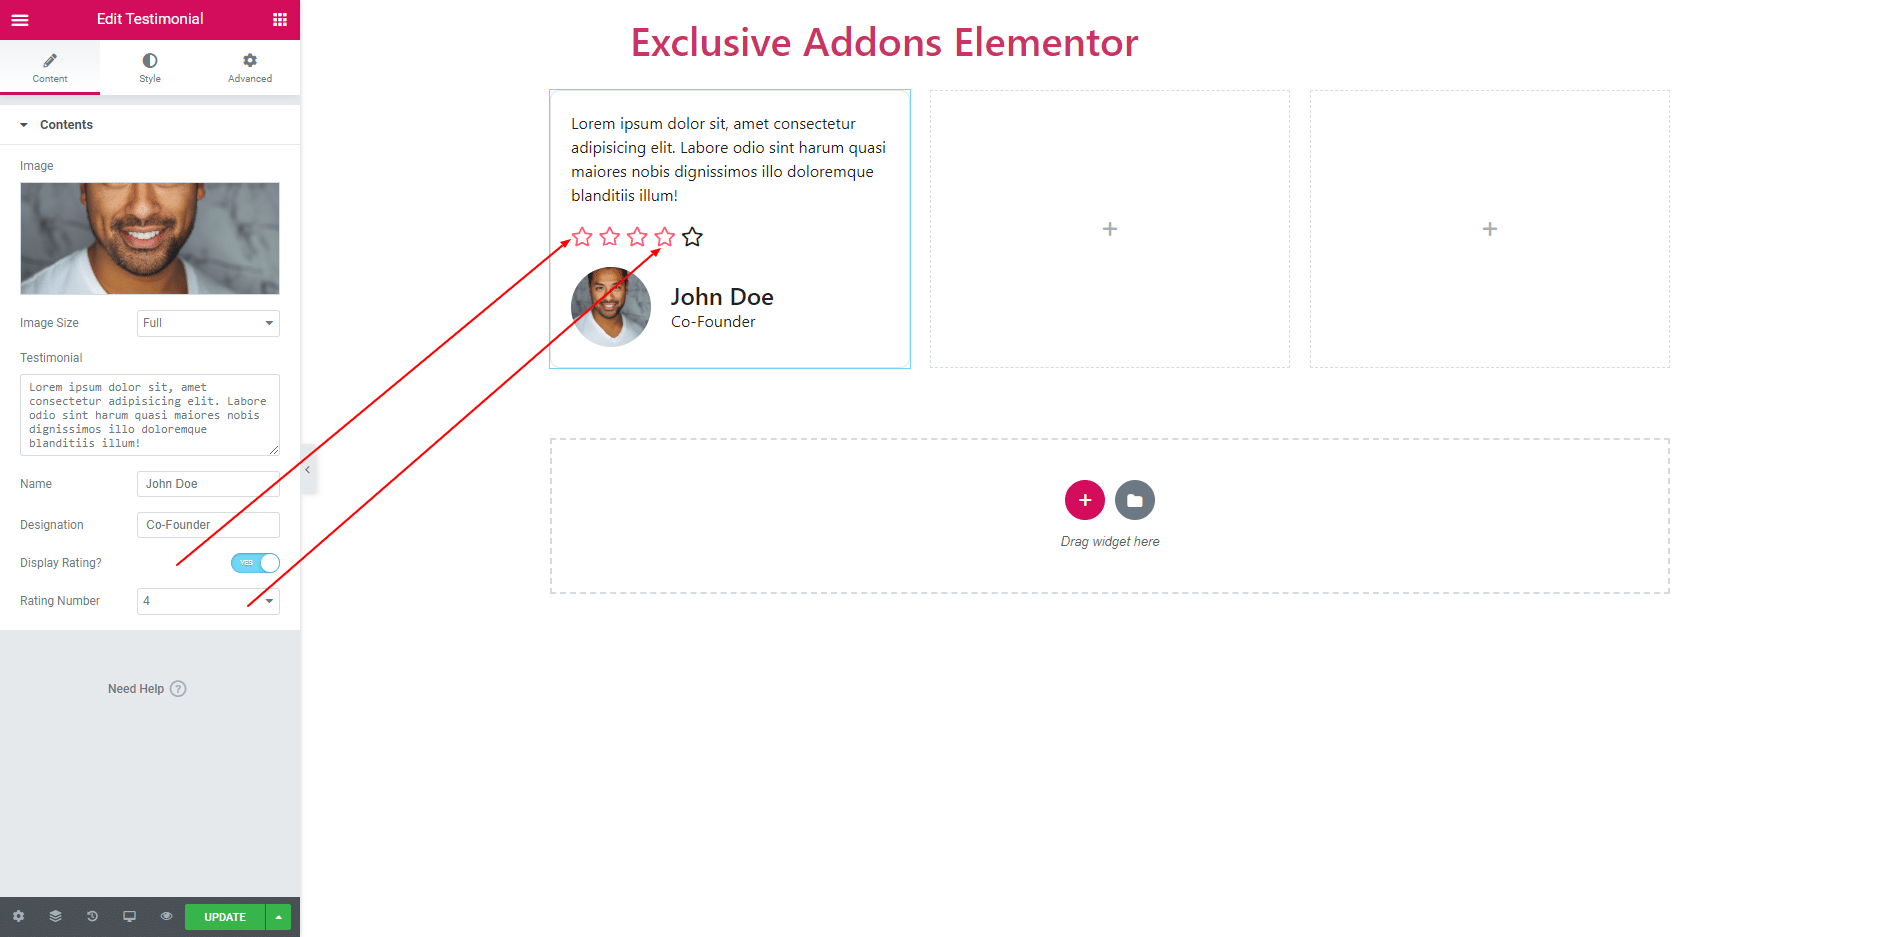
2.3. You can enable or disable ‘Rating’. After enable rating set a reating from dropdown.
STEP 3:
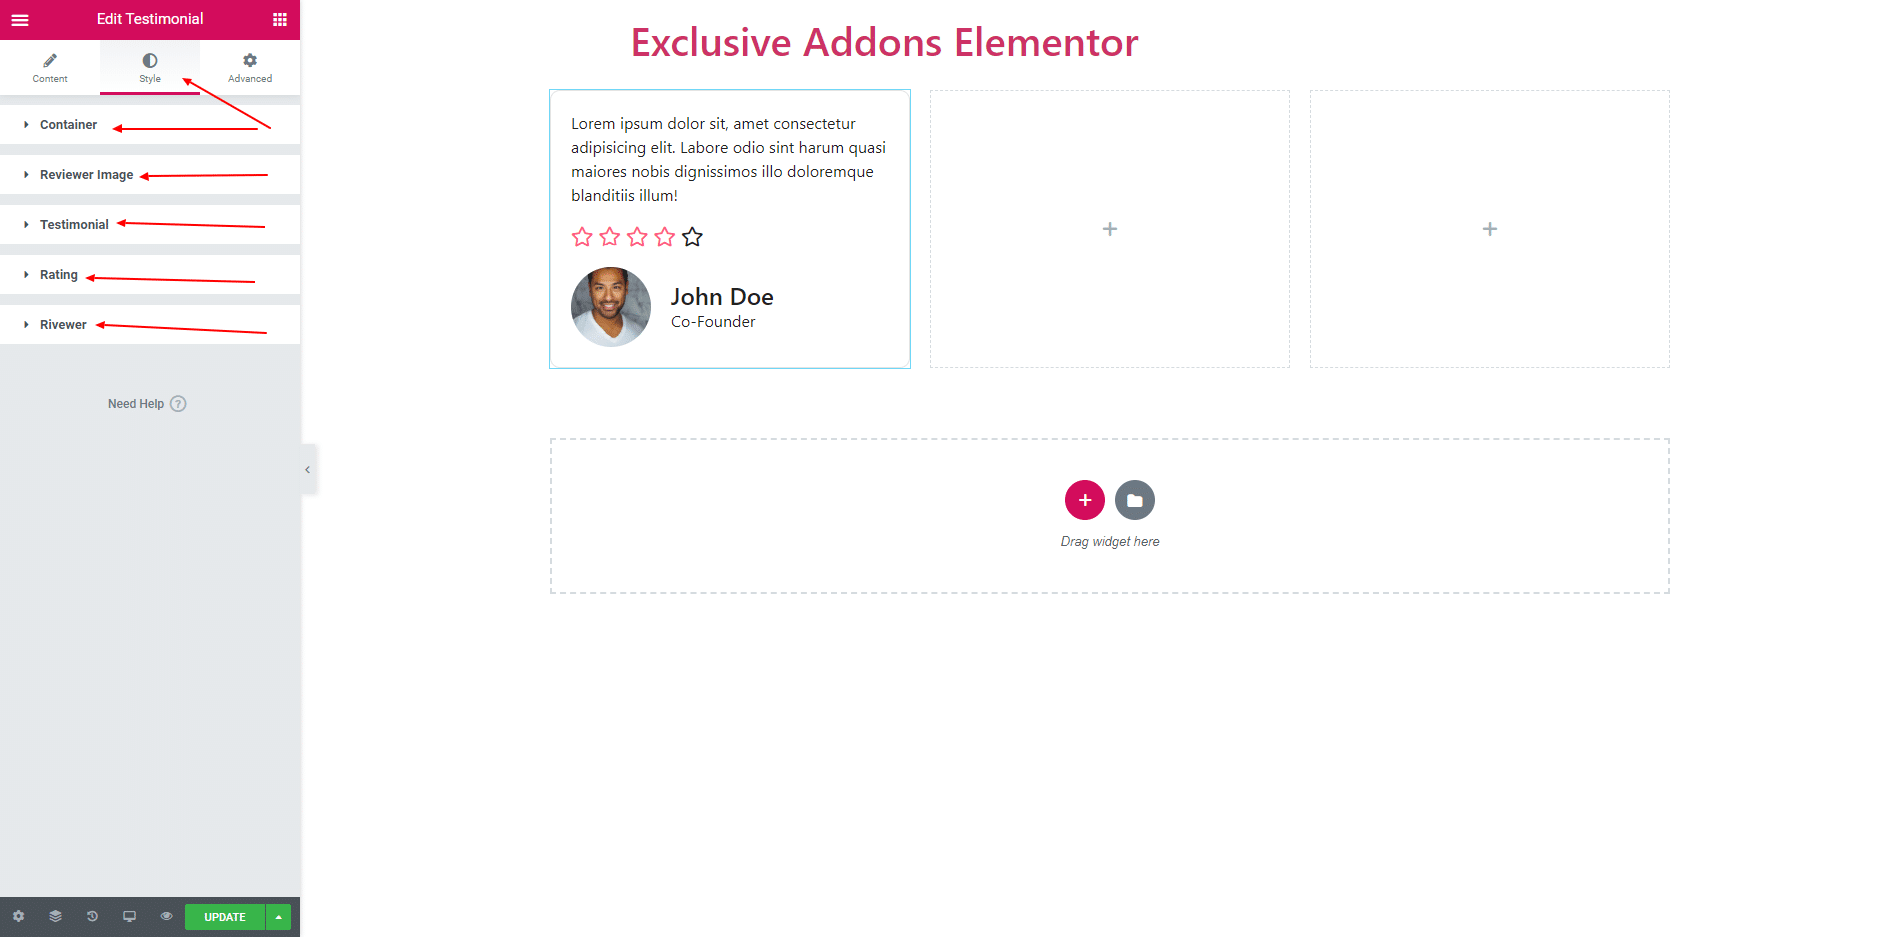
Style section Consist of ‘Container’, ‘Reviewer Image’, ‘Testimonial’, ‘Rating’ and ‘Reviewer’.
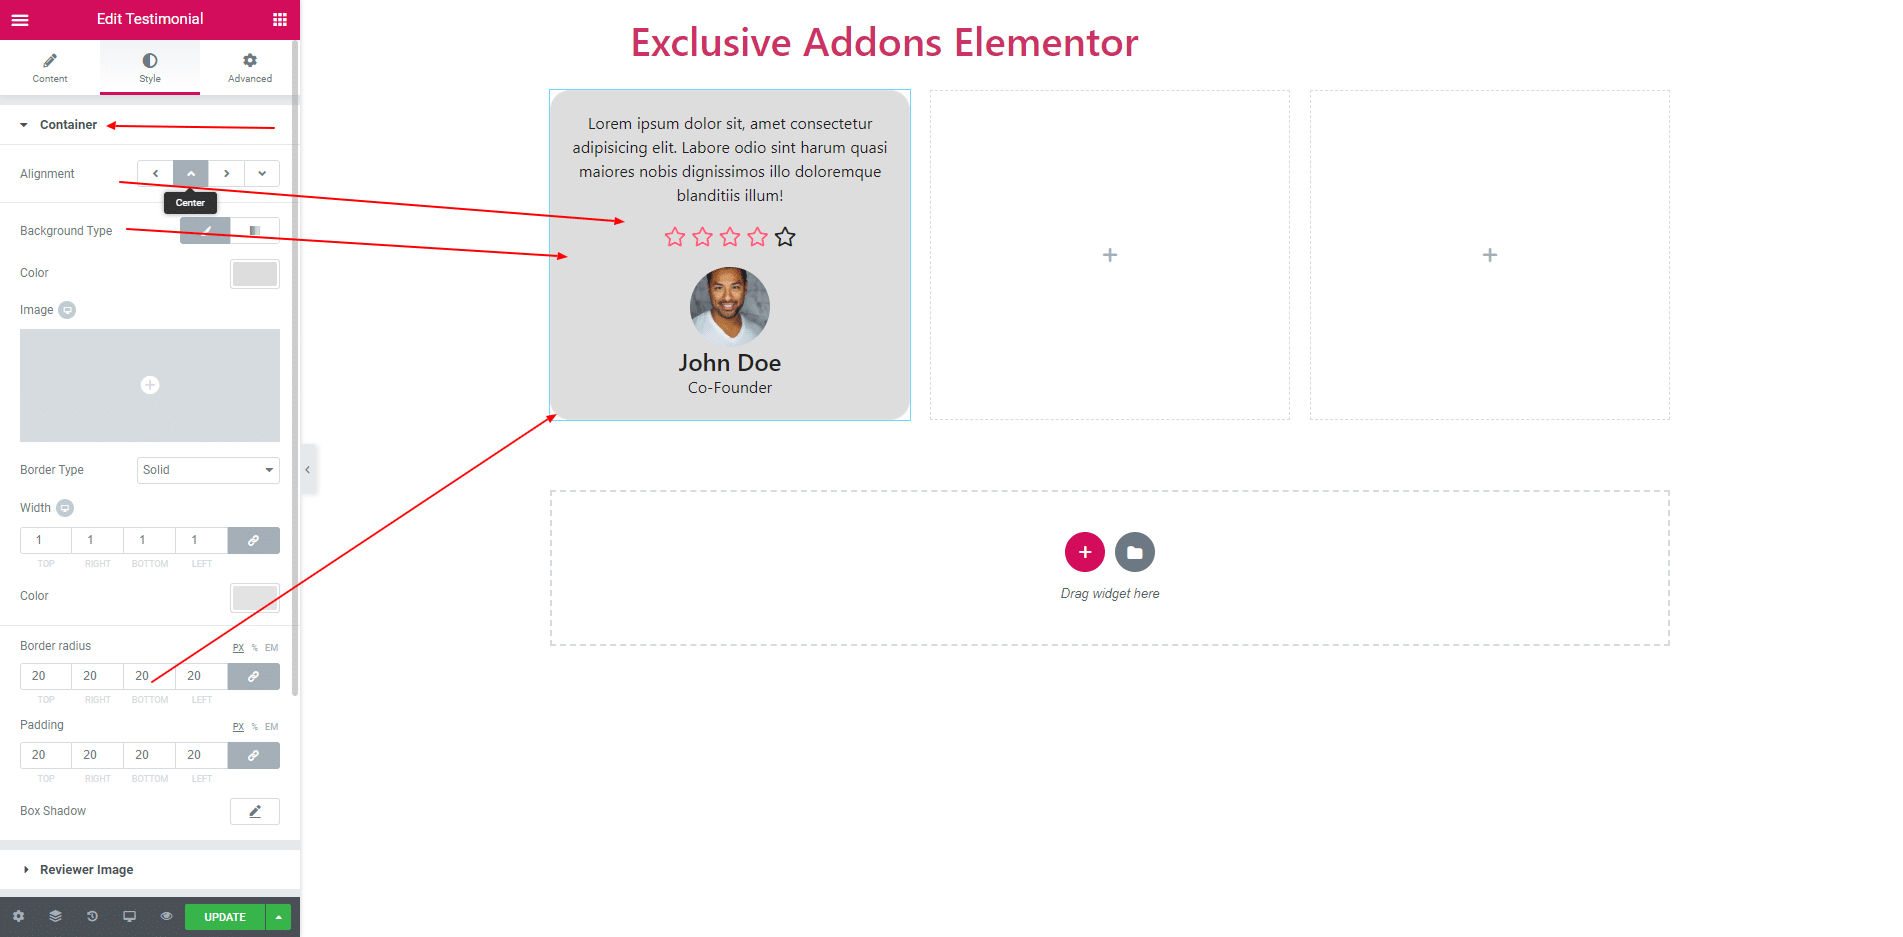
3.1. You can align your content to Left, Right, Top and Bottom by Alignment. You can also set Background Color, Border, Border Radius, Padding and Box Shadow.
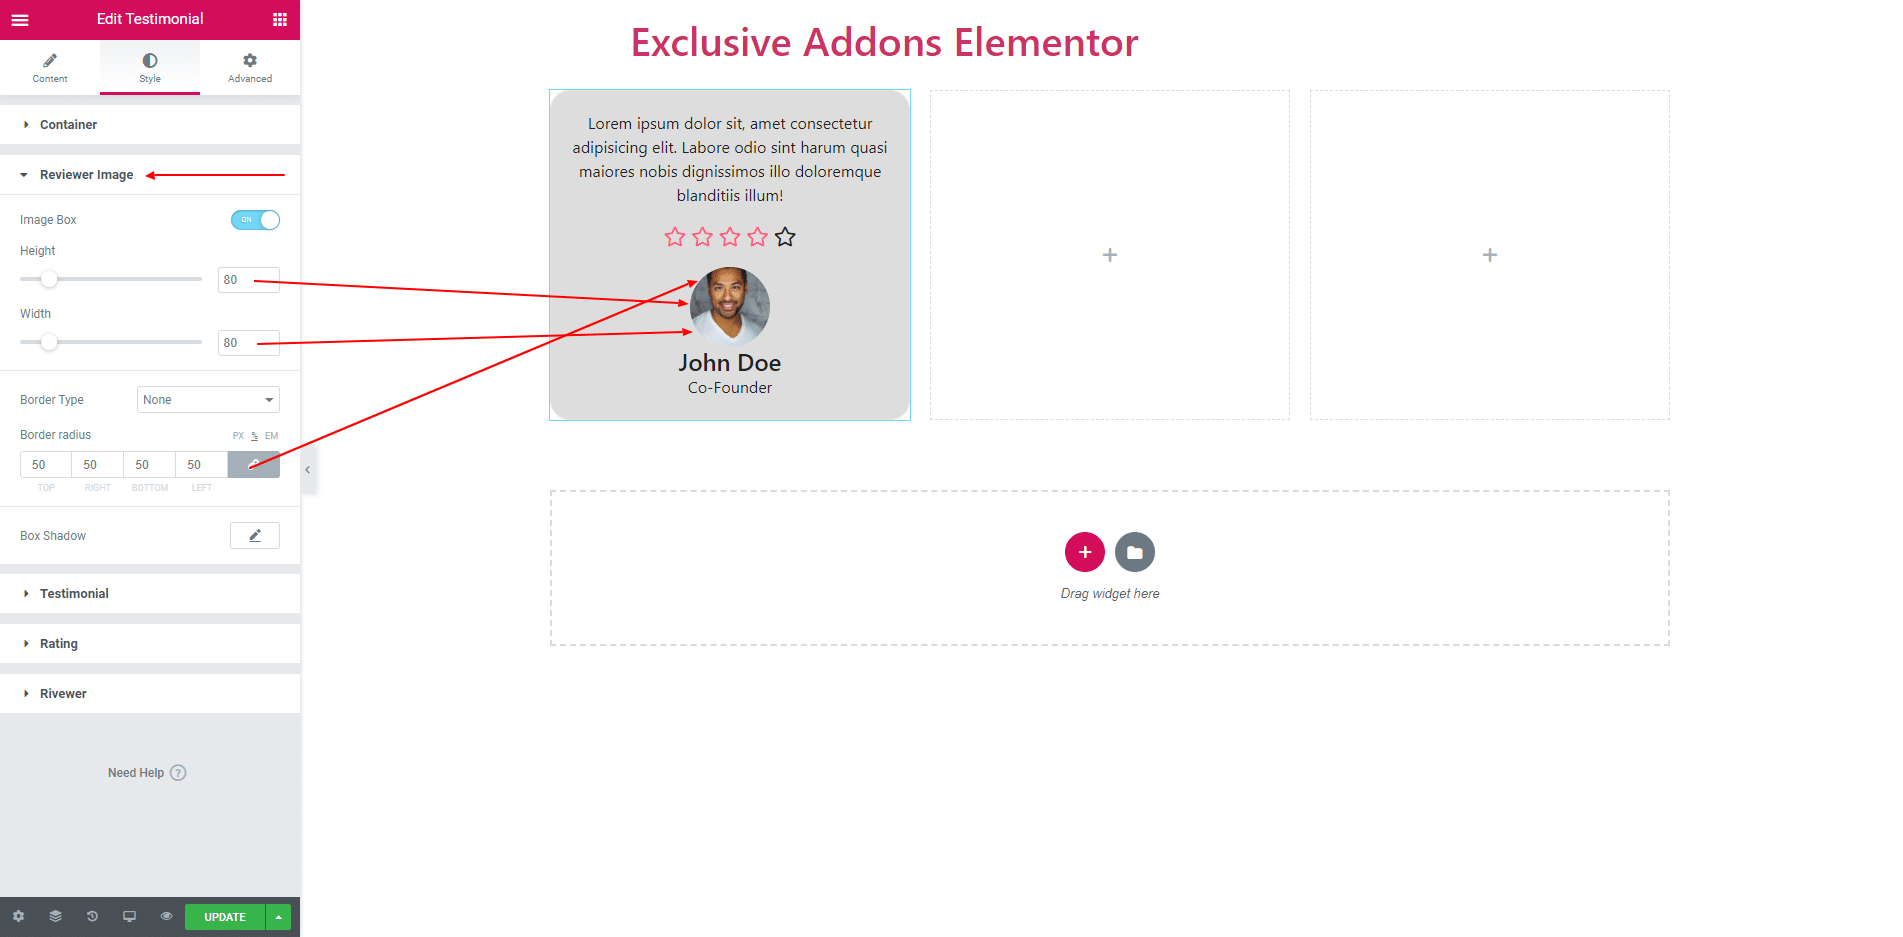
3.2. In Reviewer Image section you can set Image Height and Width. You can also set Border Radius and Box Shadow.
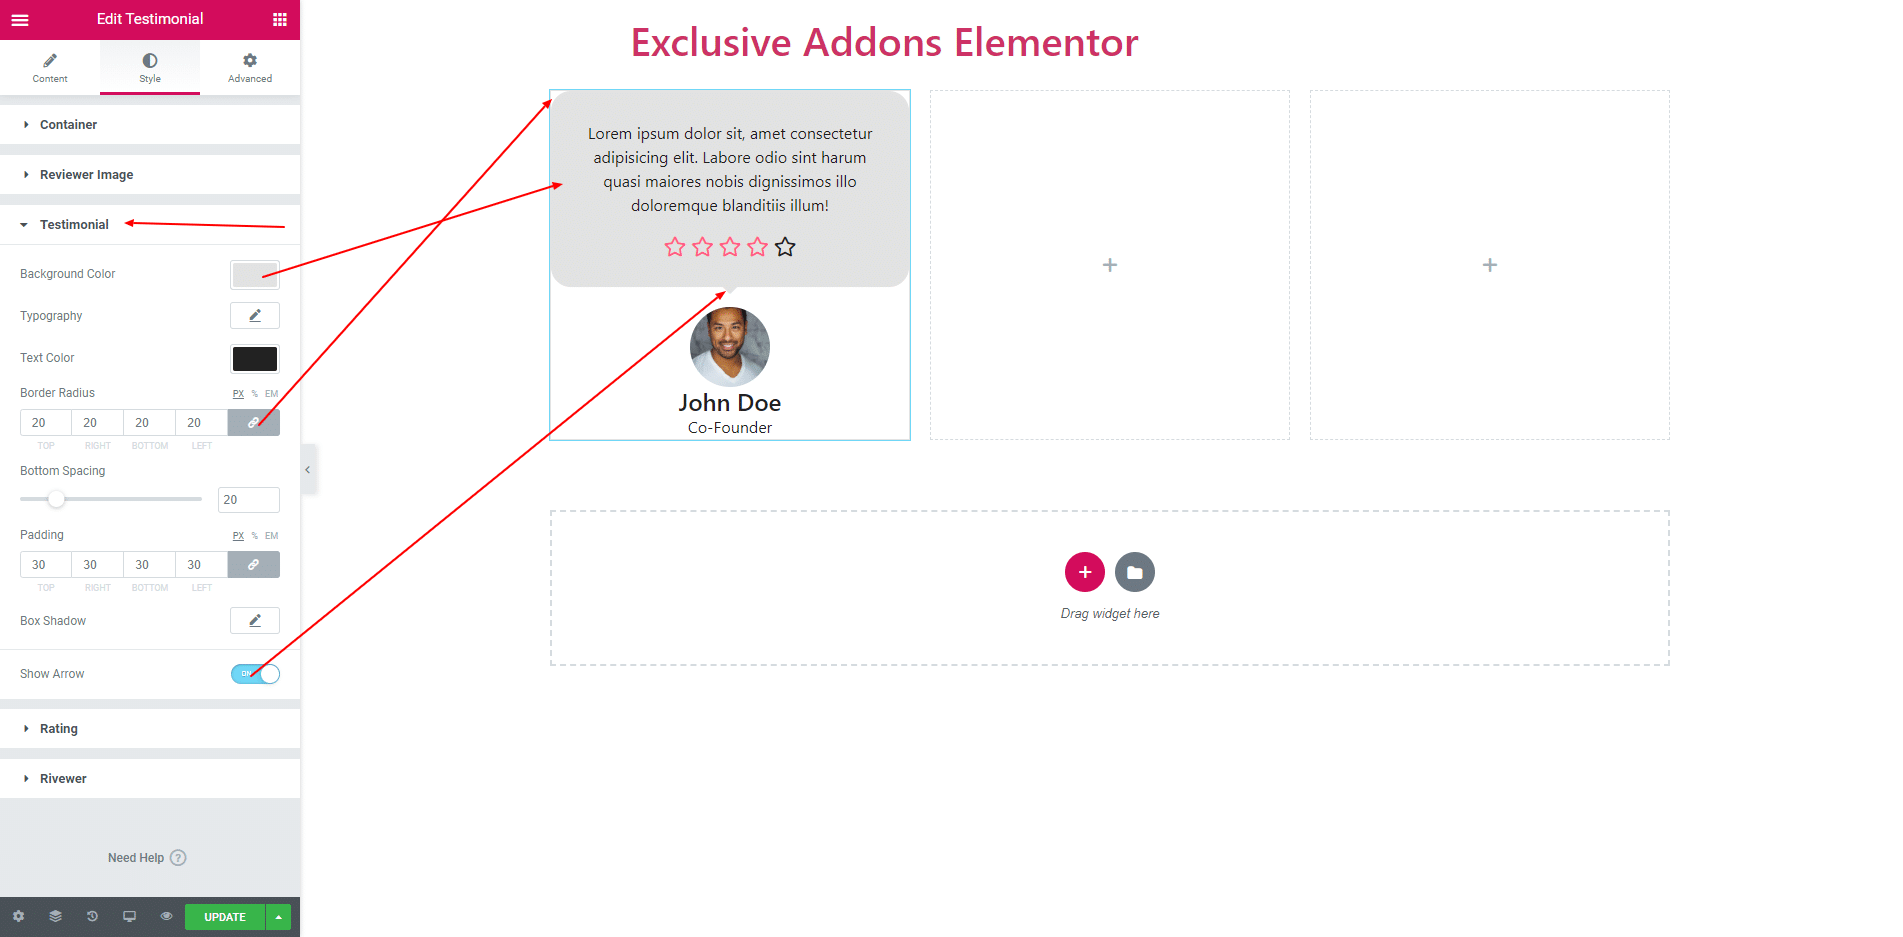
3.3. In Testimonial section you can set Background Color of the Testimonial section. Set Typography, Border Radius, Text Color, Padding and Box Shadow. Also set Bottom Margin. You can enable bottom arrow for beautiful design.
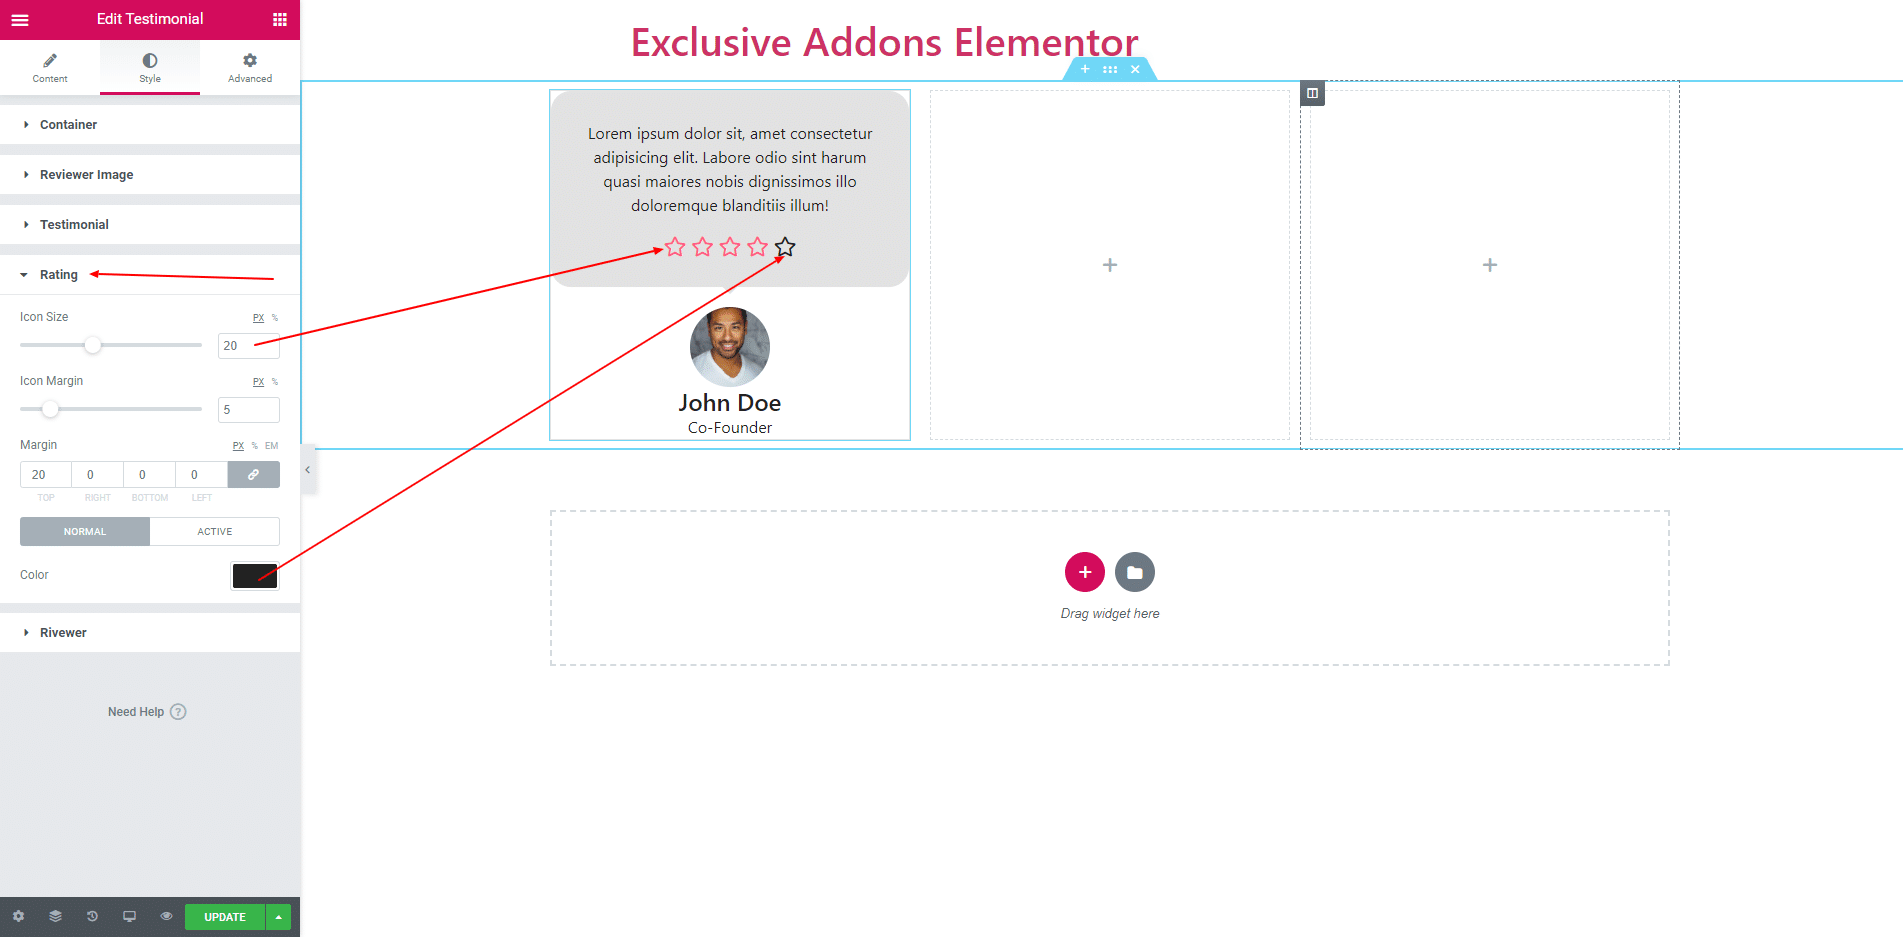
3.4. In Rating section you can give Icon Size, Icon Margin, Icon color for both normal and active stage.
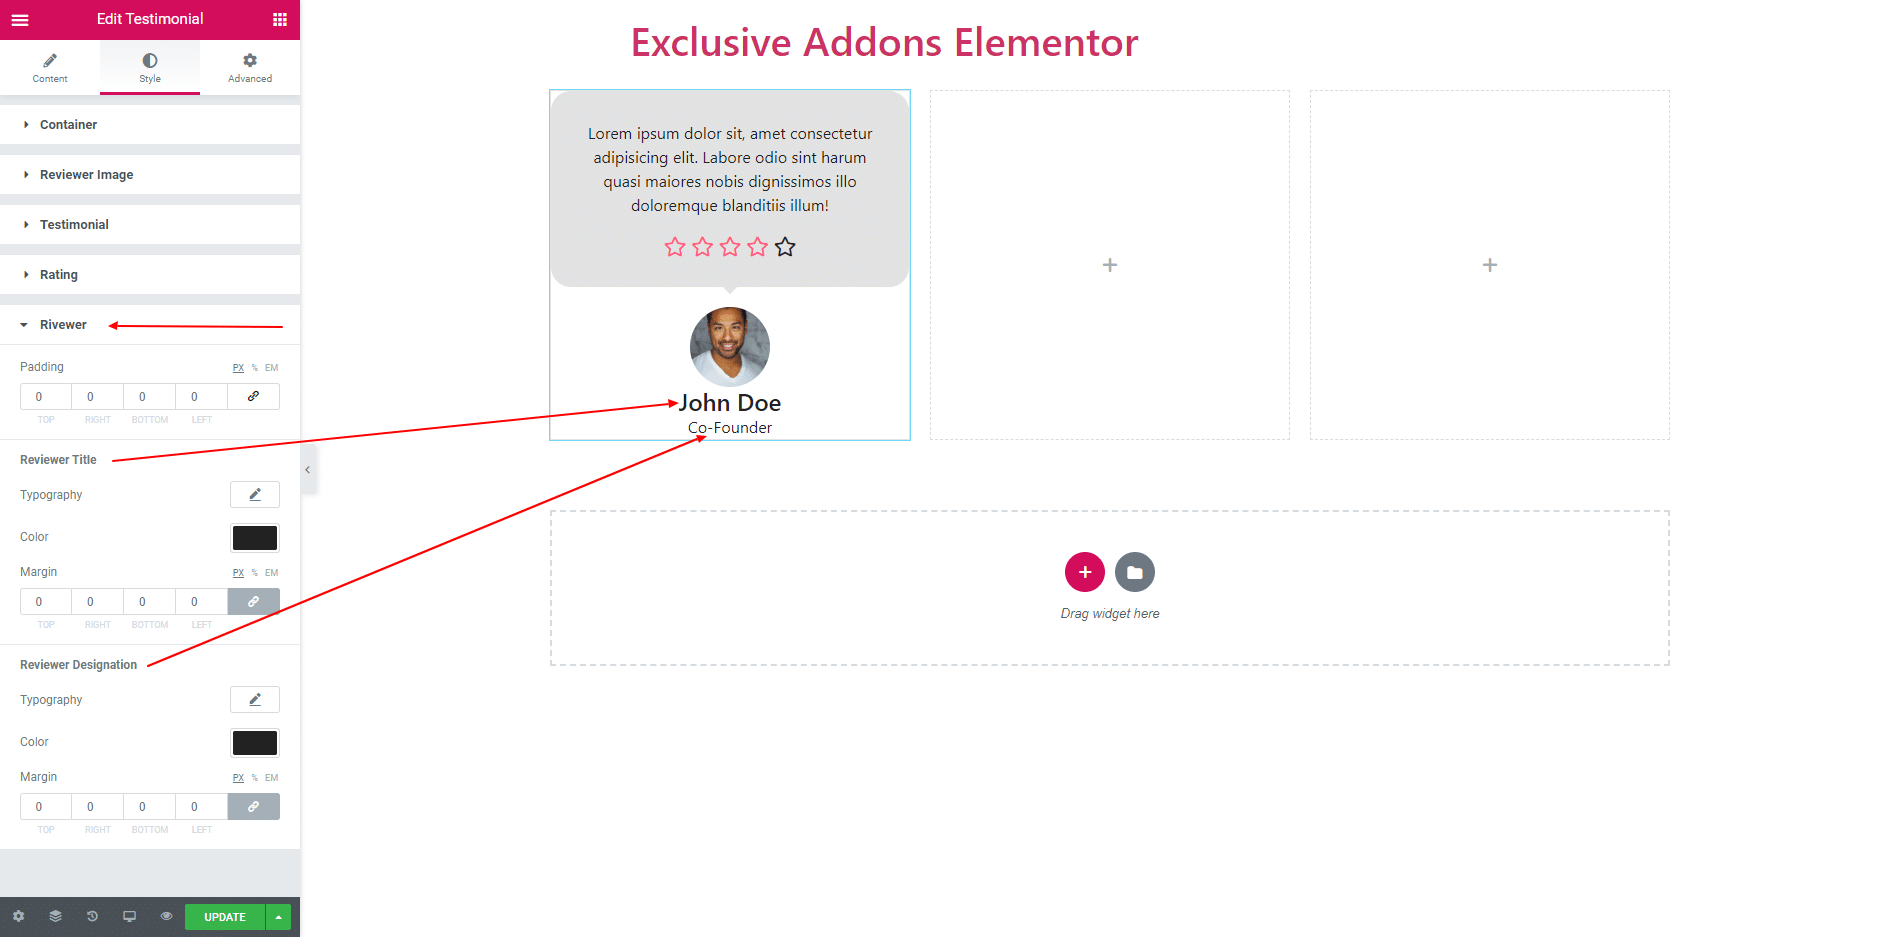
3.5. You can design Reviewer name and Reviewer Designation in Reviewer section.
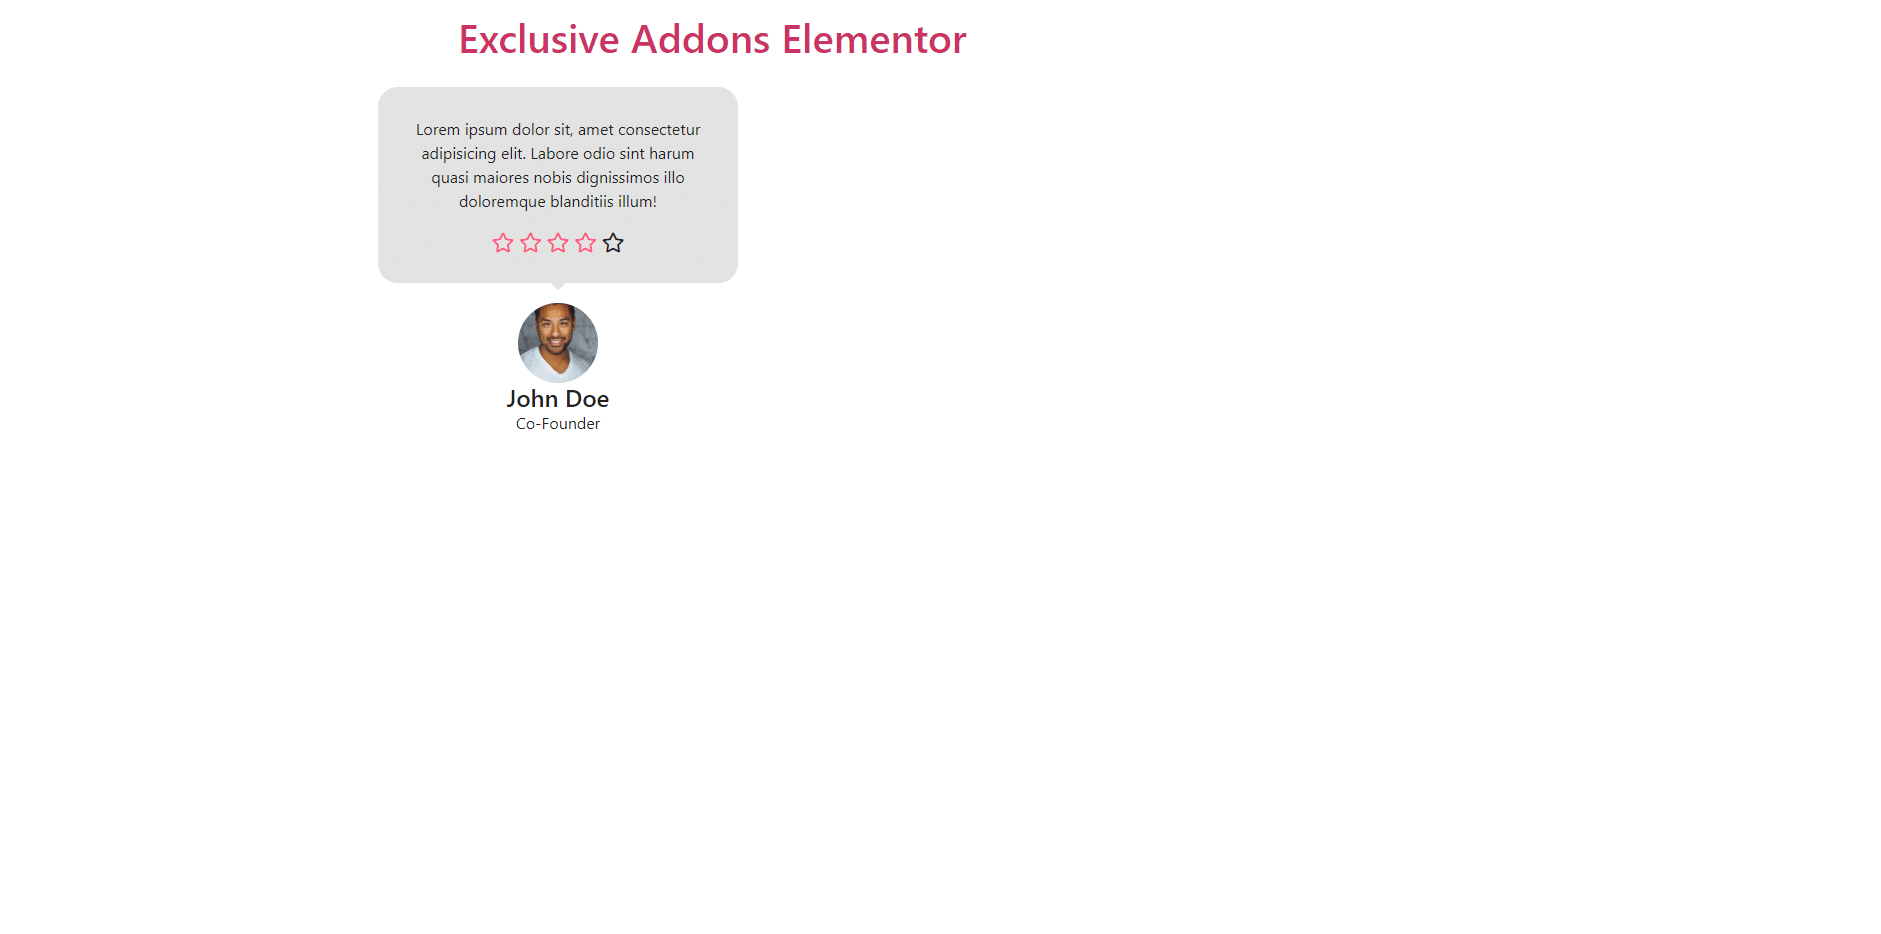
STEP 4:
Finally, after clicking the update button you will see the beautiful Testimonial on your webpage.