How to configure and style Dual Heading Widget.
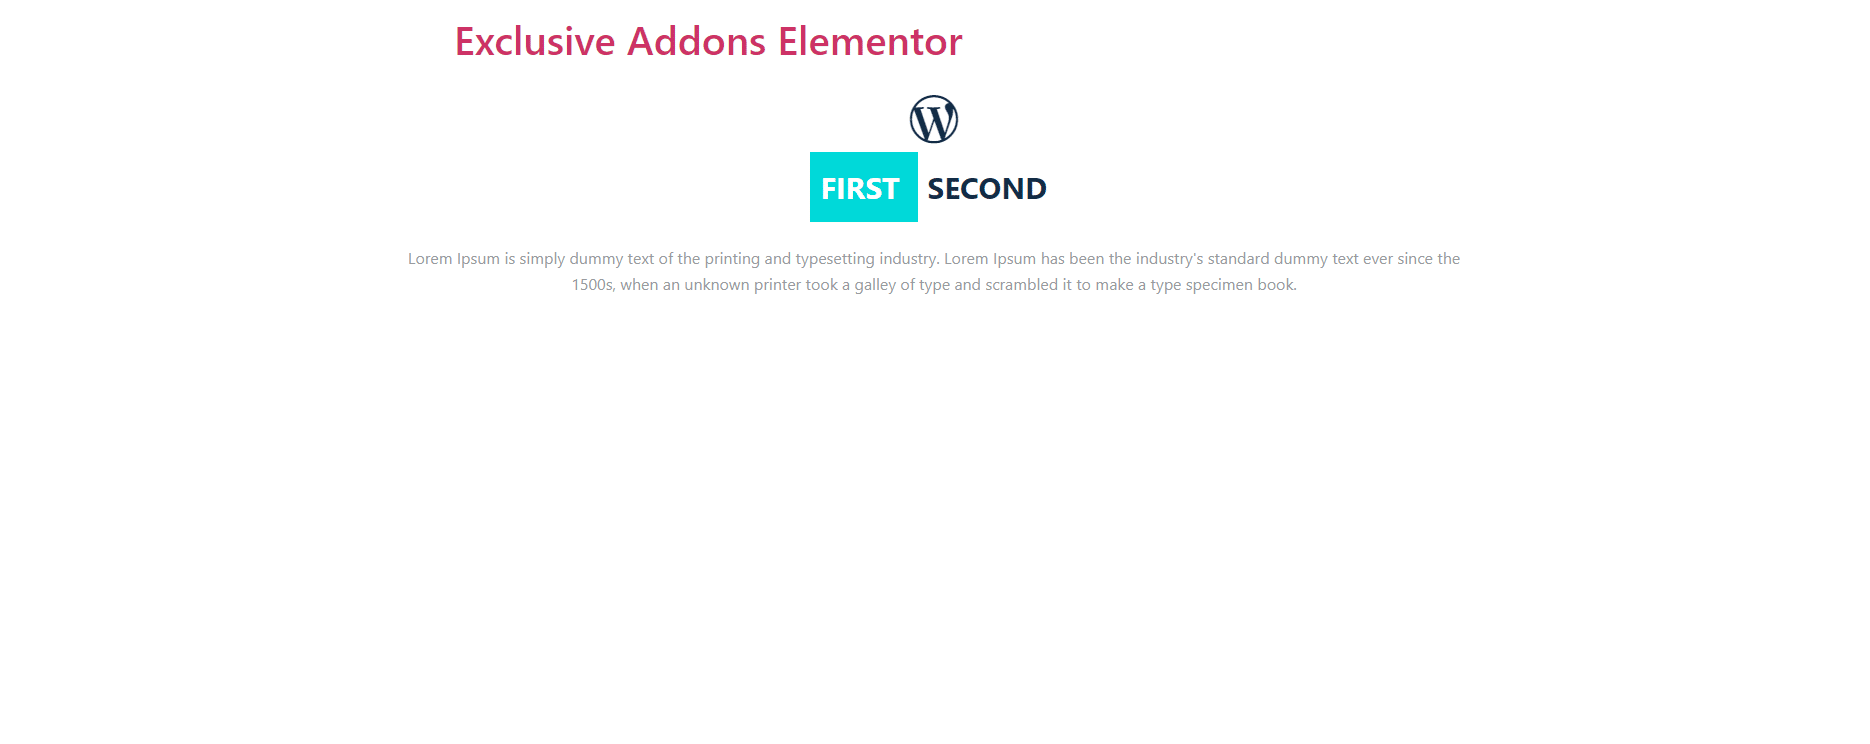
Spark user-interest by adding creative, attractive dual-color headings. With options like adding icons and subheadings, design the Dual Heading the way you want. Using Exclusive Addons Dual Heading Widget for Elementor.
STEP 1:
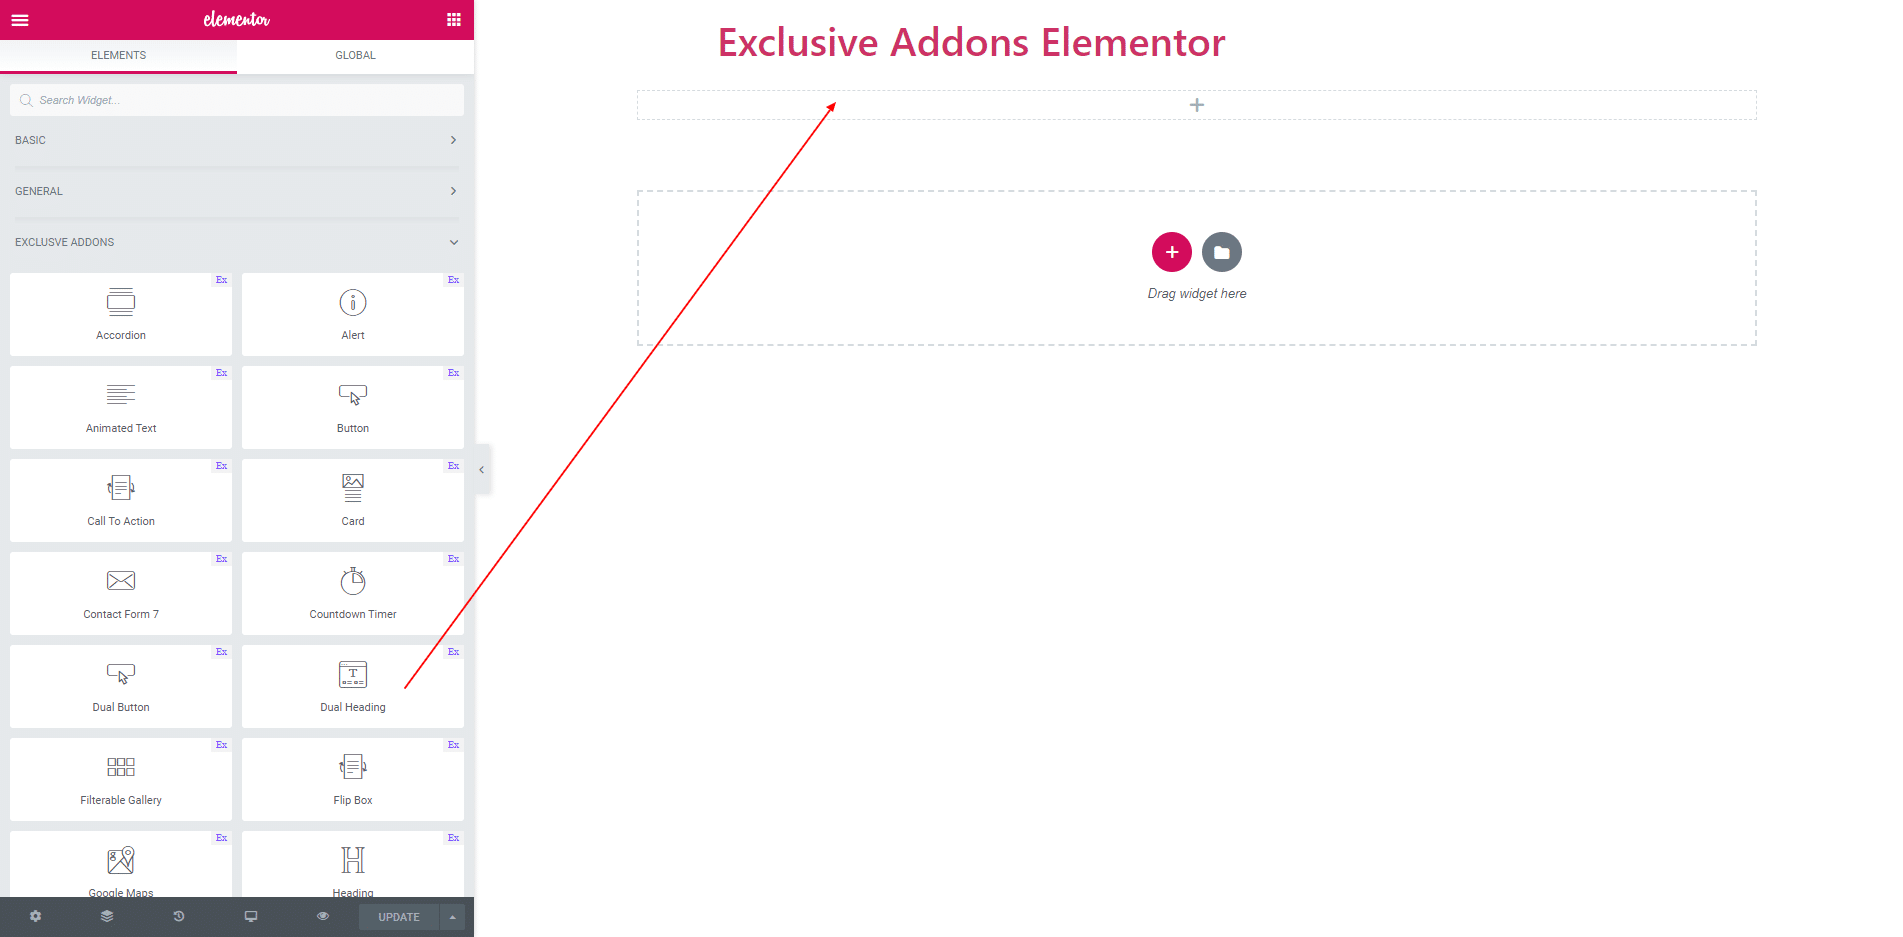
Select the ‘Dual Heading’ widget from Elementor panel. Then drag and drop it in the selected area.
STEP 2:
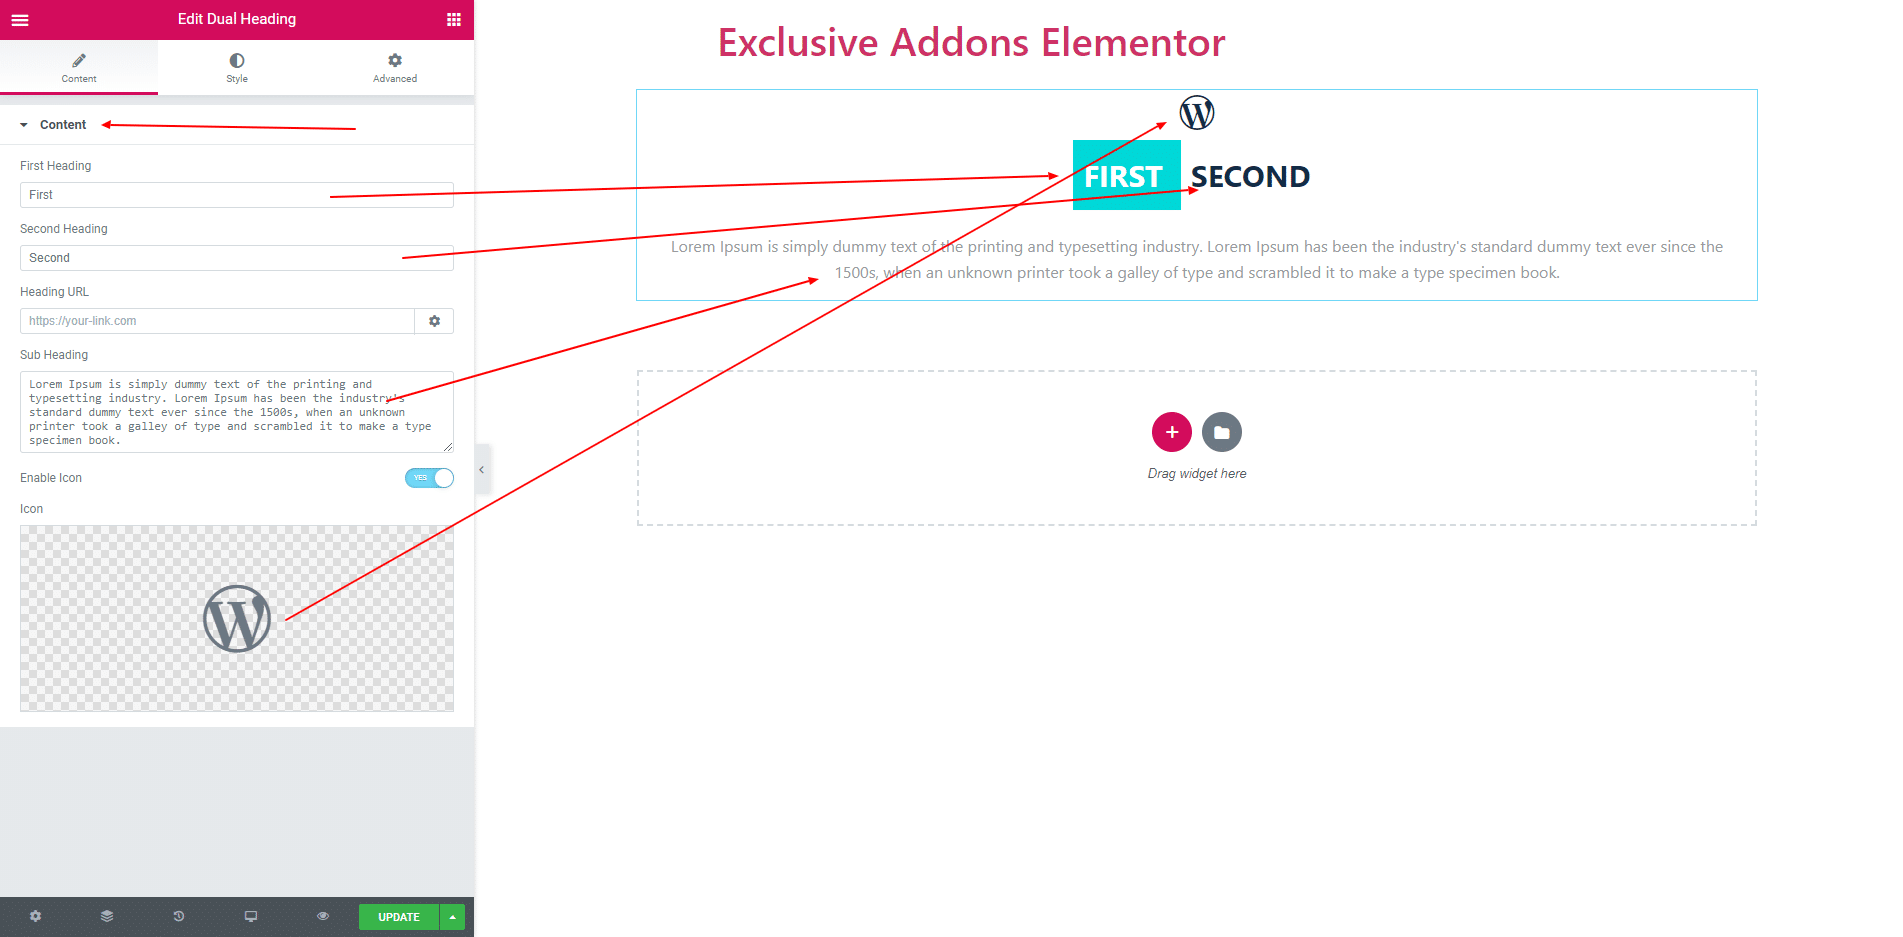
In Content section you get First Heading, Second Heading, Suh-heading and Icon. You can enable or disable icon. You can change first and second heading. And also change sub heading text.
STEP 3:
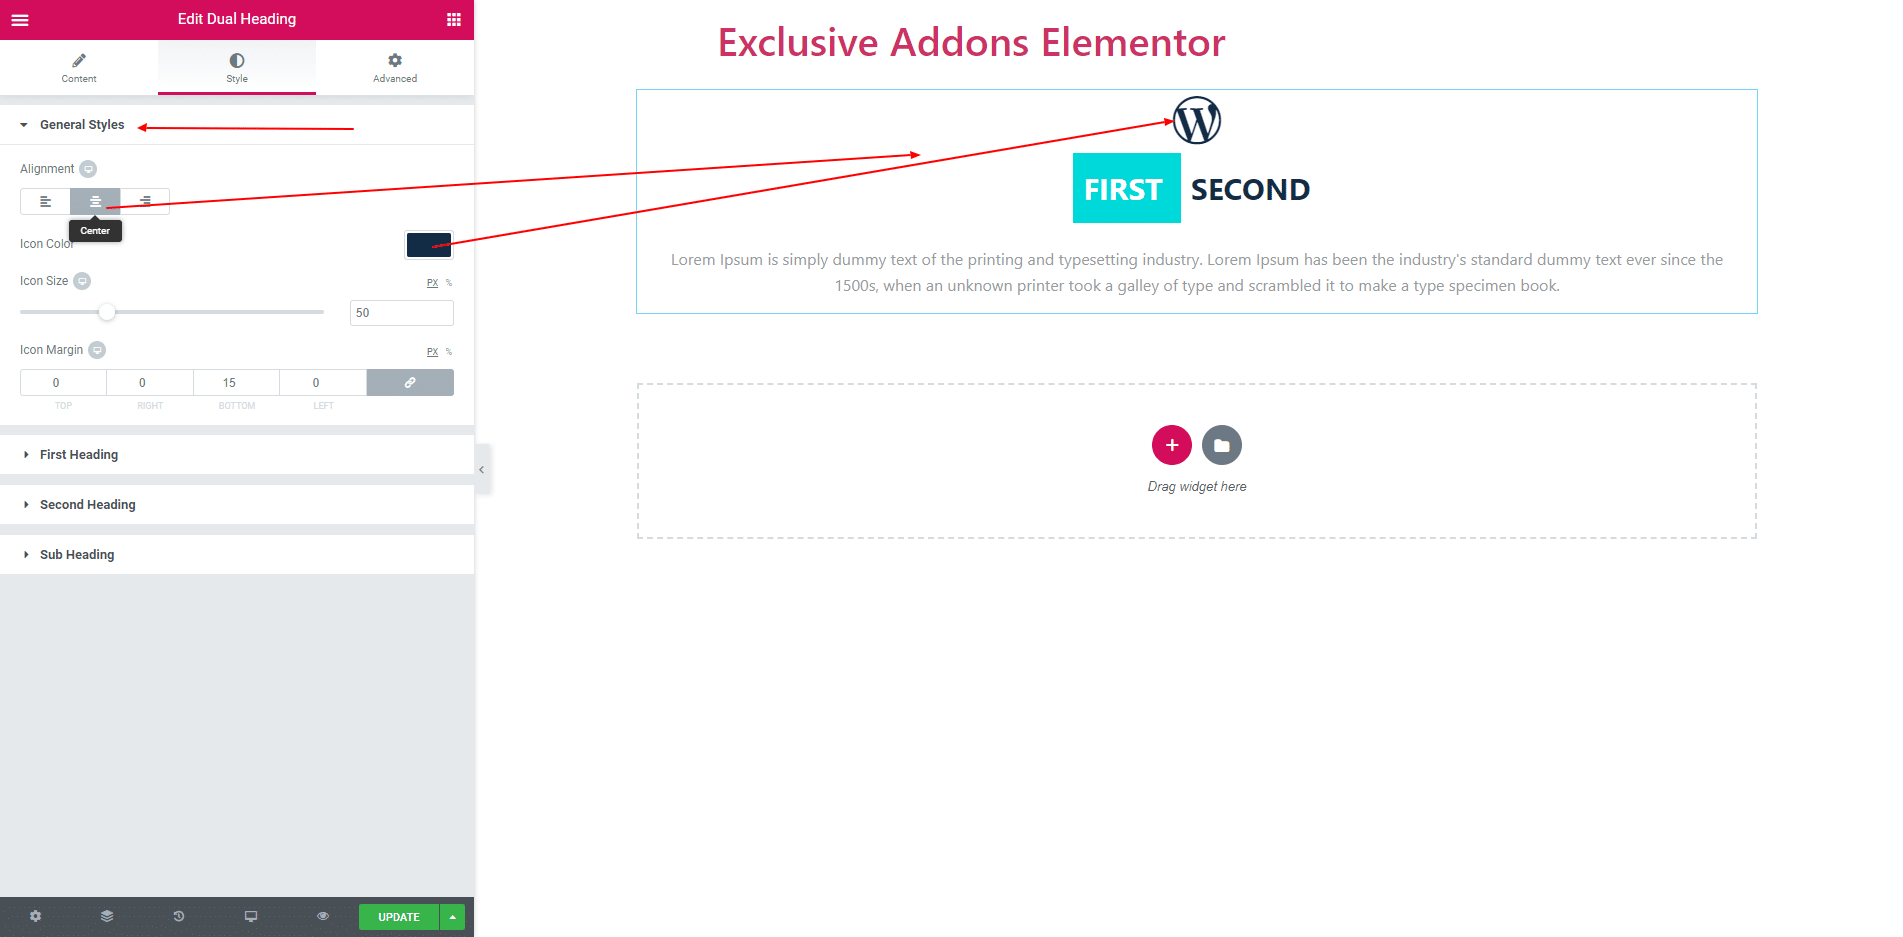
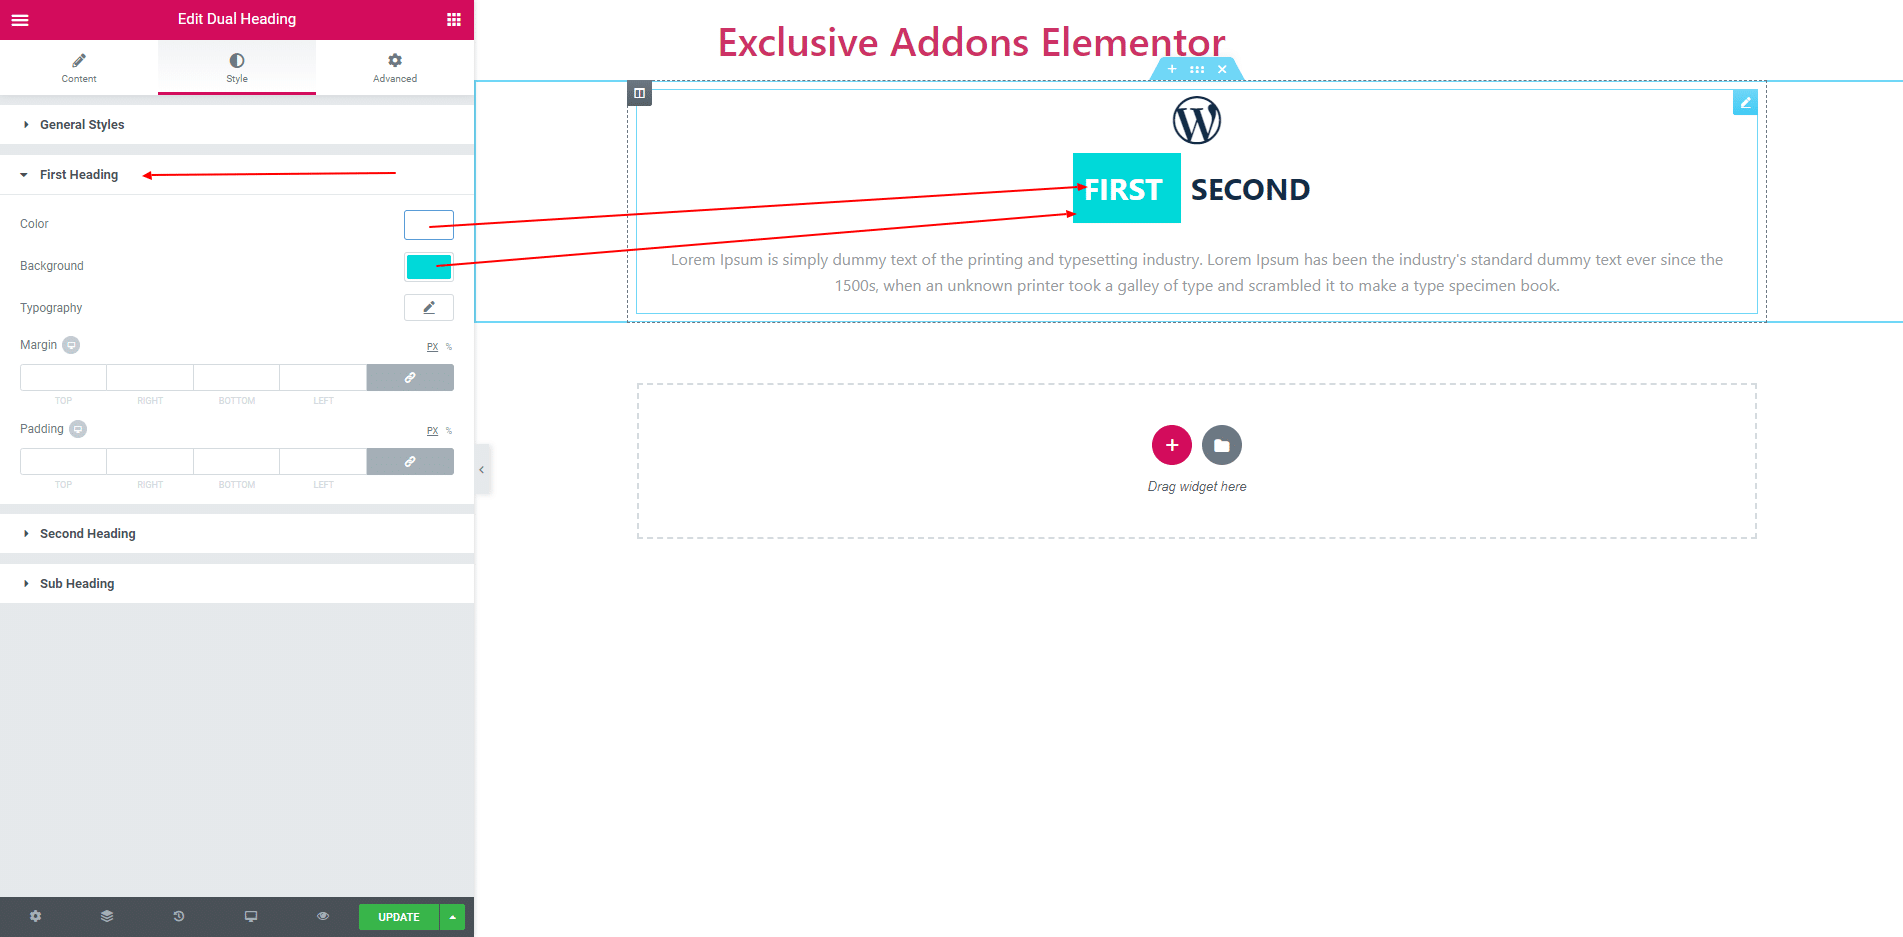
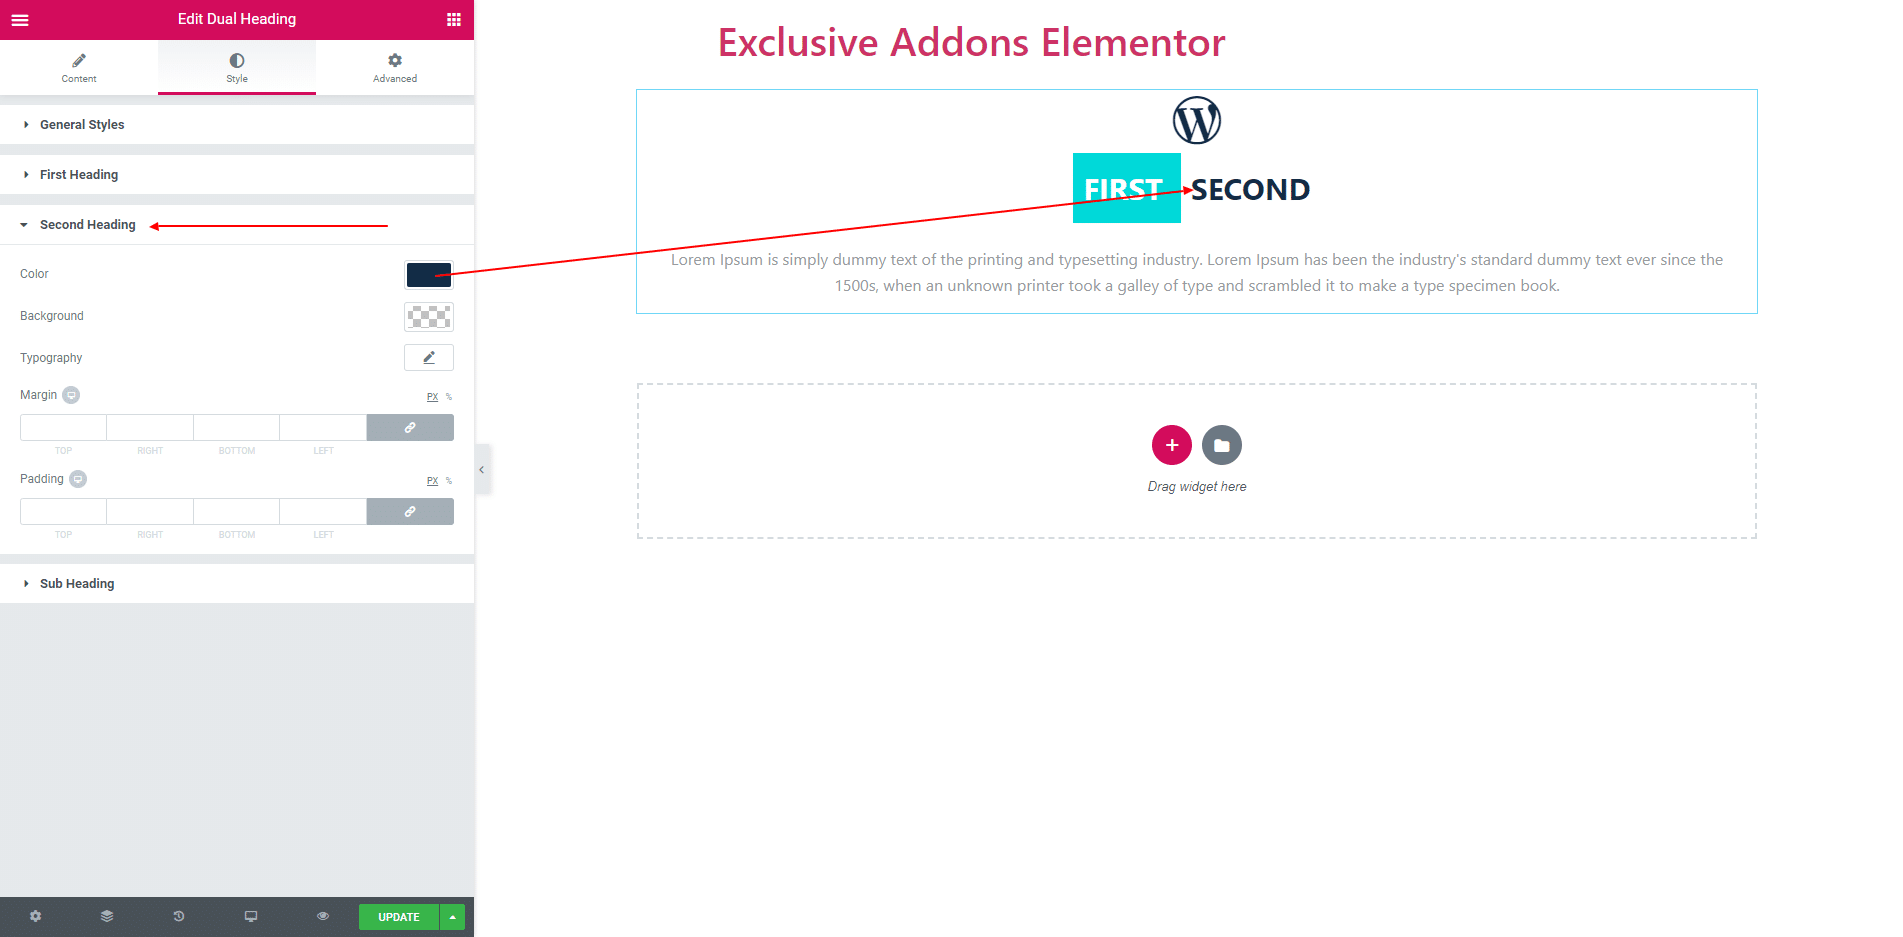
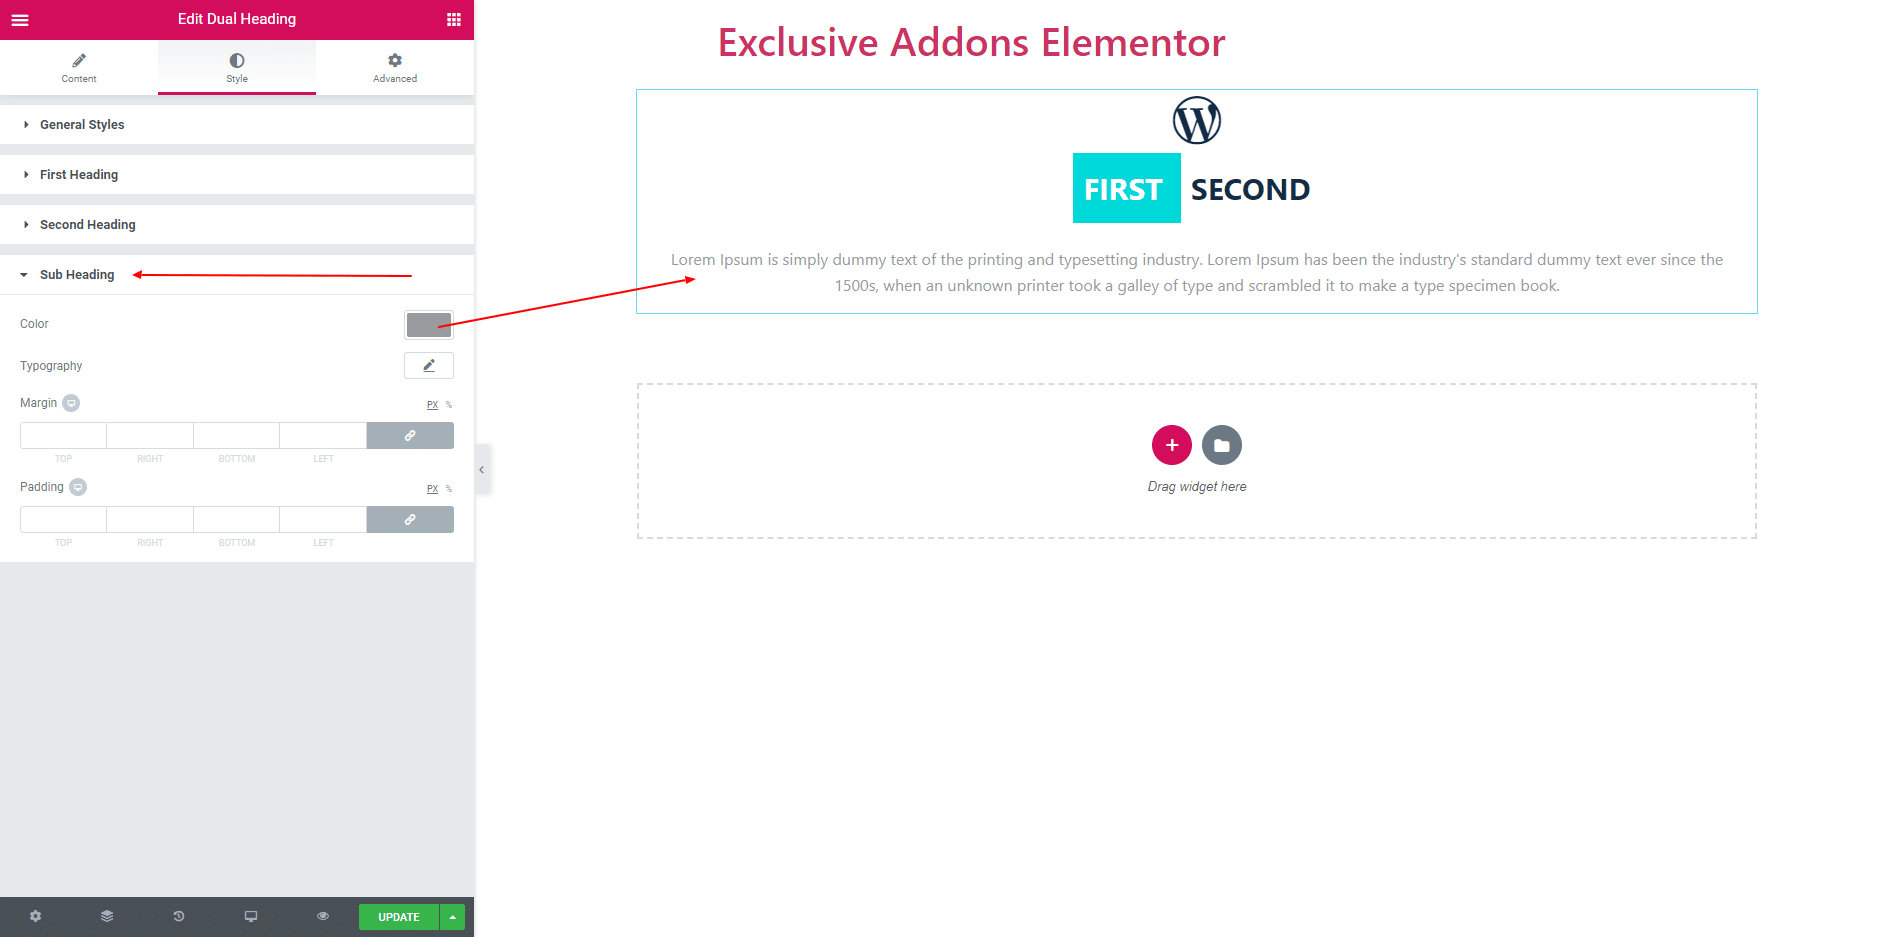
Style section consist of ‘General Style’, ‘First Heading’ and ‘Sub Heading’.
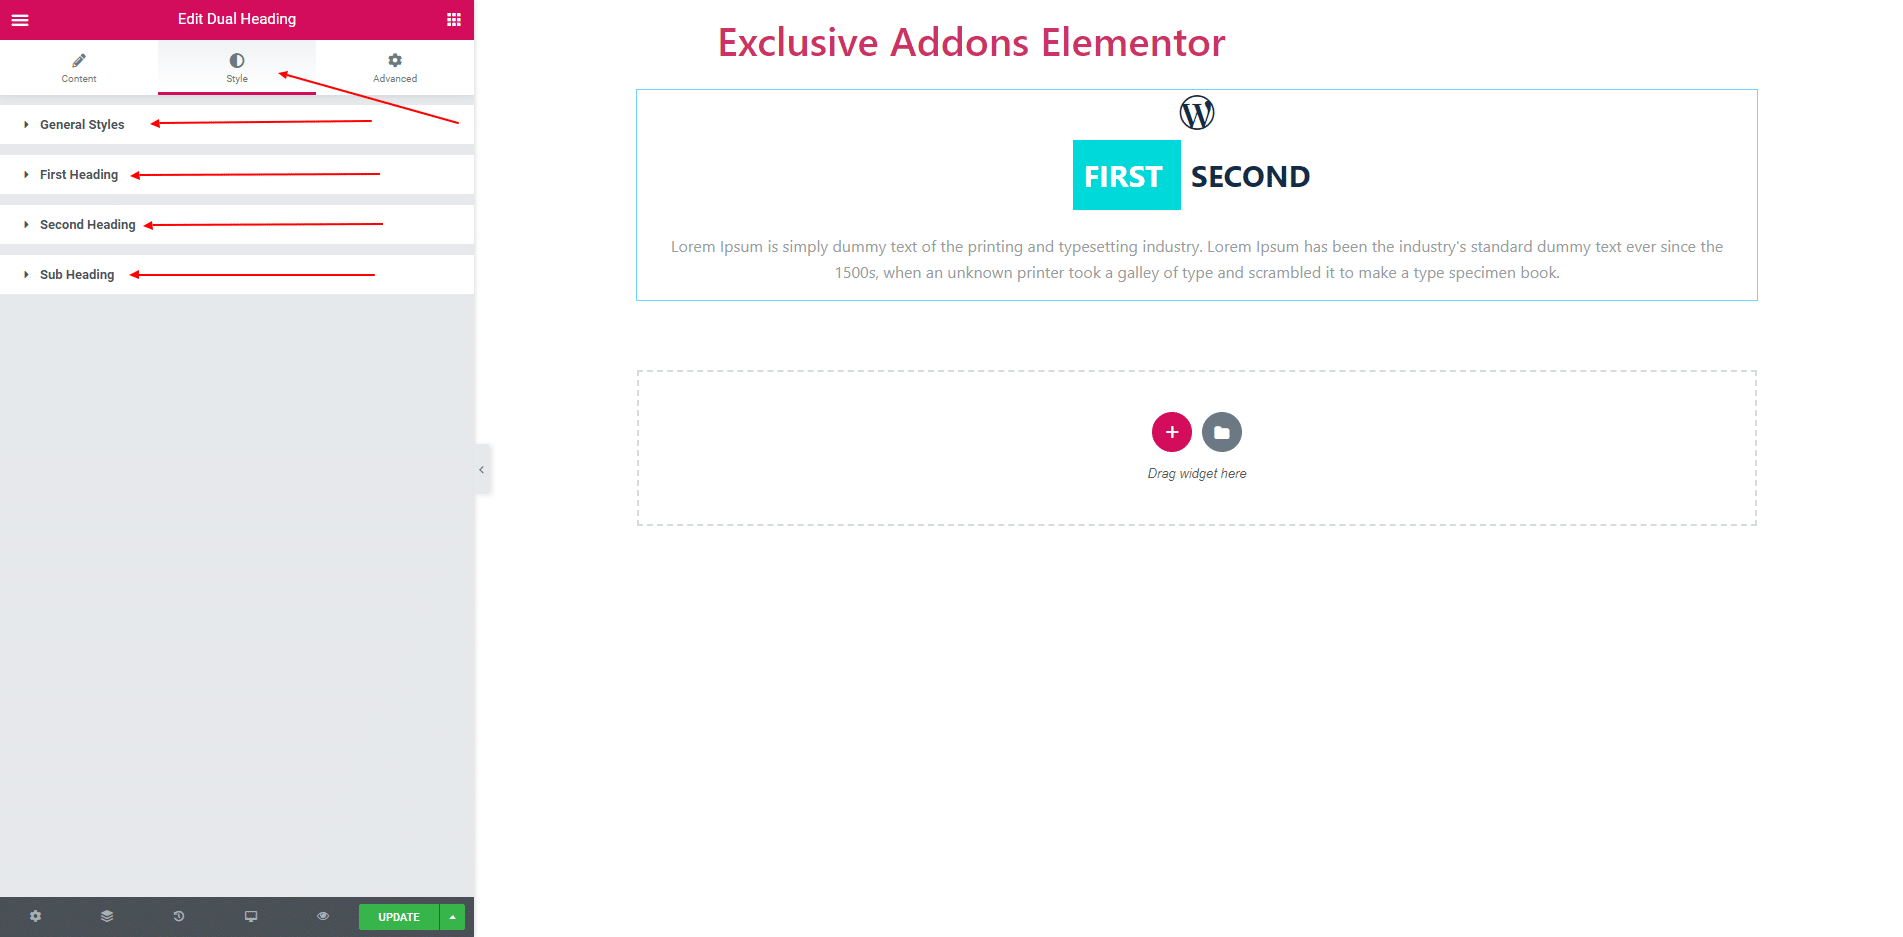
3.1. In General Style you can change alignment, change icon color and icon size. You can also give icon margin.
3.2. In First Heading, you can apply text color, background color, margin, padding and typography.
3.3. Second Heading also contains same parameter as First Heading.
3.4. Sub Heading Contains text color, typography, margin and padding.
STEP 4:
Finally, after clicking the update button you will see the beautiful Dual Heading on your webpage.