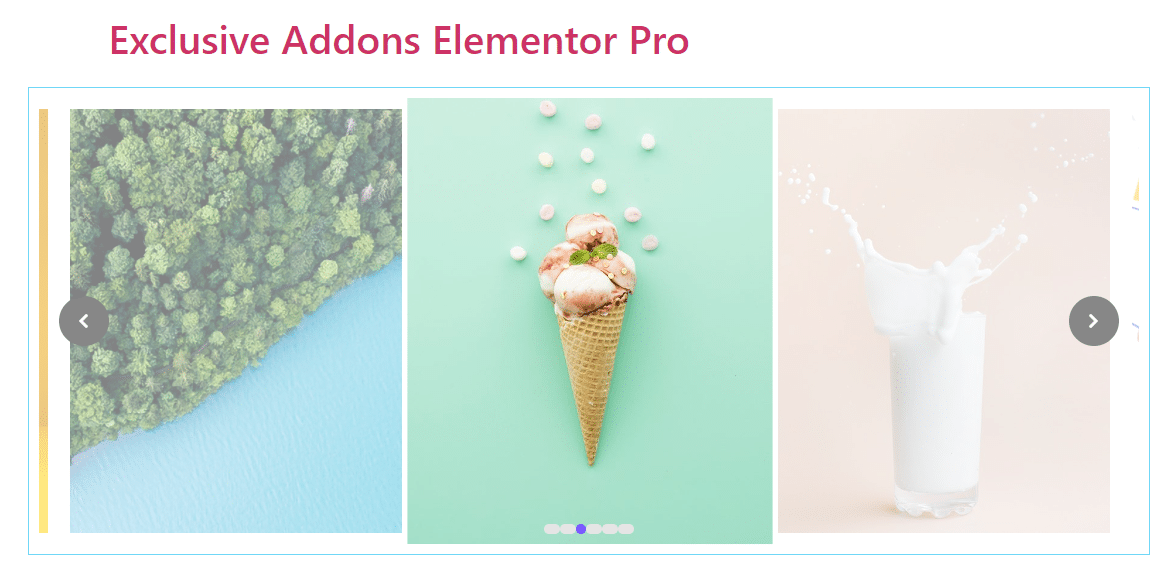
How to configure and style Elementor Image Carousel Widget
Exhibit your images with a beautiful sliding carousel. Add several animations and visual effects with endless customizable options using Image Carousel of Exclusive Addons Elementor.
STEP 1:
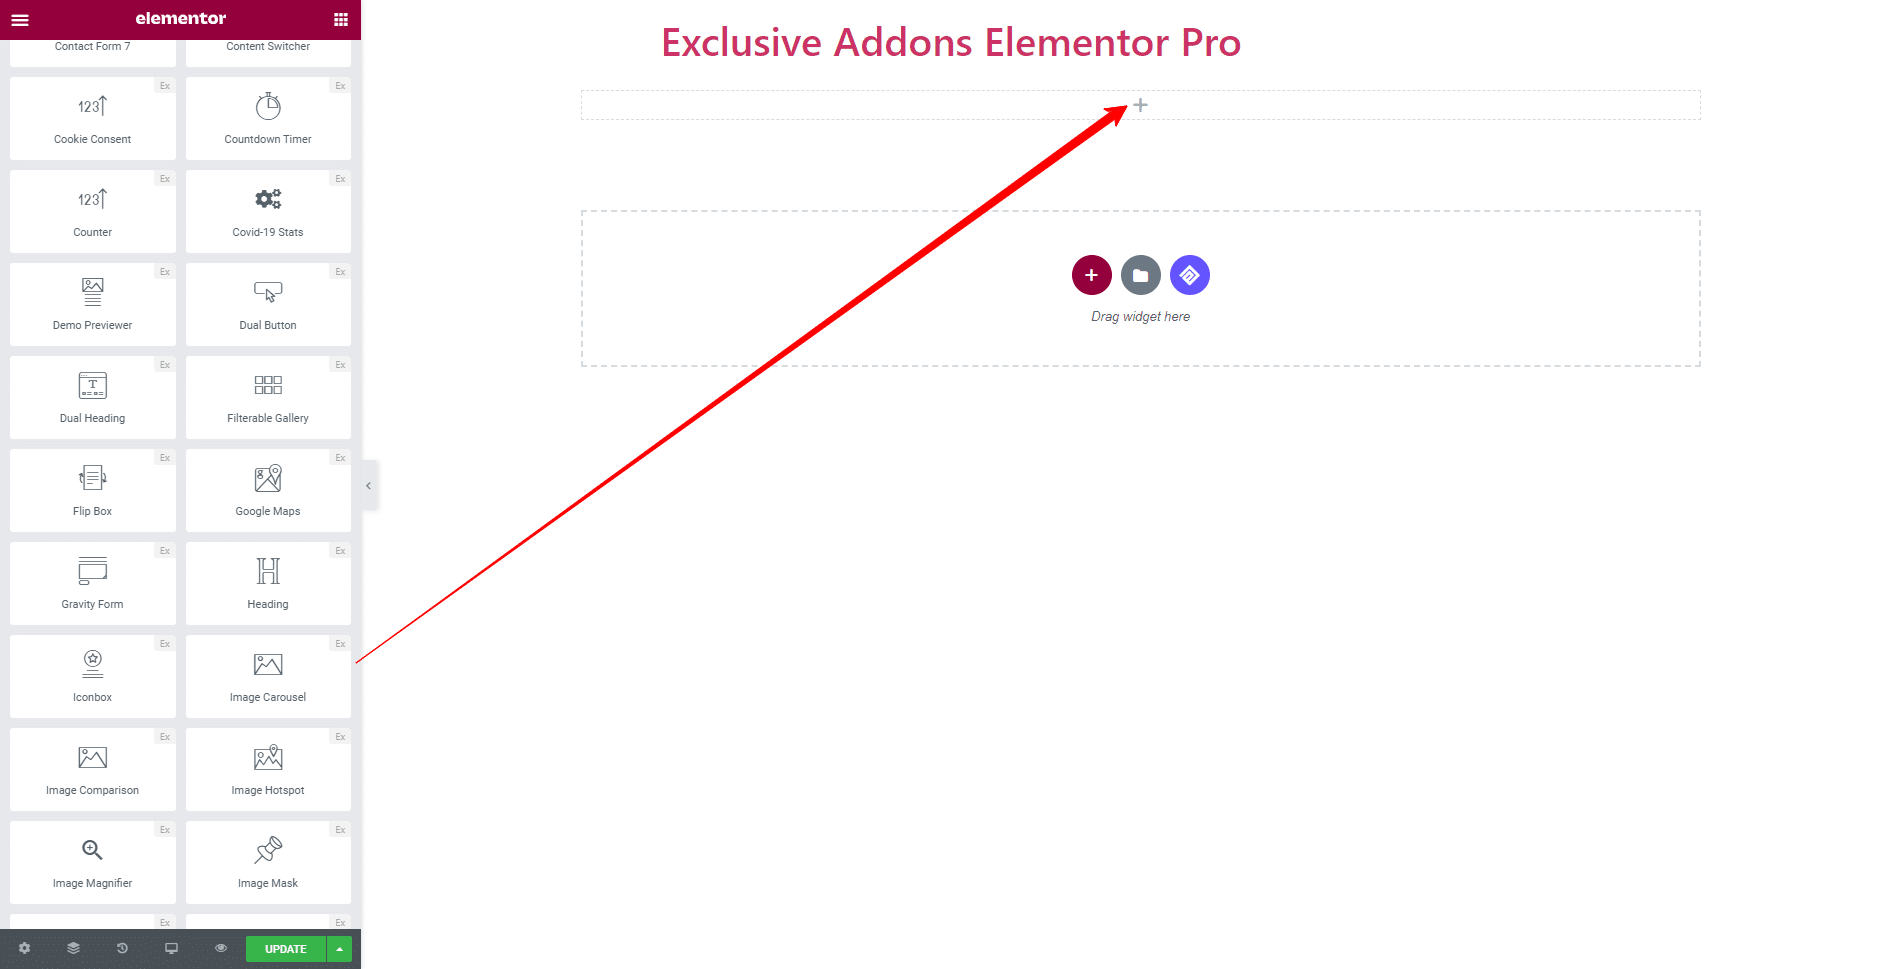
Select the ‘Image Carousel‘ widget from Elementor panel. Then drag and drop it in the selected area.
STEP 2:
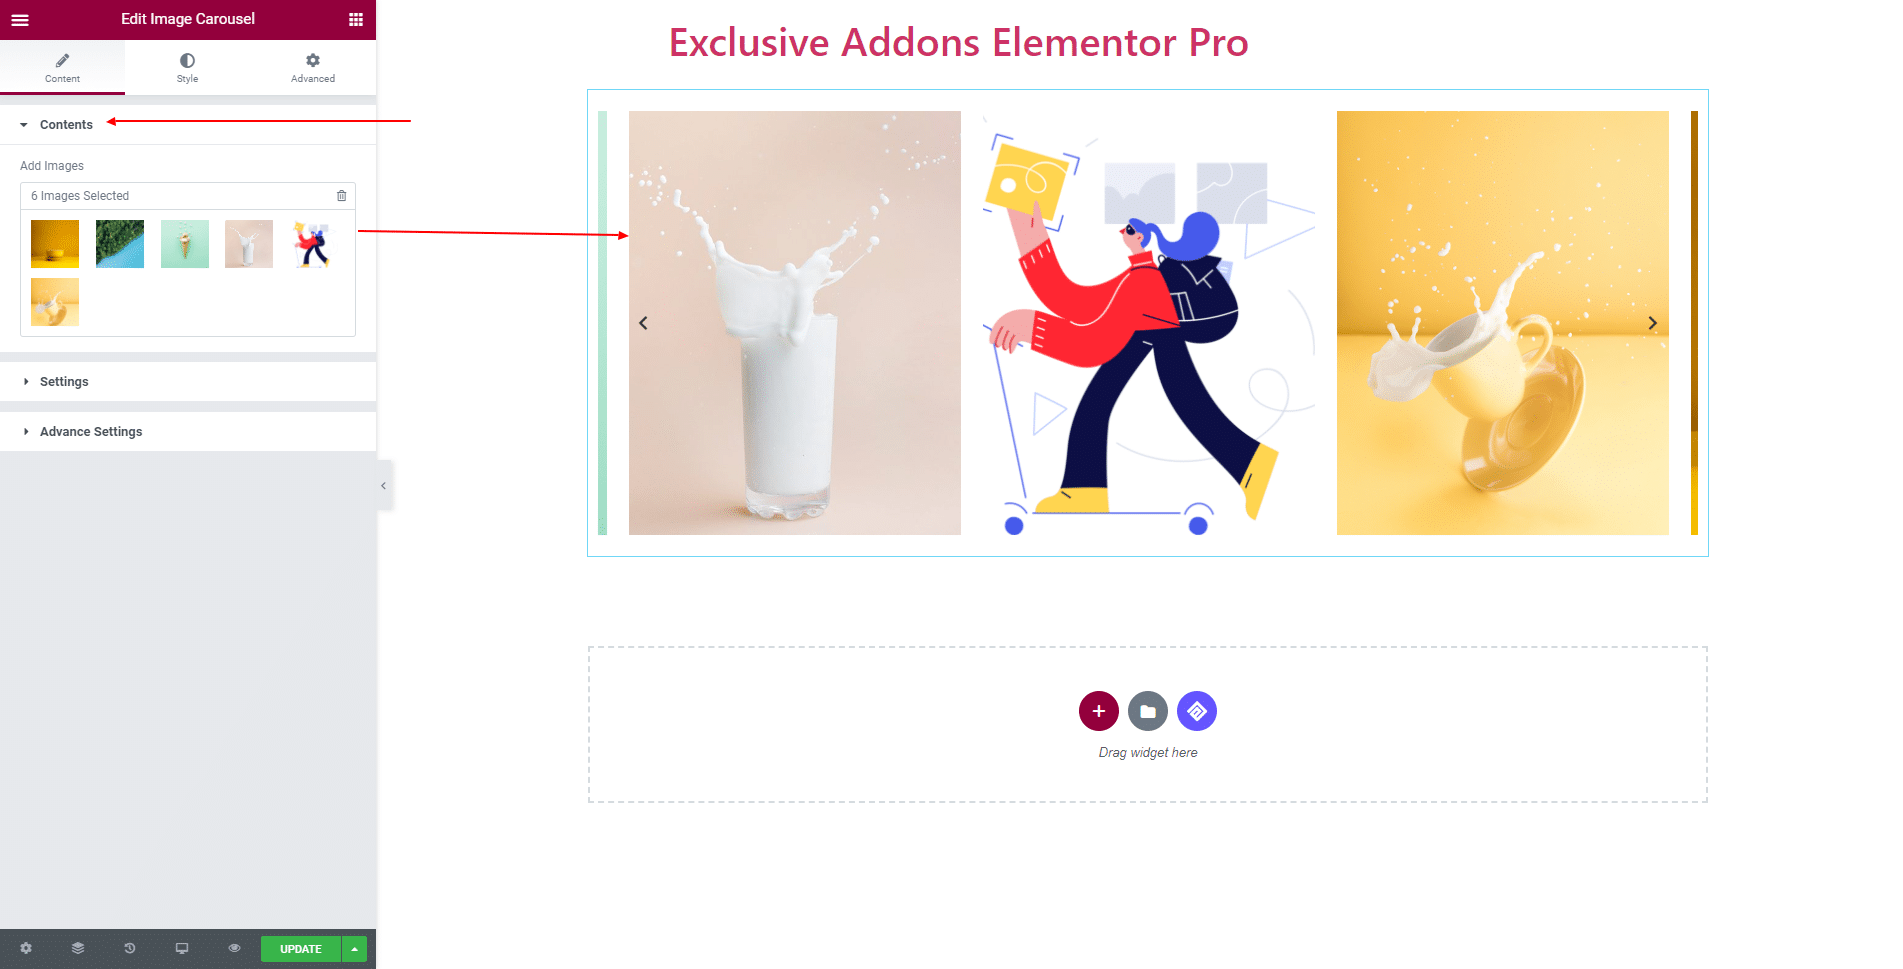
Content tab allows you to configure Content section, Settings, and Advanced Setting.
2.1 In Content section, decide which images to be displayed on the carousel by choosing them from media library or upload one from your storage.
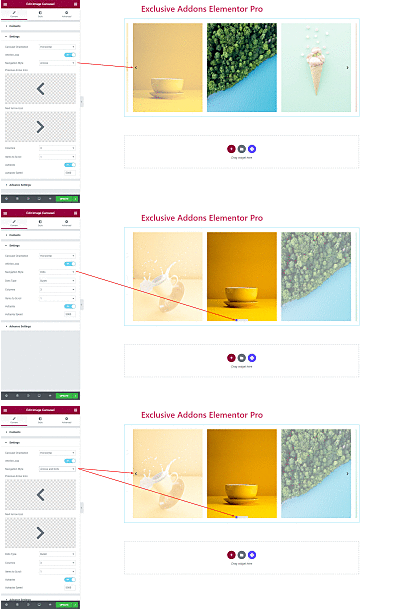
2.2 In Settings, set Column numbers and Items to Scroll also enable Infinite Loop, Autoplay mode and if enabled, set Autoplay Speed. And set Carousel Orientation to ‘Horizontal’ or ‘Vertical’.
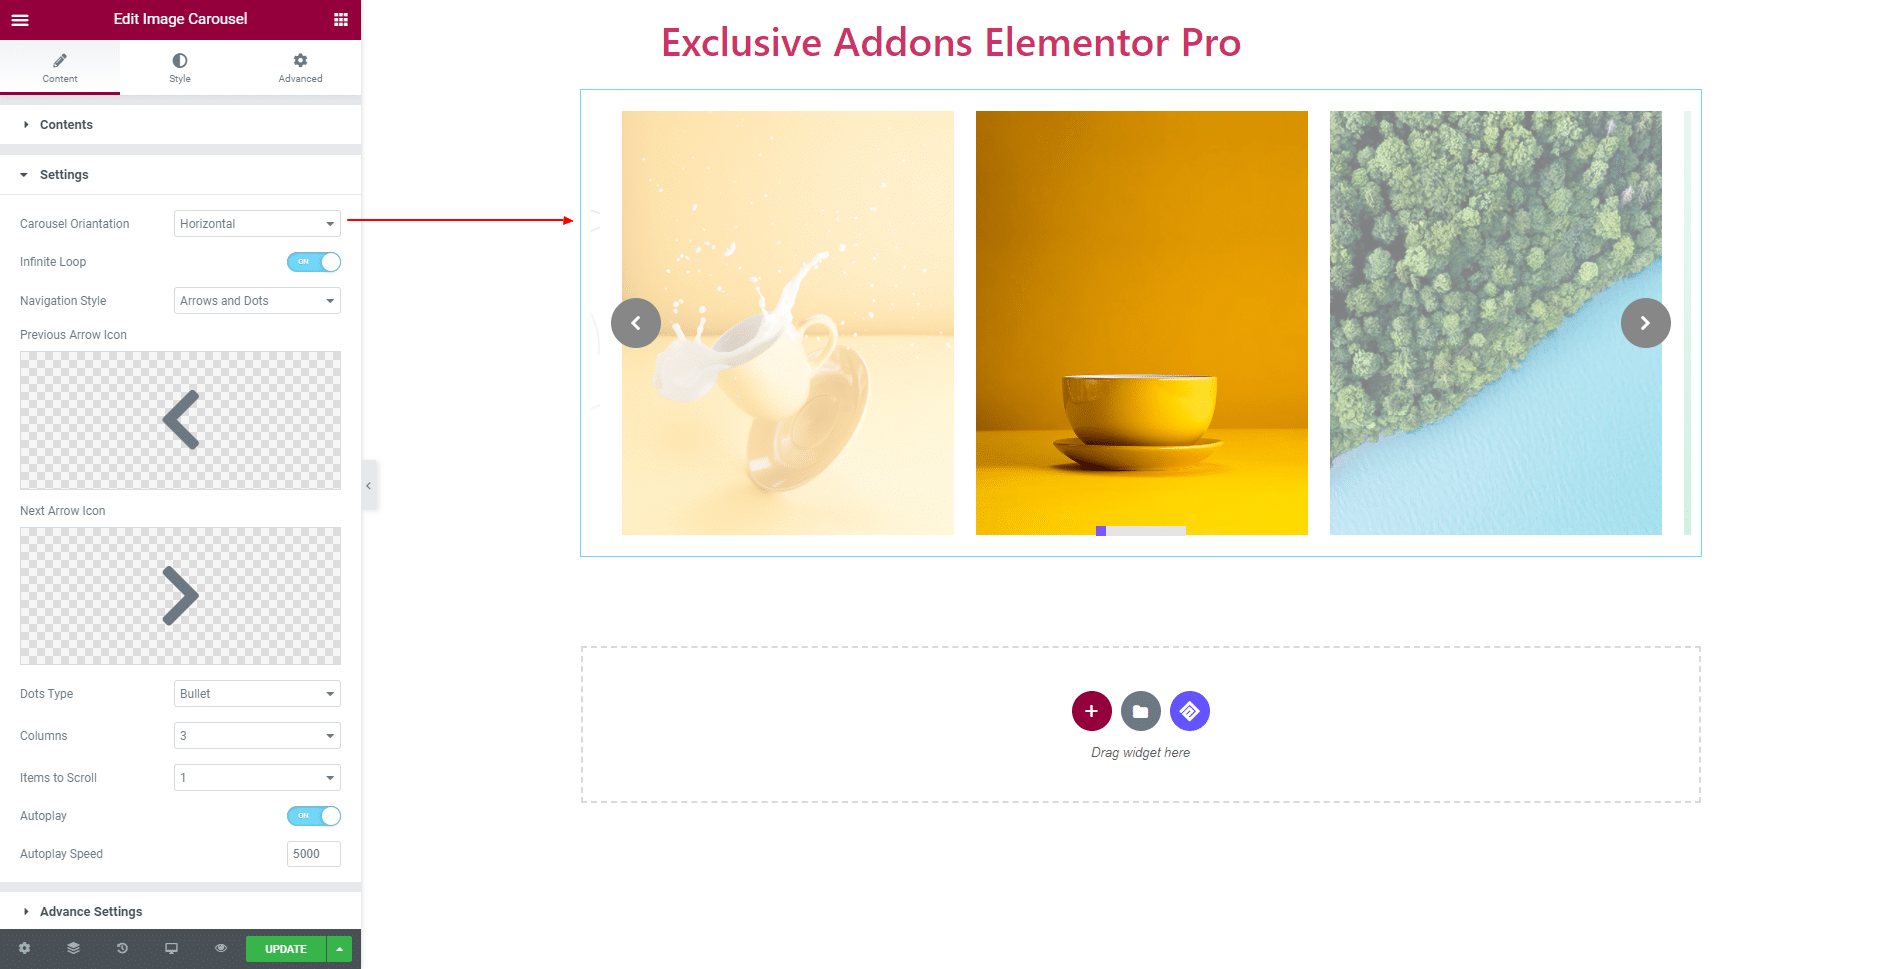
Choose the Navigation Style as ‘Arrows’, ‘Dots’, ‘Arrows & Dots’ or ‘None’.
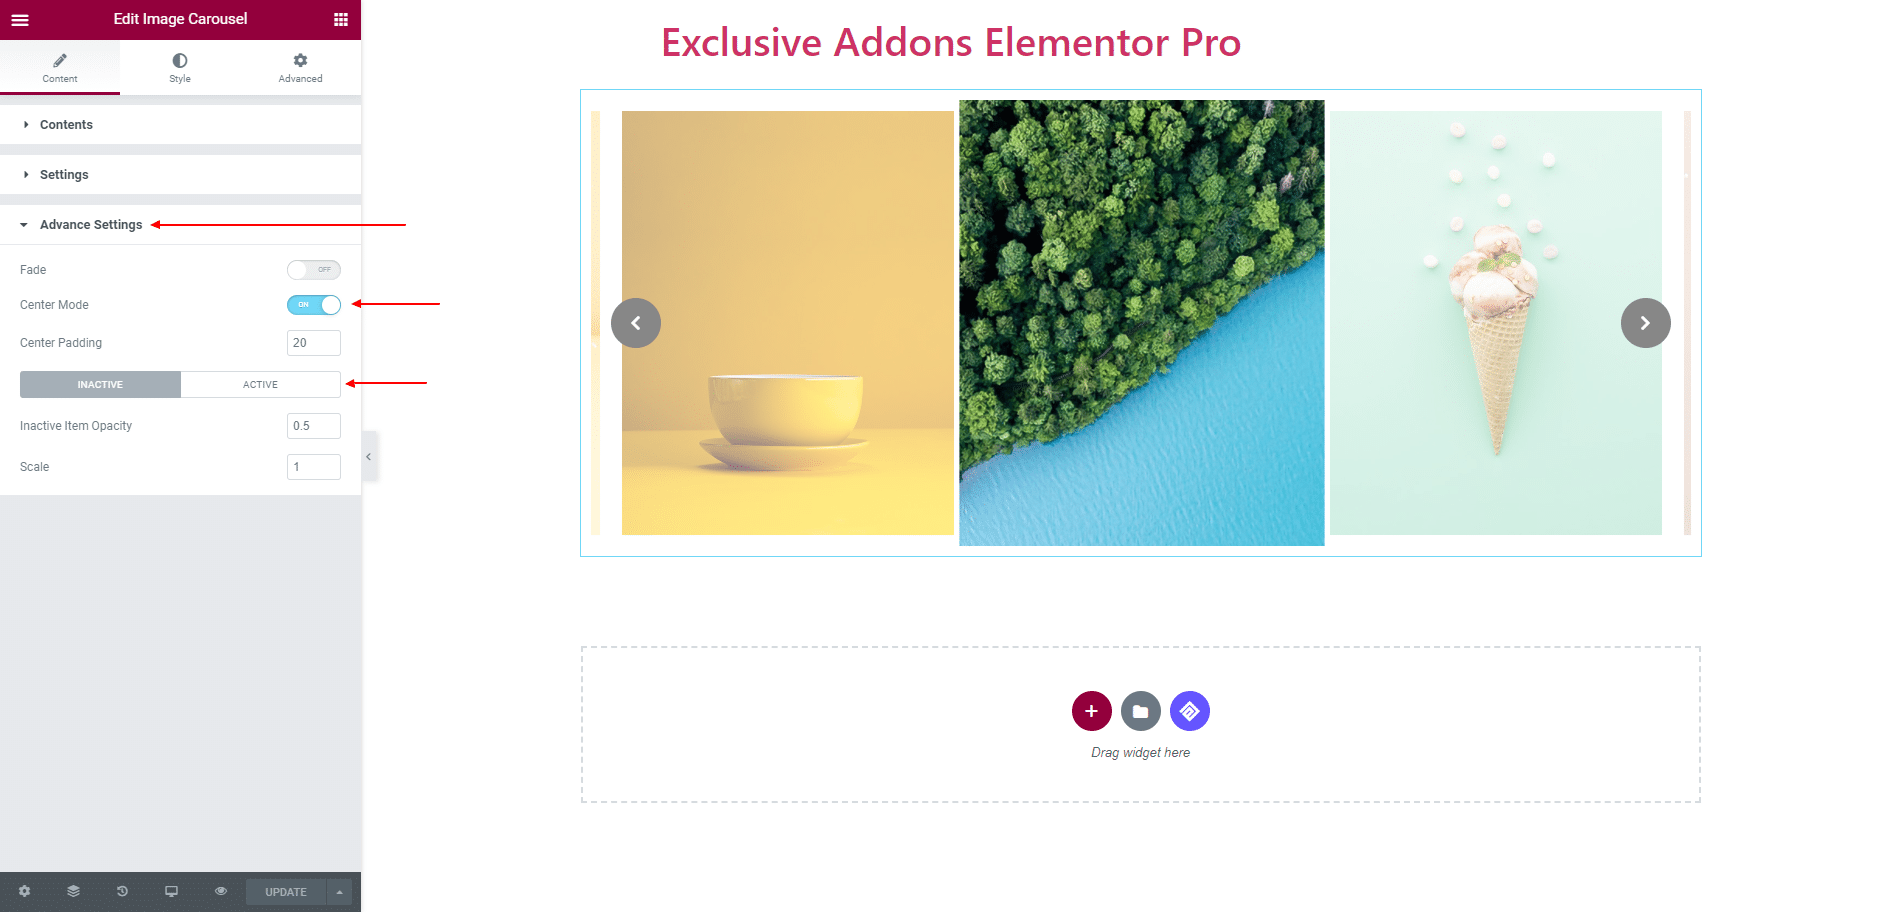
2.3 In Advanced Setting section, enable or disable Fade, Center Mode, and set Center Padding. Also, set individual Item Opacity and Scale for both ‘Active‘ and ‘Inactive‘ Items.
STEP 3:
Style tab lets you customize Container, Image, Arrow section, and Dots/Thumb design.
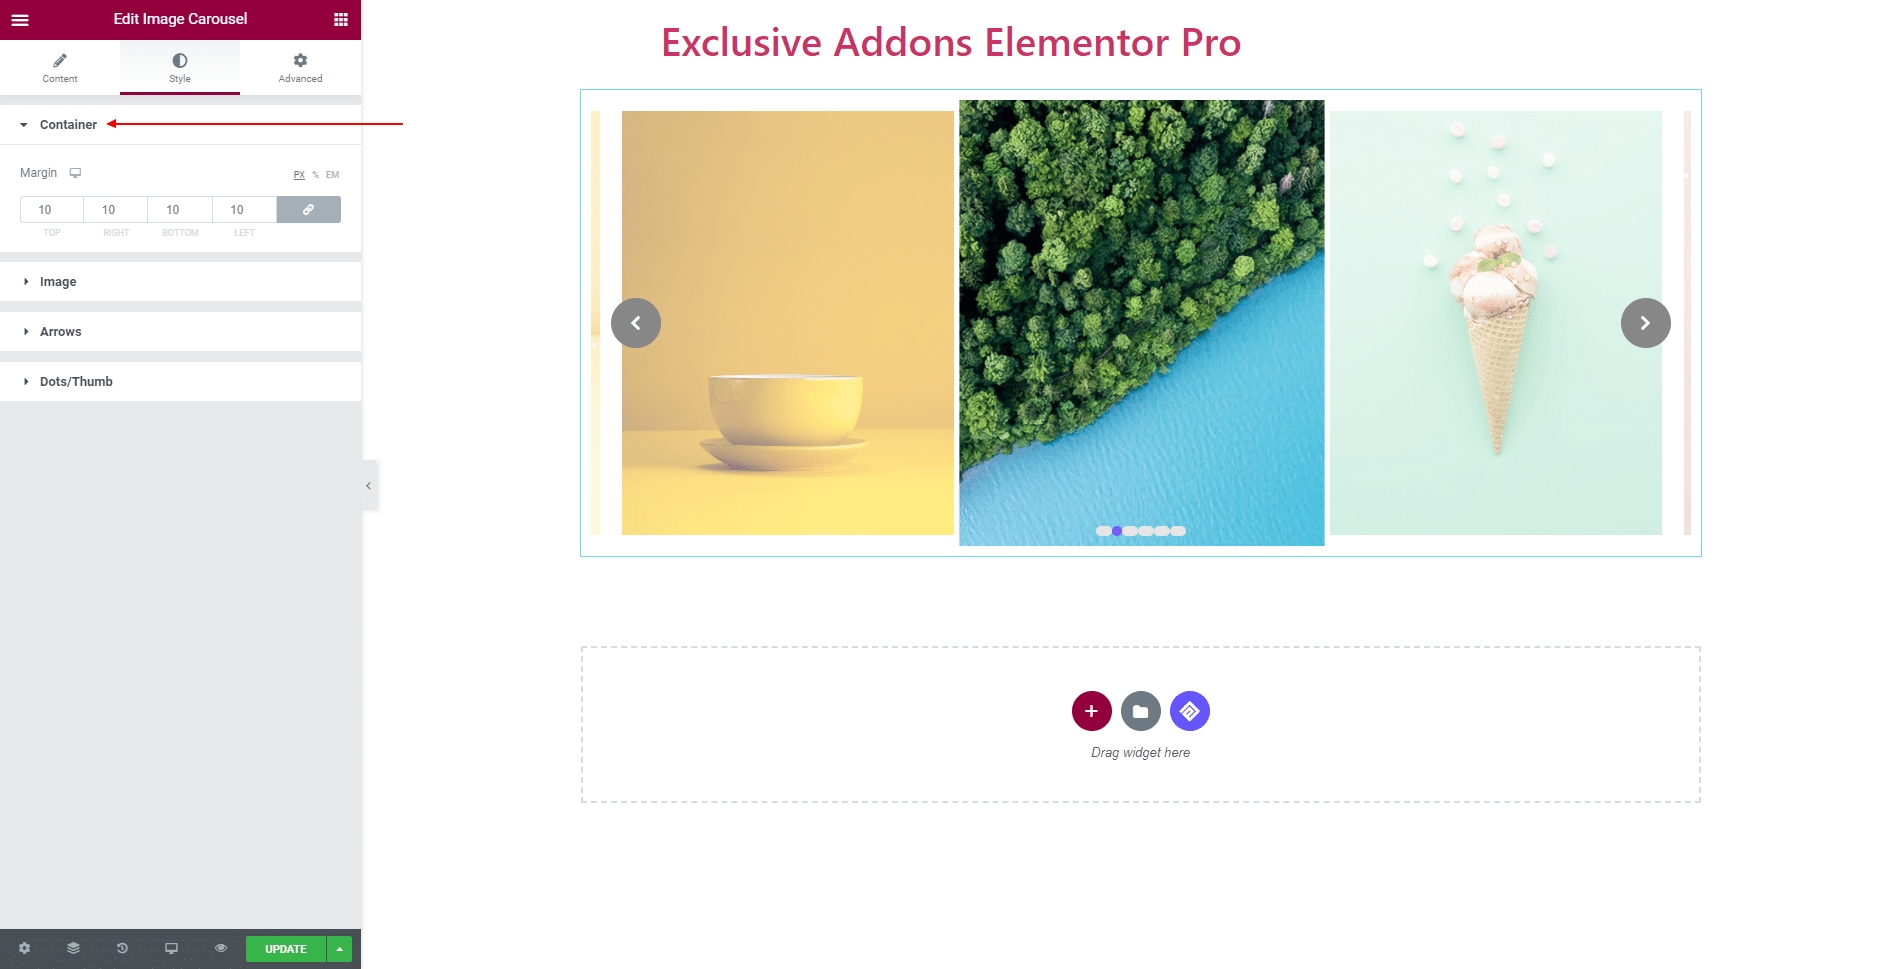
3.1 In Container section, change Margin of the entire section.
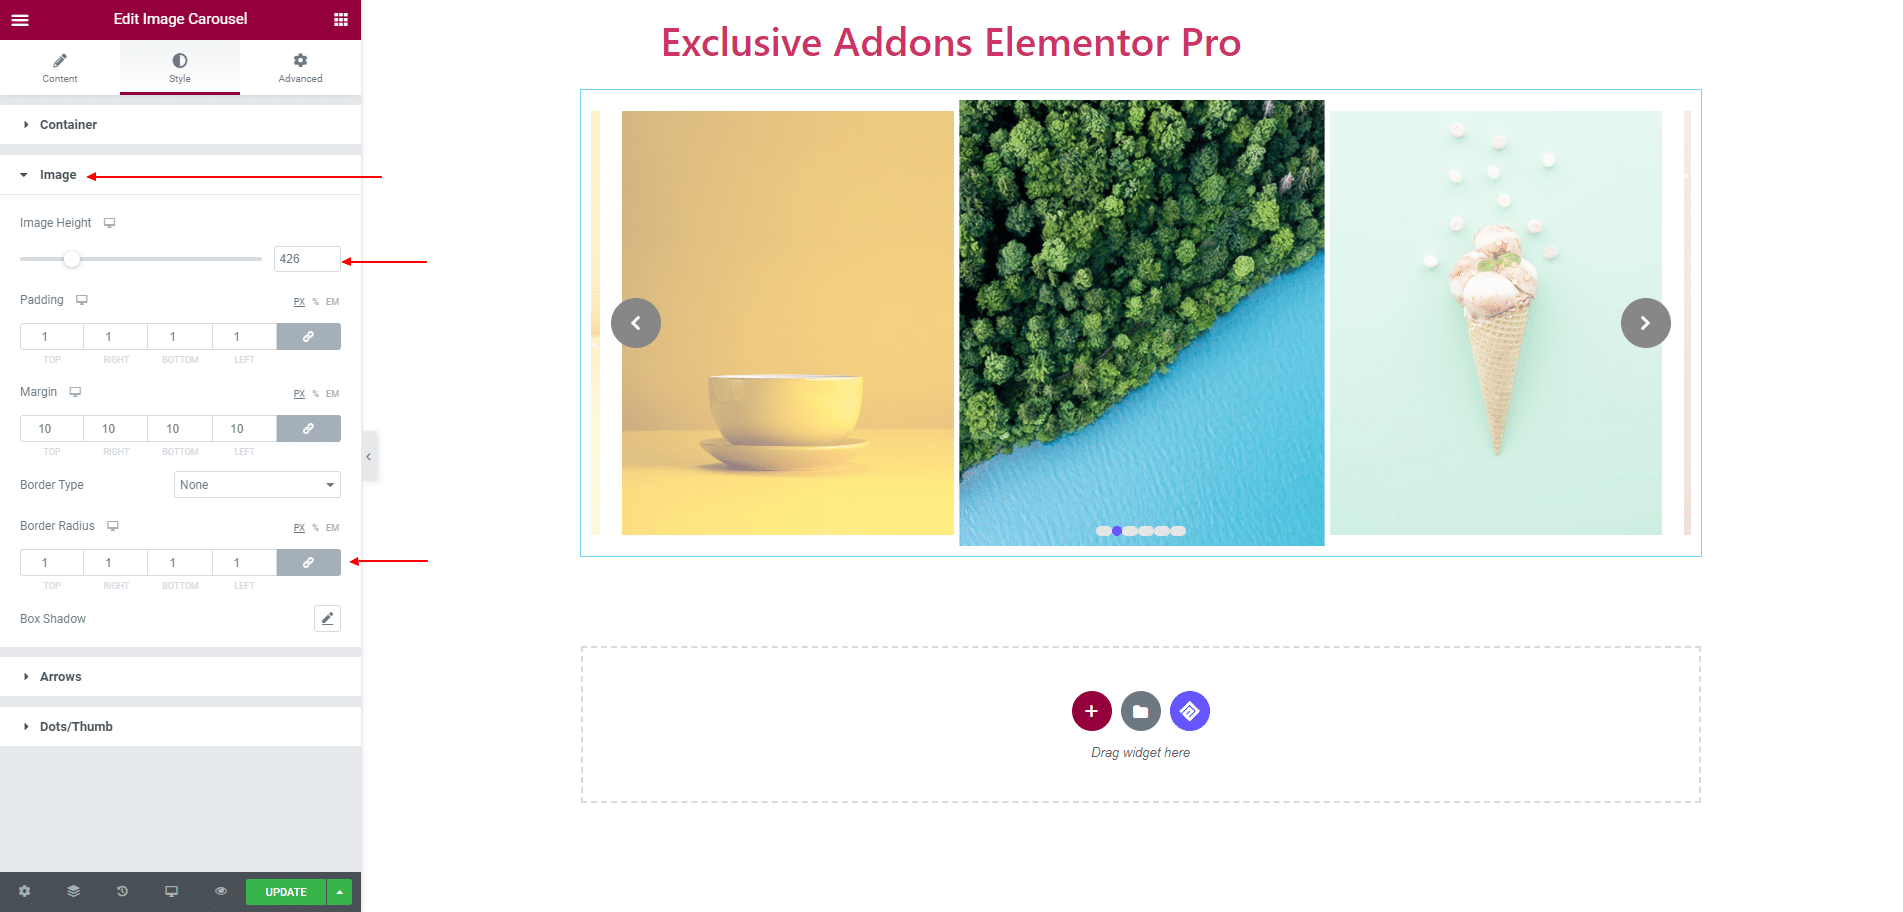
3.2 In Image section, adjust the Image Height, Padding, Margin Border Radius, also select Border type, and Box Shadow for Images.
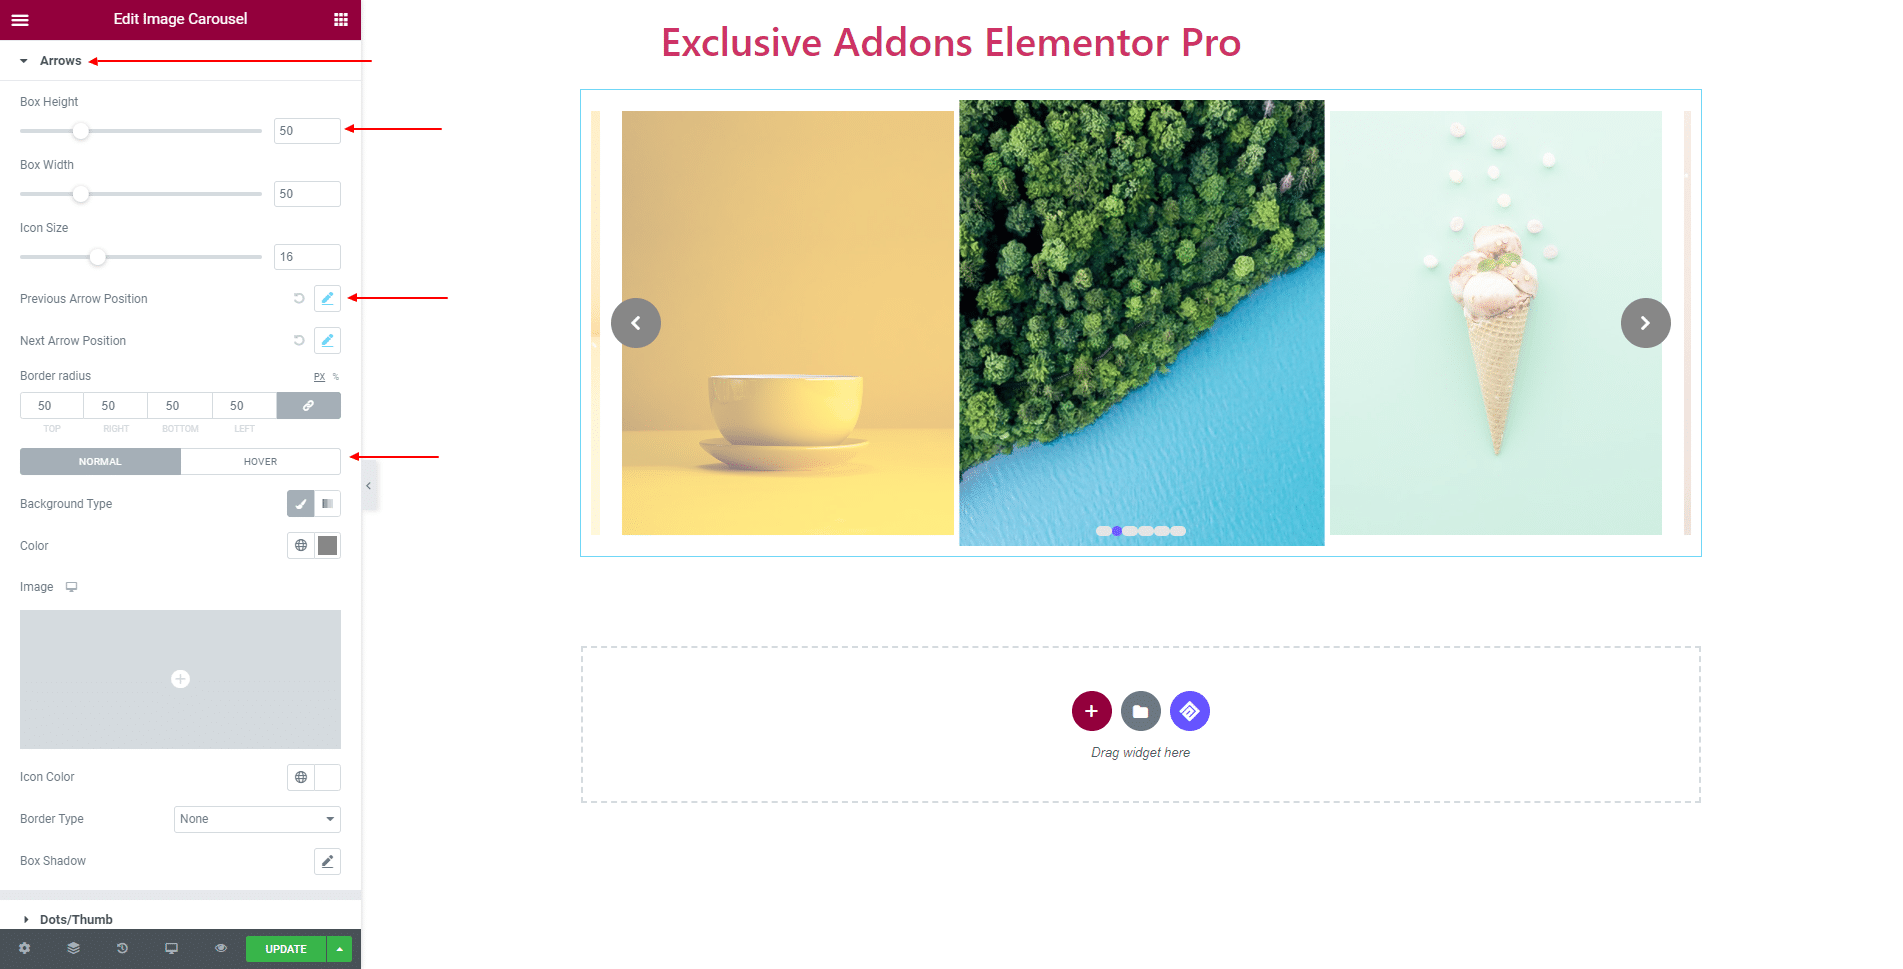
3.3 For Arrows, adjust Box Height, Box Width, Icon Size, and Border Radius. Set Previous Arrow Position, Next Arrow Position, Icon Color, Border Type, Box Shadow, and individual Background Type for both ‘Normal’ and ‘Hover’ state.
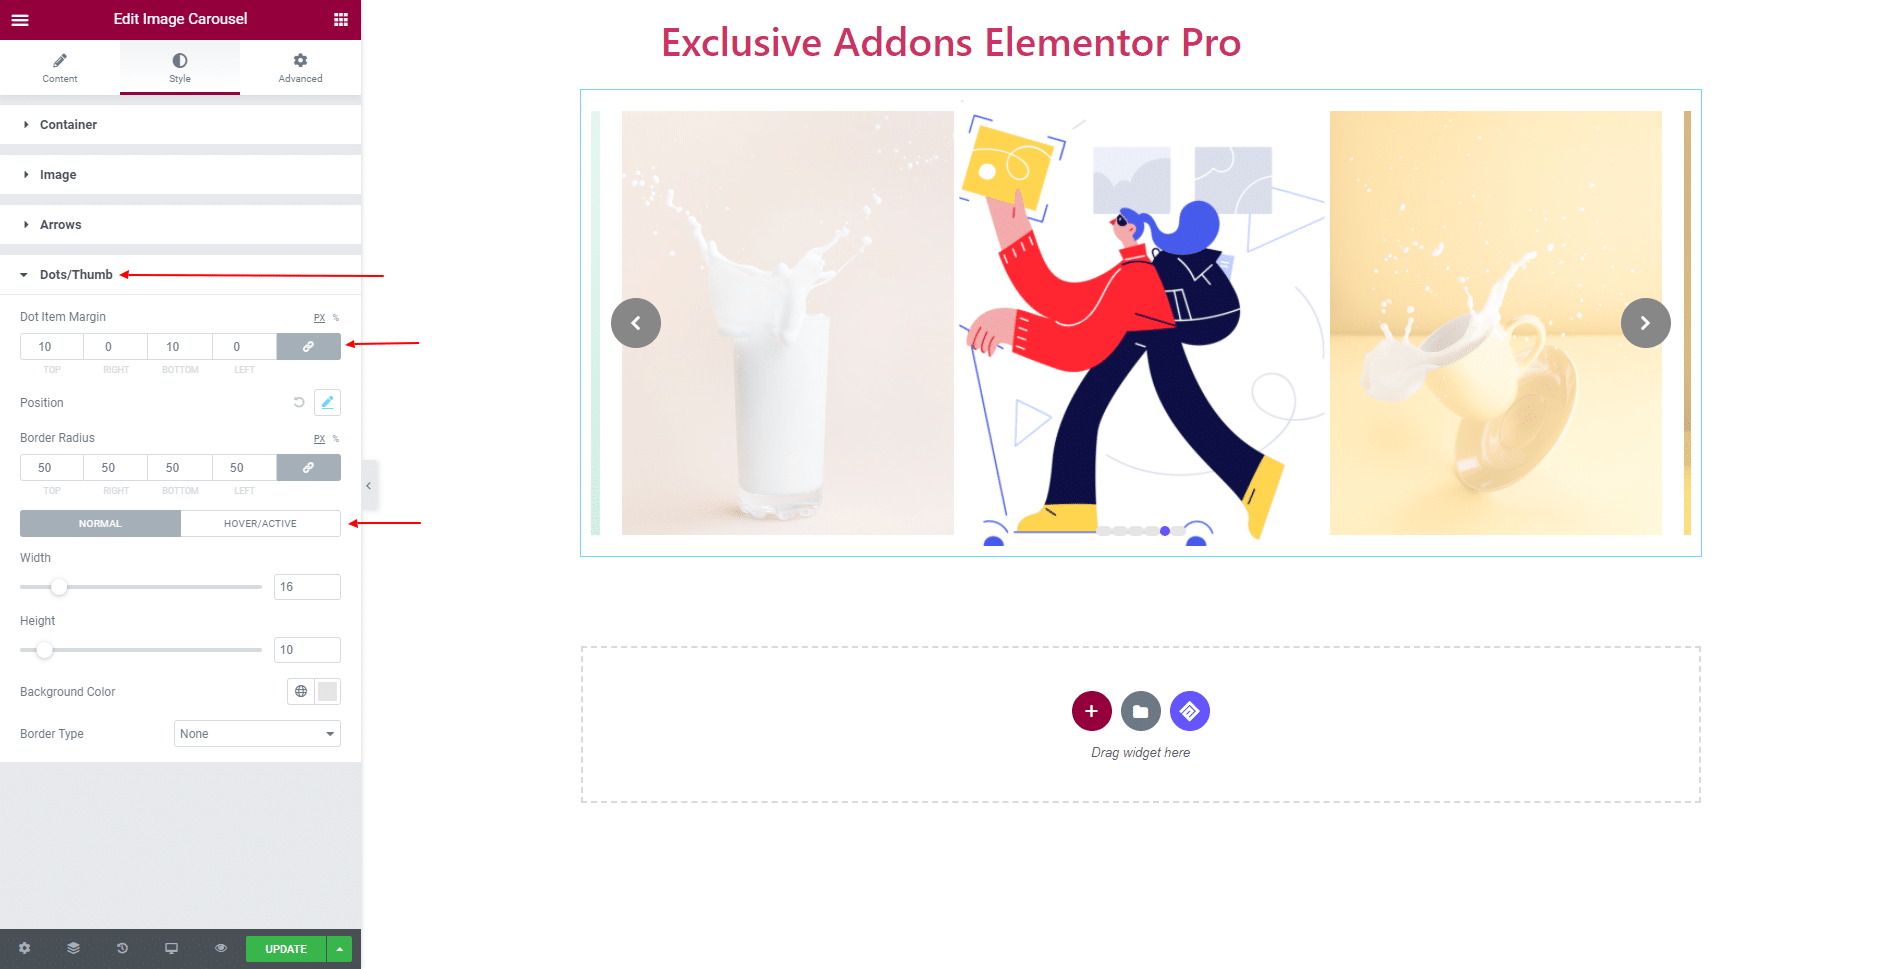
3.4 For Dots/Thumb, you can set Dot Item Margin, Border Radius, Position. Besides, adjust Width, Height, and choose Background Color, Border Type separately for ‘Normal’, and ‘Hover/Active’ state.
STEP 4:
Finally, hit the Update button, and include a stylish Image Carousel Widget on your Wordpress site.
