How to configure and style Post Grid Widget.
Create a wonderful grid to showcase your post on website using Exclusive Addons Post Grid Widget for Elementor. A dynamic post grid that will automatically update the post once you make changes.
STEP 1:
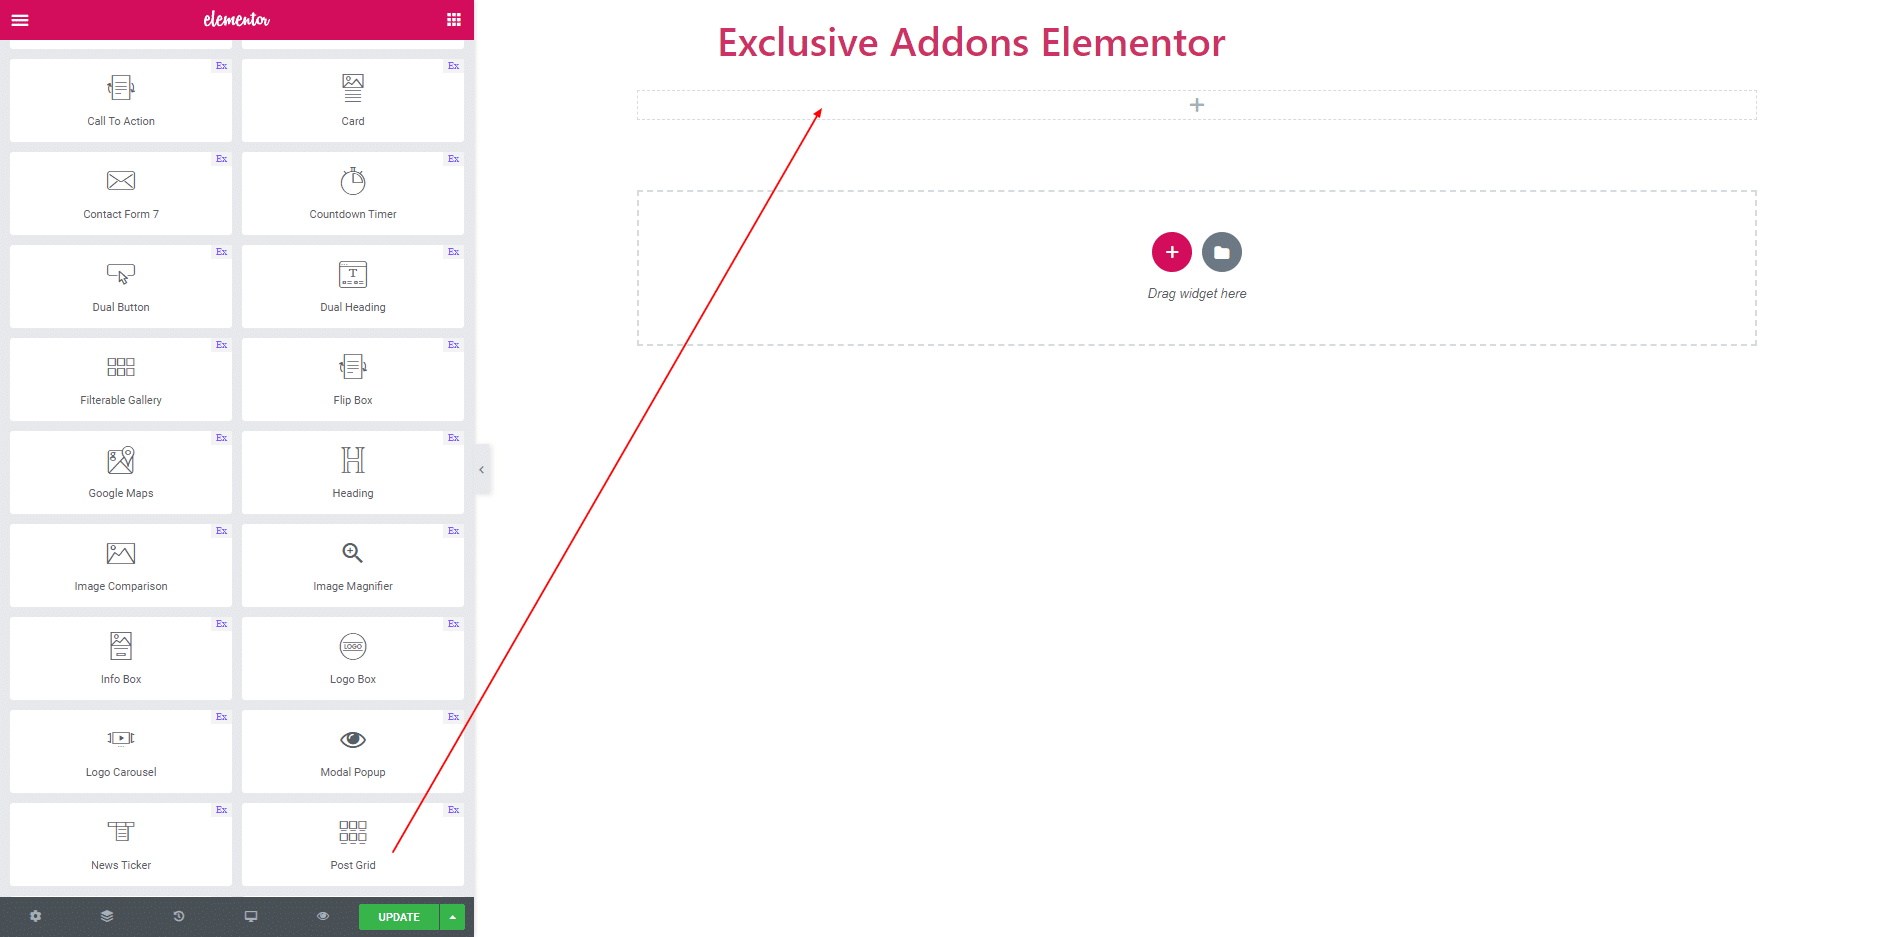
Select the ‘Post Grid’ widget from Elementor panel. Then drag and drop it in the selected area.
STEP 2:
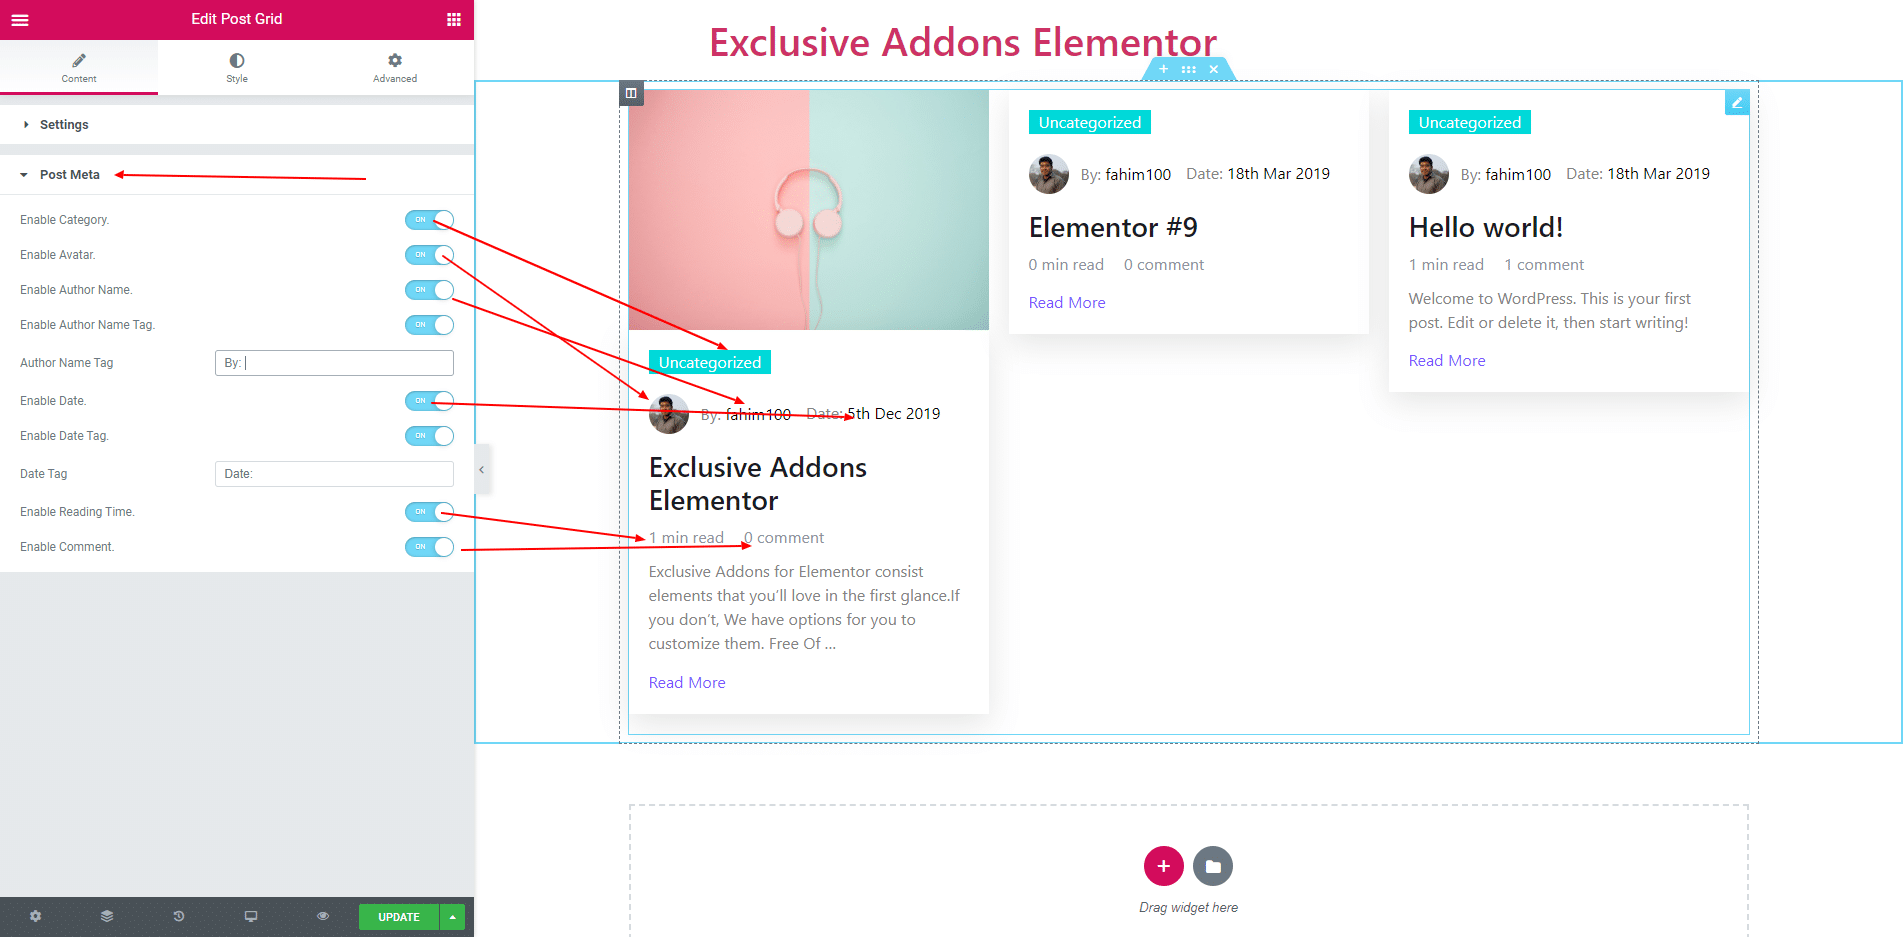
Content section consist of ‘Settings’ and ‘Post Meta’.
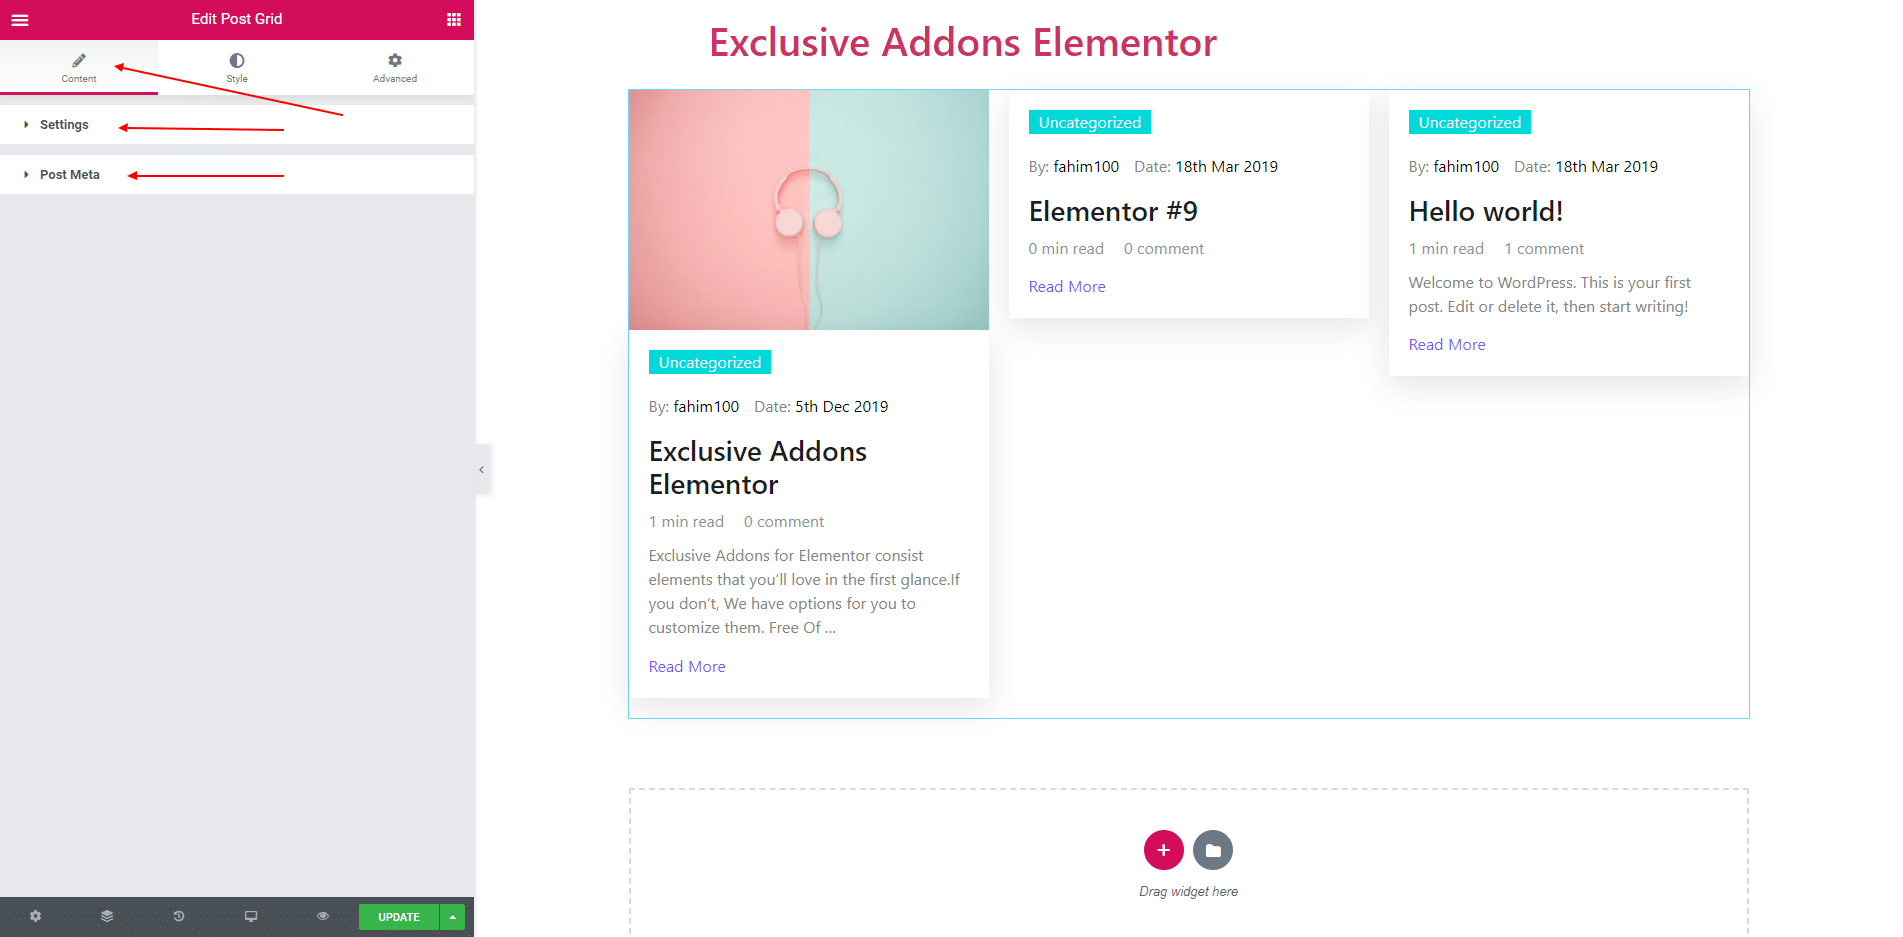
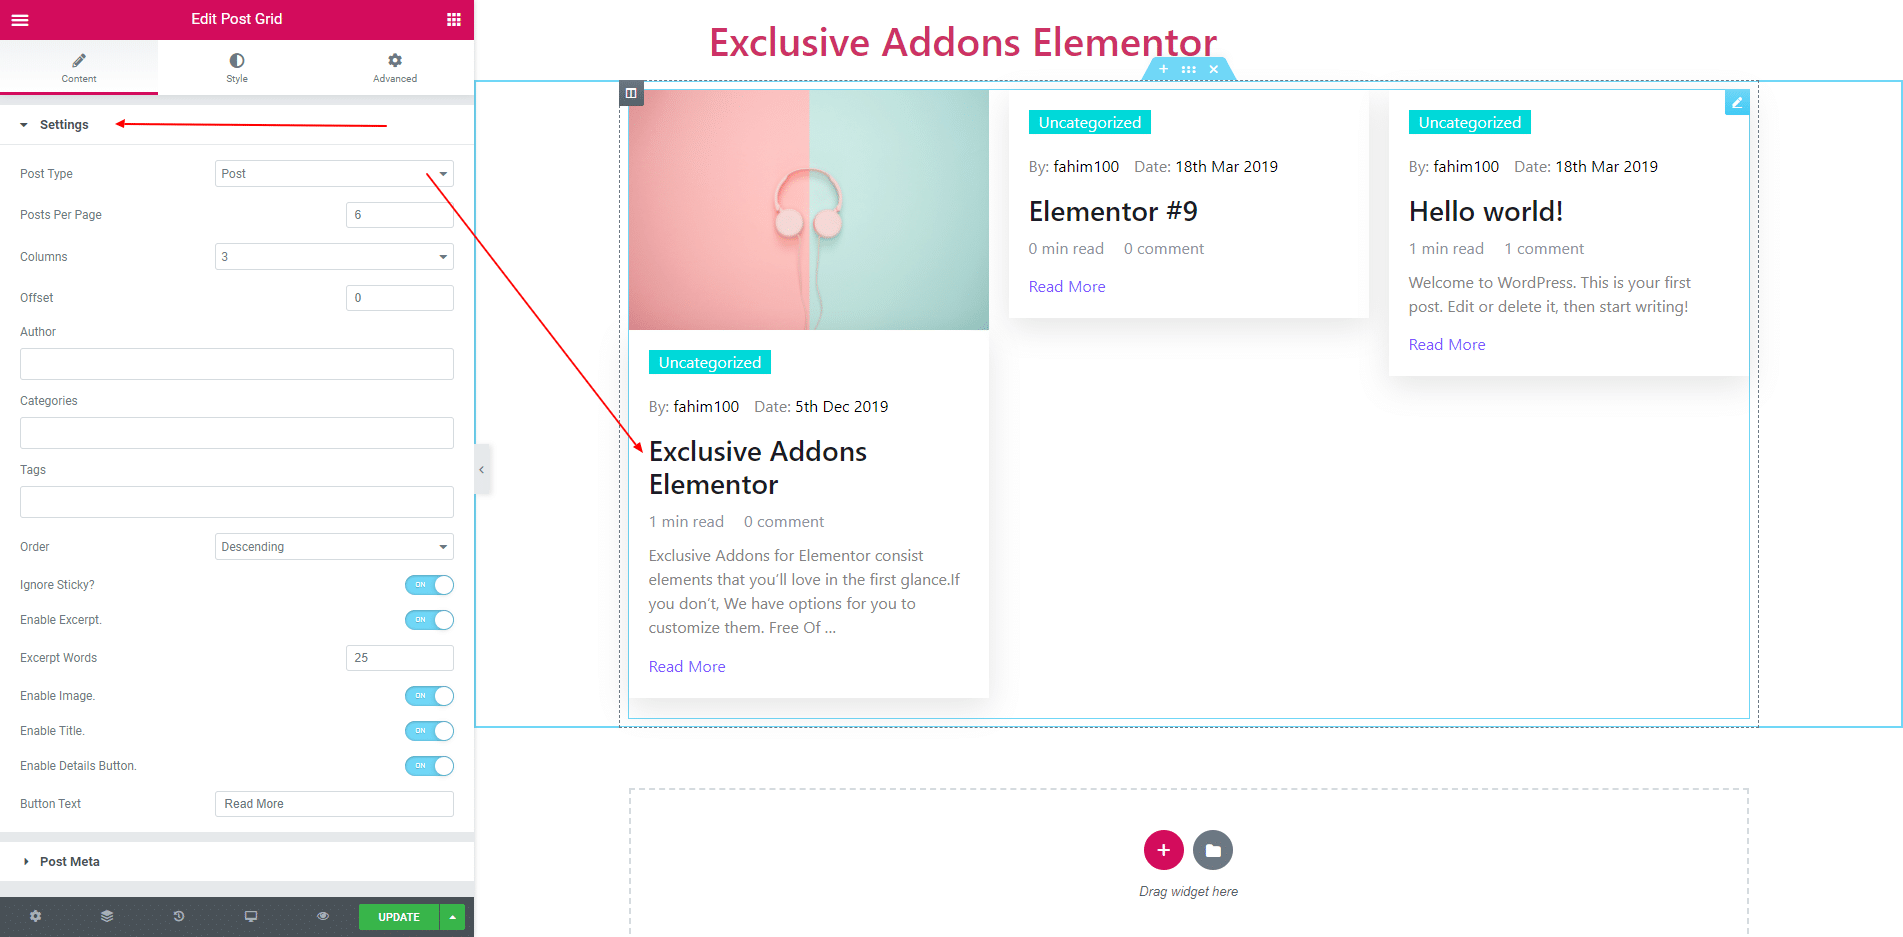
2.1. You can display dynamic post or page with Post Grid by selecting post type in ‘Settings’ section. You can select the number of posts for a single page. After choosing ‘Post Type’, you can filter your contents by ‘Author’, ‘Categories’ & ‘Tags’. Choose multiple options and add as many authors, categories & tags as you want. The number of ‘Excerpt Words’ and filtering by ‘Order’ options are available as well. In the ‘Offset’ field put the number of posts/pages that you want to exclude from the loop. You can enable or disable title, image and details button and set details button text.
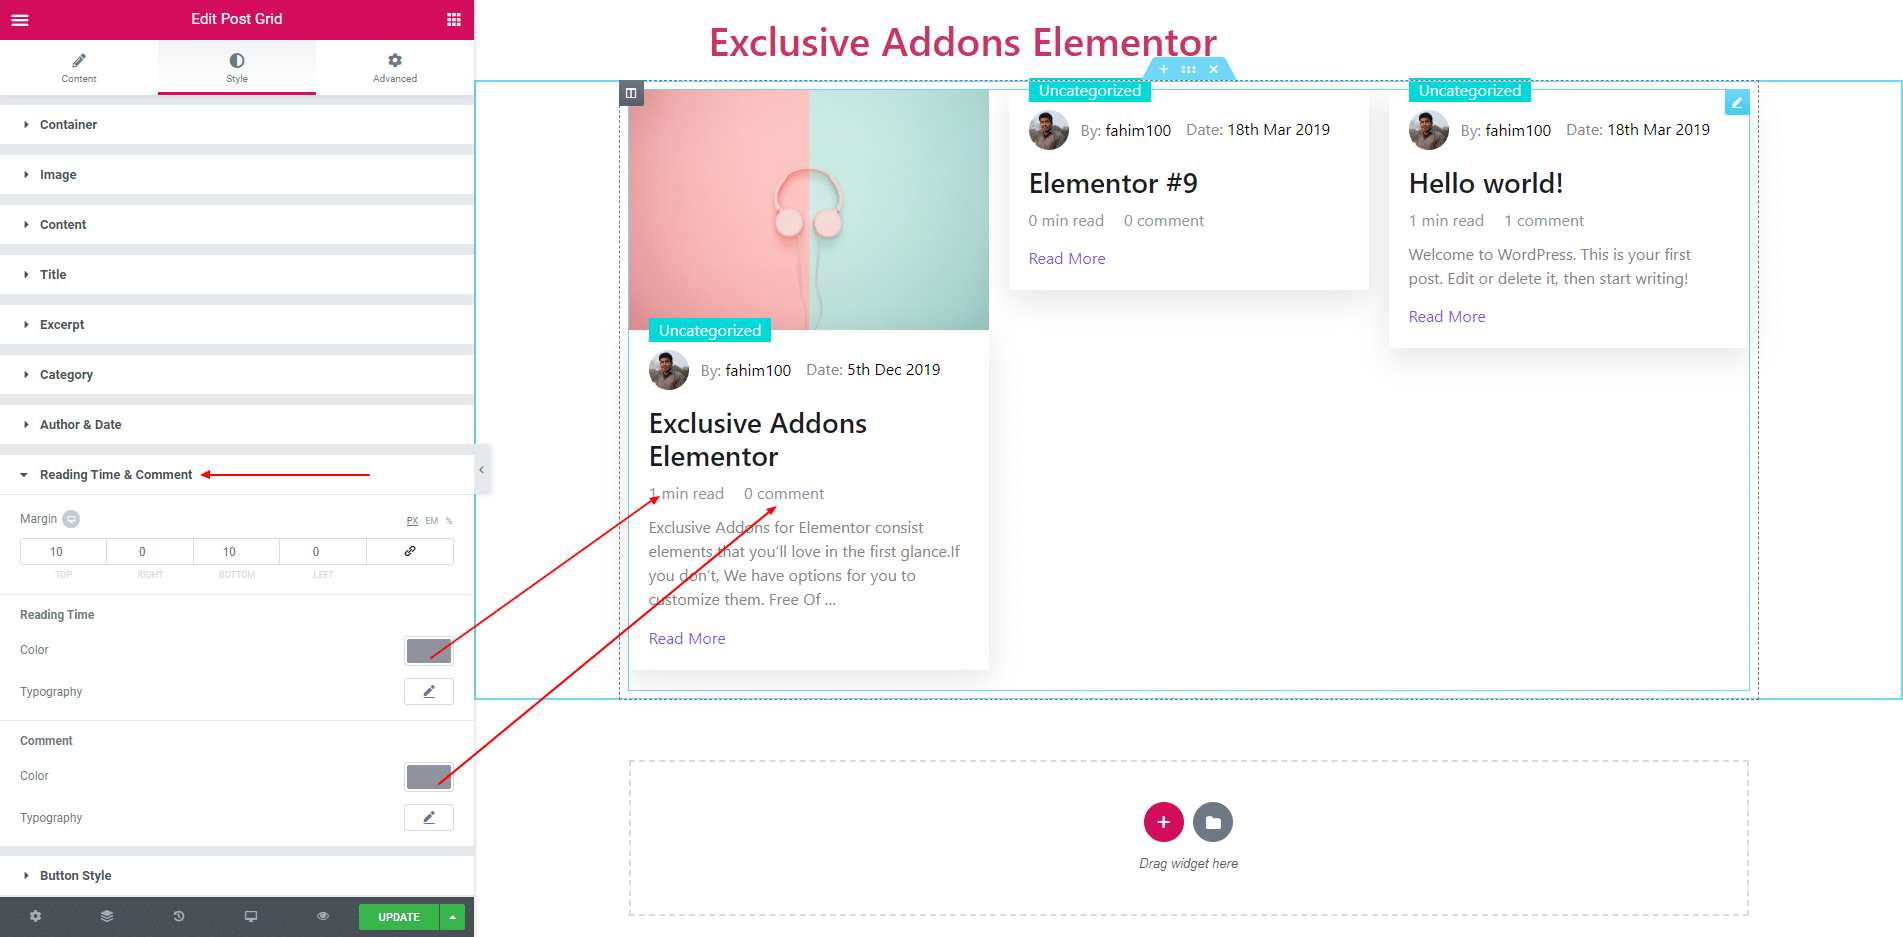
2.2. In Post Meta, you can enable or disable category, avater, tag, author name, date, reading time, comment and date tag.
STEP 3:
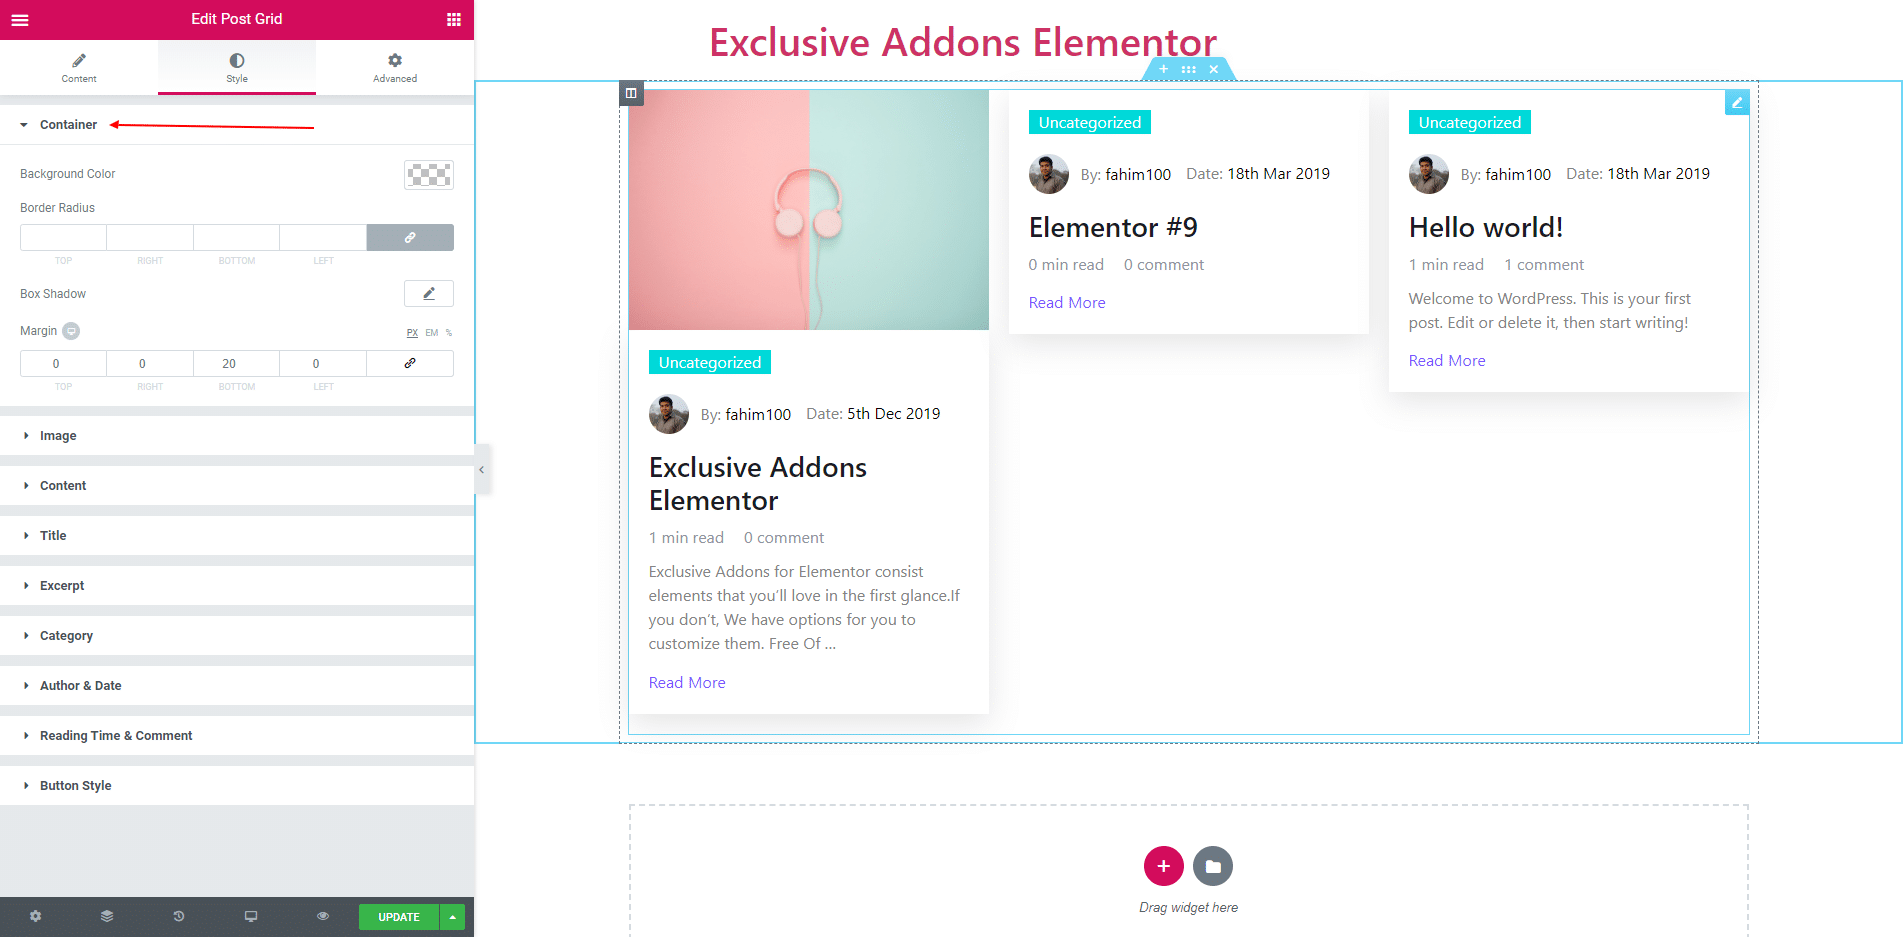
3.1. You are able to change background color, border, border radius and box shadow for the container.
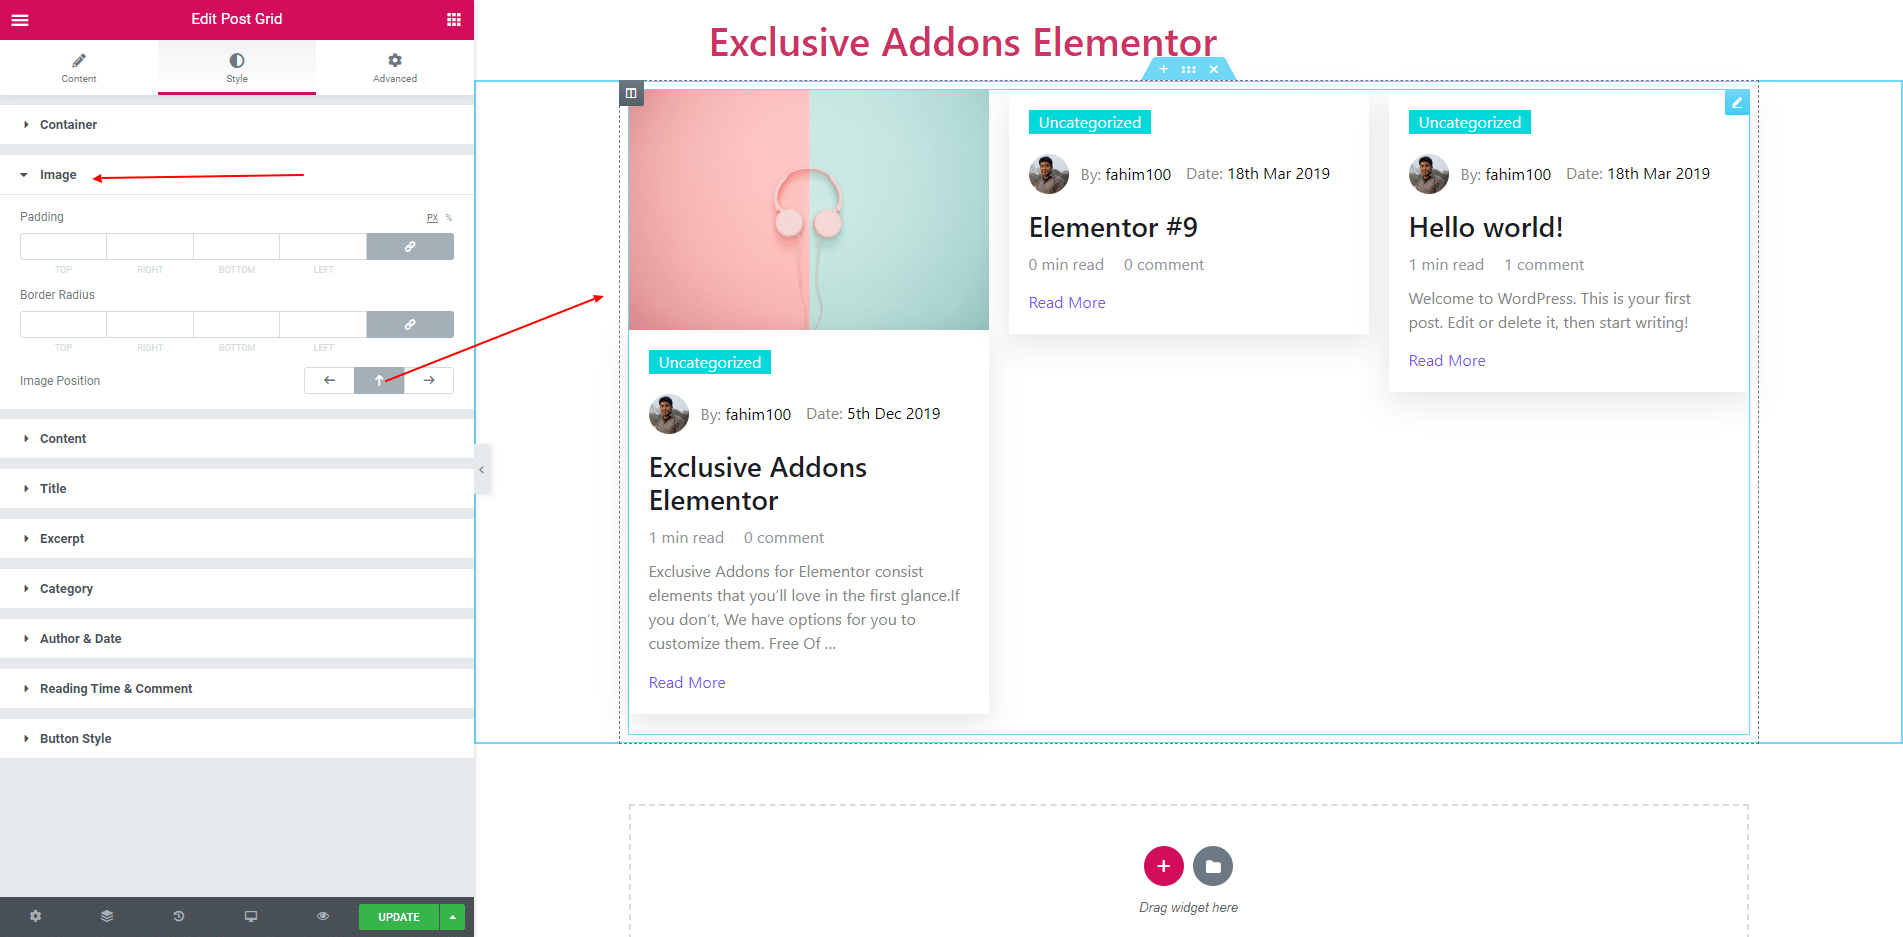
3.2. In Image section, you can set padding, border radius and image position. Image can be set ‘Top’, ‘Left’ and ‘Right’.
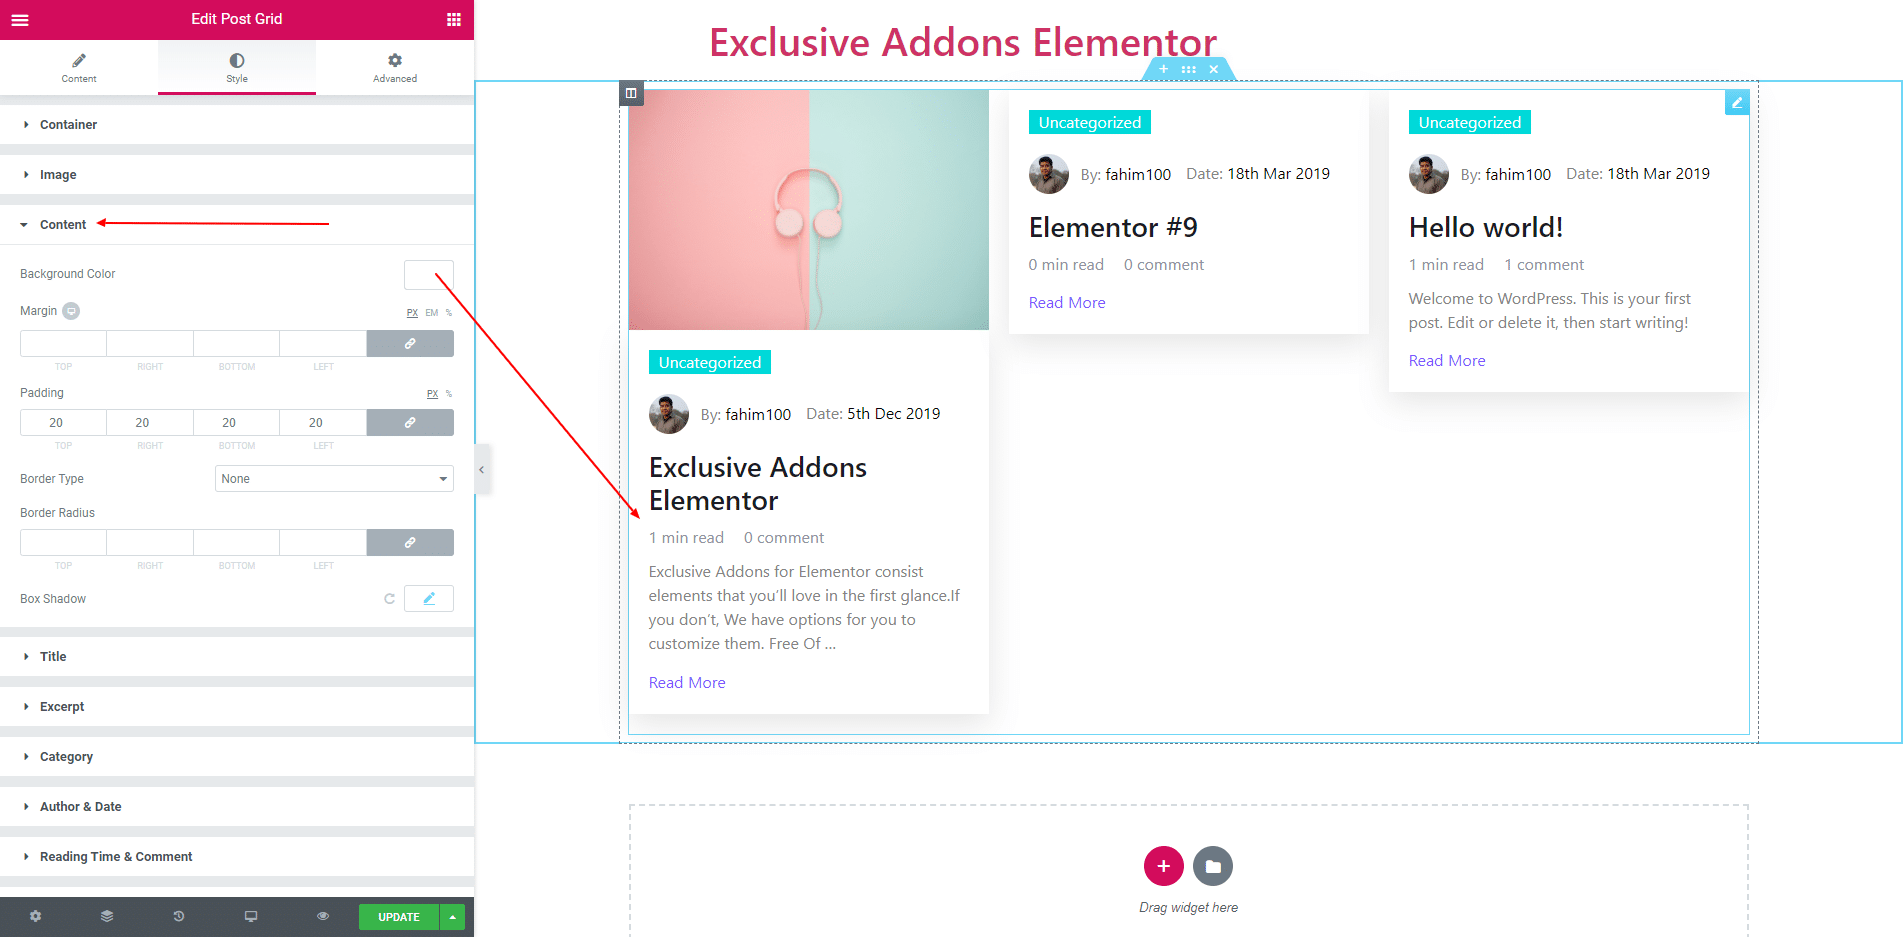
3.3. ‘Background color’, ‘Border’, ‘Margin’ and ‘Padding’ are self-explanatory. They applies to the Post grid content.
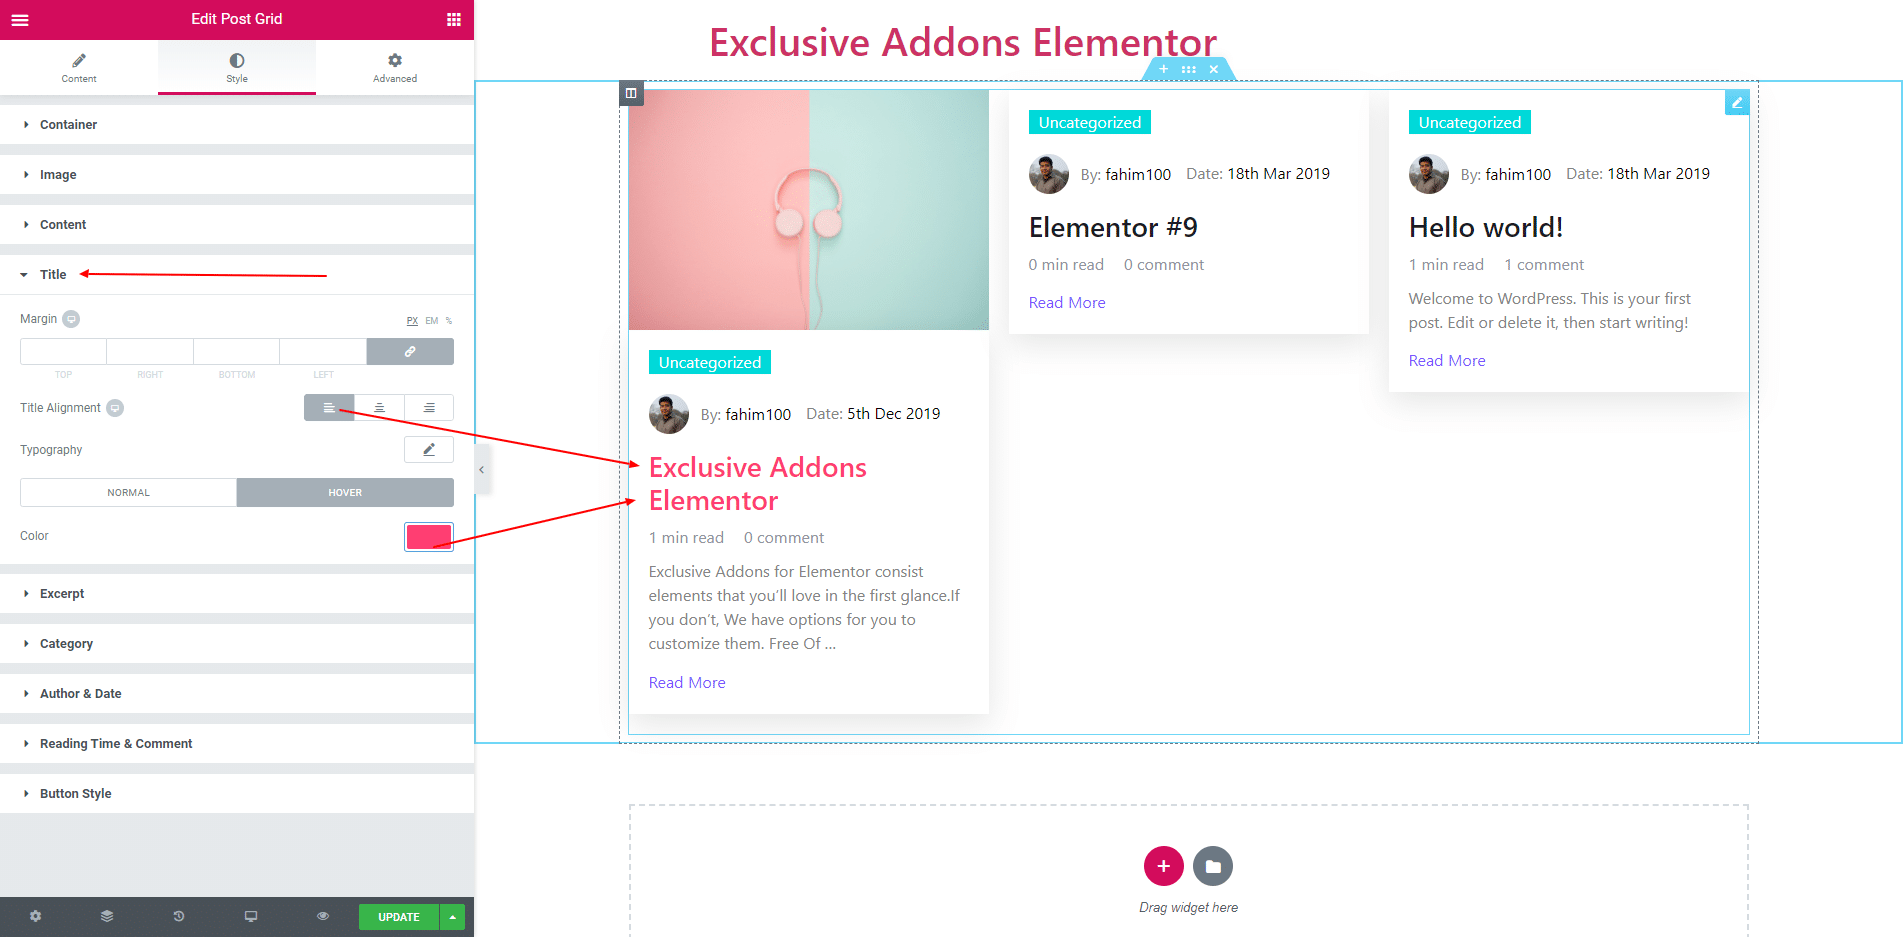
3.4. You can change margin, alignment, typography and text color for normal and hover in title section.
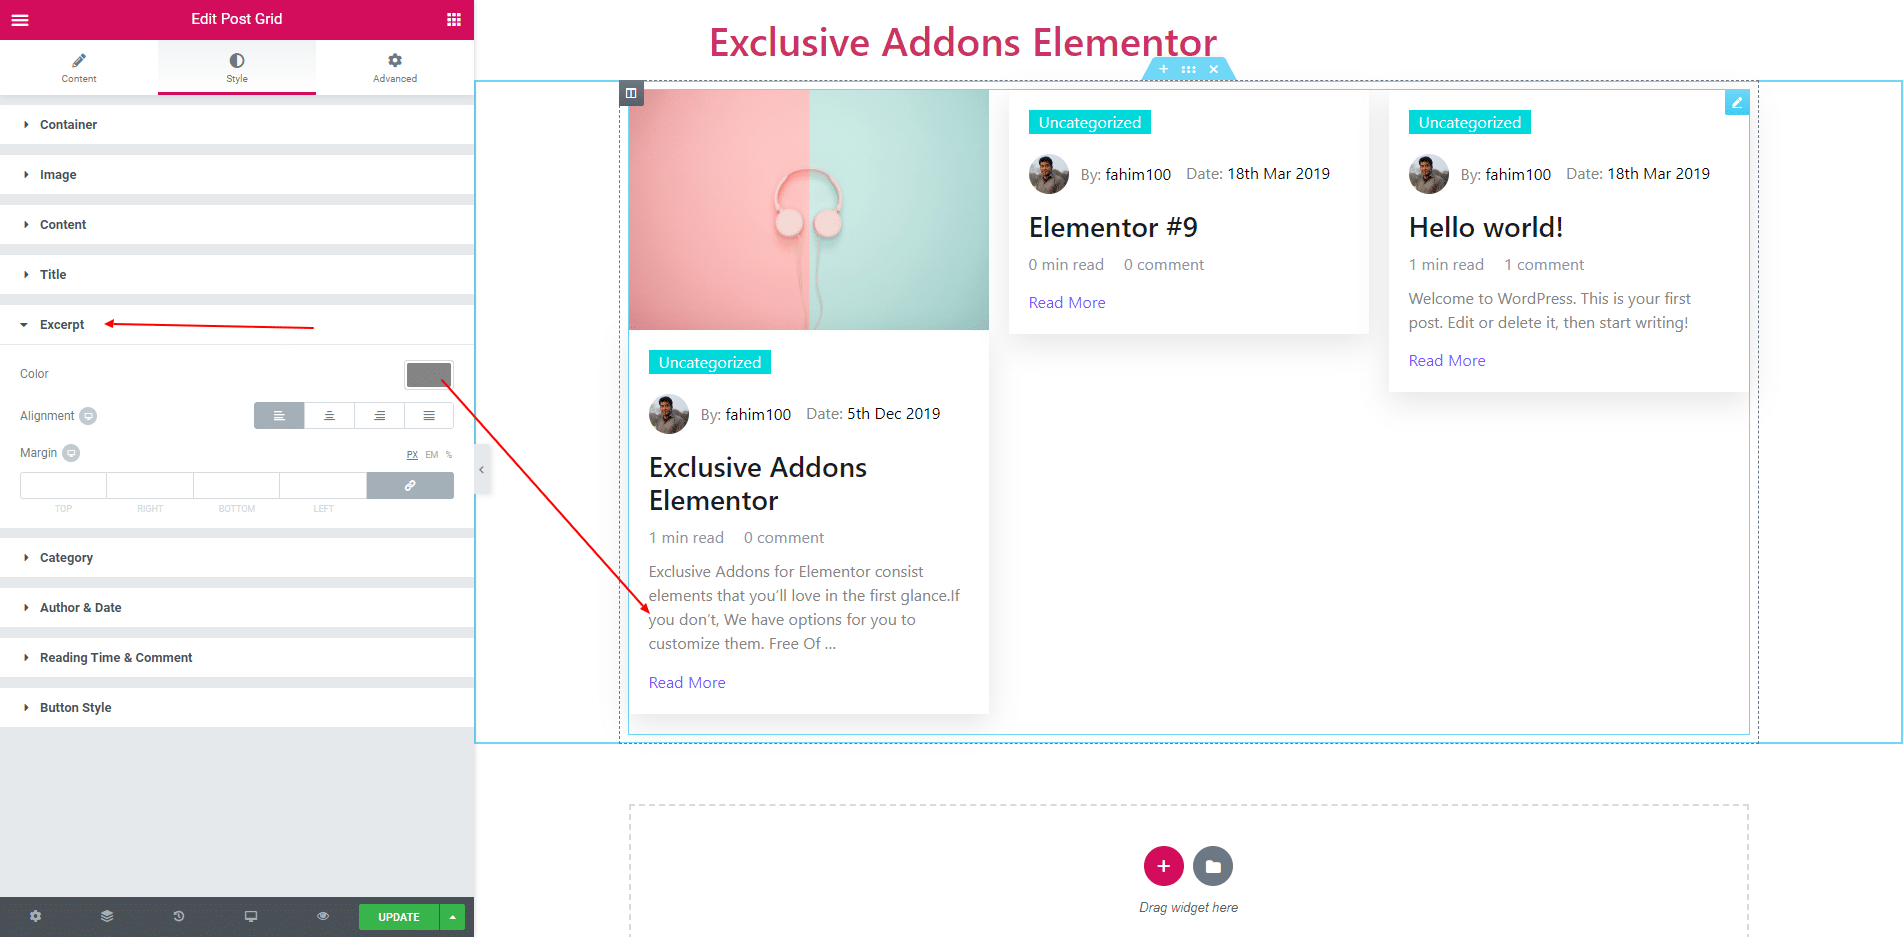
3.5. In Excerpt section, you can set text color, alignment and margin.
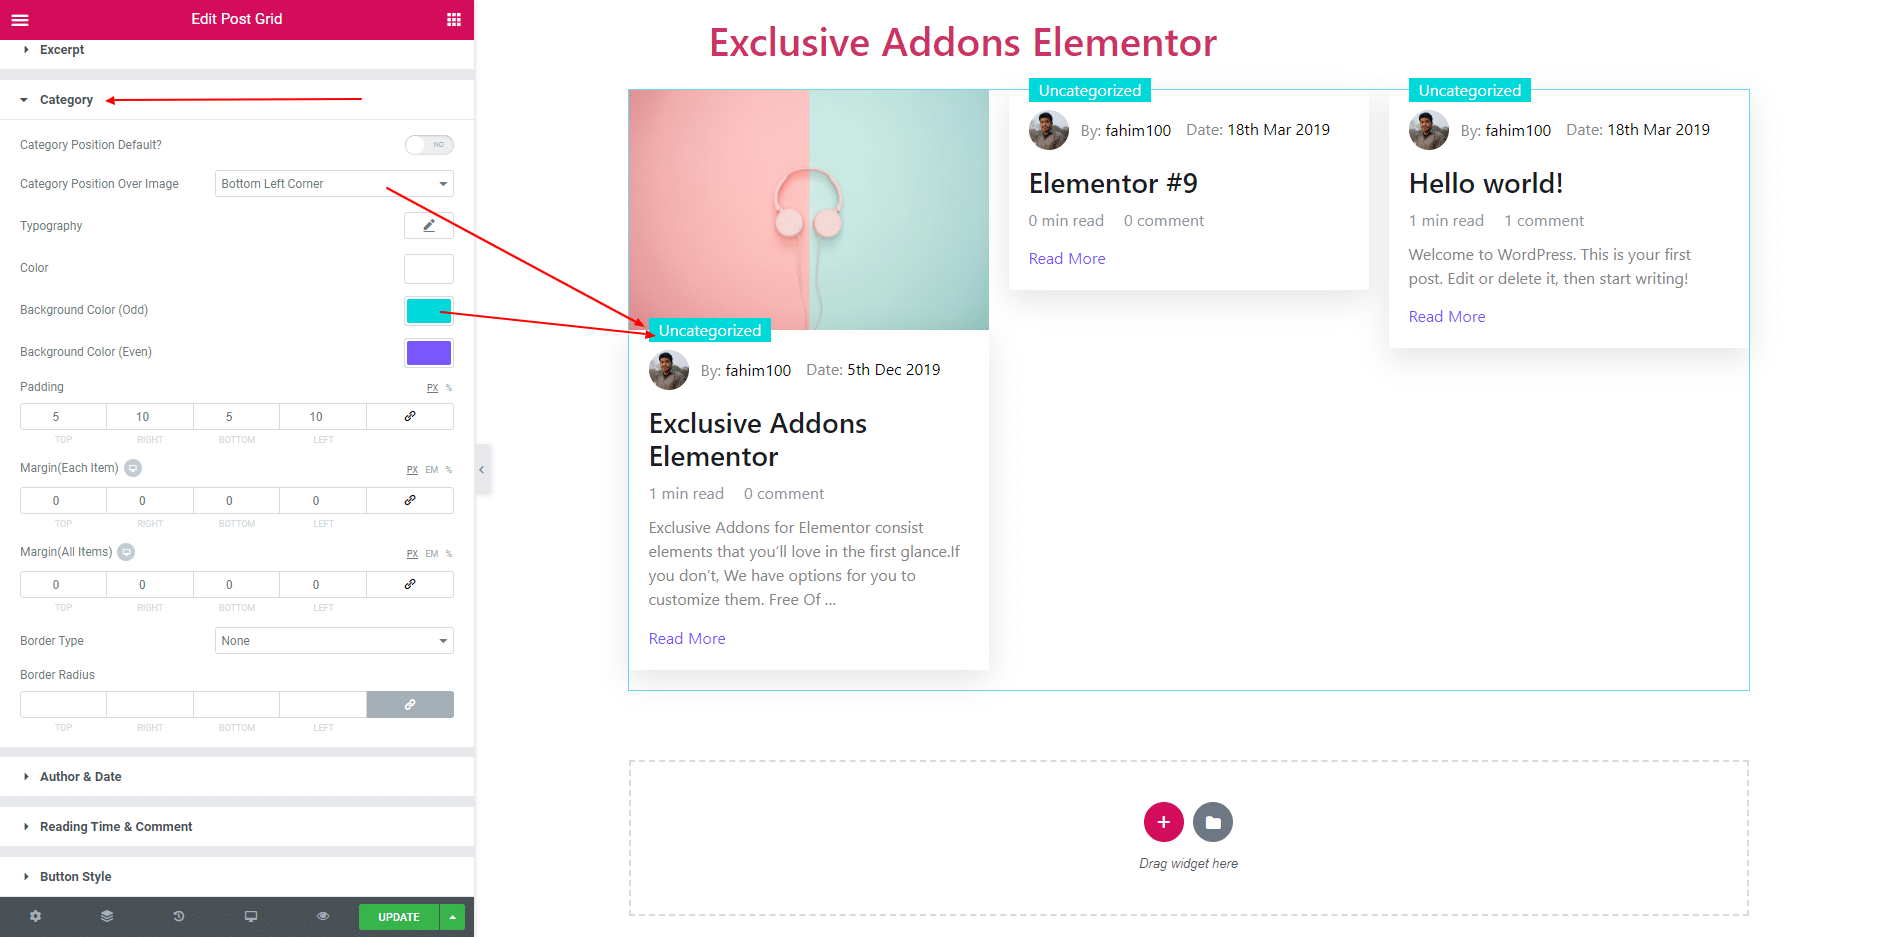
3.6. You can position categary section in ‘Bottom Left Corner’ or ‘Top Right Corner’ or enable default position. Also, change color, typography, margin, padding and border. If multiple categary exist then can changle background color odd and even sepetarely.
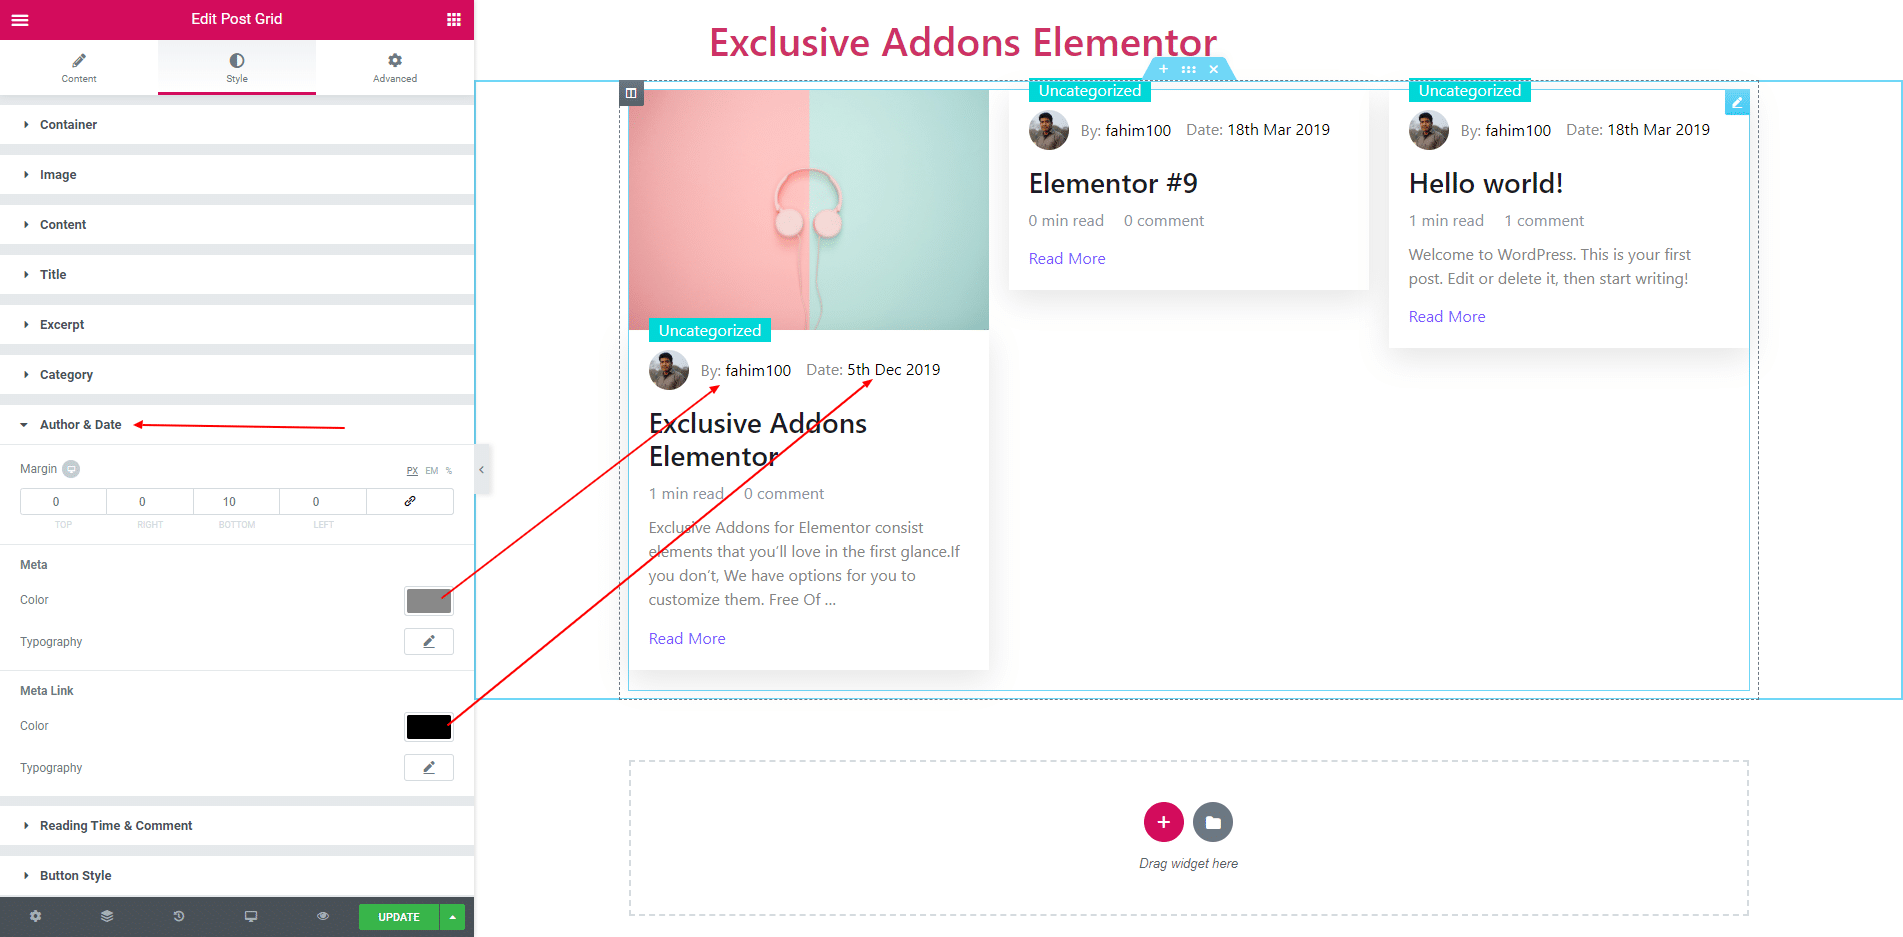
3.7. You can change color and typography of author and date.
3.8. Also, change color and typography of reading time and comment.
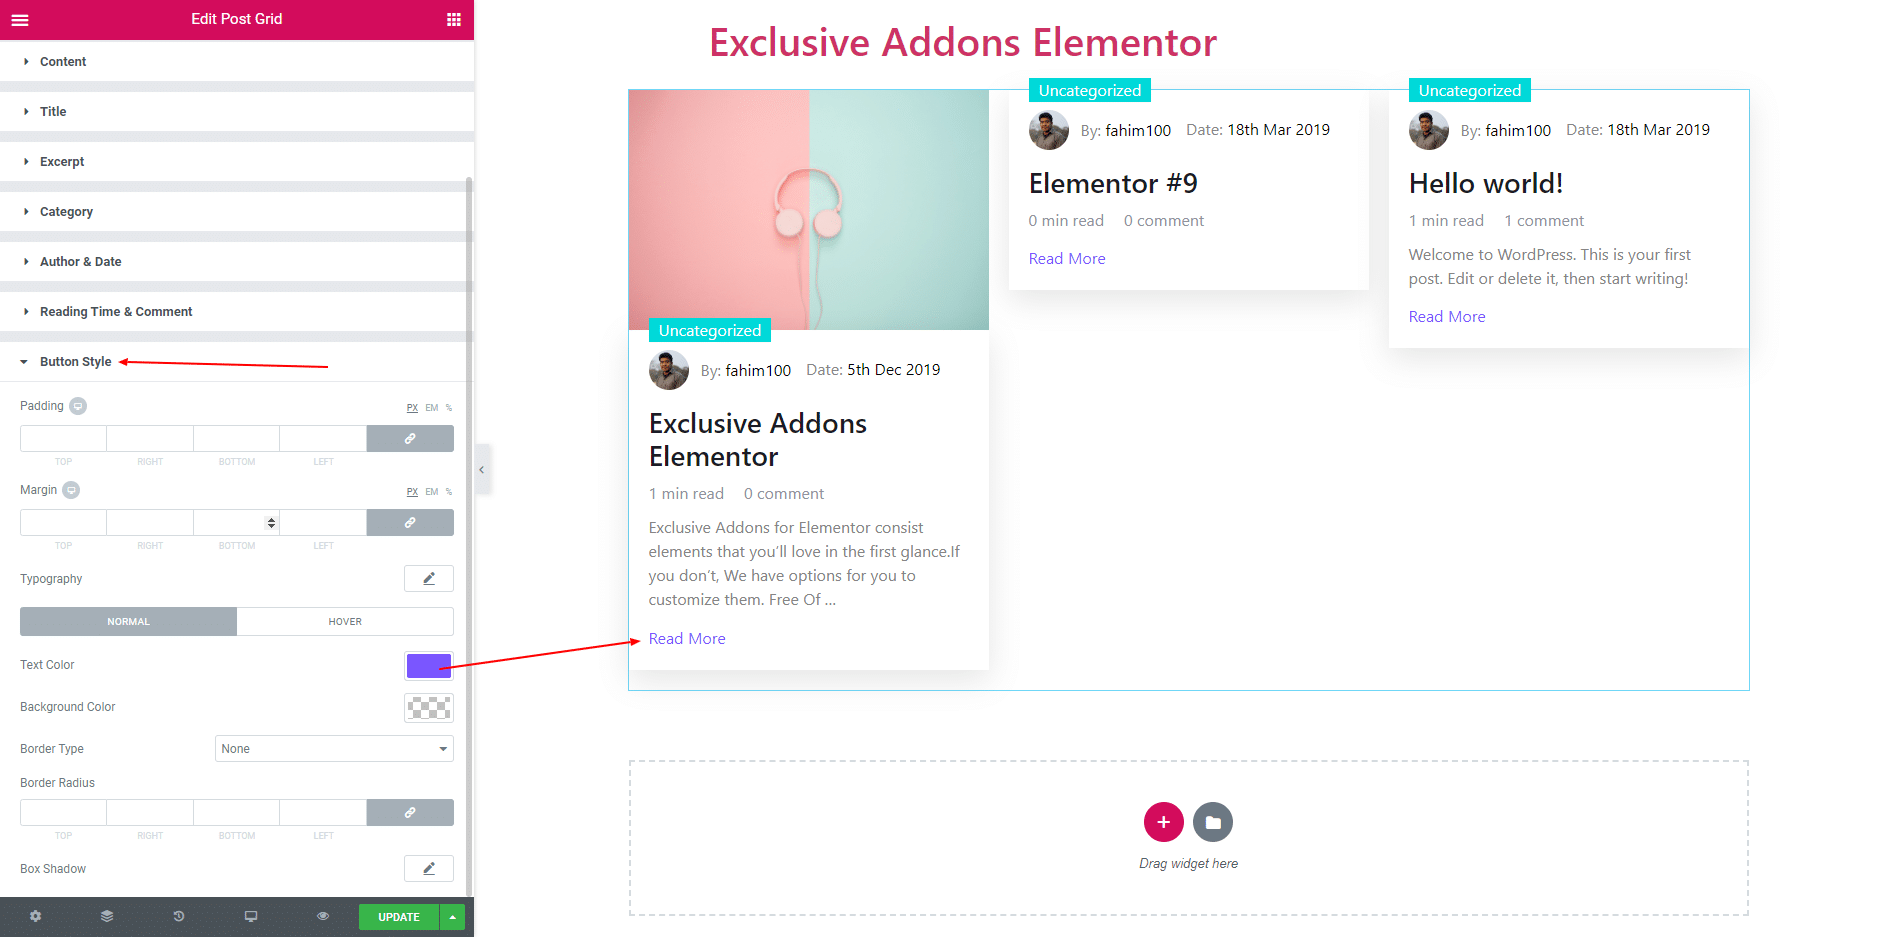
3.9. You also can design the read more button in ‘Button Style’ section.
STEP 4:
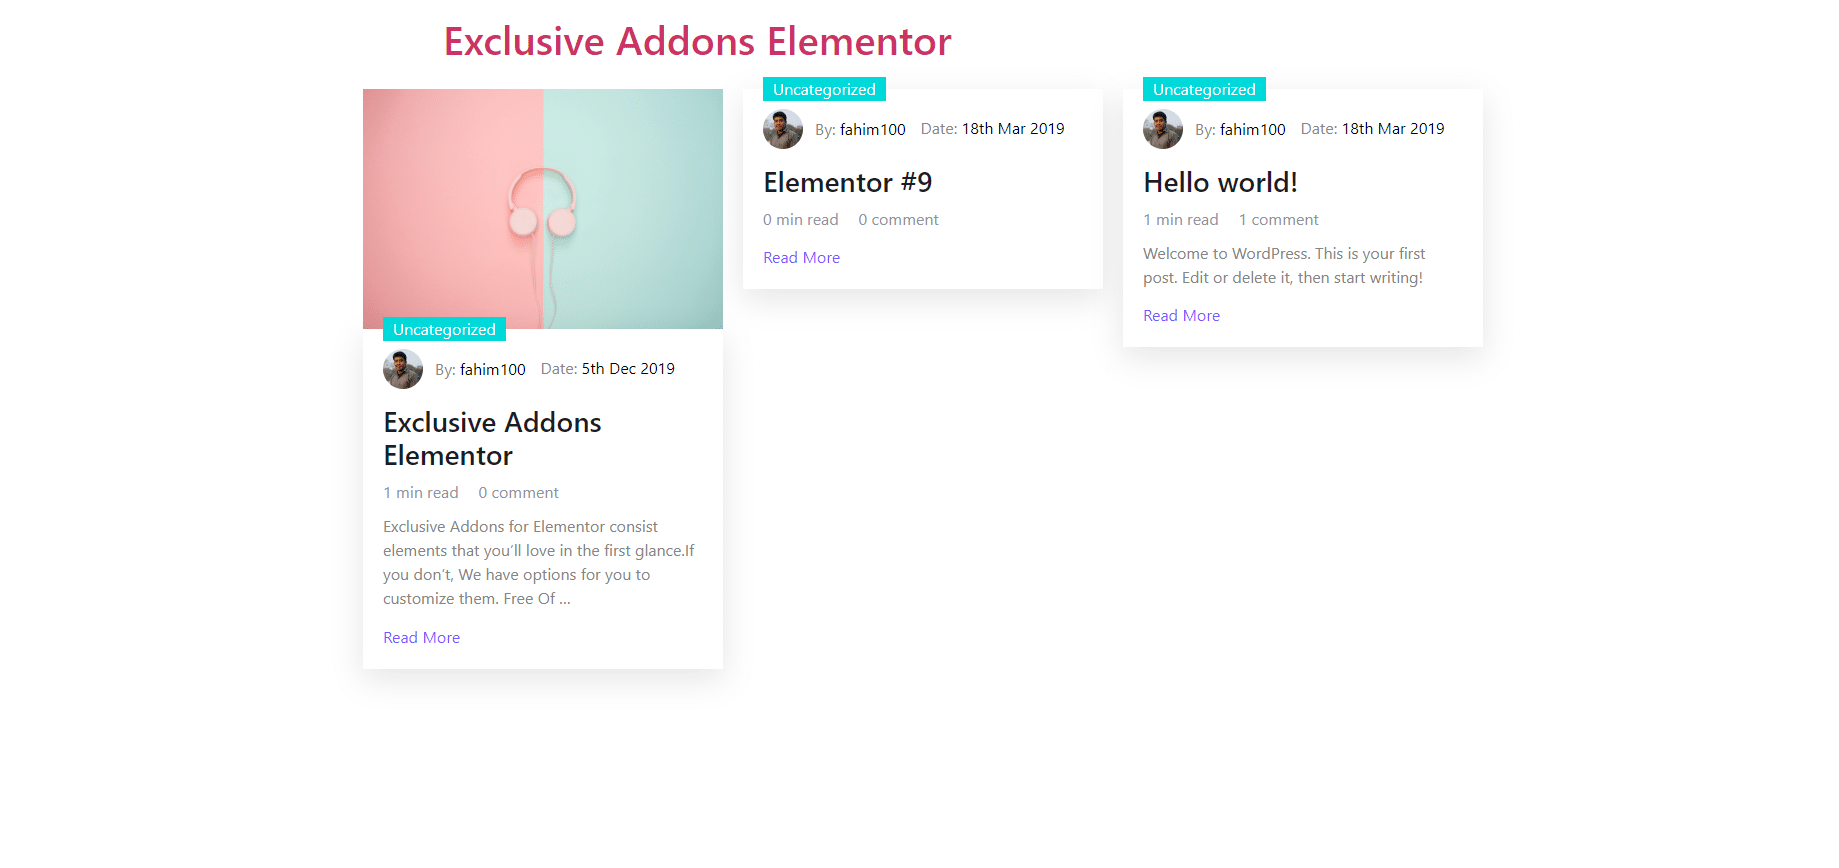
Finally, after clicking the update button you will see the beautiful Post Grid on your webpage.