How to configure and style Dual Button Widget
Create beautiful dual buttons for your webpage. You can set primary button text, connector and secondary button text. Also can set different effect using Exclusive Addons Dual Button Widget for Elementor.
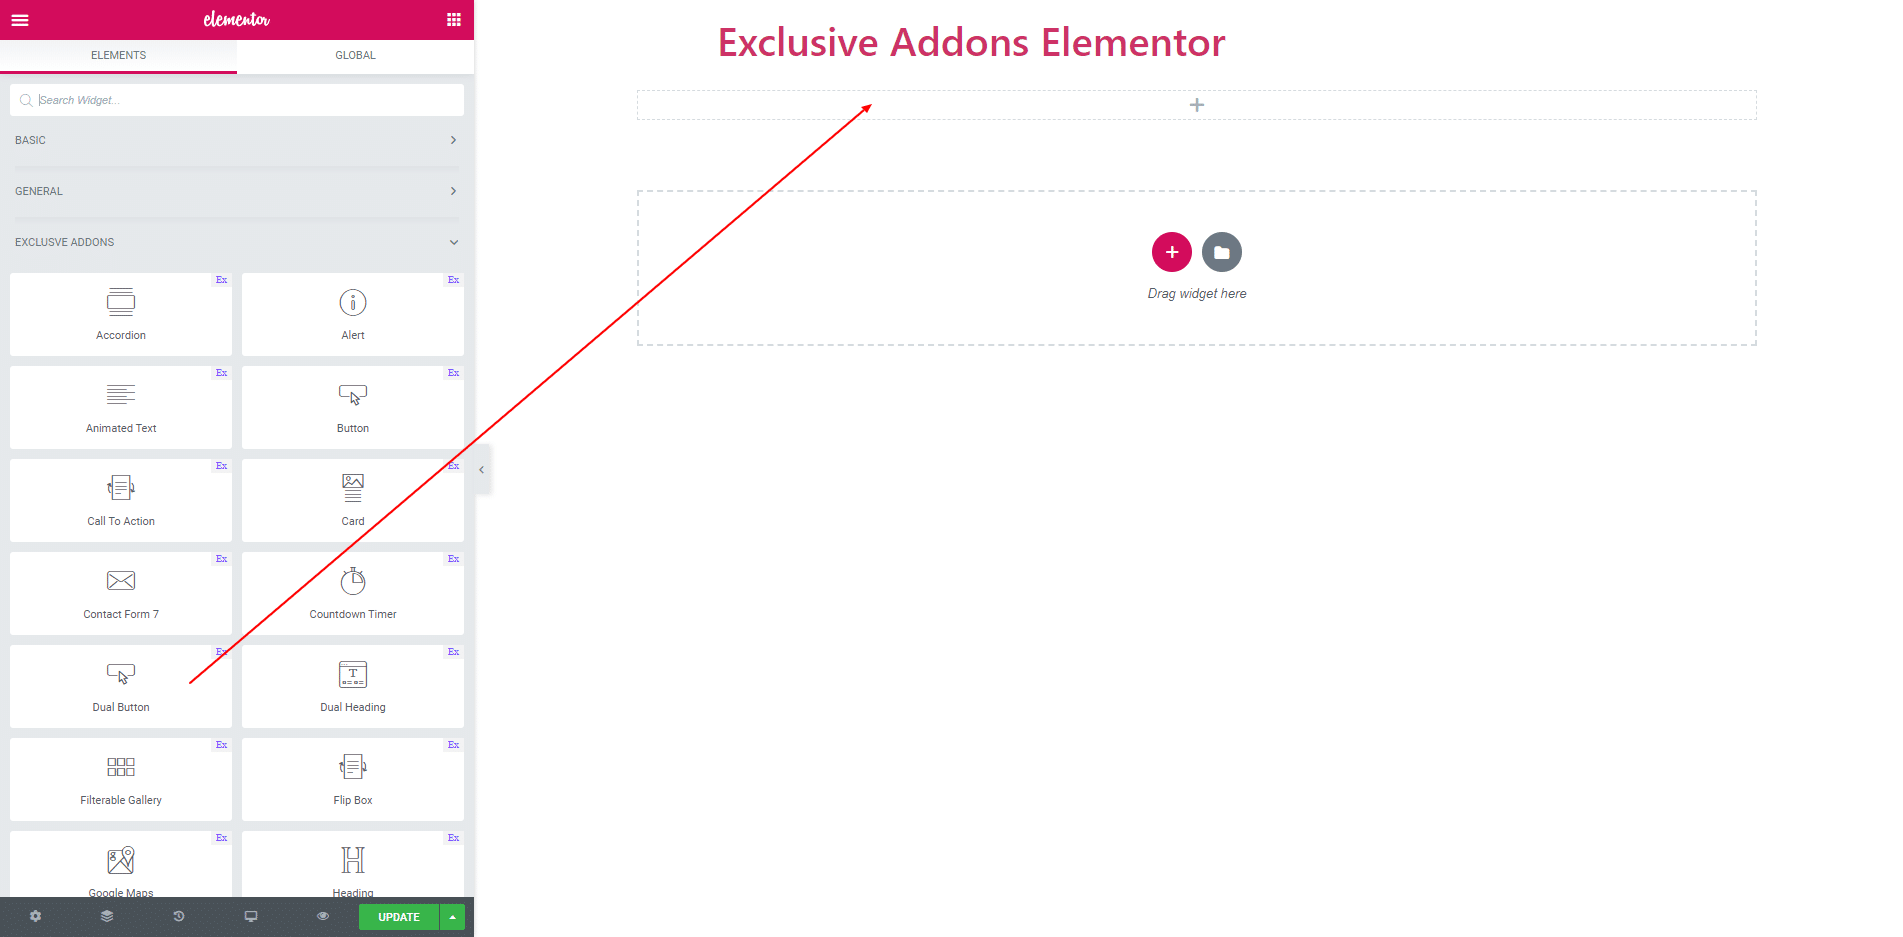
STEP 1:
Select the ‘Dual Button’ widget from Elementor panel. Then drag and drop it in the selected area.
STEP 2:
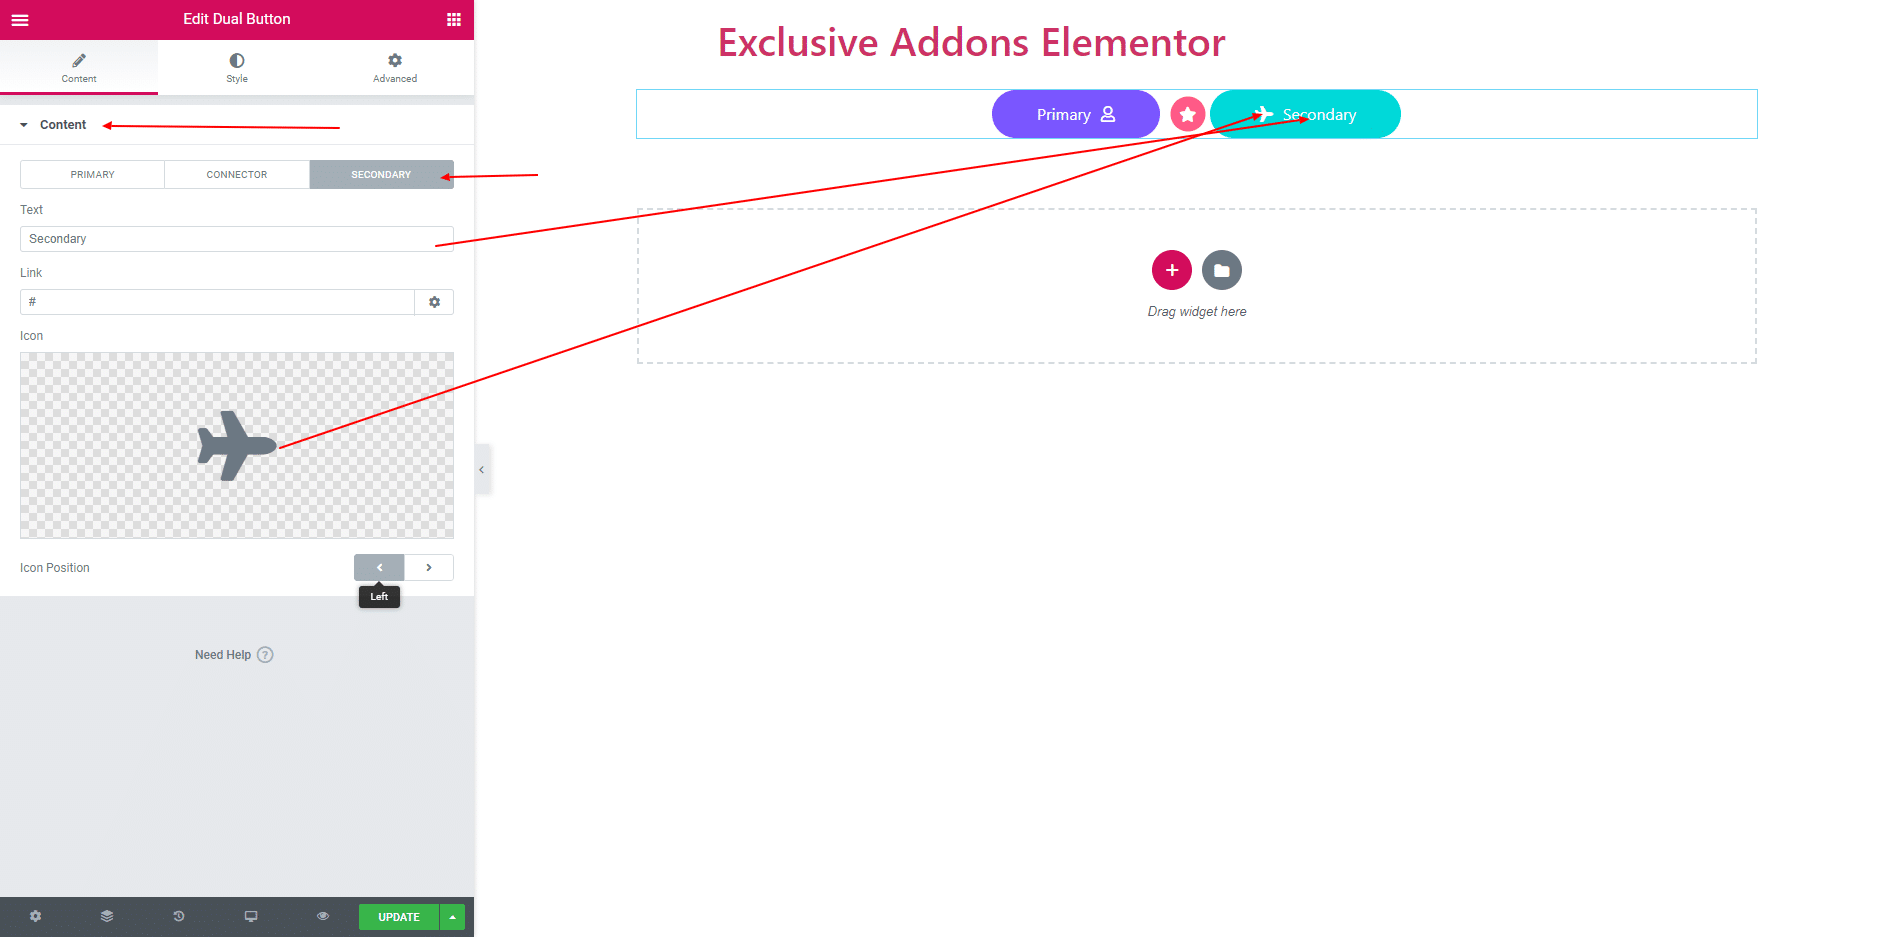
In Content Section you get Primary Button, Connector and Secondary Button tab.
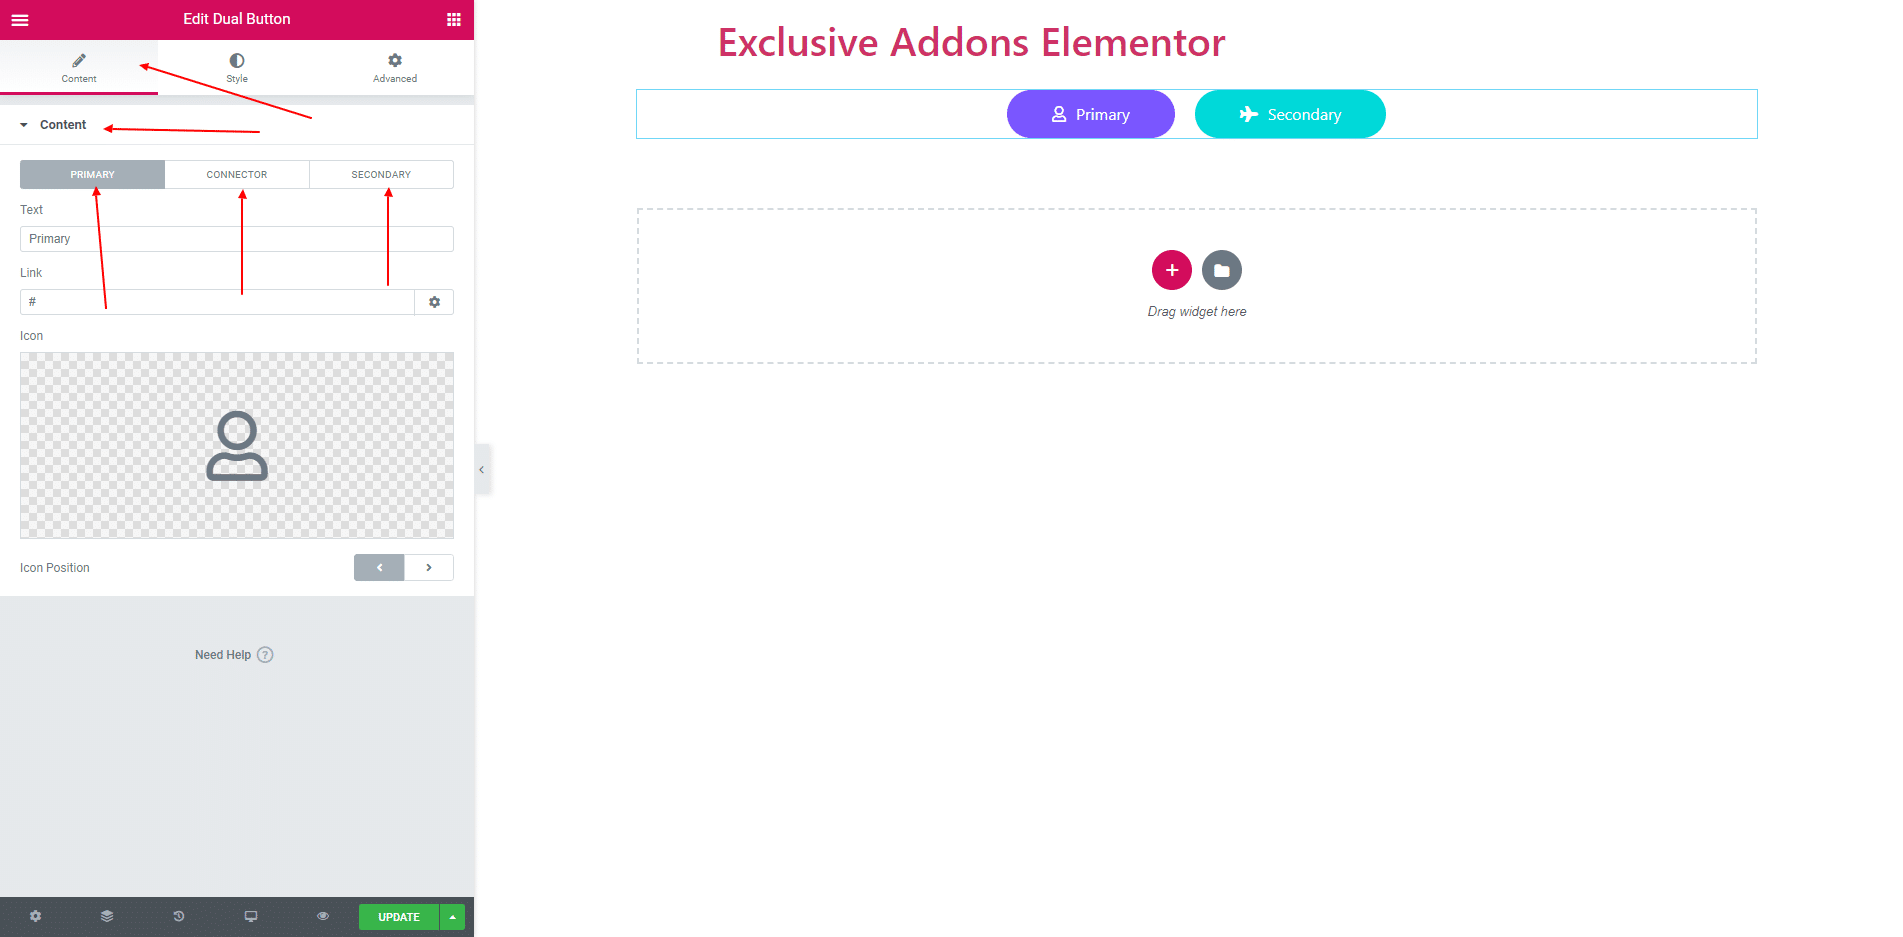
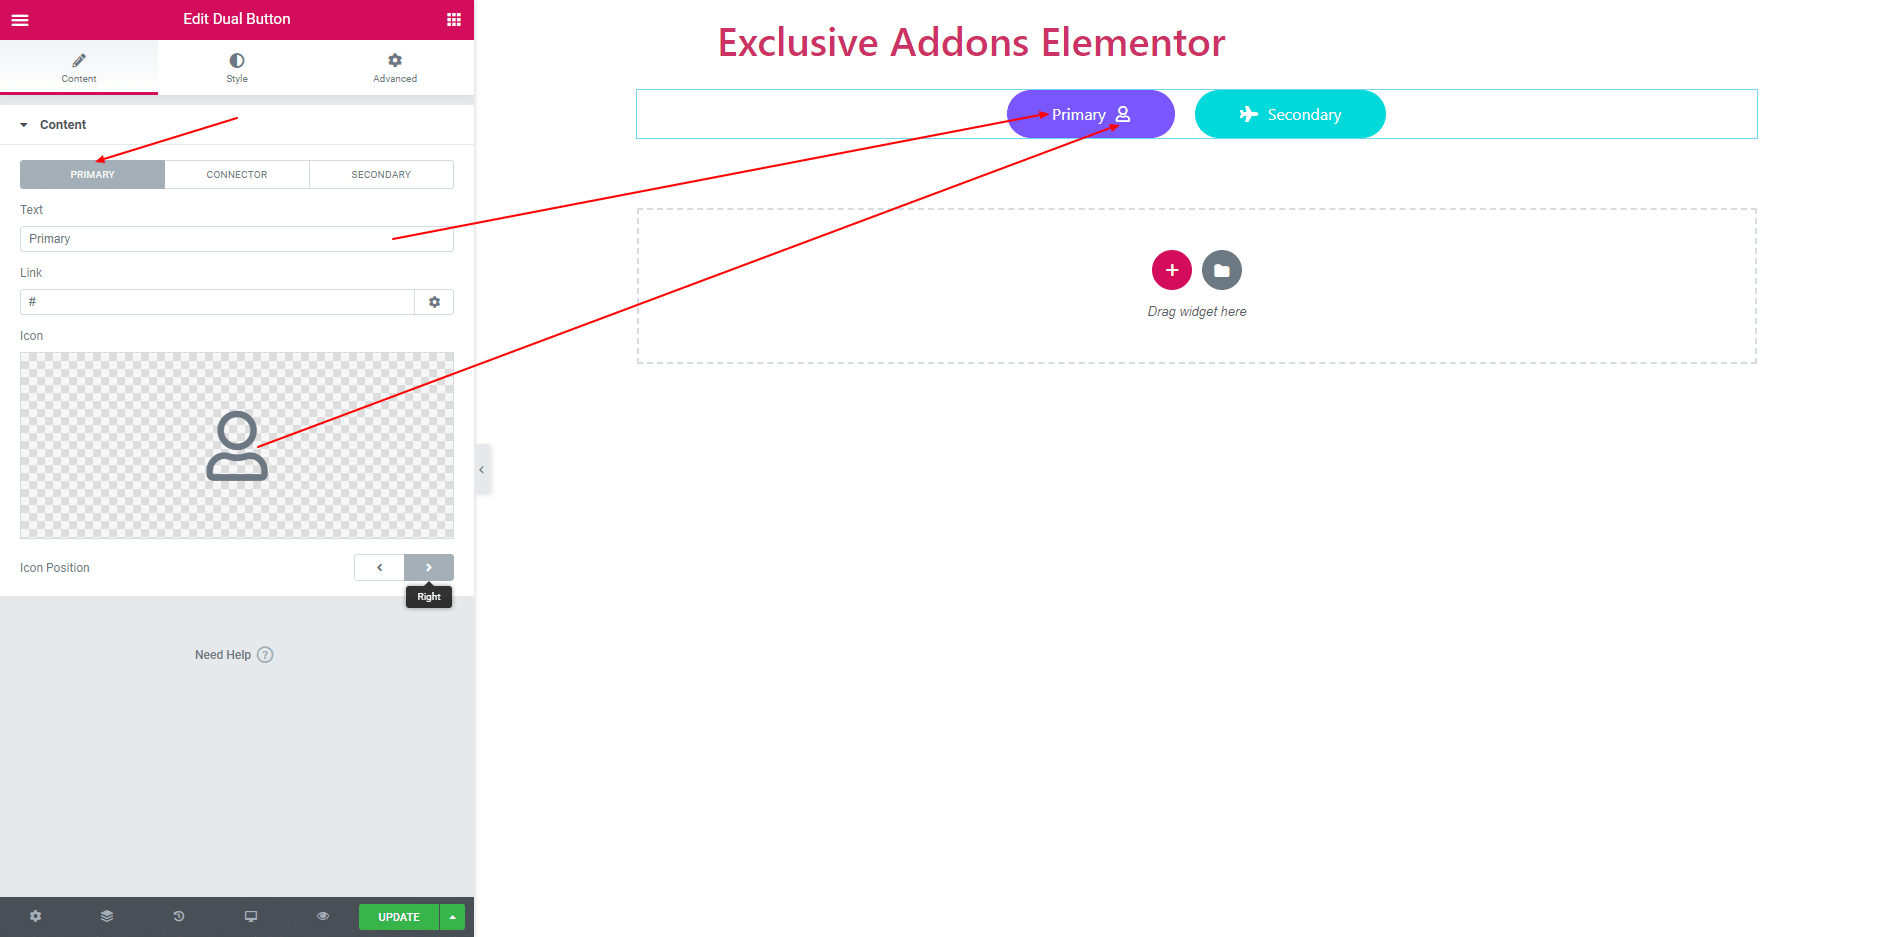
2.1. Primary Button tab consist of Button text, Link and Icon. You can set the Icon position Left and Right of the Primary Button Text.
2.2. In Connector tab, you can Hide or Show the connector. If the Connector is visible then you can get Connector type Icon or Text. If Icon is selected then select Icon, If Text is selected then enter text.

2.3. Secondary Button consist of same options as Primary Button.
STEP 3:
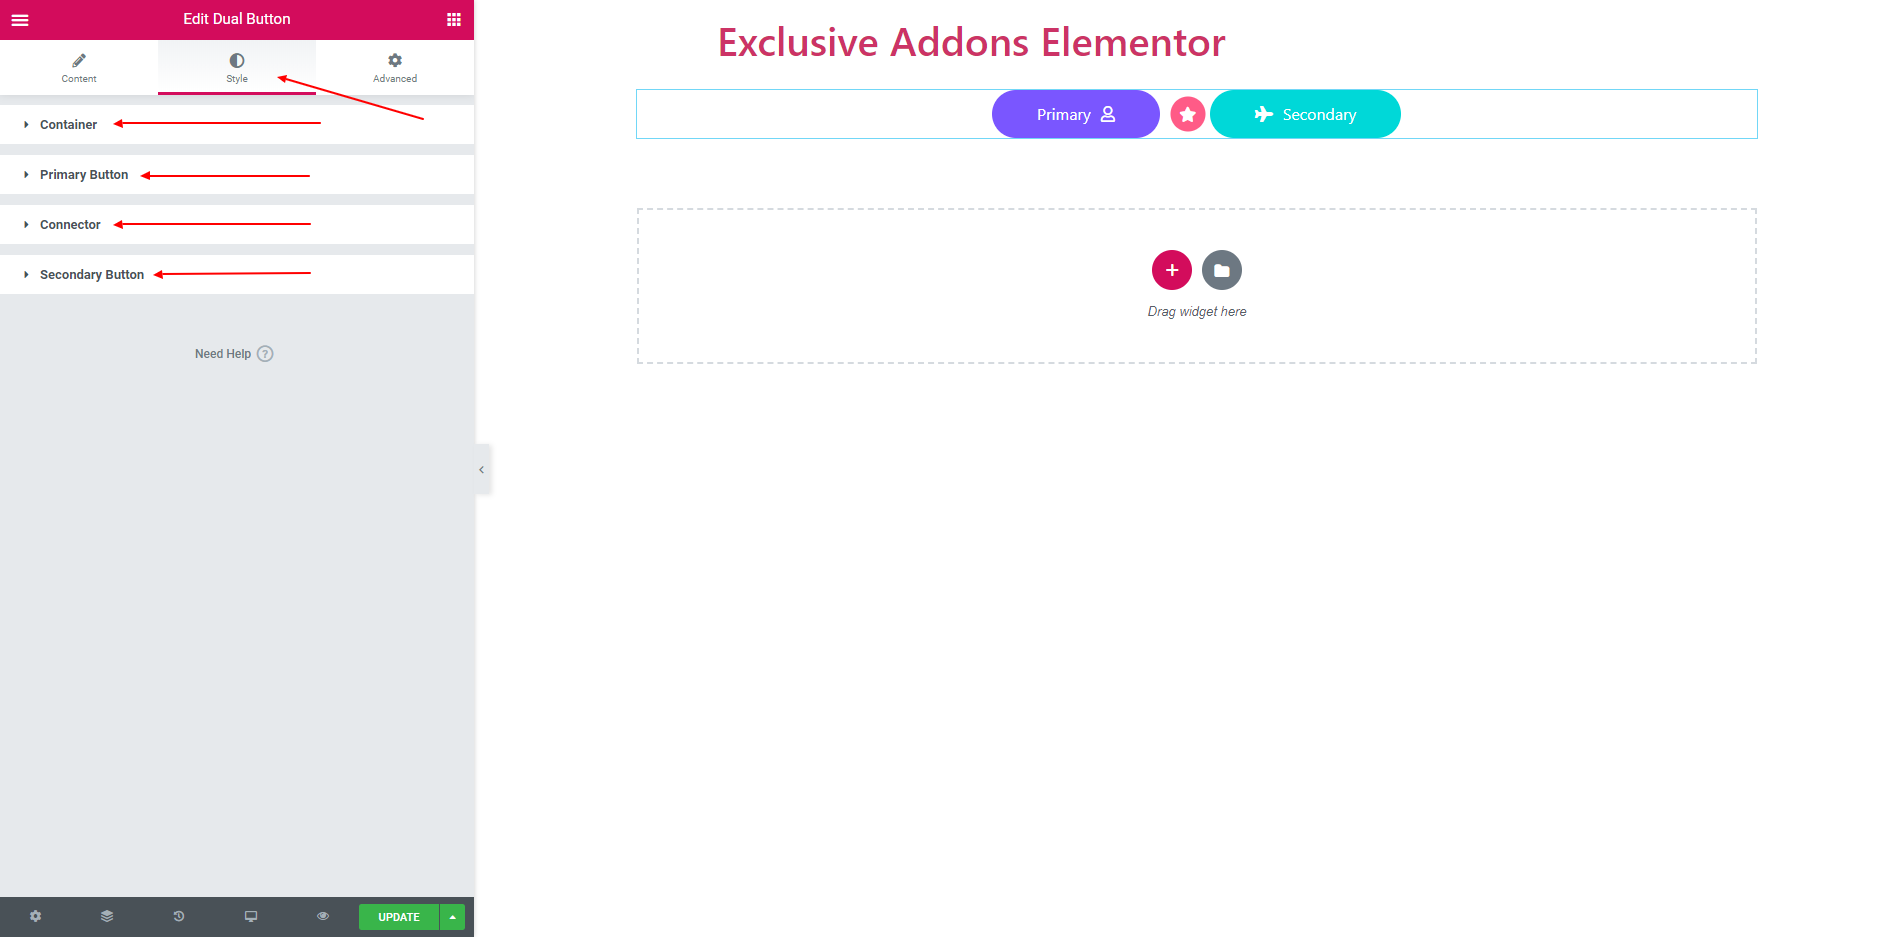
In Style Section you get Container, ‘Primary button’, ‘Connector’ and ‘Secondary Button’.
3.1. Container section consist of Alignment, Padding and Space Between Two Button. You can align both button Left, Right or Center. You can also give same padding for both button.

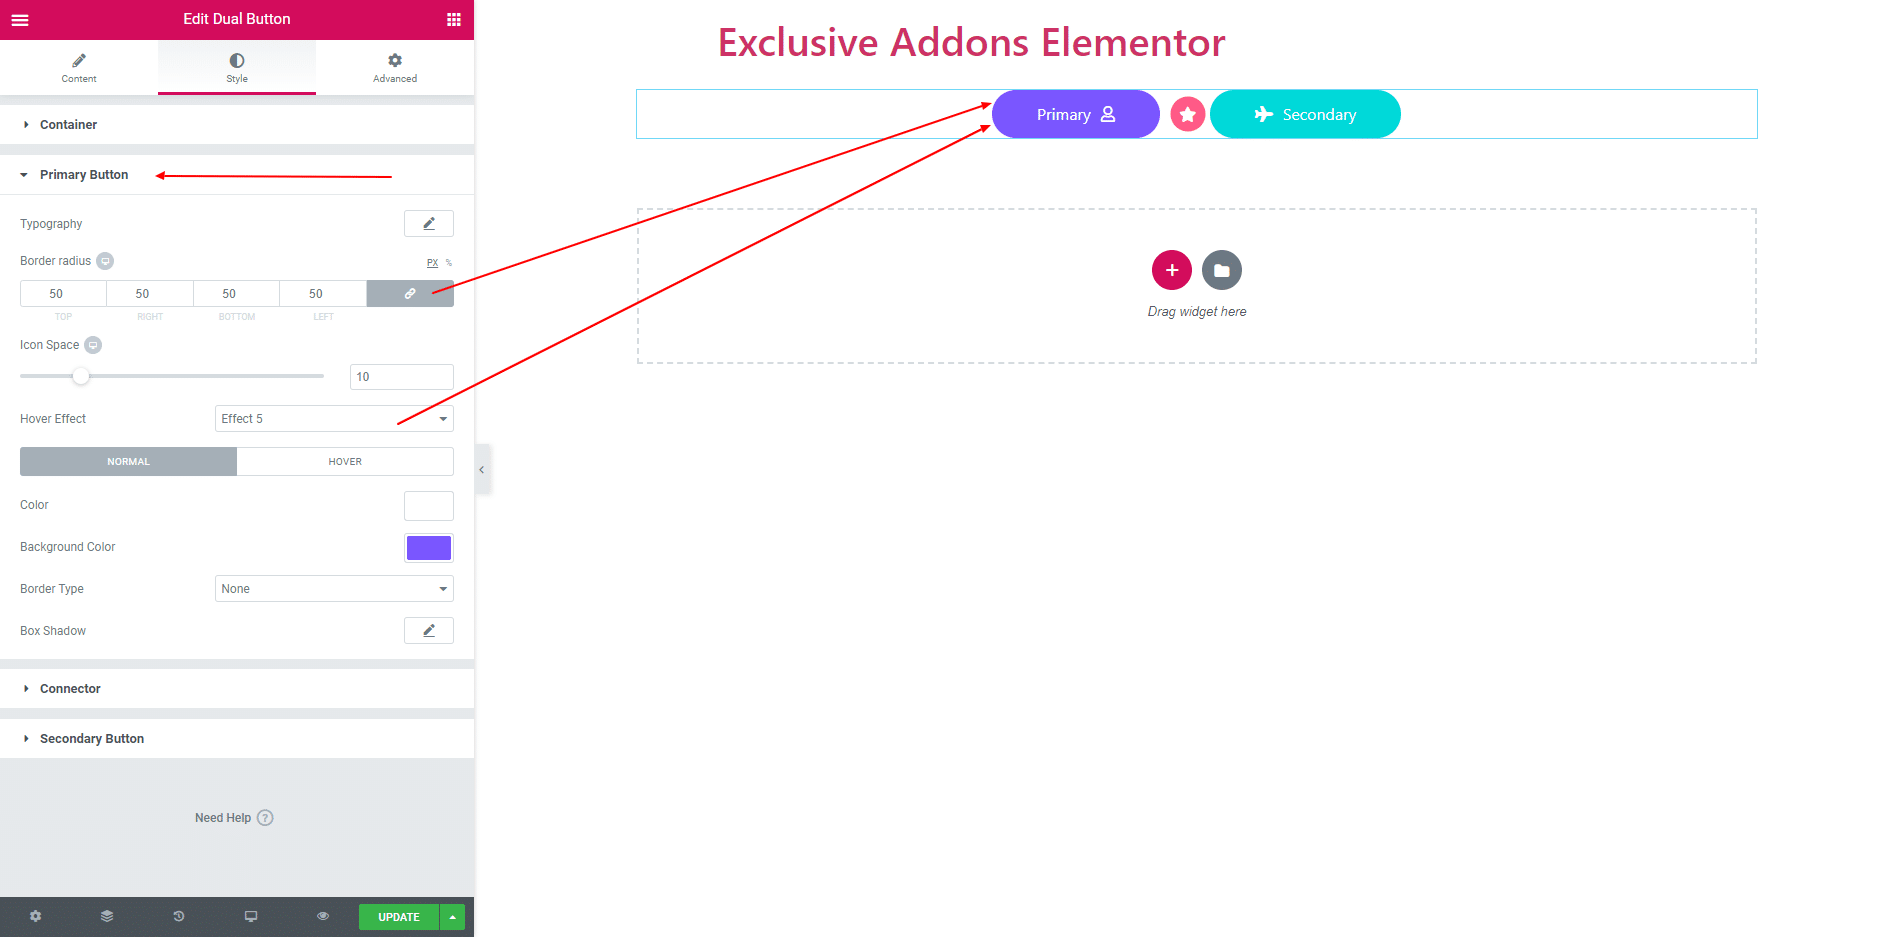
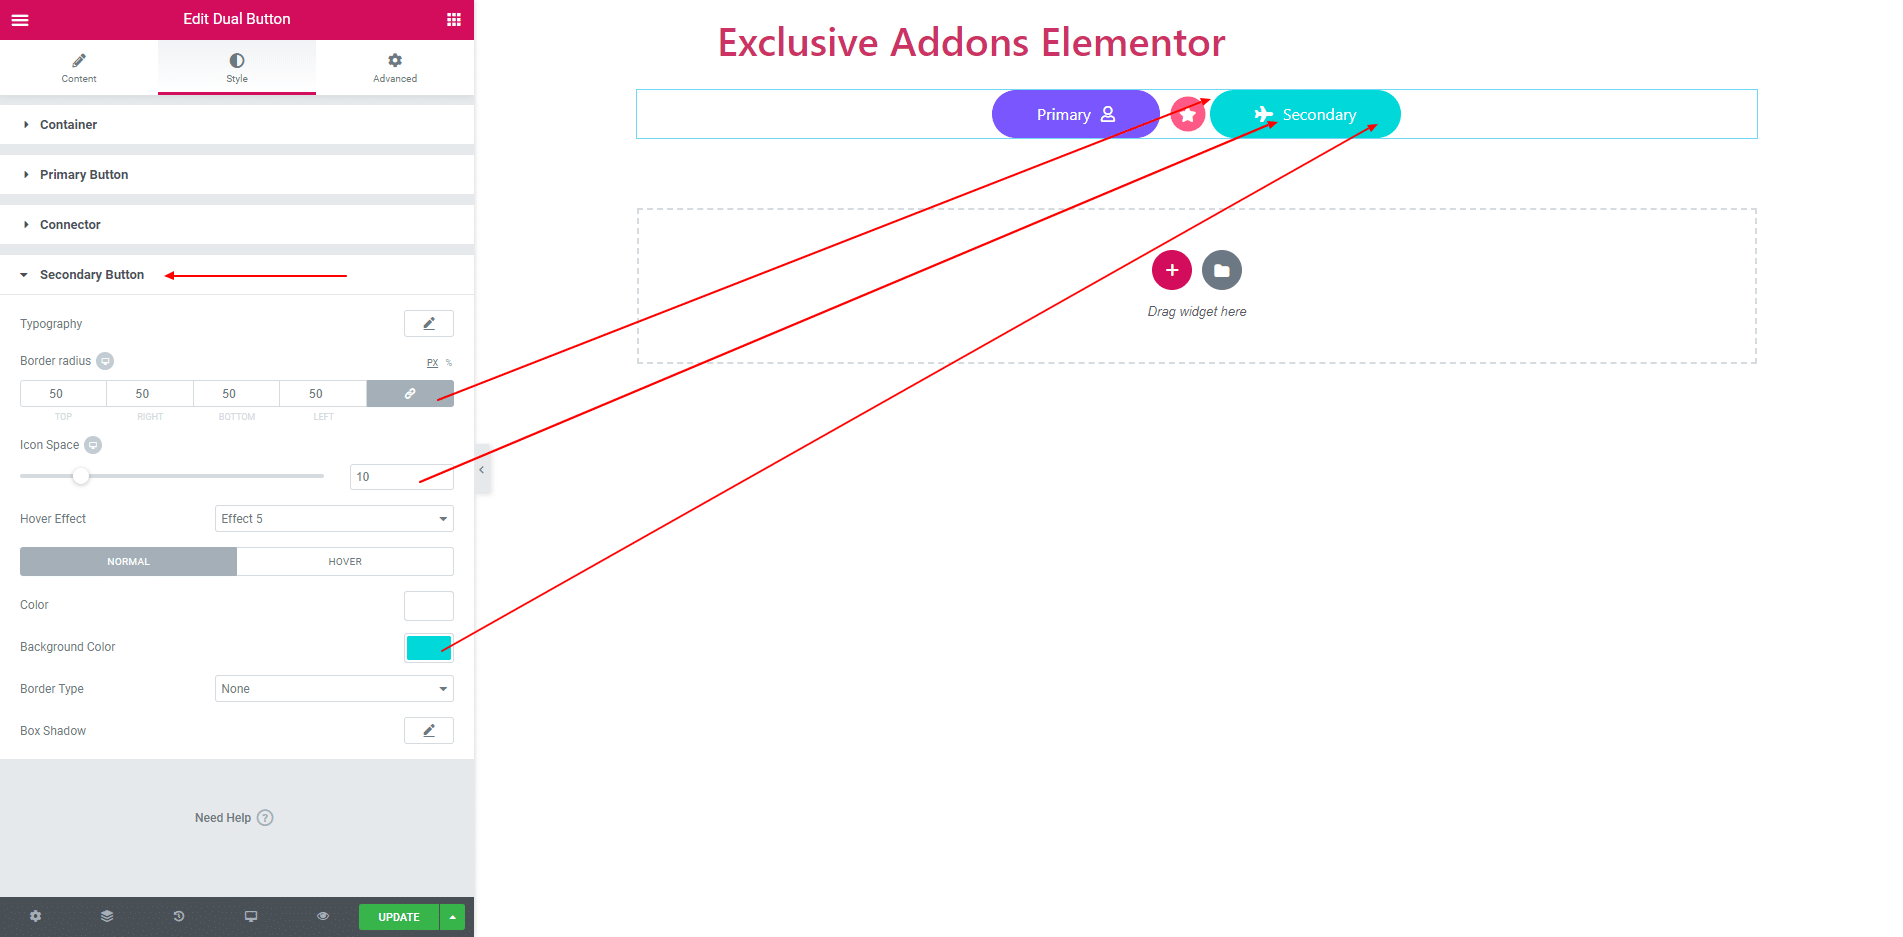
3.2. You can set Typography, Border Radius, Icon Space in Primary Button section. You can also give 6 beautiful different effect while hover on button. You can change Color, Background Color, Border and Box Shadow both normal and hover stage.
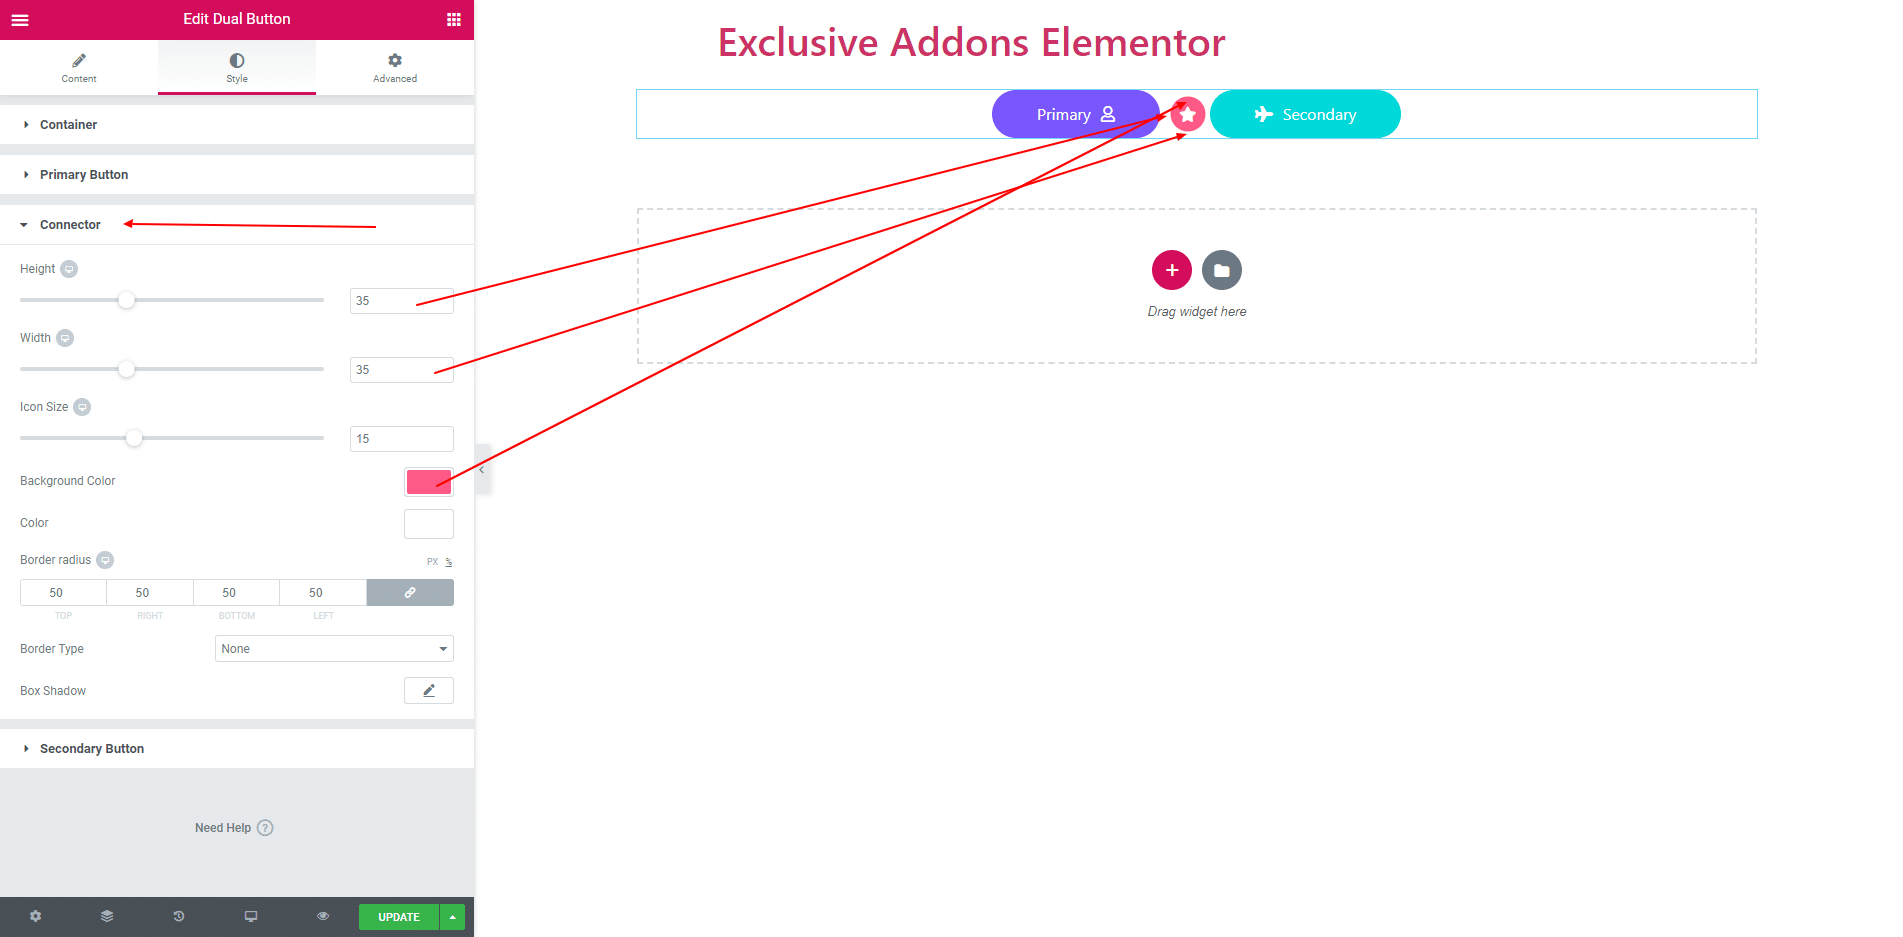
3.3. You can control Height, Width, Icon Size, Background Color, Icon Color, Border, Border Radius and Box Shadow.
3.4. Secondary Button consist of same options as Primary Button.
STEP 4:
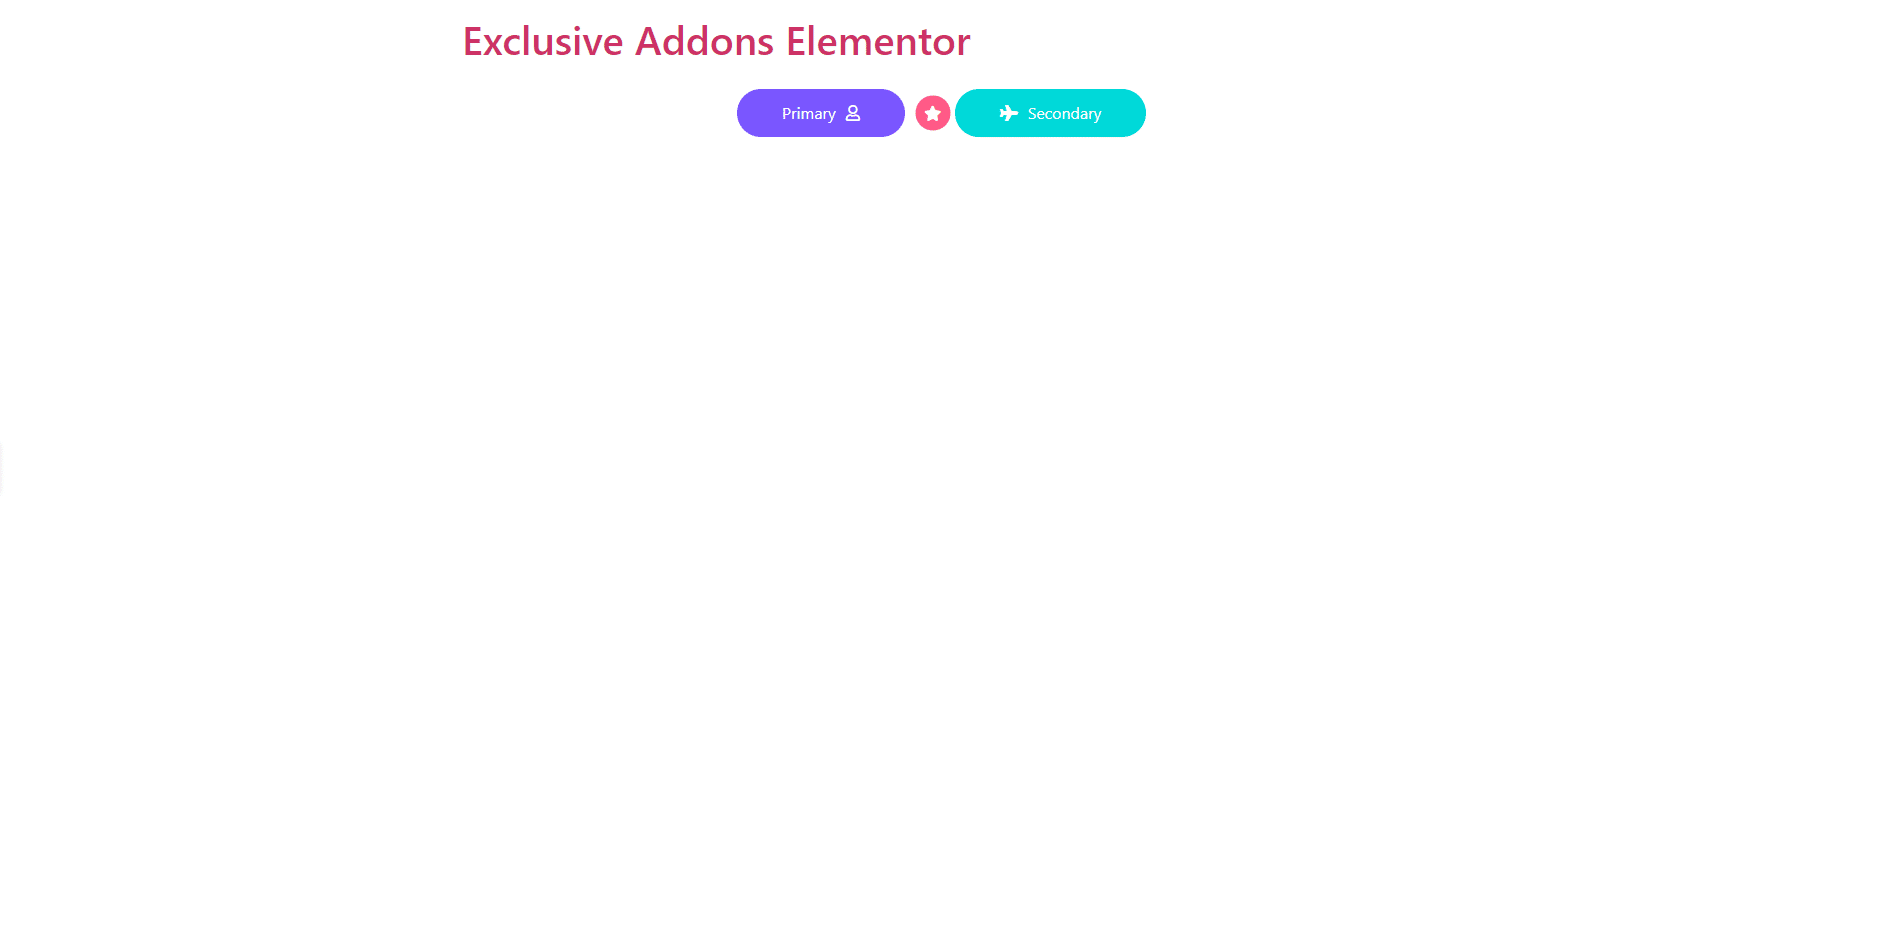
Finally, after clicking the update button you will see the beautiful Dual Button on your webpage.