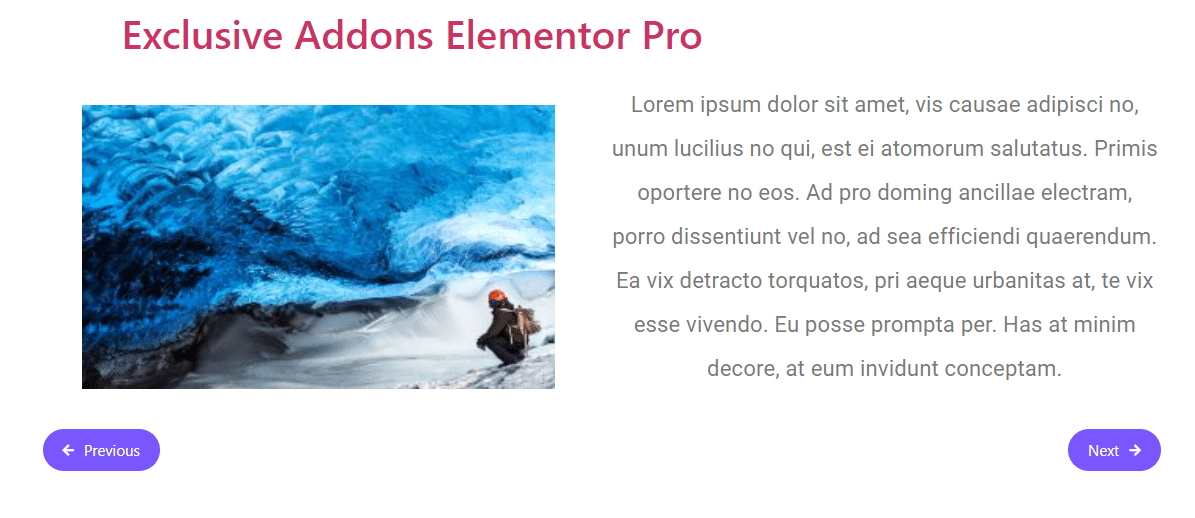
How to configure and style Elementor Post Navigation Widget
A user-friendly feature allows visitors to easily navigate between the posts. Create an interactive navigator on your WordPress site using the Post Navigation Widget of Exclusive Addons Elementor.
STEP 1:
Select the ‘Post Navigation’ widget from Elementor panel. Then drag and drop it in the selected area.
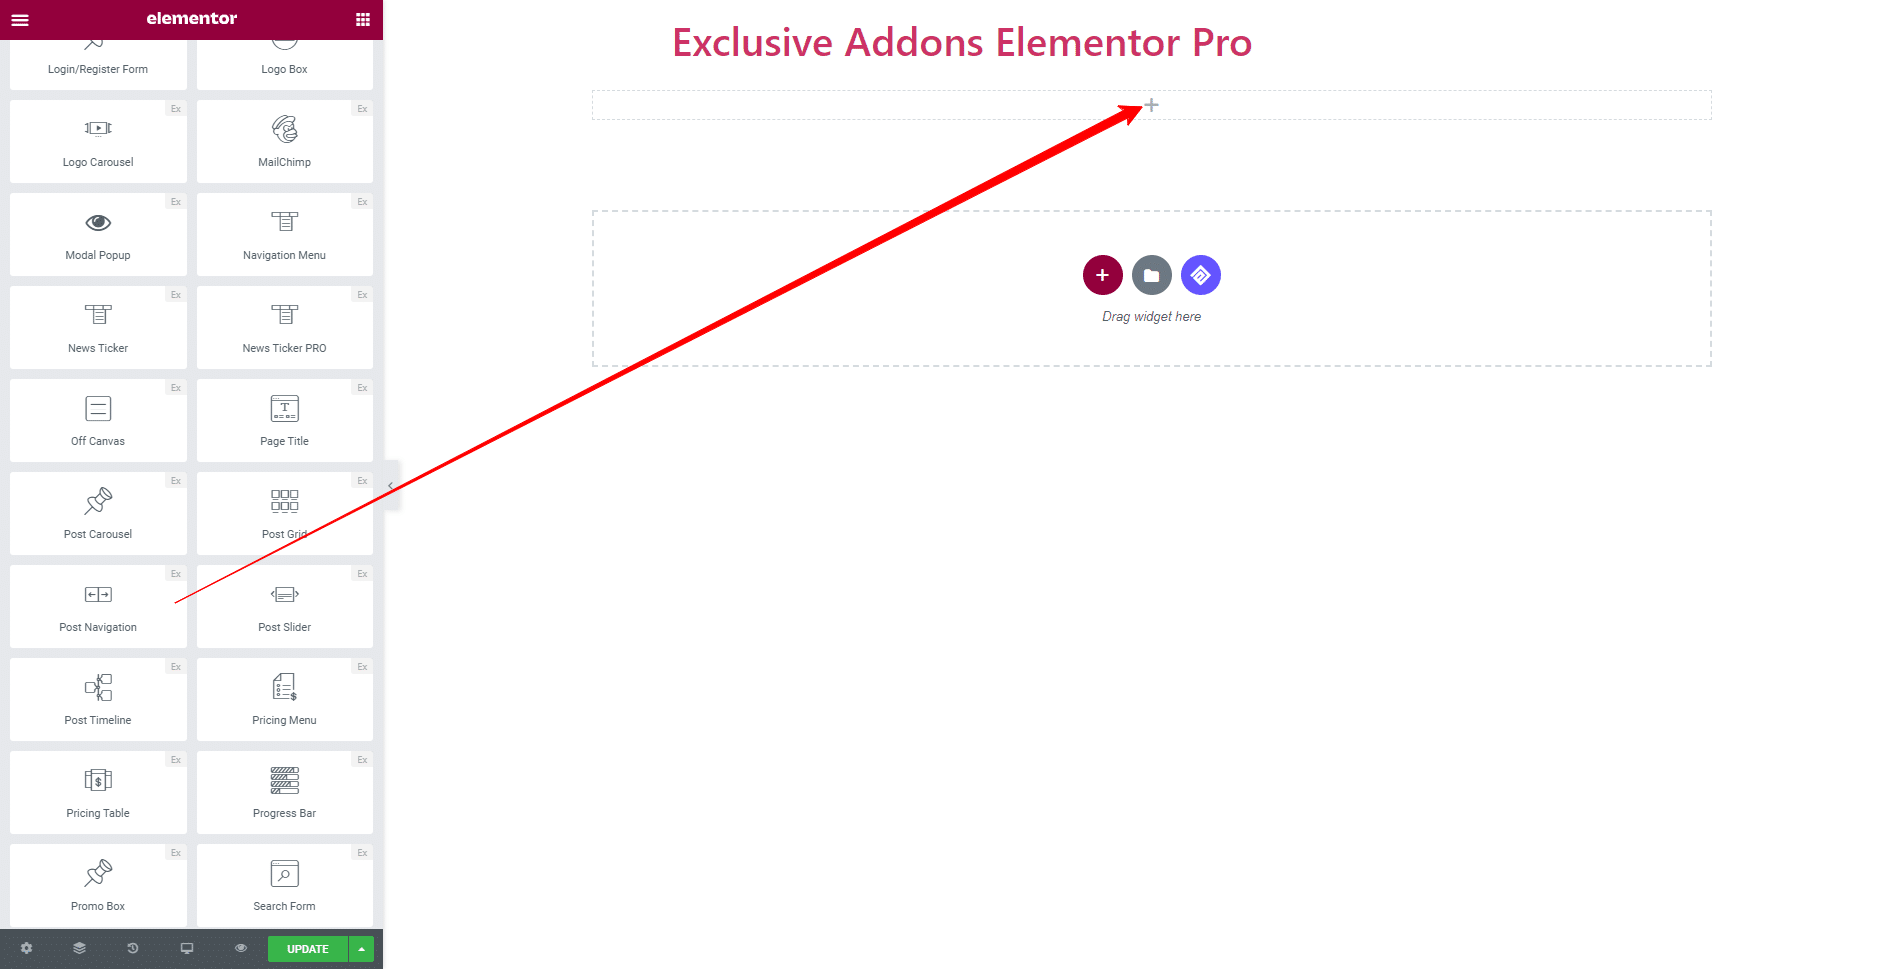
STEP 2:
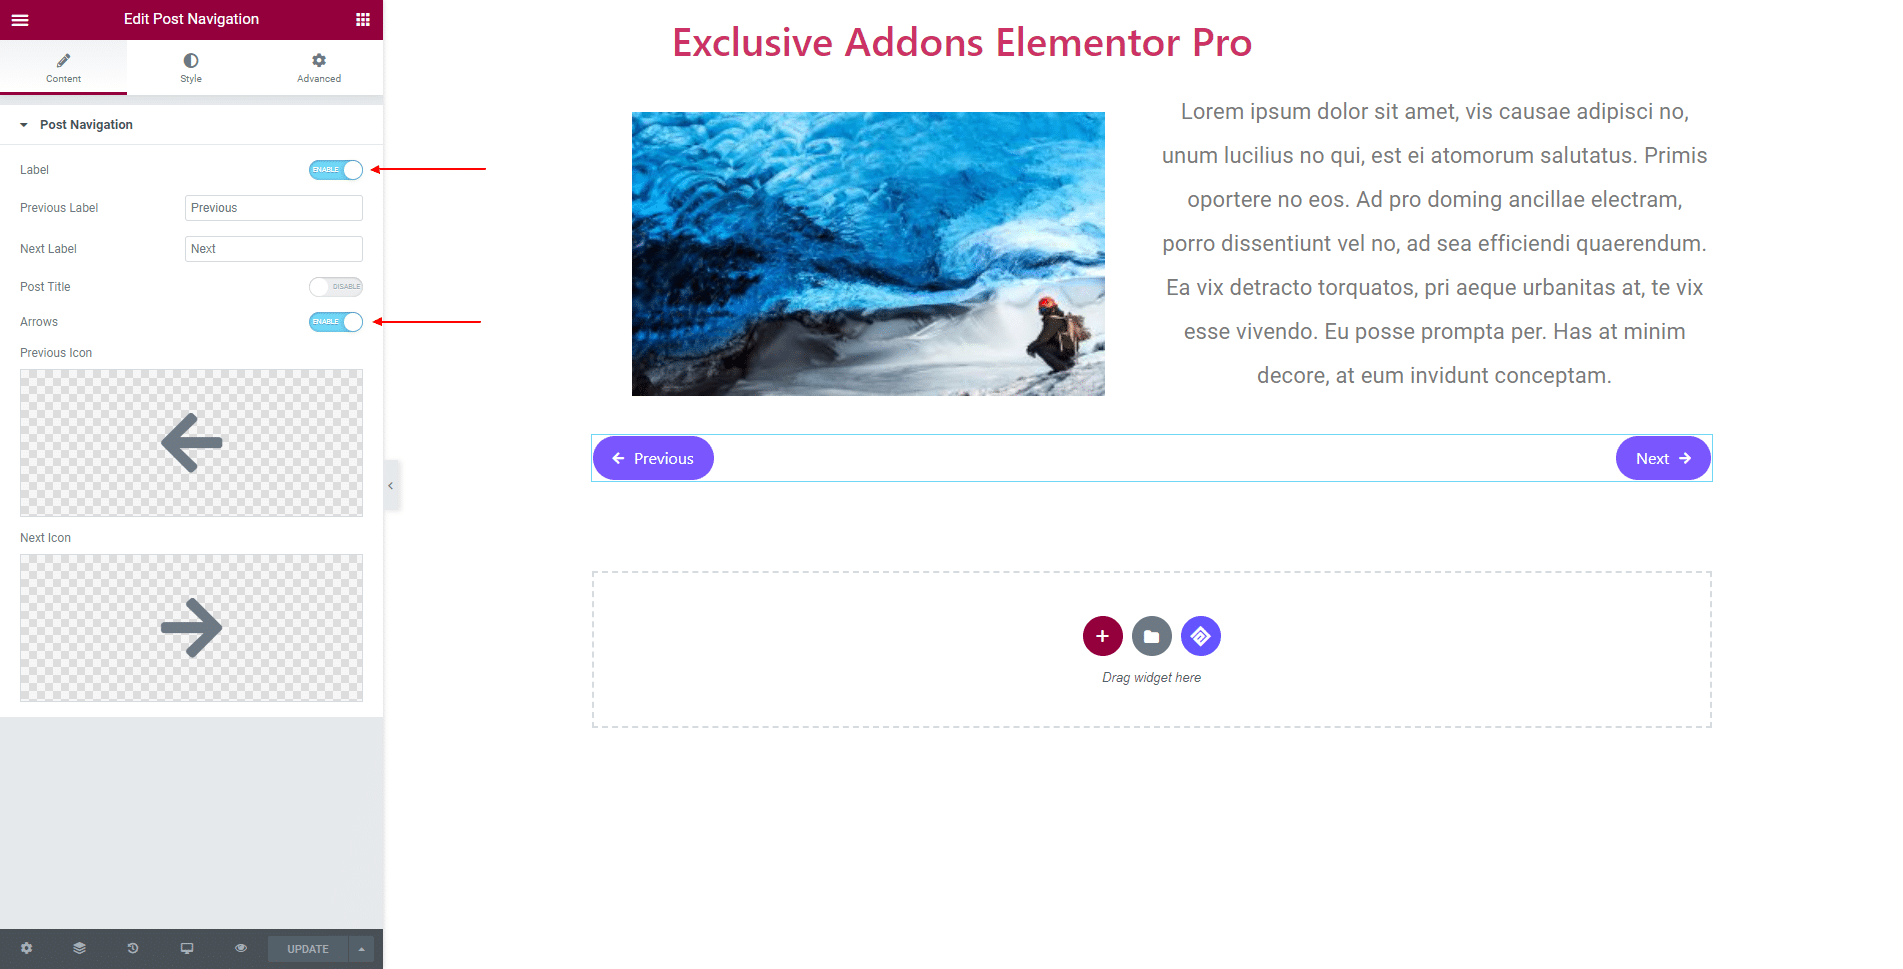
Content tab allows you to enable Label, Post Title, and Arrow. If enabled, set Previous Label and Next Label as well as, Previous Icon and Next Icon.
STEP 3:
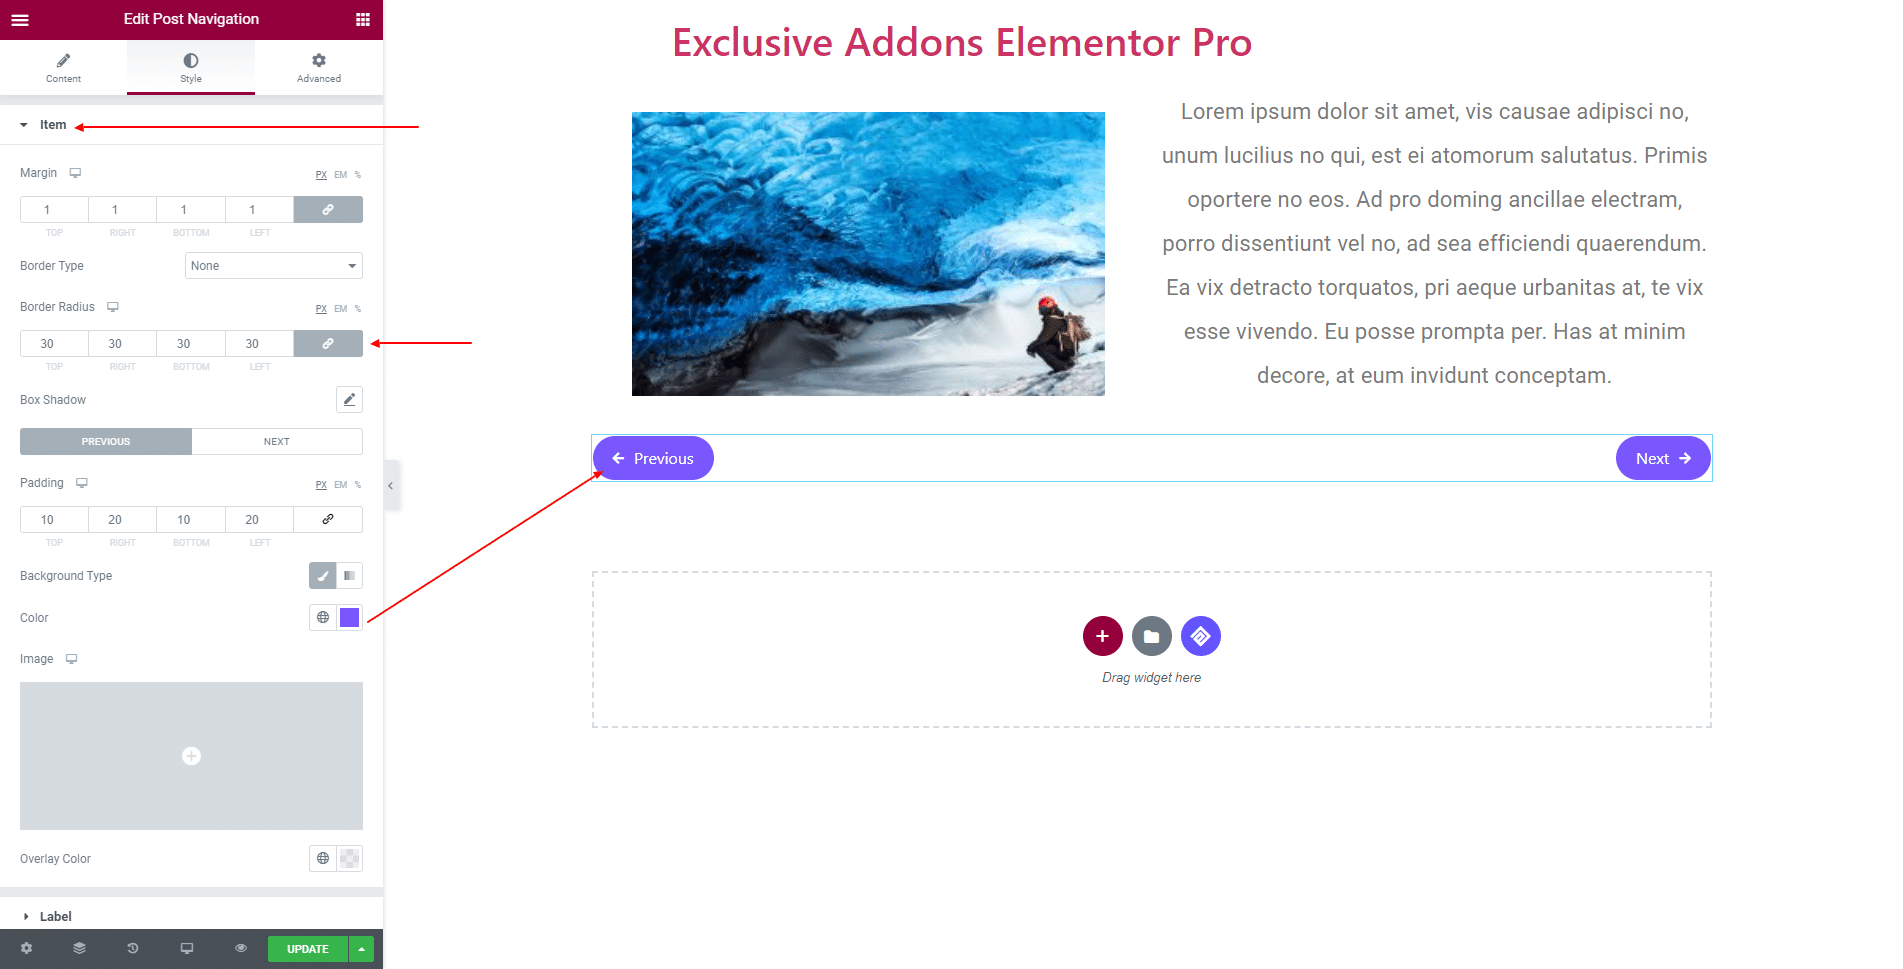
Style tab allows you to customize Item, Label, and Arrow design.
3.1 In Item section, set Margin, Border Type, Border Radius, Box Shadow and use individual Padding, Background Type, Overlay Color for both ‘Previous’ and ‘Next’ navigation.
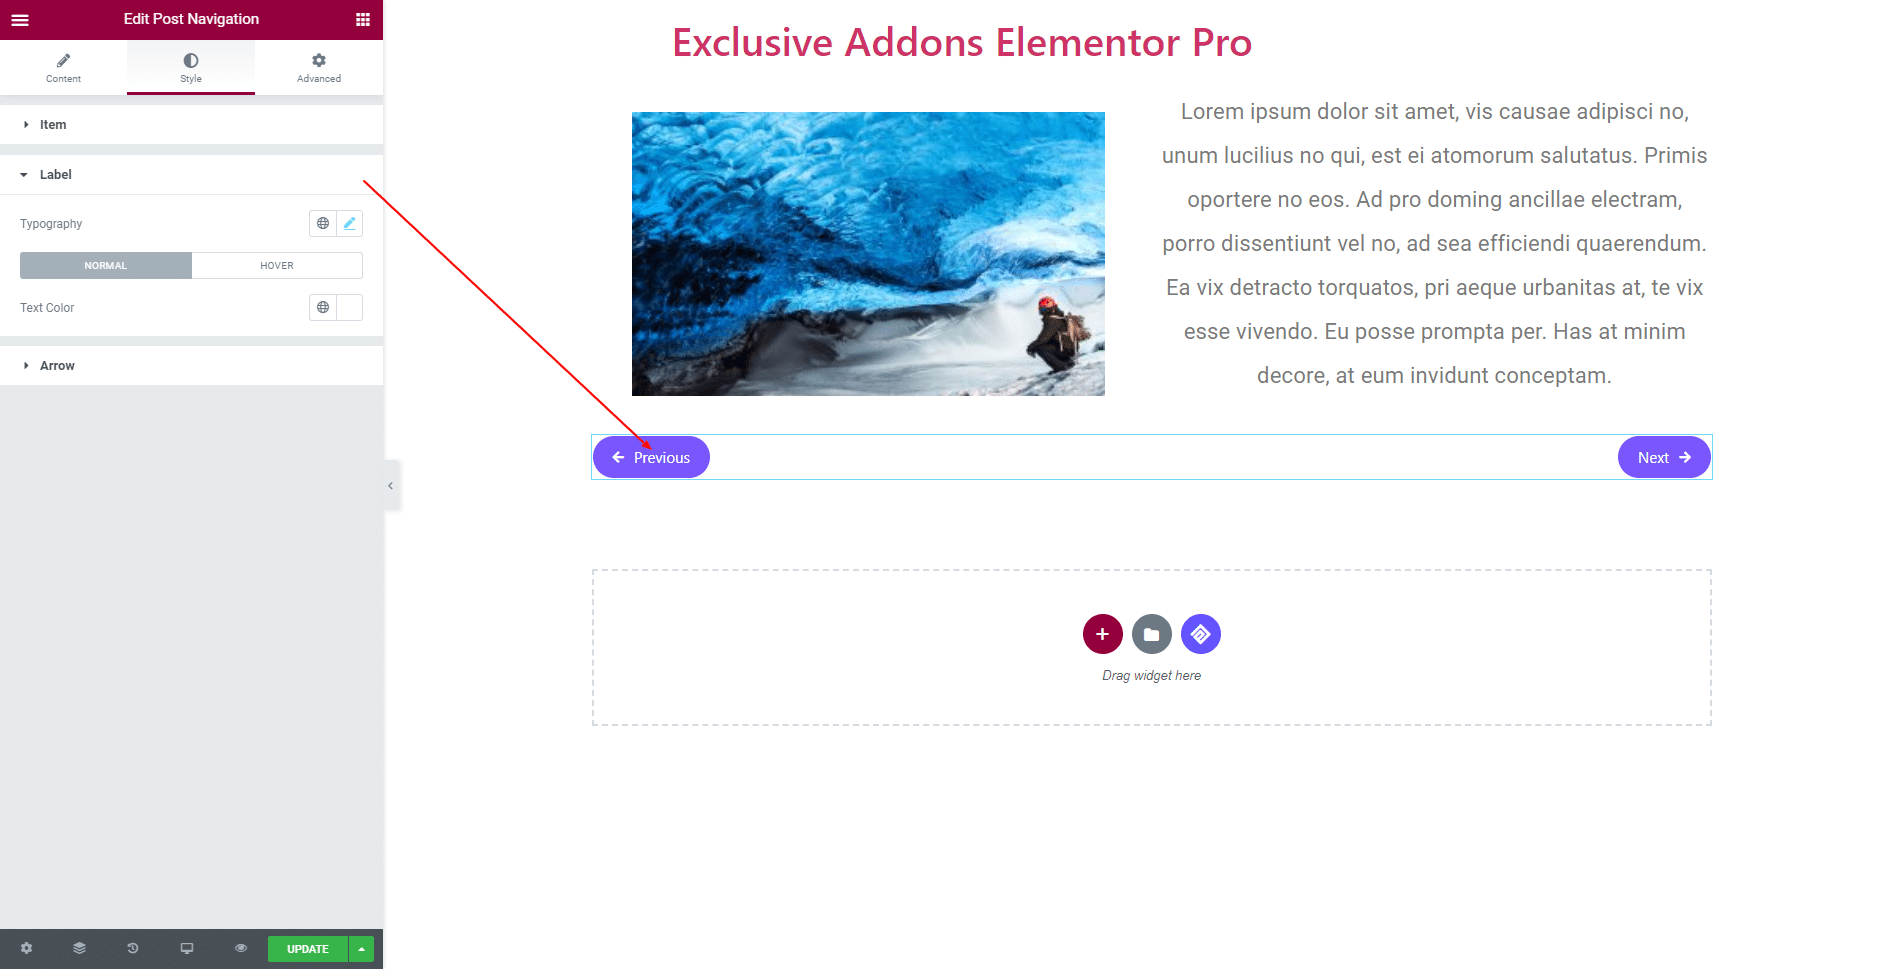
3.2 In terms of Label, set its Typography and use different Text Color for ‘Normal’ and ‘Hover’ state.
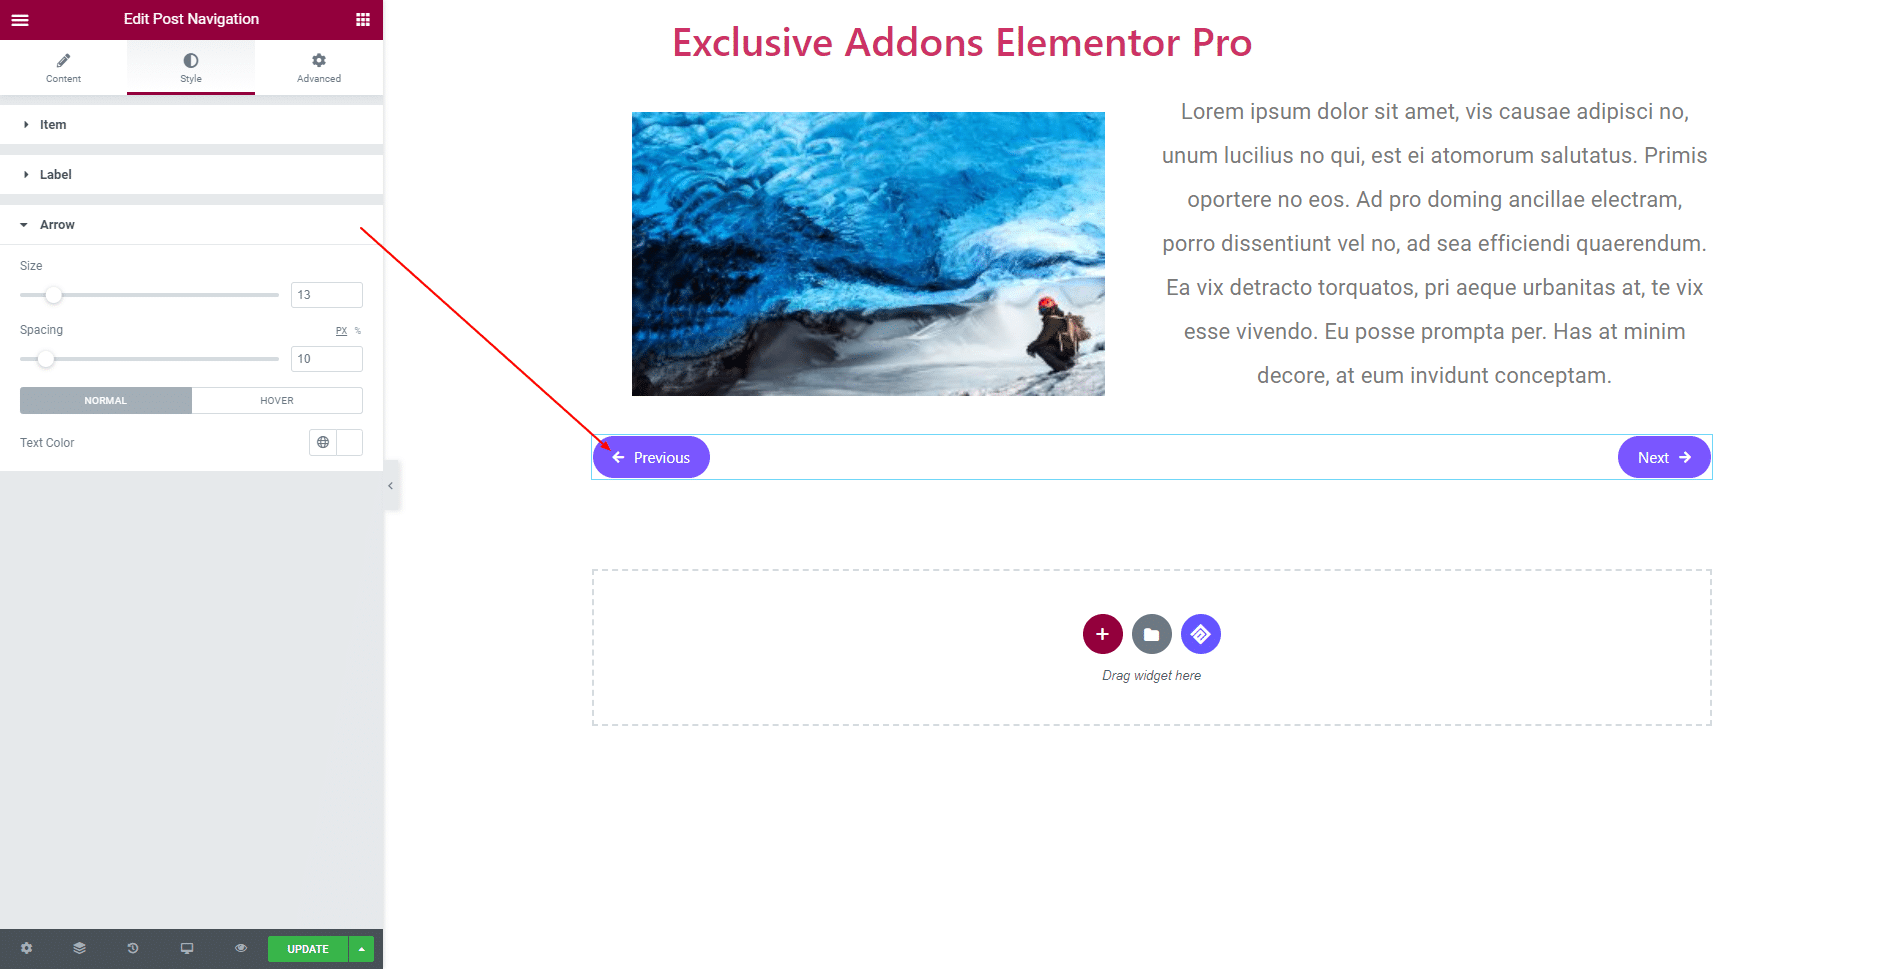
3.3 For Arrow, adjust its Size and Spacing. Also, use different Text Color for ‘Normal’ and ‘Hover’ state.
STEP 4:
Finally, hit Update button, and include a stylish Post Navigation Widget on your WordPress site.
