How to operate Exclusive Addons Account
Once you have purchased the Exclusive Addons pro, you will have your account ready. Now you need to know how to operate Exclusive Addons Account.
STEP 1: Log In
Log In to our website and go to the Account Page. You will find it in the header section of the home page.

There are multiple tabs on the Account Page, including Account, Purchase History, Affiliate Area, Support, and Profile.
STEP 2: Account
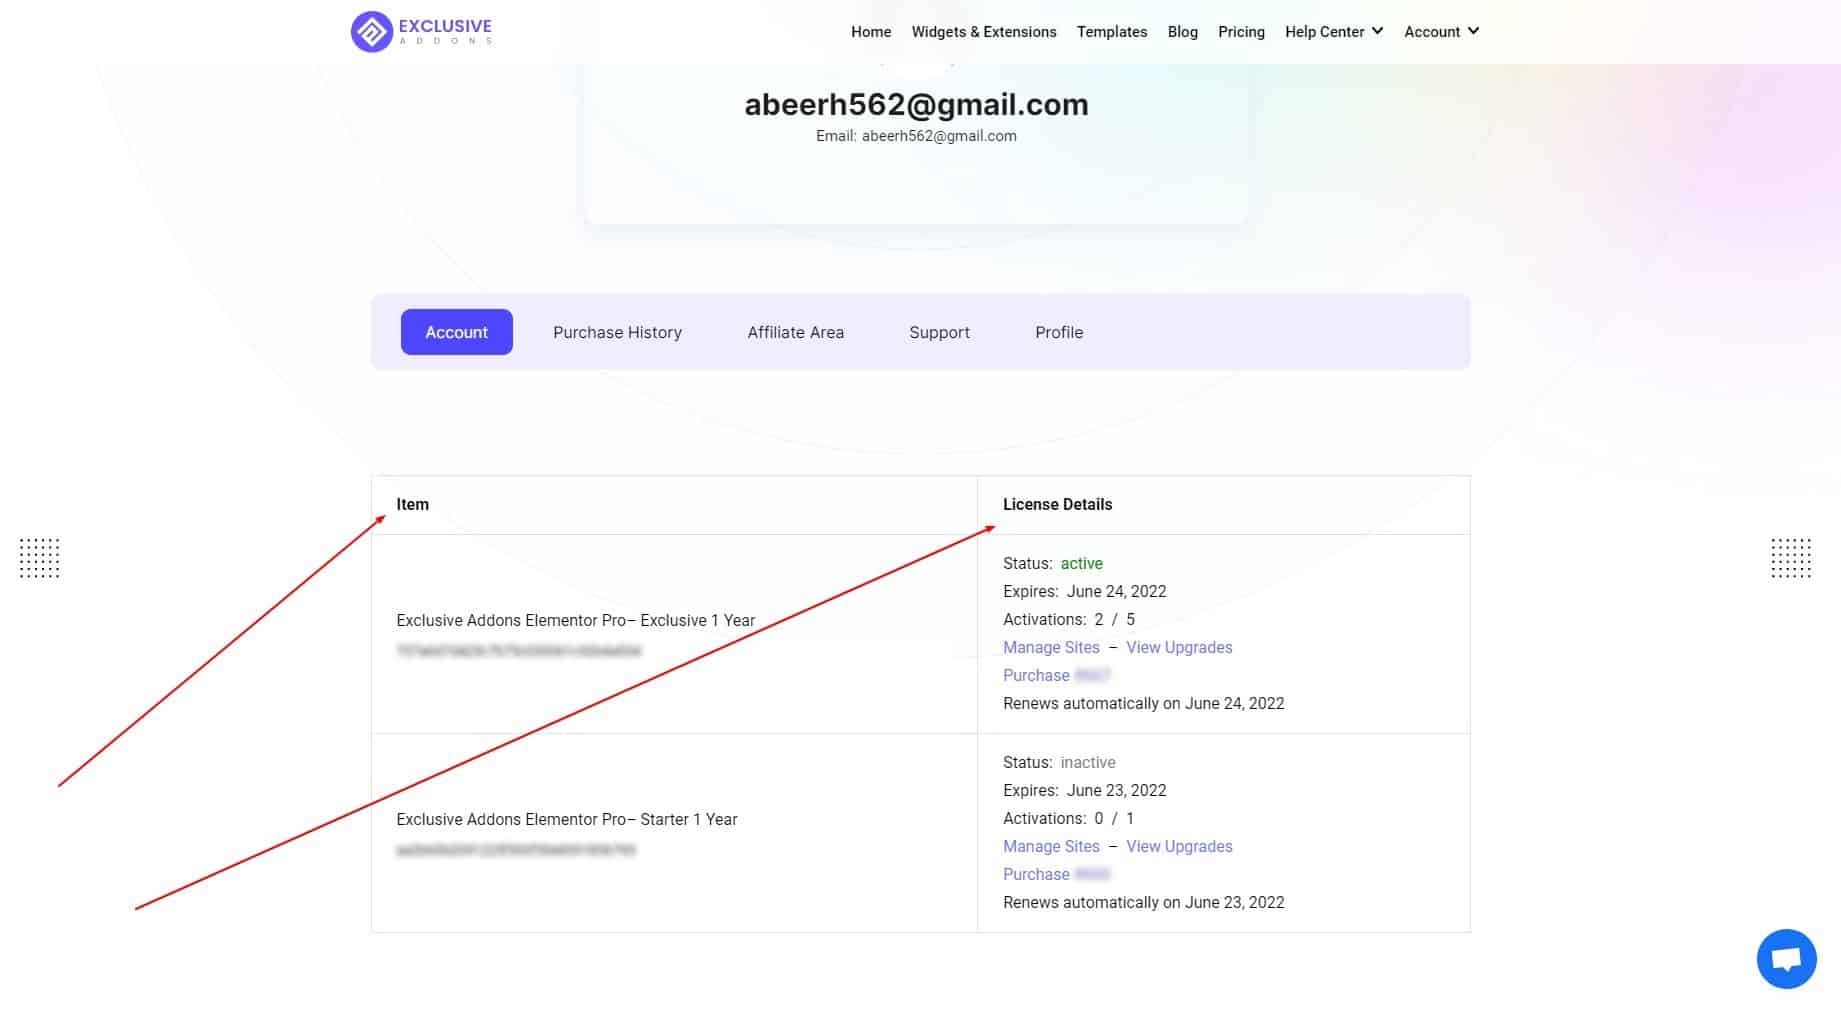
In the Account tab, you can manage the current plan you have purchased. Item section shows the current Plan name and the license key.
In the License Details section, you can see the Status, date to Expire, and the number of site Activation. Automatic Renewal date is also mentioned in this section.
You will find clickable options like Manage Sites, View Upgrade, and Purchase Confirmation in the Account tab.
2.1 When you click on the Manage Site, it will lead you to a page where you can see the list of Site URL(s) you have activated. You get the option to Add Site from this page. License key and Product name are displayed at the top.

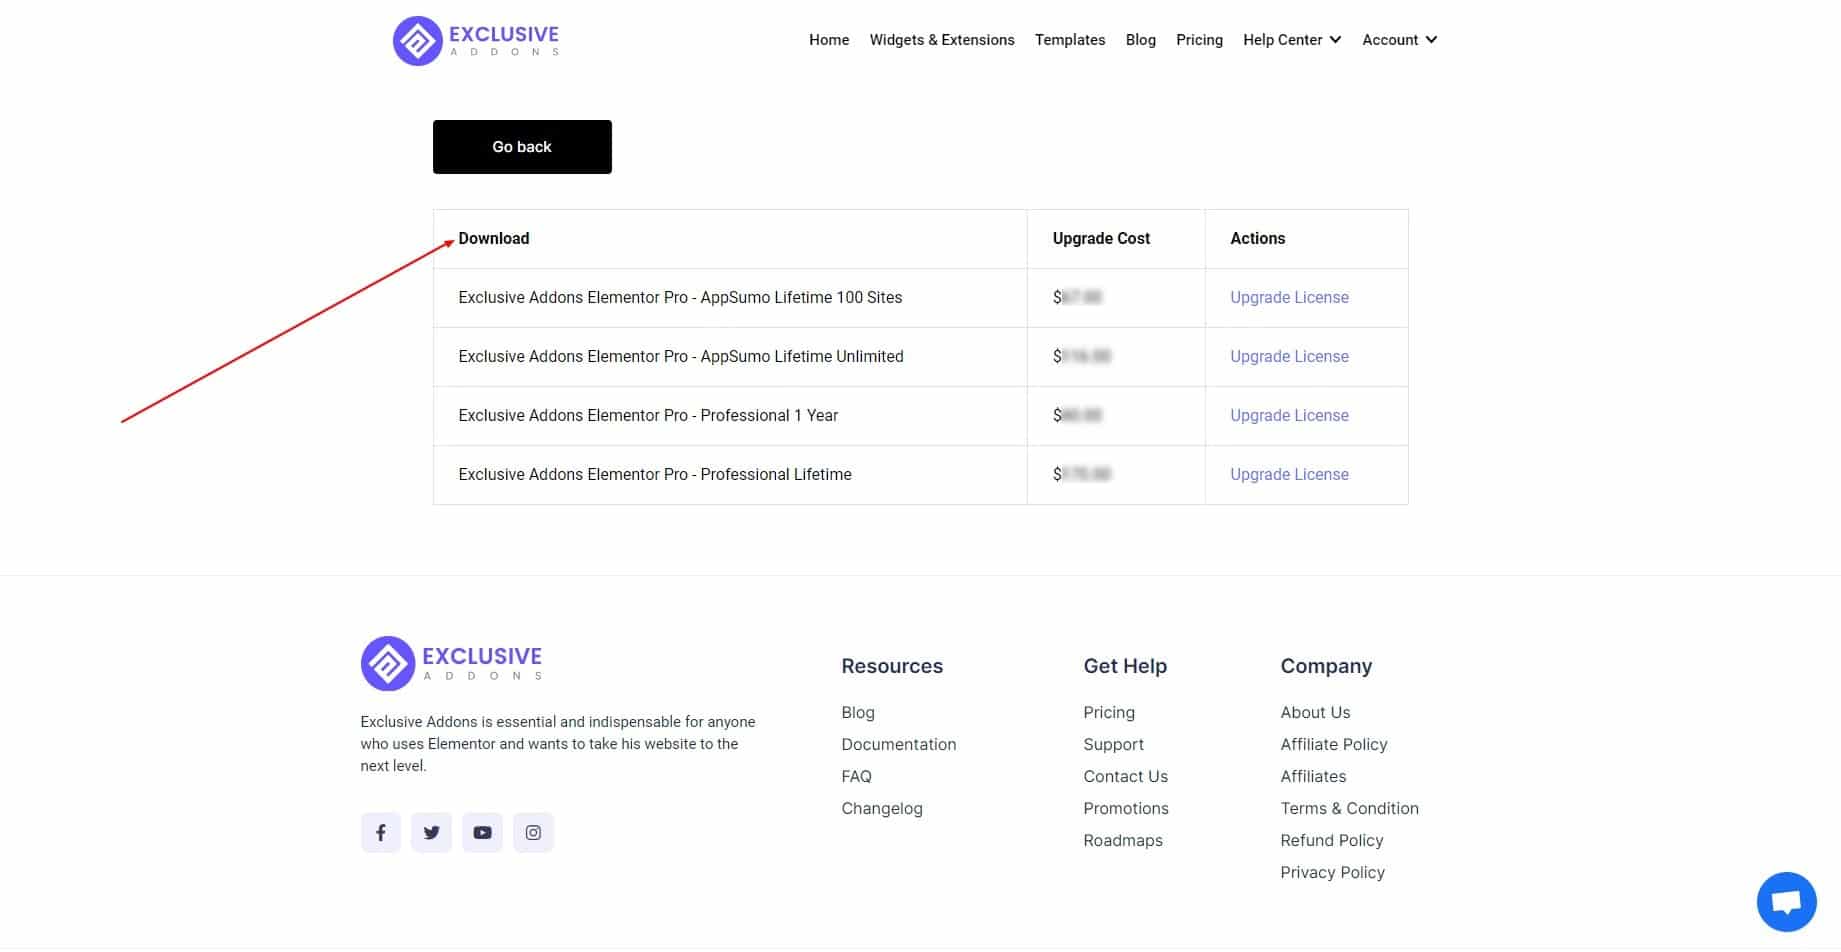
2.2 The View Upgrades page shows the list of all the upgradable planes and their cost.
2.3 Clicking on the Purchase will take you to the Purchase Confirmation page.
STEP 3: Purchase History
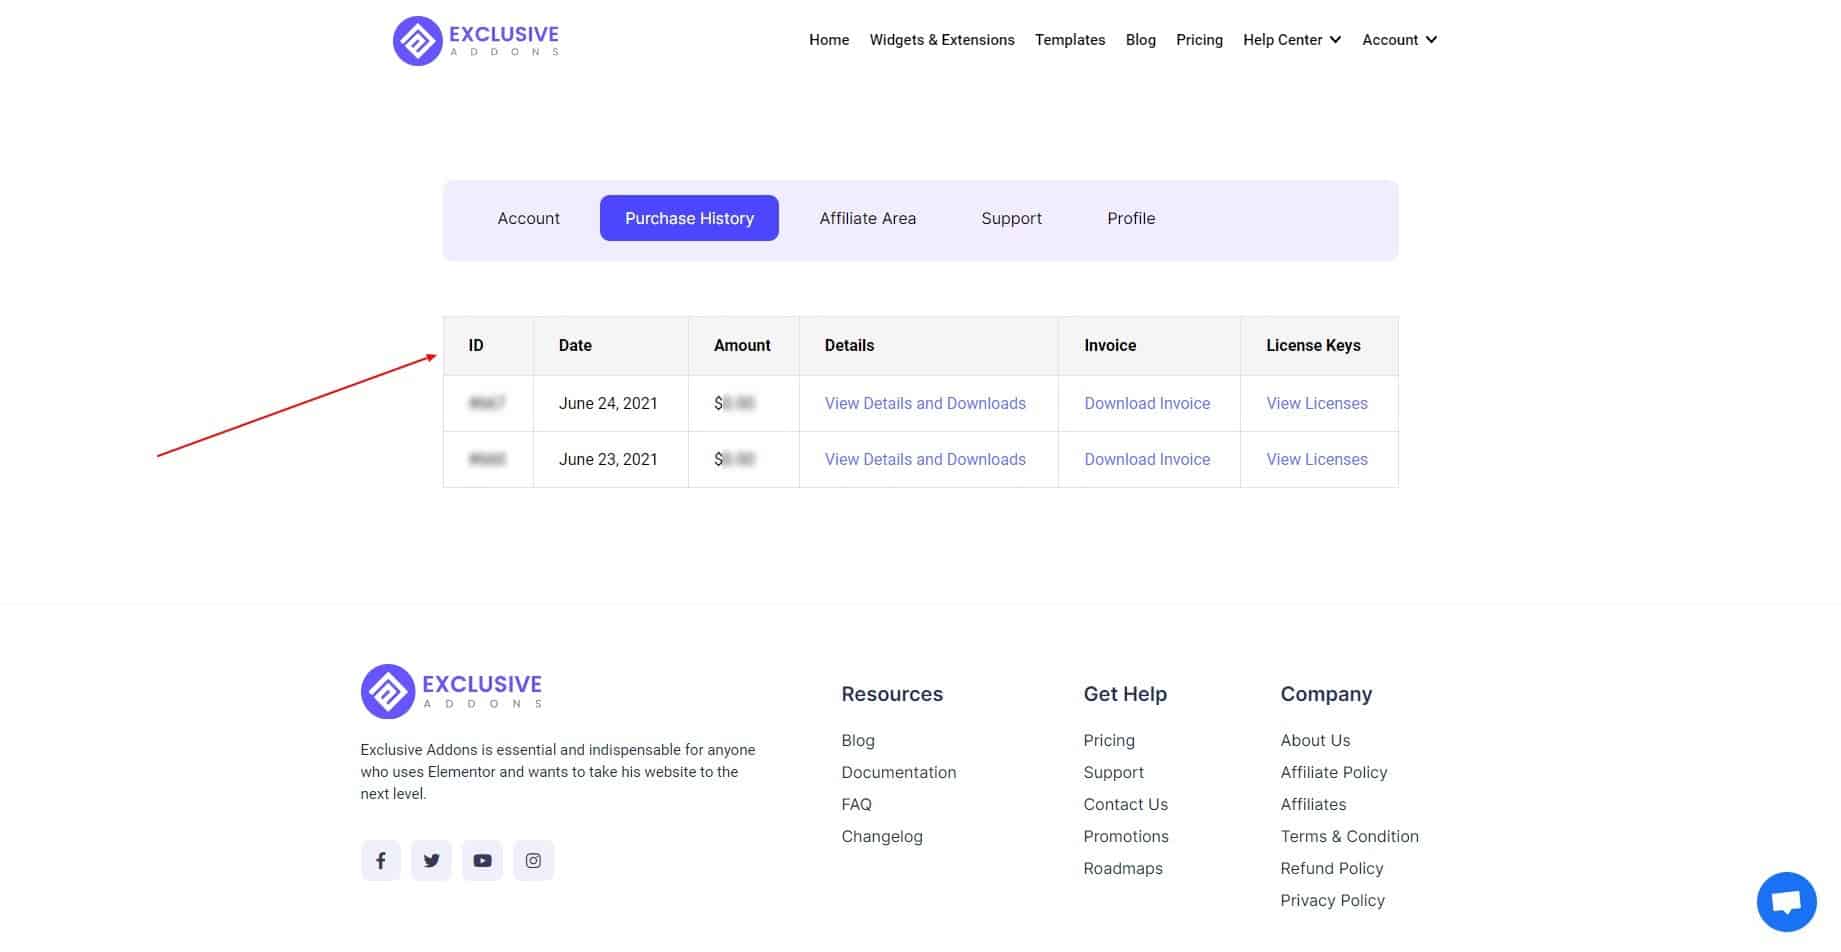
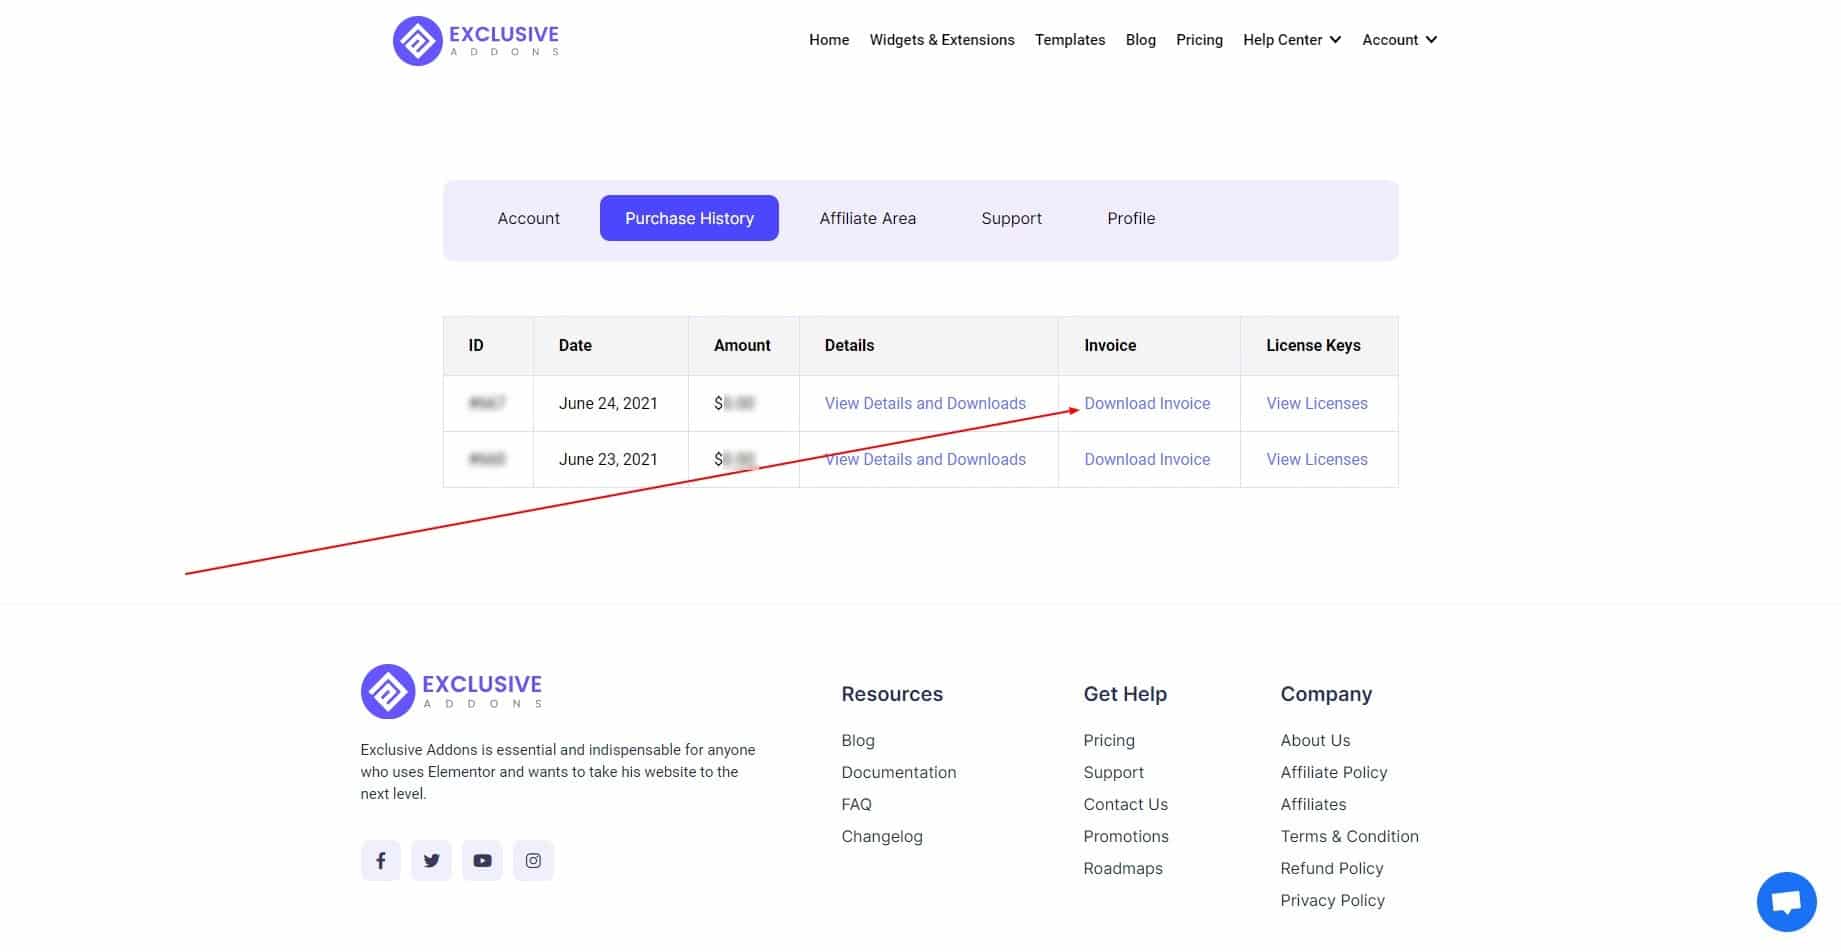
In the Purchase History tab, you will get your ID, Date to purchase, Amount you have paid, Details, Invoice link, and License key.
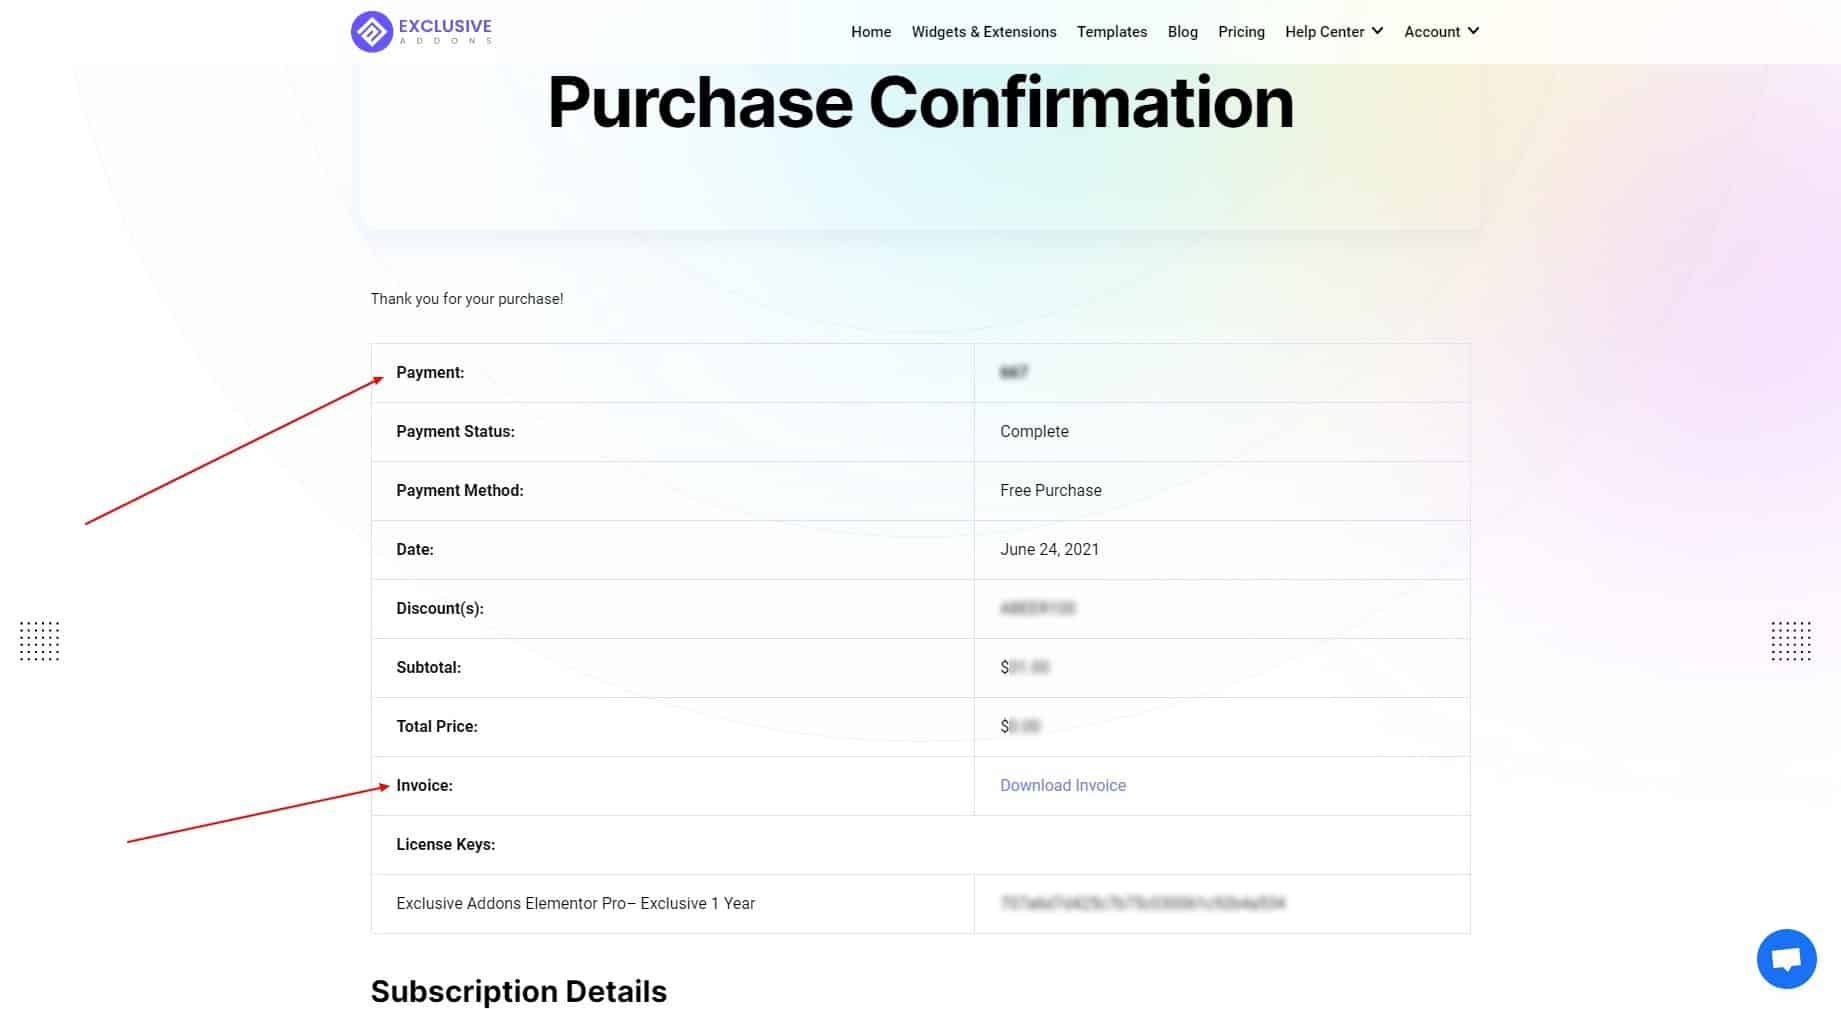
3.1 In the Details section, click on the ‘View Details’ and ‘Download’ to go to the Purchase Confirmation page. There You will get all the information about your payment and purchase.

You can see your Payment ID, Payment Status, Payment Method, Date, Discount Code, Subtotal, Total Price, License Keys. You can download the Invoice as well.
A complete Subscription Details will be there. You can download the Exclusive Addons Pro from the Product section.
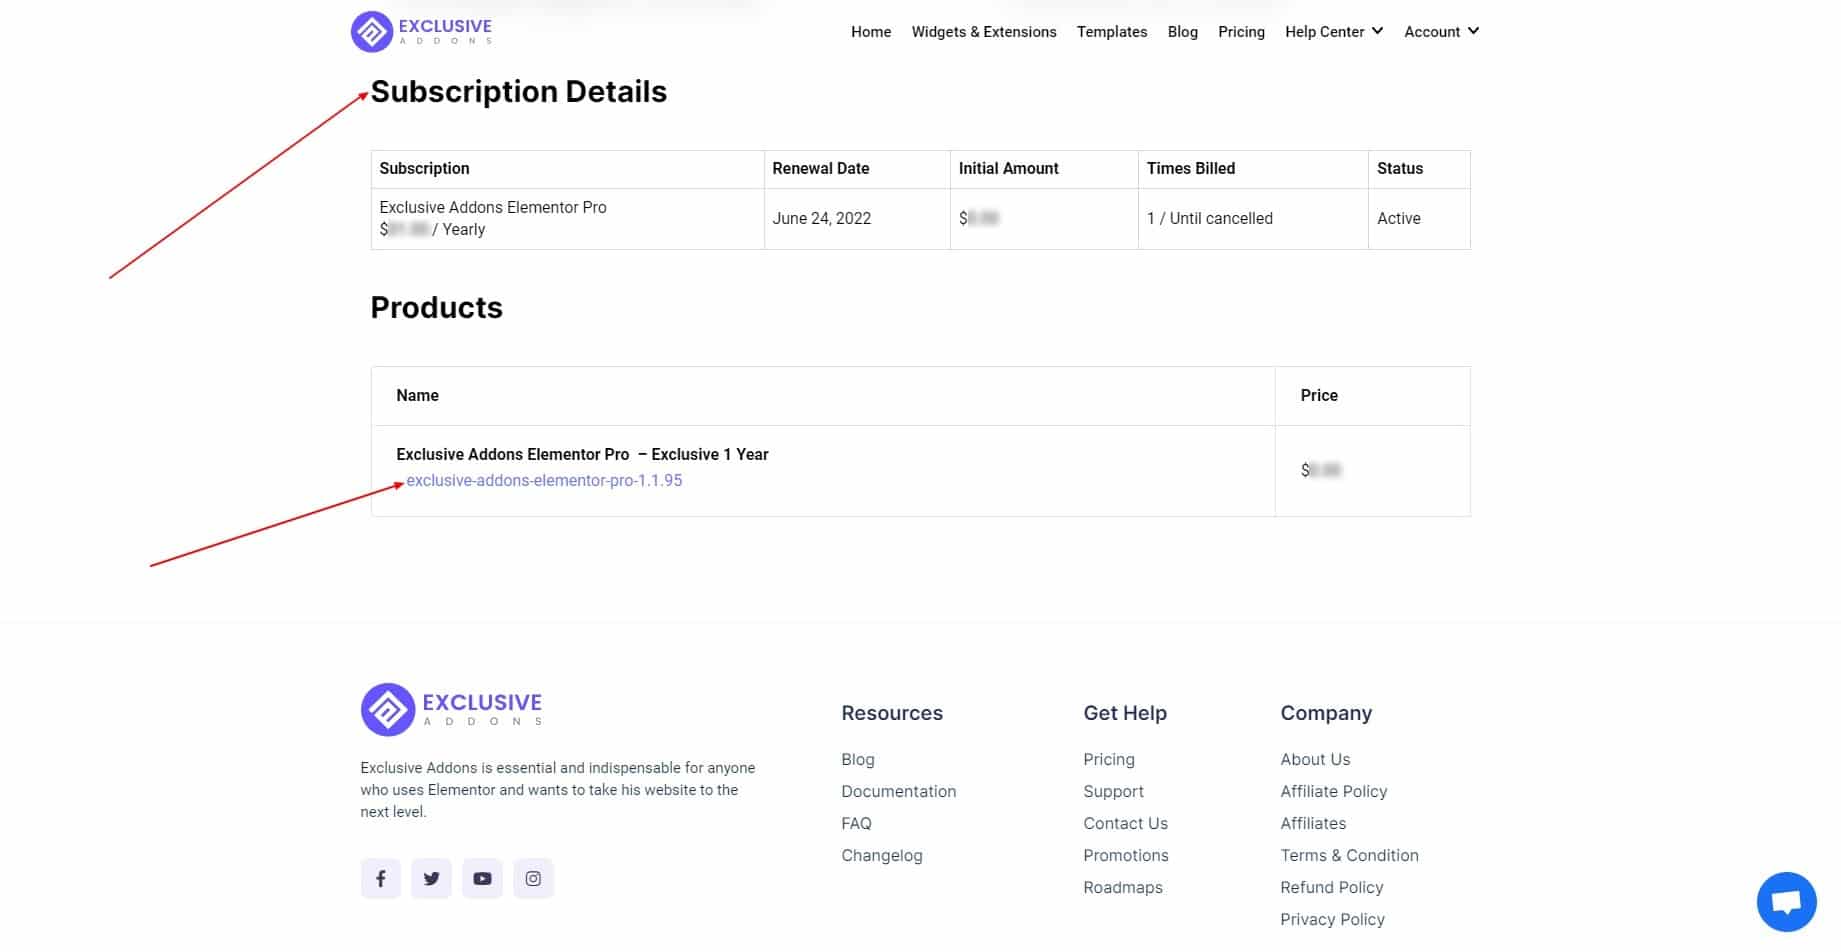
3.2 Back to the Purchase History page, you can have your copy of the invoice directly by clicking to Download Invoice.
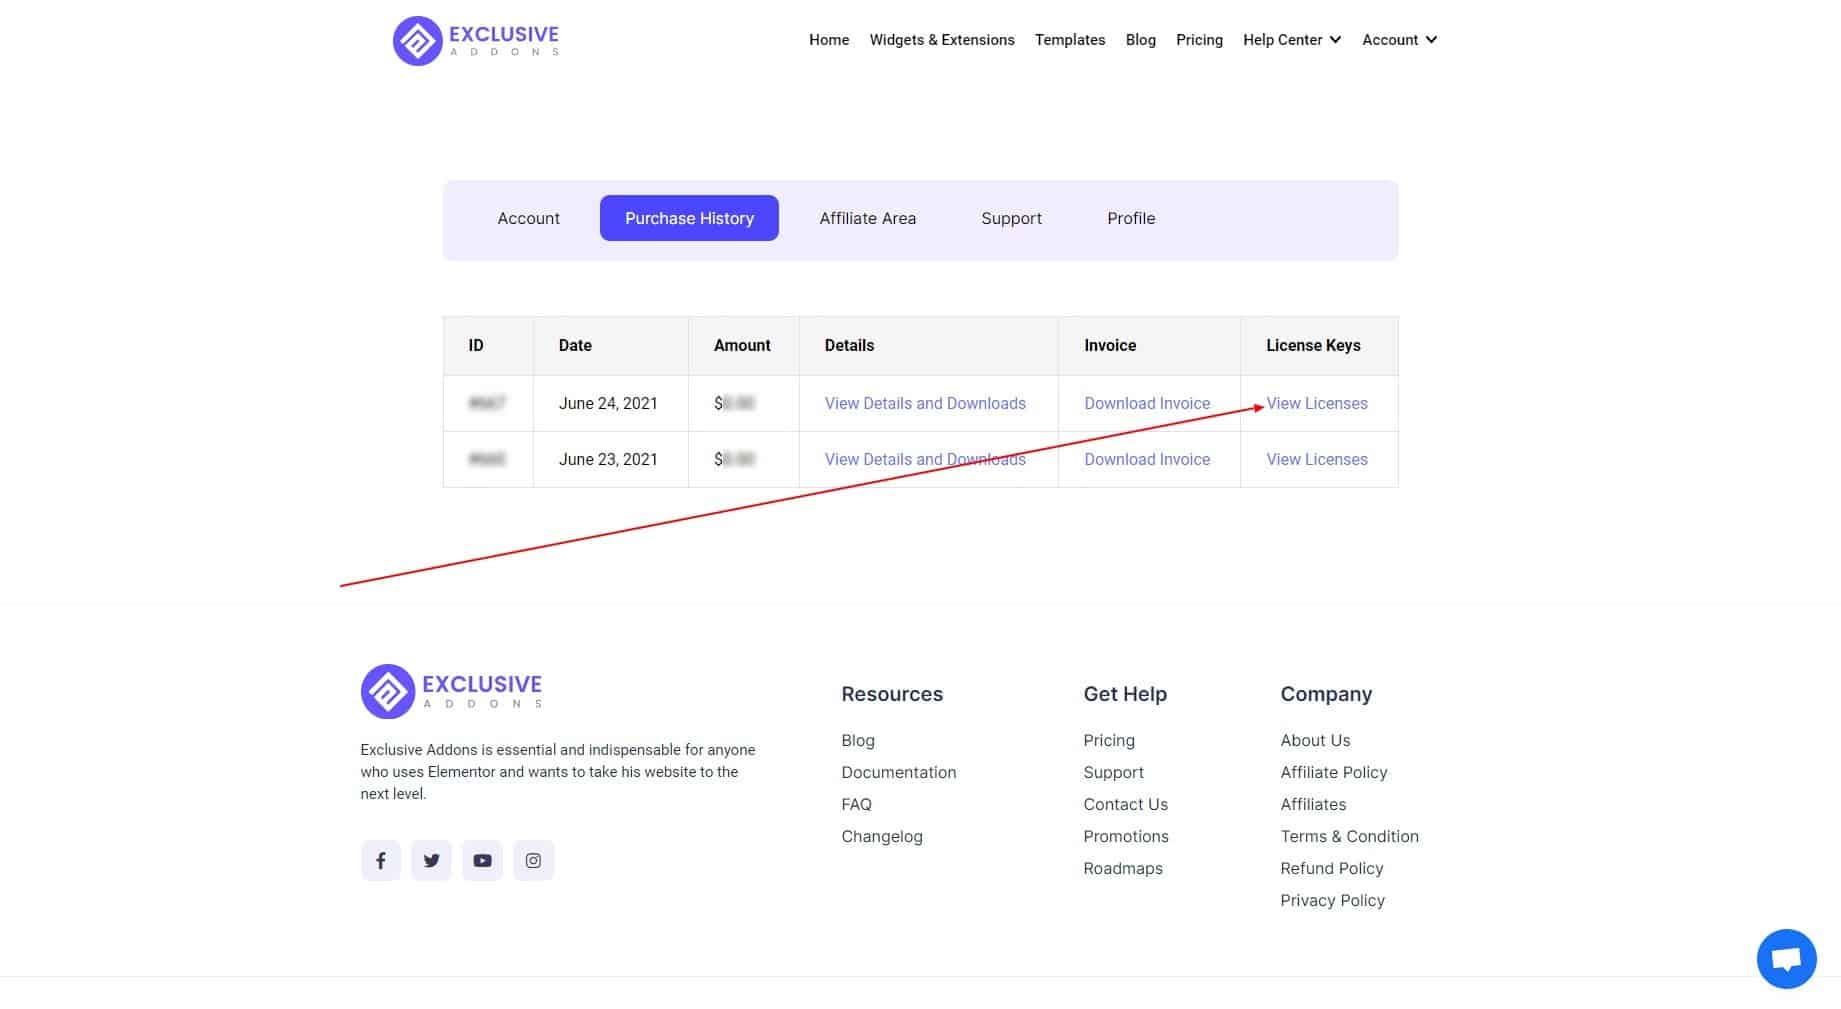
3.3 You can see your license details by clicking to View License.
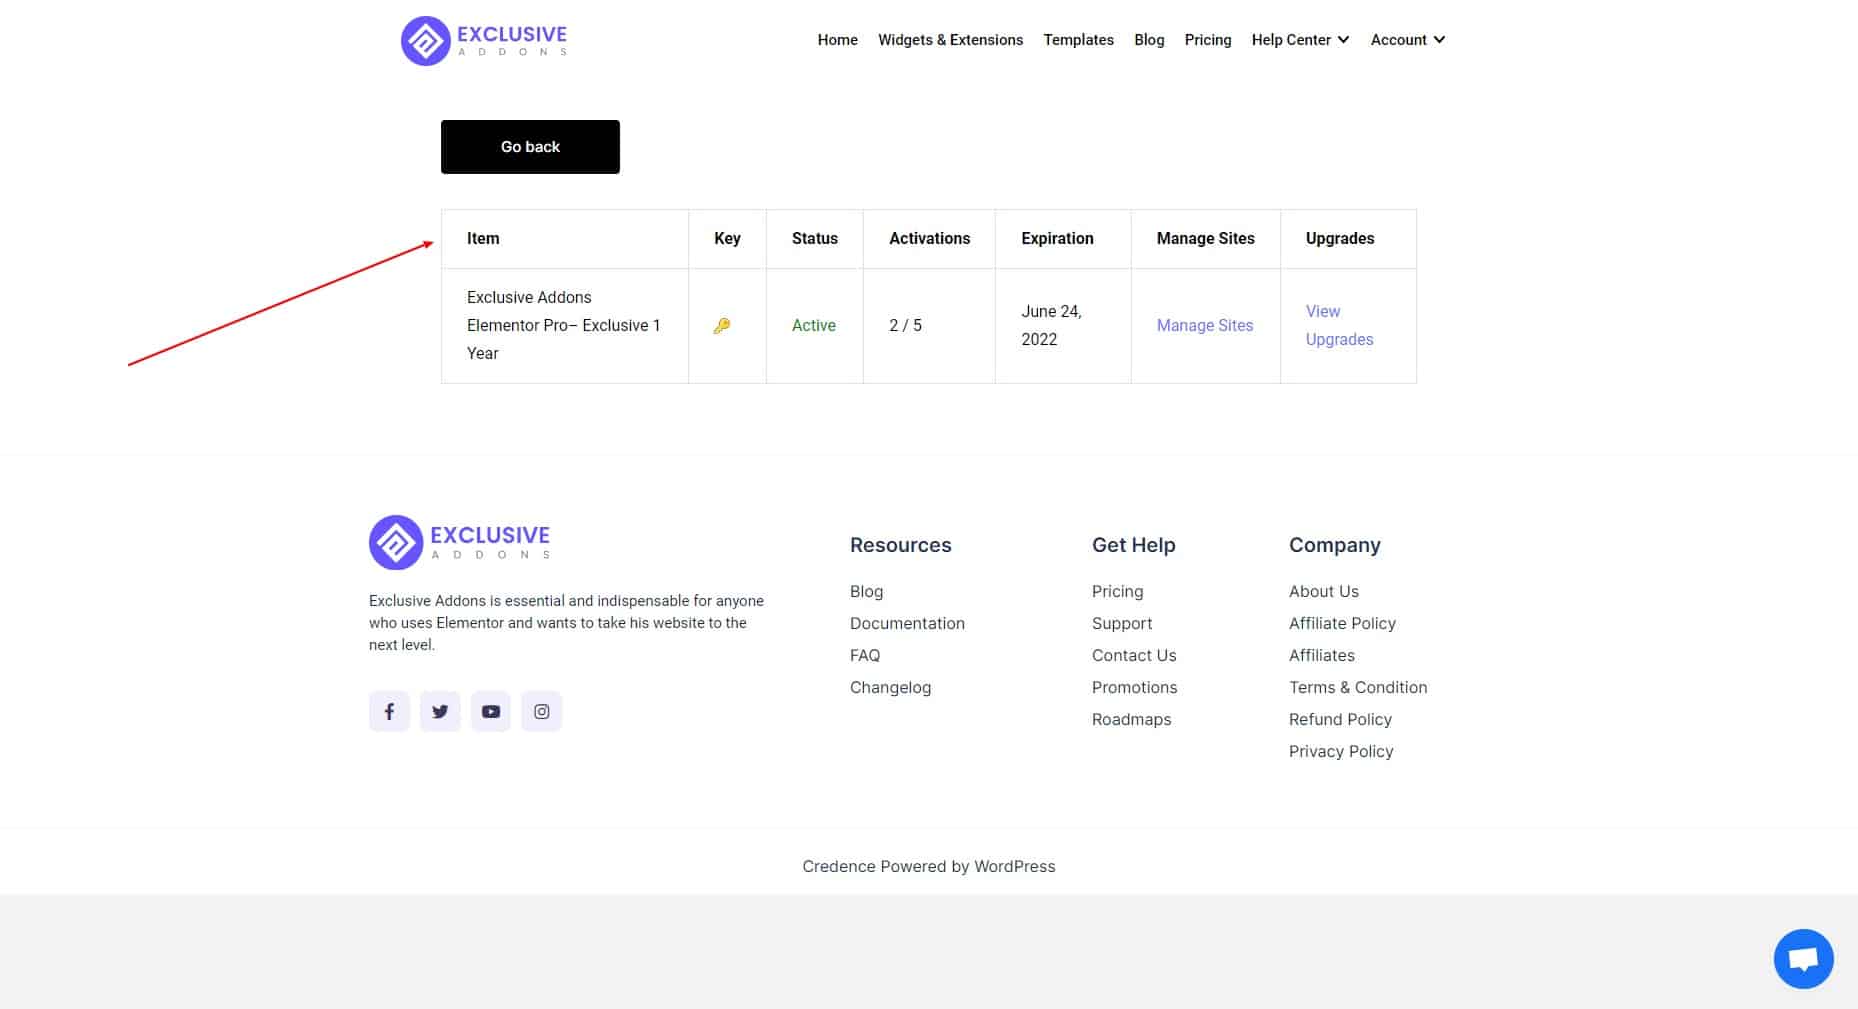
On the page, you can see Item name, Key, Status, number of site Activations, Manage Site section, Upgrades.
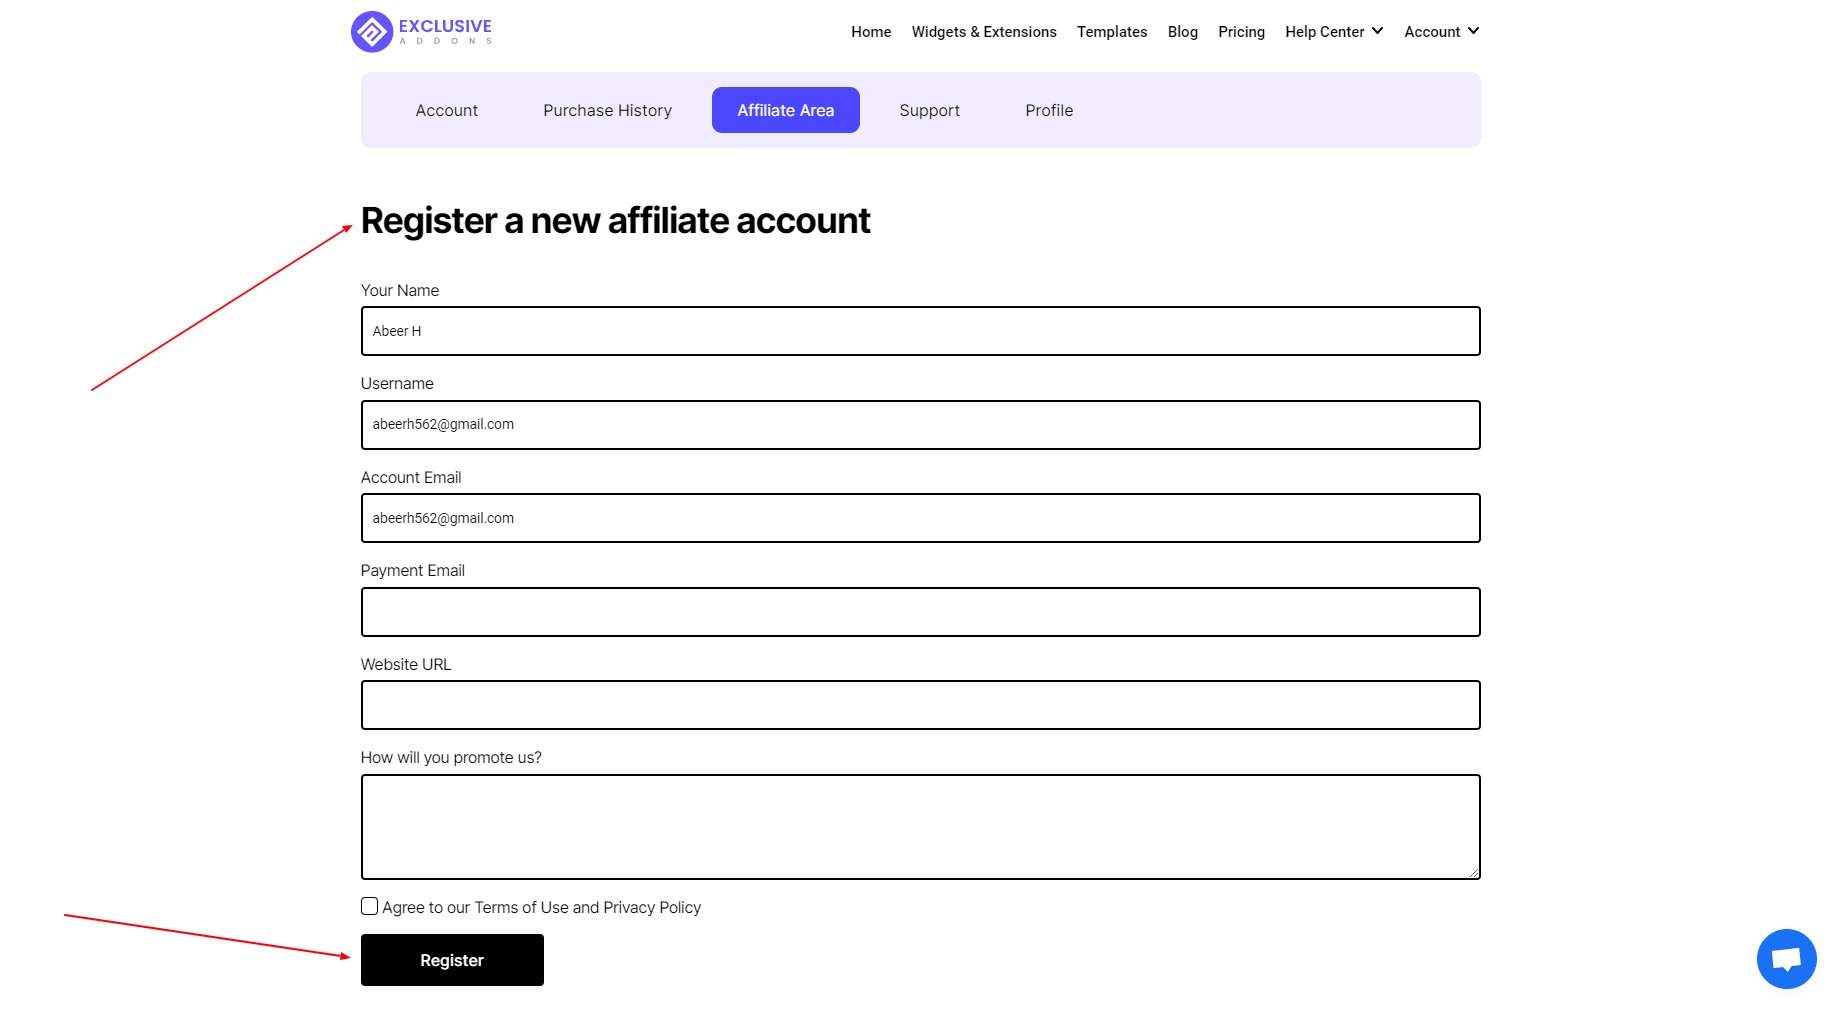
STEP 4: Affiliate Area
In Affiliate Area you can get registered as our affiliate partner. You just have to fill the required fields of the registration form.
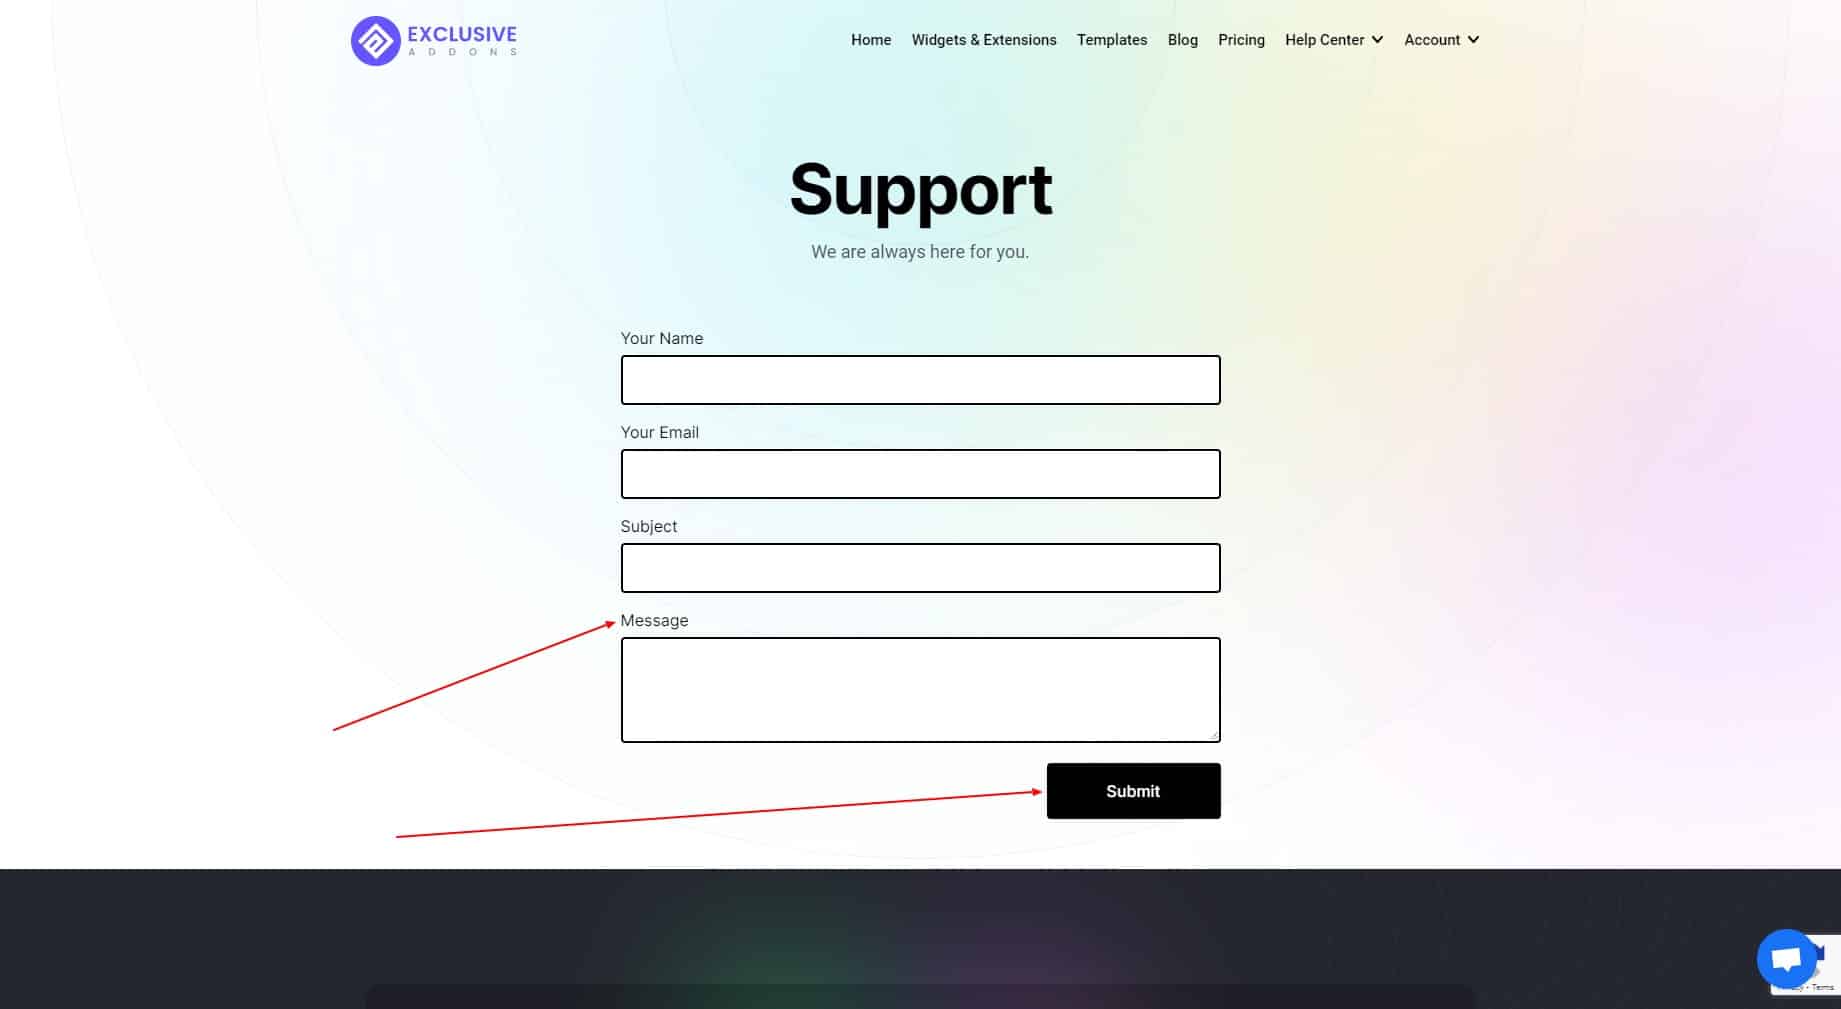
STEP 5: Support
You can get assistance from us through the Support page. Fill the form and leave a message if you need any help or feedback.
STEP 6: Profile
Edit your account information from the Profile Tab. You can enter your First Name, Last Name, Primary Email Address, and set Display Name.
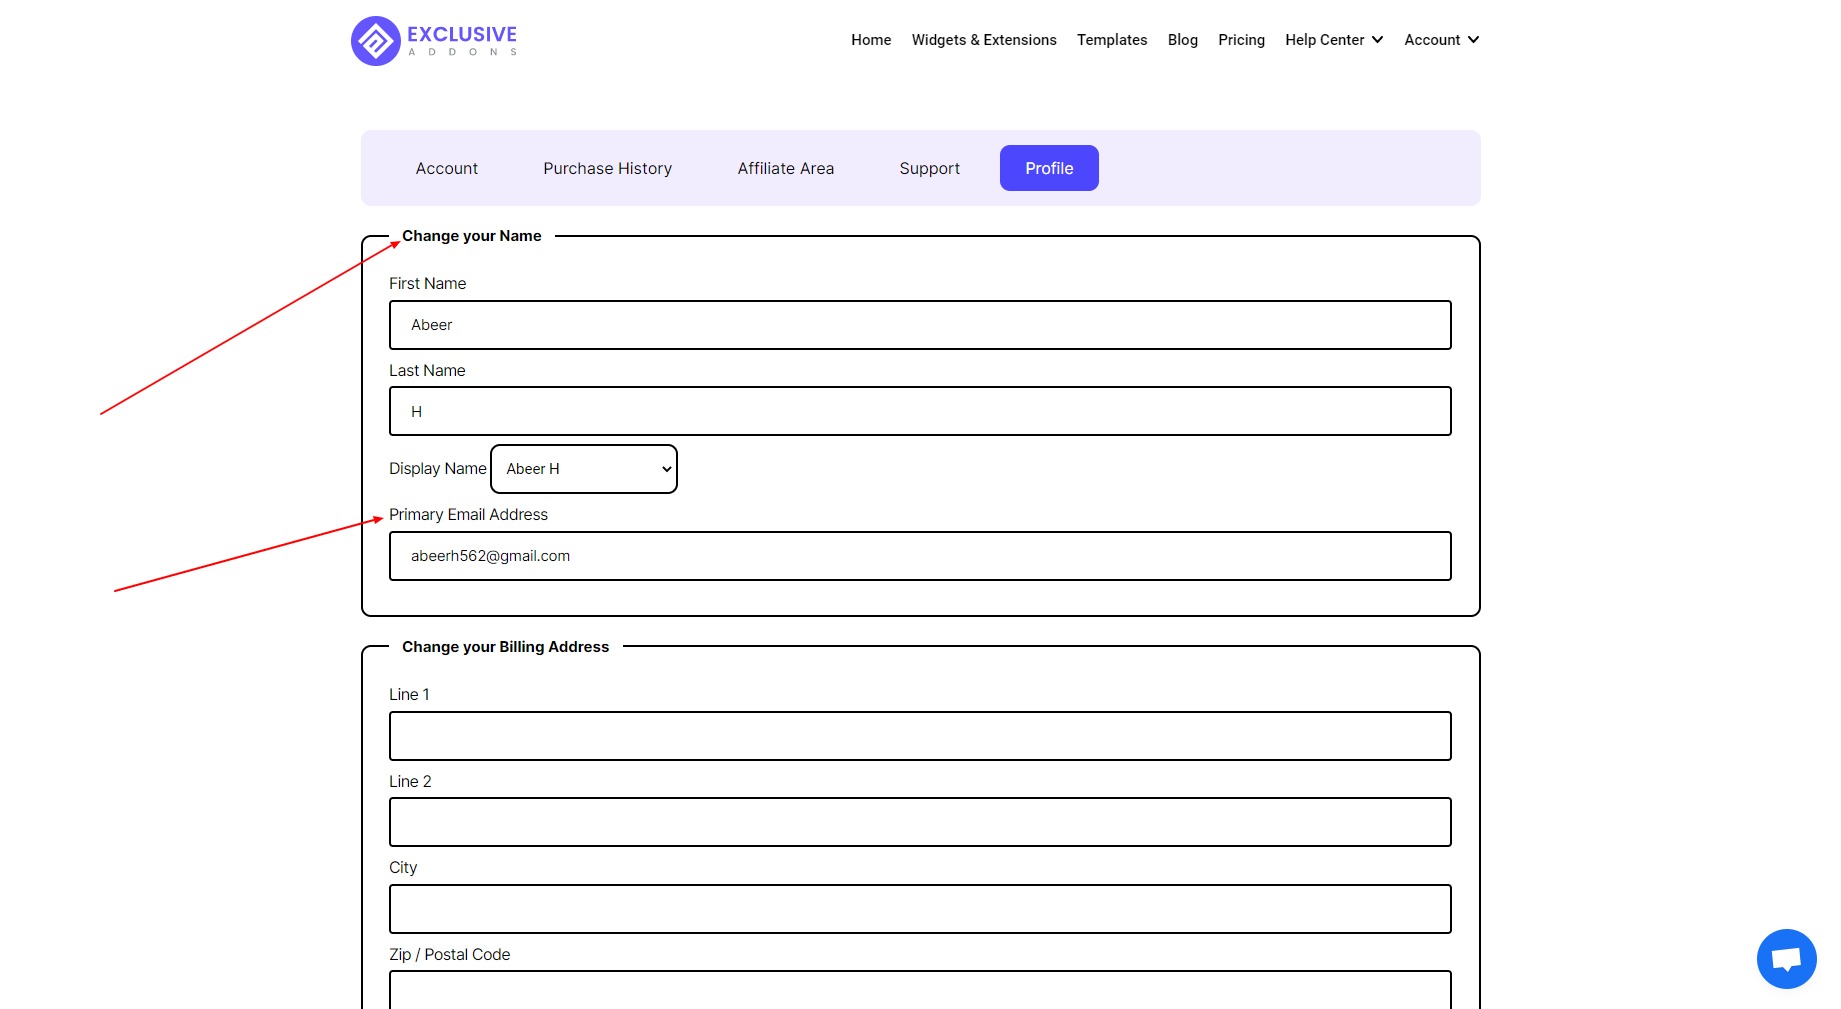
Also, you have the option to Change your Billing Address and Change Your Password. Hit the Save Changes button once you are done.

STEP 7: Subscriptions
The Subscriptions tab shows the list of your subscriptions with their status, renewal date, initial amount, times billed, and actions.
Under Actions, you have two clickable options to “View Transactions” and “Cancel Your Subscription”.
