The 26th President of the United States of America said that “Comparison is the thief of joy.” Sounds silly? Suppose you’re going to an online shop to buy an Android mobile. But, it is hard to make the decision which one is best for you. So you want to compare devices to understand which one is the best and you should buy it.
You can already point out how the comparison table helps your customers to make the right choice. At the end of the day, the Comparison Table performs for you. It’s a necessary step before your customers will execute the desired action, like buying your product or signing up for memberships.
Today, we dive into the details of the Comparison table for Elementor, why you need the comparison table widget, how to use the widget and everything in between.
When do you need the Elementor Table of Comparison Widget?
When the customer is in doubt about which of several products should choose, he/she would probably want to compare them. And it’s hard to compare the pros and cons of multiple products if you don’t put their features side by side.
With the comparison table, you can make things easy for the visitors to compare products or schemes. A comparison table is a proper way to organize, compare, break down data, and display it to visitors is easy to understand on your website. It increases the engagement and conversion rates of your website. Adding a comparison table is an effective way to improve SEO rankings.
And, Comparison Table widget from Exclusive Addons gives you all the options in hand to add a compare table to the product single page and create a page where the comparison table will be shown.
What you can do with the Comparison Table widget from Exclusive Addons?
The Comparison Table widget is a fully customizable Elementor widget from Exclusive Addons. The widget comes with some premium features to give you the best possible way of adding an Elementor table of comparison on your WordPress site.
Example of Comparison Table Widget
Let’s now look into the feature of the Comparison Table widget:
- Fully responsive widget.
- Can add headings and table body independently.
- Custom style available for each heading.
- You can add Ribbon to the headings to mark it as special.
- Changeable column-span for each heading.
- Can be used as a price comparison table.
- You can show price, currency symbol, discount price, duration. and more.
- Can add tooltip to individual table content.
- You can set custom CSS ID to each table content.
- Adjustable column and row span for table body.
- Four content types are available for table body, including text and image.
- Individual custom style available for table content.
How to use the Comparison Table widget?
Using the Comparison Table widget is easy. It is a drag and drop widget, with a fully customizable option. Here is how to use the Comparison Table widget:
Prerequisite: Comparison Table is a premium widget from Exclusive Addons. So you need to have Exclusive Addons Pro installed on your website. Visit our documentation on How to Purchase Exclusive Addons Elementor Pro and Install Exclusive Elementor Addons Pro to know the full details.
Step-1: Drag and drop the widget
Select the Comparison Table widget from the Elementor panel. Then drag and drop it in the selected area.
Step-2: Configure the Comparison Table widget
You can configure the widget from the content tab. Under the content tab, you can see the Heading section, where you can add or delete headings.
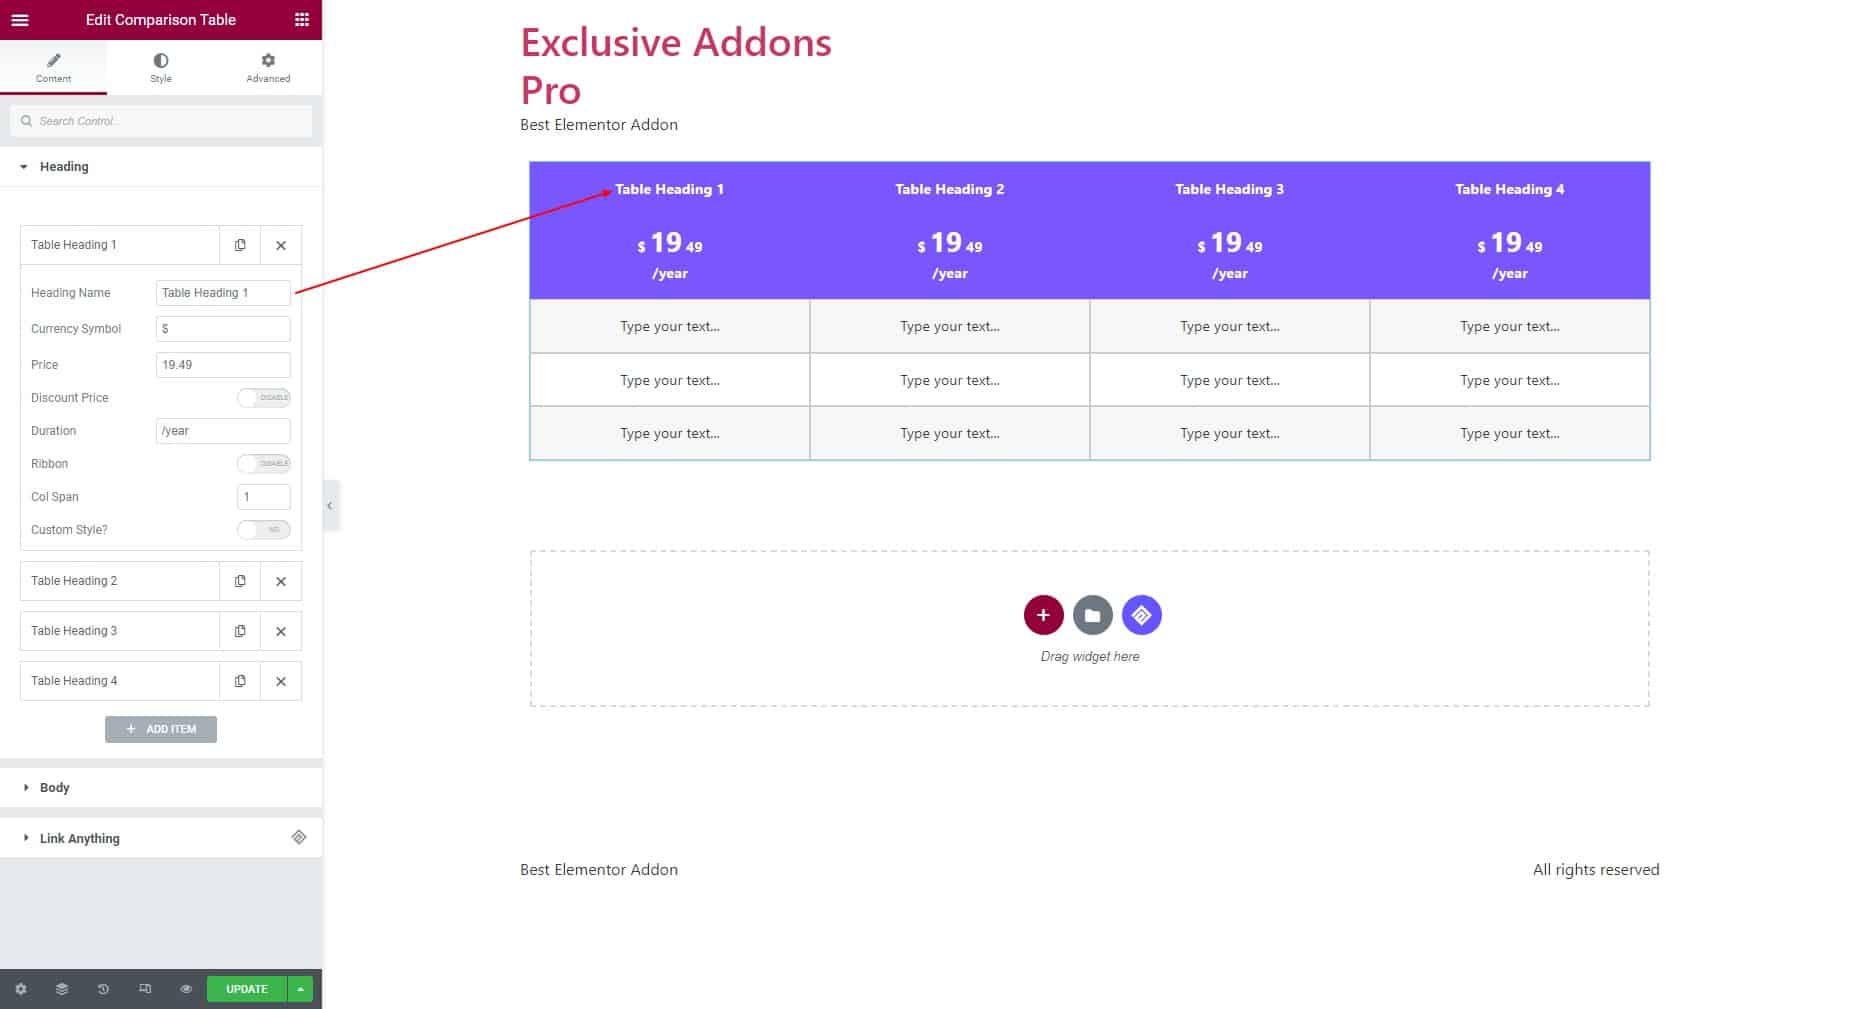
2.1 Heading Section
For each heading, you can set Heading Text, Currency Symbol, Price, Duration, and Column Span. Also can enable Discount Price and set the Regular Price as well as enable Ribbon then set Ribbon Text, and Ribbon Position.
Besides, options to enable Custom Style and choose the Text Alignment, Color, Background Color, and Border Style for the Heading are available.
2.2 Table body
In the Body section, you can add a number of Row and Column items. For each item, choose the Row Type as ‘Row’ or ‘Column’. In terms of ‘Columns’ set Column Span, Row Span, CSS ID, select Content-Type and set Text content. Also can enable Tooltip and Custom Style.
Step-3: Customize the table style
Under the Style tab, you can customize the Container, Heading, Pricing & Duration, Body, Tooltip, Ribbon, and Button design.
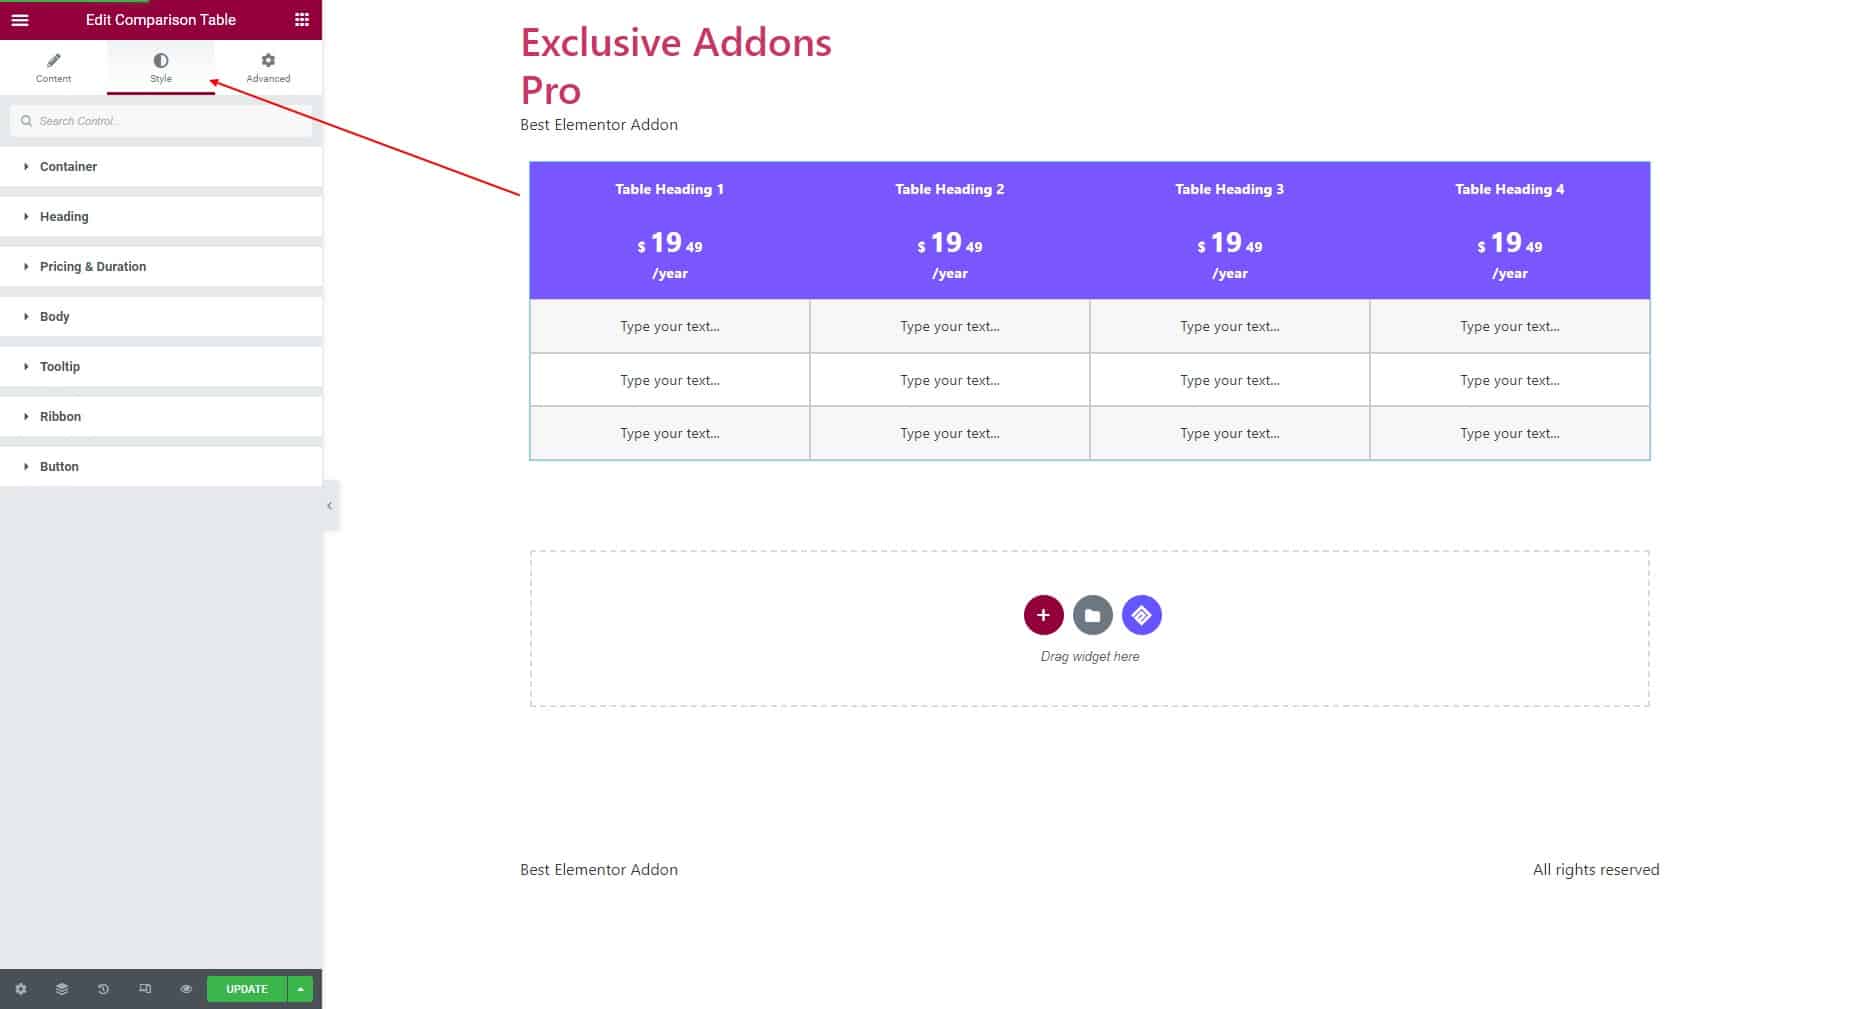
3.1 Container Section
In the Container section, you can change Border Type, Border Width, Color, Border Radius, and Box Shadow. In the Heading section, set its Typography, Padding, Text Alignment, Header Top & Left Border Radius. Use individual Color, Background Color, Border Type, and Border Color for both ‘Normal’ and ‘Hover’ state.
3.3 Body section
In the Body section, select Text Alignment, Padding, Border Type, Typography, Last Row Border Radius. Set individual Color and Background to ‘Normal’ and ‘Hover’ state for ‘Odd Row‘ and ‘Even Row‘. Change different Colors for ‘Yes/No Icon‘.
3.4 Tooltip section
In the Tooltip section, set Typography, Width, Padding, Border Radius, as well as choose Color for ‘Icon’ and ‘Text’ individually. In the Ribbon section, modify its Distance, Color, Background Color, Typography, Border Type, Padding, and Border Radius.
Step-4: Finalize the design
Finally, hit the Update button, and include a stylish Comparison Table widget on your WordPress site.
Final Thought
With the right tool, you can create your responsive comparison tables on your WordPress and give the users a satisfying experience. And the Comparison Table widget from Exclusive Addons is just the right tool you need. You can easily come up with unique and creative designs to make your Comparison table look attractive to your visitors.