
Creating a website that everyone can use is no longer a niche concern; it's a fundamental requirement for modern digital experiences. Website accessibility ensures that people with disabilities, including visual, auditory, motor, and cognitive impairments, can navigate, understand, and interact with your content effectively. But transforming accessibility guidelines into a functional website can feel like a complex puzzle, especially when you're trying to determine where to begin.
This comprehensive website accessibility checklist simplifies the process by breaking it down into eight manageable, high-impact action items. We move beyond abstract theory to provide a clear and actionable roadmap. You will learn not just what to do, but how to implement these crucial features directly within the WordPress and Elementor ecosystem.
Each point in this guide includes practical examples, showing you how to leverage specific tools, such as the widgets and templates from Exclusive Addons. Our goal is to empower you to turn accessibility principles into tangible results, building a more inclusive, effective, and compliant website that welcomes every single visitor. This checklist is your blueprint for creating a truly accessible online presence.
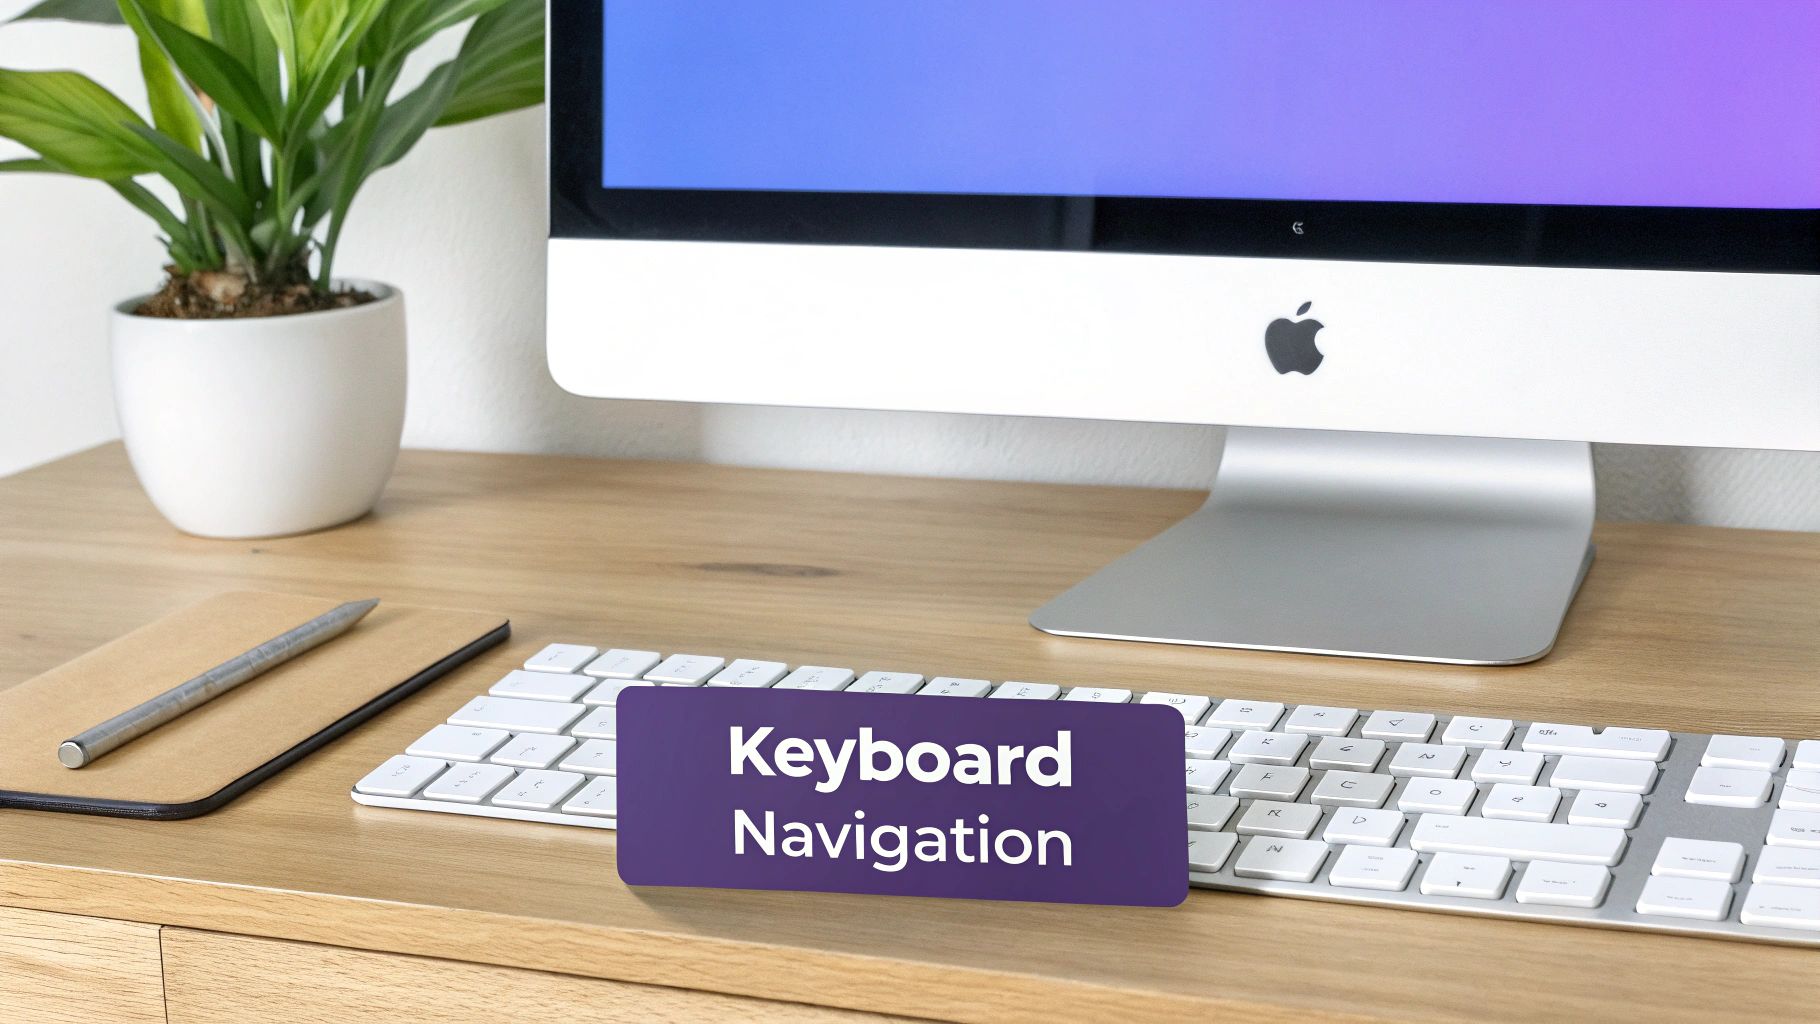
1. Keyboard Navigation and Focus Management
A foundational element of any comprehensive website accessibility checklist is ensuring full keyboard compatibility. This means that users must be able to navigate, interact with, and operate every interactive element on your site using only a keyboard. This is crucial for individuals with motor disabilities who cannot use a mouse, as well as for power users who prefer keyboard navigation for efficiency.
Proper implementation involves more than just enabling the Tab key. It requires a logical navigation order, clear visual indicators for focused elements, and managing user focus, especially when dynamic content like modals or pop-ups appear. Without this, users can become trapped, disoriented, or unable to access essential functions, rendering your website unusable for them.
Why It's Essential
Many users, including those with permanent motor impairments or temporary injuries like a broken arm, rely exclusively on keyboard inputs. Screen reader users also depend on a logical keyboard navigation sequence to understand the page structure and flow. Prioritizing this aspect ensures you aren't excluding a significant portion of your potential audience from accessing your content and services.
How to Implement and Test
Implementing robust keyboard navigation in Elementor involves paying close attention to the structure of your pages and the widgets you use.
- Logical Tab Order: The order in which a user tabs through elements should follow the visual flow of the page: header, main navigation, page content, and then footer. Elementor’s DOM (Document Object Model) output generally follows the visual structure, but you can use the Navigator panel to reorder sections if needed.
- Visible Focus Indicators: When a user tabs to a link, button, or form field, there must be a clear visual cue, like a distinct outline. Most Exclusive Addons widgets inherit or allow customization of these focus styles. You can also set global focus styles in Elementor's Site Settings to ensure consistency.
- Modal Focus Traps: For pop-ups or modals (like those created with the Exclusive Addons Modal Popup widget), you must "trap" the user's focus within the modal. This prevents them from accidentally tabbing to elements on the page behind the overlay. The focus should return to the triggering element once the modal is closed.
2. Alternative Text for Images
A critical component of any thorough website accessibility checklist is the implementation of alternative text (alt text) for images. Alt text is a written description of an image that is read aloud by screen readers to users with visual impairments. It ensures that the meaning, function, and context of visual content are conveyed to everyone, regardless of their ability to see the images.
Without alt text, visual information is completely lost to screen reader users, creating significant barriers to understanding your content. This applies to all non-text content, including photographs, icons, charts, and infographics. Proper alt text bridges this gap, making your website more inclusive and comprehensible for a wider audience.

Why It's Essential
Images often convey crucial information that supports the surrounding text. For users who cannot see them, the absence of a text alternative can render a page's content incomplete or confusing. Well-written alt text not only serves users with visual disabilities but also benefits search engine optimization (SEO) by providing search crawlers with context about the image, improving your site's discoverability.
How to Implement and Test
Implementing effective alt text in Elementor is straightforward, as both the core editor and Exclusive Addons widgets provide easy access to the alt text field for any image.
- Convey Purpose and Context: Your alt text should describe the image's content and function within the page. If an image shows a "red 'Sale' button," the alt text should be "Sale" to convey its function, not just "red button." The goal is to provide an equivalent experience.
- Be Concise yet Descriptive: Keep the description succinct but informative. Avoid starting with "Image of…" or "Picture of…" as screen readers already announce it as an image. A good example from a news site might be, "Protesters marching down a city street holding signs that read 'Climate Action Now'."
- Use Empty Alt for Decorative Images: If an image is purely decorative and provides no informational value (like a background pattern or a stylistic border), use an empty alt attribute (
alt=""). This tells screen readers to ignore the image, preventing unnecessary auditory clutter. In Elementor, you can do this by leaving the alt text field blank for that specific image. - Test with a Screen Reader: The best way to check your implementation is to use a screen reader like NVDA (Windows) or VoiceOver (macOS). Navigate your page with the screen reader active to hear how your alt text descriptions are announced and ensure they make sense in context.
3. Color Contrast and Visual Design
Another critical component of a website accessibility checklist is ensuring adequate color contrast and thoughtful visual design. This principle dictates that text and essential graphical elements must have sufficient contrast against their background. This is vital for users with visual impairments, such as low vision or color blindness, who may find it difficult or impossible to read content with poor contrast.
Effective implementation goes beyond just picking colors that look good; it requires adherence to specific Web Content Accessibility Guidelines (WCAG) contrast ratios. Furthermore, it means not relying on color alone to convey important information, ensuring that all users can understand your content regardless of their ability to perceive color.

Why It's Essential
Readability is a cornerstone of usability. When text is difficult to distinguish from its background, users with conditions like cataracts, glaucoma, or color blindness are effectively excluded. Adhering to contrast standards, like those championed by the W3C Web Accessibility Initiative, ensures your content is legible for the widest possible audience. This directly impacts user engagement, comprehension, and the overall effectiveness of your website.
How to Implement and Test
Implementing accessible color choices in Elementor is straightforward with the right tools and attention to detail.
- Meet Contrast Ratios: WCAG 2.1 AA standards require a contrast ratio of at least 4.5:1 for normal text and 3:1 for large text. Use an online tool like WebAIM's contrast checker to verify your color palette. You can set these accessible colors in Elementor's Global Colors to maintain consistency across your site.
- Don't Rely Solely on Color: When indicating errors in a form or showing different data points in a chart, use more than just color. For instance, the Exclusive Addons Form widgets can display error messages as text. For graphs or charts, use patterns, labels, or icons in addition to color to differentiate data.
- Provide a Dark Mode: Consider offering a high-contrast or dark mode version of your site. The Exclusive Addons Dark Mode widget allows users to toggle the display, which can reduce eye strain and improve readability for many individuals. When creating your dark mode, ensure the contrast ratios are also checked for this alternative theme.
You can also explore some of the best graphic design tools for designers that often include features to help you create accessible color palettes from the start.
4. Semantic HTML and Proper Structure
A cornerstone of any effective website accessibility checklist is the use of semantic HTML. This means using HTML elements according to their intended purpose to create a logical and meaningful document structure. For assistive technologies like screen readers, a well-structured page is not just helpful, it's essential for conveying context, relationships between content, and overall layout.
Using elements like <header>, <nav>, <main>, <article>, and <footer> provides a clear roadmap of the page. This is far more informative than relying on generic <div> tags for everything. A logical structure allows users to quickly navigate to key sections, understand the hierarchy of information, and interact with your site efficiently, forming the very skeleton upon which an accessible experience is built.
Why It's Essential
Screen readers and other assistive tools interpret the HTML code of a page, not its visual appearance. Semantic markup provides a predictable structure, allowing users to jump between headings to skim content or navigate directly to the main content area, bypassing repetitive navigation links. Without it, the page becomes a flat, confusing wall of text, making it nearly impossible to understand the flow and importance of different sections.
How to Implement and Test
Elementor allows you to control the HTML tags of many elements, giving you the power to create a semantically correct structure directly within the visual editor. When you learn how to use Elementor, you can build accessible foundations from the start.
- Correct Heading Hierarchy: Ensure your page has only one
<h1>, which should represent the main title. Subsequent headings (<h2>,<h3>, etc.) should follow a logical, nested order without skipping levels (e.g., don't jump from an<h2>to an<h4>). In Elementor, you can set the HTML Tag for any Heading widget in its settings. - Use Landmark Roles: Elementor sections can be assigned semantic tags like
<section>,<header>, or<main>. Use these to define the primary regions of your page layout. This gives screen reader users a high-level overview of the page structure. - Meaningful Markup: Use the right element for the job. An unordered list (
<ul>) for navigation links is more meaningful than a series of<div>elements. The Exclusive Addons Nav Menu widget, for instance, correctly uses list markup for creating accessible menus. - Validate Your HTML: Use a tool like the W3C Markup Validation Service to check your live pages for errors. This can help you catch issues like improperly nested tags or obsolete attributes that could confuse assistive technologies.
5. Form Accessibility and Usability
A critical component of any effective website accessibility checklist is ensuring that all web forms are accessible and usable. This involves more than just the visual layout; it means providing clear labels, helpful instructions, robust error handling, and a logical structure that screen readers can interpret. Forms are primary points of interaction, used for everything from contact inquiries to e-commerce checkouts.
If a form is not accessible, users with disabilities may be unable to complete critical tasks like signing up for a newsletter, making a purchase, or submitting a support request. This leads to user frustration, abandonment, and lost opportunities. Proper form accessibility ensures that every user, regardless of ability, can provide information accurately and efficiently.
Why It's Essential
Forms are the gateways to engagement and conversion on most websites. For users relying on assistive technologies like screen readers, an inaccessible form is a dead end. Without correctly associated labels, the user has no context for what information to enter in a field. Similarly, unclear error messages can trap a user in a frustrating loop, preventing them from successfully submitting their information.
How to Implement and Test
Building accessible forms in Elementor requires careful attention to how you structure fields and provide feedback. Many Exclusive Addons widgets, such as the Contact Form 7 widget, allow for the necessary customizations to achieve compliance.
- Use Explicit Labels: Every form field must have a corresponding
<label>tag that is programmatically linked to its input. Avoid relying solely on placeholder text, as it disappears on input and is often ignored by assistive technologies. - Group Related Fields: Use
<fieldset>and<legend>elements to group related controls, such as a set of radio buttons or the different parts of a shipping address. This provides context for screen reader users. The Exclusive Addons Contact Form 7 styler lets you customize these elements to fit your design. - Provide Clear Instructions and Error Messages: Place instructions before the fields they relate to. When a user makes an error, the message should be specific, easy to understand, and programmatically associated with the problematic field. Using ARIA live regions can announce dynamic error messages to screen reader users without requiring a page refresh.
- Test with Keyboard-Only Navigation: Ensure you can navigate to, fill out, and submit the entire form using only the Tab and Enter keys. The experience should be logical and free of "keyboard traps."
6. Screen Reader and Assistive Technology Support
A vital component of any thorough website accessibility checklist is ensuring full compatibility with screen readers and other assistive technologies. This means structuring your content so that it can be accurately interpreted and vocalized by software like JAWS, NVDA, and VoiceOver. Users with visual impairments, cognitive disabilities, or learning differences depend on these tools to consume digital information.
Proper support goes beyond just having readable text. It involves using semantic HTML, providing context through ARIA (Accessible Rich Internet Applications) attributes, and ensuring that interactive elements are clearly announced. Without this, the user experience can become a confusing jumble of unannounced actions and unstructured content, effectively blocking users from navigating or understanding your site.
Why It's Essential
Screen readers are the primary way individuals with significant visual impairments access the web. They convert on-screen text and coded information into synthesized speech or braille output. Understanding the core principles of Text-to-Speech (TTS) technology is essential, as it forms the backbone of these screen readers and reading aids for diverse users. Neglecting this support alienates a large and loyal user base and fails to meet fundamental accessibility standards.
How to Implement and Test
Achieving robust screen reader support in Elementor requires a focus on semantic structure and thoughtful use of accessibility features.
- Use ARIA Sparingly and Correctly: ARIA attributes should be used to supplement, not replace, native HTML semantics. For example, add
aria-labelto a button that only has an icon to provide a text description. The Exclusive Addons widgets are built with accessibility in mind, often including these attributes where necessary. - Announce Dynamic Content: When content on a page changes without a full reload, such as in a filtered product gallery or a live chat window, you must inform screen reader users. Use ARIA live regions (
aria-live="polite") to ensure these updates are announced automatically. - Provide Skip Navigation Links: Implement a "Skip to Main Content" link at the very top of your page. This allows screen reader users to bypass repetitive navigation menus and jump directly to the primary content, saving them significant time and effort.
- Test with Real Tools: The only way to be sure your site works is to test it. Download a free screen reader like NVDA (for Windows) or use the built-in VoiceOver (on macOS and iOS) to navigate your site. This will quickly reveal areas where information is unclear, unannounced, or inaccessible.
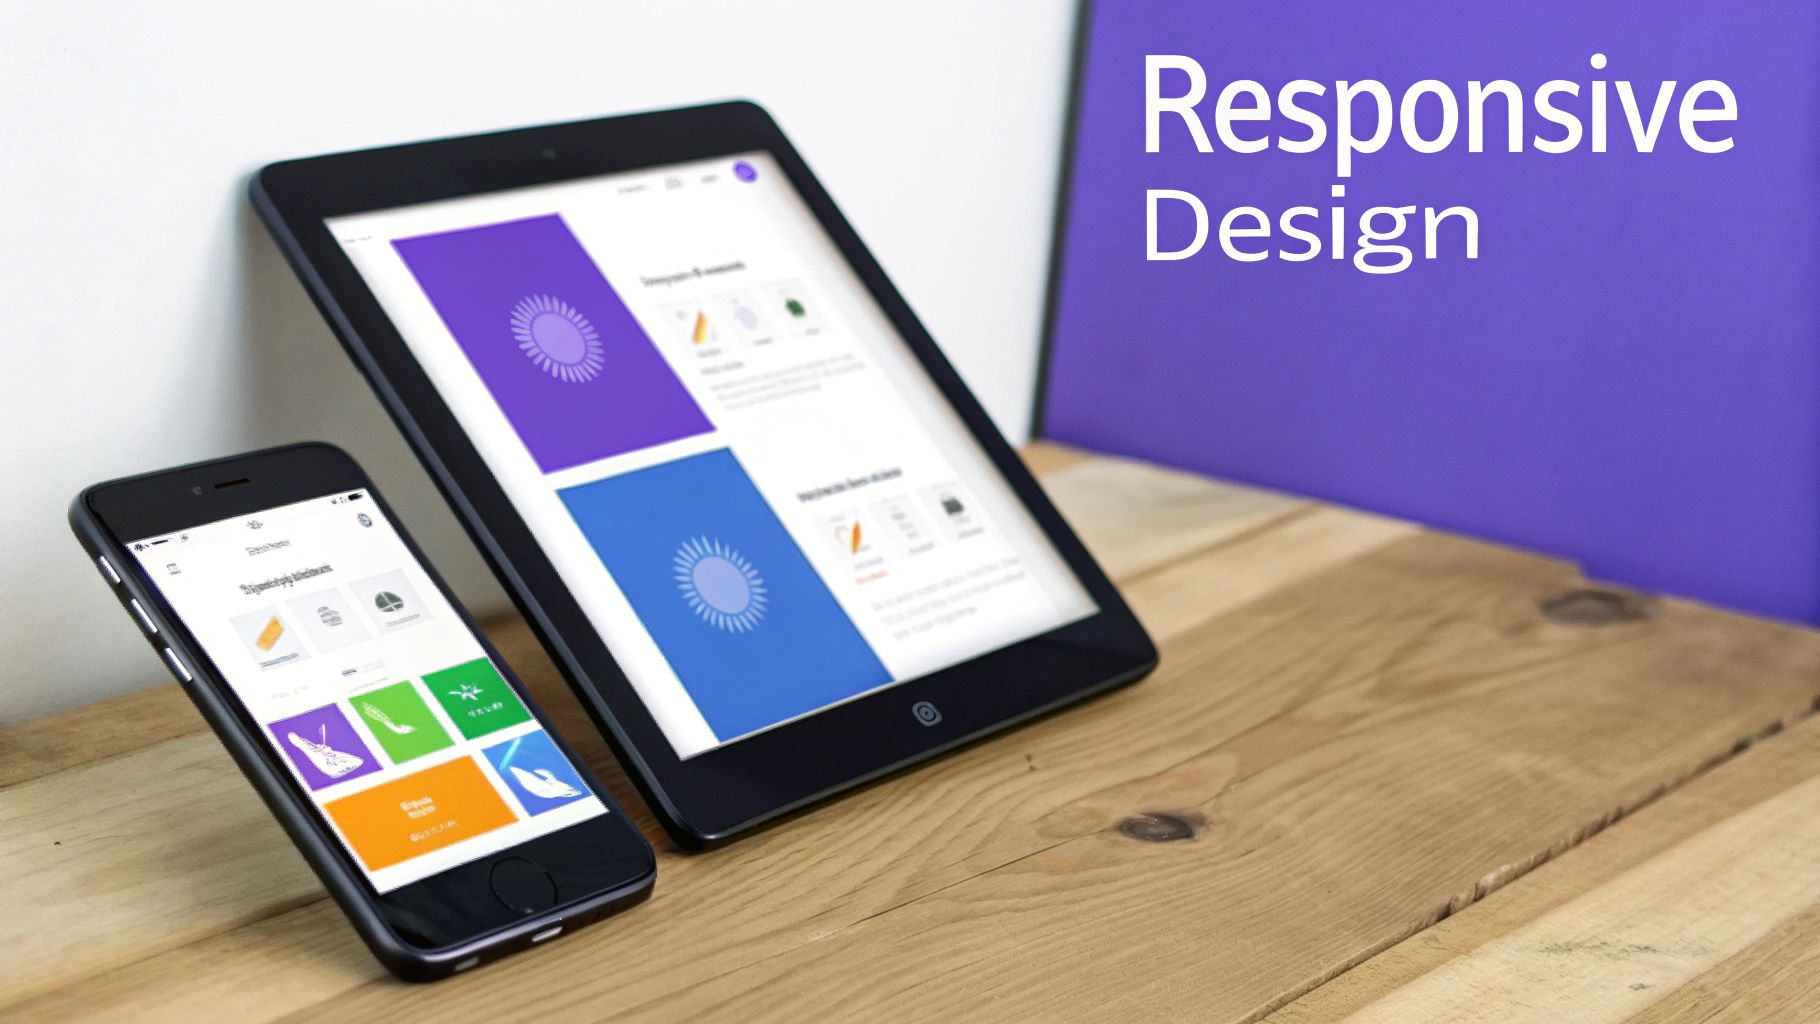
7. Responsive Design and Mobile Accessibility
An integral part of any modern website accessibility checklist is a commitment to responsive design and mobile accessibility. This ensures your website provides an optimal experience across a vast range of devices, from desktops to tablets and smartphones. It’s about more than just making content fit on a smaller screen; it involves adapting layouts, navigation, and interactive elements to be fully usable in different contexts, particularly for touch-based interaction.
With mobile traffic consistently dominating web usage, a non-responsive site is not only a usability failure but also an accessibility barrier. Users with low vision who rely on zoom, or those with motor impairments who need larger touch targets, are immediately excluded if a site is not built with a mobile-first, accessible mindset. Ensuring your Elementor site is fluid and adaptable is non-negotiable for reaching the widest possible audience.
Why It's Essential
Mobile accessibility directly impacts a huge user base. Many individuals, especially those with certain disabilities, may use a mobile device as their primary or only means of accessing the internet. A responsive design supports assistive technologies, accommodates different viewing needs like screen orientation changes, and ensures that interactions are straightforward for everyone, regardless of the device they use.
How to Implement and Test
Elementor's built-in responsive editing modes are powerful tools for this, and Exclusive Addons widgets are designed to be fully responsive out of the box.
- Use Relative Units: Build layouts using relative units like percentages (%), viewport width (vw), and viewport height (vh) instead of fixed pixels (px). This allows your design elements, containers, and fonts to scale fluidly with the screen size, preventing content from breaking or becoming unreadable.
- Sufficient Touch Target Size: Ensure all interactive elements like buttons, links, and form inputs have a minimum touch target size of 44×44 CSS pixels, as recommended by WCAG. Use Elementor's padding controls within the mobile view to increase the clickable area without altering the visual design drastically.
- Test Zoom Functionality: Users with low vision must be able to zoom into the content up to 200% without loss of content or functionality. Regularly test this by pinching to zoom on a real mobile device. Avoid using code that disables user scaling, as this is a major accessibility failure. For instance, when designing layouts like those used in a travel blog, it's crucial that users can zoom in on images and text. You can learn more about creating responsive layouts for specific site types on exclusiveaddons.com.
- Test on Real Devices: While Elementor's responsive mode is excellent for initial design, nothing beats testing on actual smartphones and tablets. This helps you identify real-world usability issues with touch interactions, layout shifts, and performance that emulators might miss.
8. Video and Audio Content Accessibility
An essential component of any modern website accessibility checklist is addressing multimedia. As video and audio become more prevalent online, ensuring they are accessible to all users, including those with hearing or visual impairments, is no longer optional. This involves providing alternatives like captions, transcripts, and audio descriptions to convey information that would otherwise be missed.
Making multimedia accessible means everyone can engage with your content, regardless of their abilities or situational limitations, like watching a video in a noisy environment. Platforms like YouTube and Netflix have set a high standard for this, demonstrating that accessibility features enhance the experience for all users, not just those with disabilities.
Why It's Essential
Video and audio content without accessible alternatives completely excludes users with certain disabilities. People who are deaf or hard of hearing cannot access audio information without captions or a transcript. Similarly, users who are blind or have low vision miss crucial visual context in videos unless an audio description is provided. By implementing these features, you ensure your message reaches its entire intended audience and comply with accessibility standards.
How to Implement and Test
Making your multimedia content accessible in Elementor is straightforward, especially when using modern video hosting platforms and widgets.
- Provide Captions and Transcripts: For all video content, include synchronized captions. While auto-generated captions (like YouTube's) are a good start, they often contain errors. Always review and edit them for accuracy, or use a professional service like Rev.com. For audio-only content like podcasts, provide a full transcript on the page.
- Include Audio Descriptions: For videos where important visual information is not conveyed through the main audio track, provide an audio description. This is a separate narration track that describes key visual elements, such as actions, characters, and on-screen text.
- Ensure Accessible Media Players: The media player itself must be fully operable with a keyboard. Users should be able to play, pause, mute, adjust volume, and access captions using only keyboard commands. The Exclusive Addons Video Popup widget, for instance, embeds players like YouTube's, which have robust, built-in accessibility controls. Always test that these controls are reachable and functional via the Tab key.
8-Point Website Accessibility Checklist Comparison
| Accessibility Feature | Implementation Complexity 🔄 | Resource Requirements ⚡ | Expected Outcomes 📊 | Ideal Use Cases 💡 | Key Advantages ⭐ |
|---|---|---|---|---|---|
| Keyboard Navigation and Focus Management | Medium to High – complex in dynamic UIs | Moderate – requires development time | Improved usability and accessibility for motor impaired users and power users | Interactive websites with complex UI elements | Essential for keyboard-only users; boosts productivity |
| Alternative Text for Images | Low to Medium – requires content understanding | Low – mainly content creation efforts | Enhanced accessibility for blind users, better SEO, fault tolerance in low bandwidth | Any site with informative images | Critical for blind users; improves SEO and context awareness |
| Color Contrast and Visual Design | Medium – requires design adjustments | Low to Medium – design tools needed | Better readability, supports color blindness, creates professional look | Text-heavy and brand-sensitive websites | Improves readability for all; supports visual impairments |
| Semantic HTML and Proper Structure | Medium – requires knowledge and discipline | Low – mostly developer education and validation | Improved screen reader compatibility, SEO benefits, easier maintenance | All websites, especially content-rich | Enhances navigation; future-proofs content structure |
| Form Accessibility and Usability | Medium to High – complex error handling | Moderate – focus on form design and testing | Reduced form abandonment, better mobile and screen reader experience | Forms-heavy sites (e.g., ecommerce, services) | Increases user satisfaction and completion rates |
| Screen Reader and Assistive Tech Support | High – needs extensive ARIA and testing | Moderate to High – requires testing across tools | Broad accessibility for blind and cognitive disabilities | Sites targeting diverse assistive tool users | Ensures compatibility with major assistive technologies |
| Responsive Design and Mobile Accessibility | Medium to High – device and screen variety | Moderate – device testing and flexible design | Better mobile experience, support for motor and vision impaired users | Mobile-first and multi-device sites | Future-proof design; supports diverse devices |
| Video and Audio Content Accessibility | Medium to High – captioning and description | High – requires media experts or tools | Access for deaf and hard-of-hearing users; legal compliance | Multimedia-heavy websites | Essential for deaf users; improves searchability and learning |
From Checklist to Commitment: Making Accessibility Your Standard Practice
Navigating through this extensive website accessibility checklist is a crucial and commendable step toward building a more inclusive digital presence. You've moved beyond abstract concepts and delved into the practical mechanics of creating accessible experiences, from ensuring robust keyboard navigation and managing focus states to providing meaningful alternative text for all your non-decorative images. Each item on this list represents a vital bridge connecting your content to a wider, more diverse audience.
We've explored the foundational importance of semantic HTML for providing structure that assistive technologies can interpret, the critical role of sufficient color contrast in visual design, and the necessity of creating accessible, user-friendly forms. By addressing these core areas, you're not just ticking boxes; you're fundamentally improving the usability and clarity of your website for every single visitor. The principles that make a site accessible to a screen reader user also make it more logical and easier to navigate for a power user or someone multitasking on their phone.
Beyond the One-Time Audit
The true value of this checklist emerges when you transition from a one-time audit to a continuous, integrated practice. Think of accessibility not as a final hurdle to clear before launch, but as a foundational pillar of your entire workflow. This shift in mindset is where lasting impact is made.
- For Designers: Begin every project with an accessible color palette. Design interactive elements with clear focus states from the very first mockup.
- For Developers: Make semantic HTML your default. Regularly test your work using only a keyboard to navigate.
- For Content Creators: Make writing descriptive alt text and clear link text a standard part of your publishing process. Add captions and transcripts to all video and audio content without exception.
Adopting this proactive stance means you stop retrofitting for compliance and start designing for inclusion from the ground up. This approach is more efficient, more effective, and ultimately leads to a superior product. It transforms accessibility from a technical requirement into a competitive advantage, fostering brand loyalty and expanding your market reach.
The Lasting Impact of Inclusive Design
Mastering these concepts goes far beyond avoiding legal risks or meeting WCAG standards. It is about human-centered design. When you commit to the principles outlined in this website accessibility checklist, you are making a clear statement: everyone is welcome here. You are actively dismantling digital barriers and creating an environment where information, services, and community are open to all, regardless of ability. This commitment builds trust, enhances your brand’s reputation, and results in digital experiences that are not just compliant, but genuinely more enjoyable and effective for every user who lands on your site.
Ready to put these principles into practice with tools designed for efficiency and power? Elevate your Elementor workflow with Exclusive Addons. Many of our widgets and templates are built with accessibility in mind, helping you implement crucial features from this checklist faster and more effectively. Discover how Exclusive Addons can help you build beautiful, functional, and more inclusive websites today.