Putting all your business locations on a single map isn't just a neat feature—it's a smart, strategic move that can seriously boost your user experience and how you show up in local searches. If you're running a brand with multiple spots, a consolidated map is one of the best tools you can have to turn online browsers into in-store customers.
Why You Should Absolutely Display All Your Locations on One Map
In a world where everyone's first move is to search online, plotting all your business addresses on one interactive map does a few critical things. It instantly shows customers your service area, builds up your brand's authority, and makes the entire customer journey smoother by cutting out unnecessary steps.
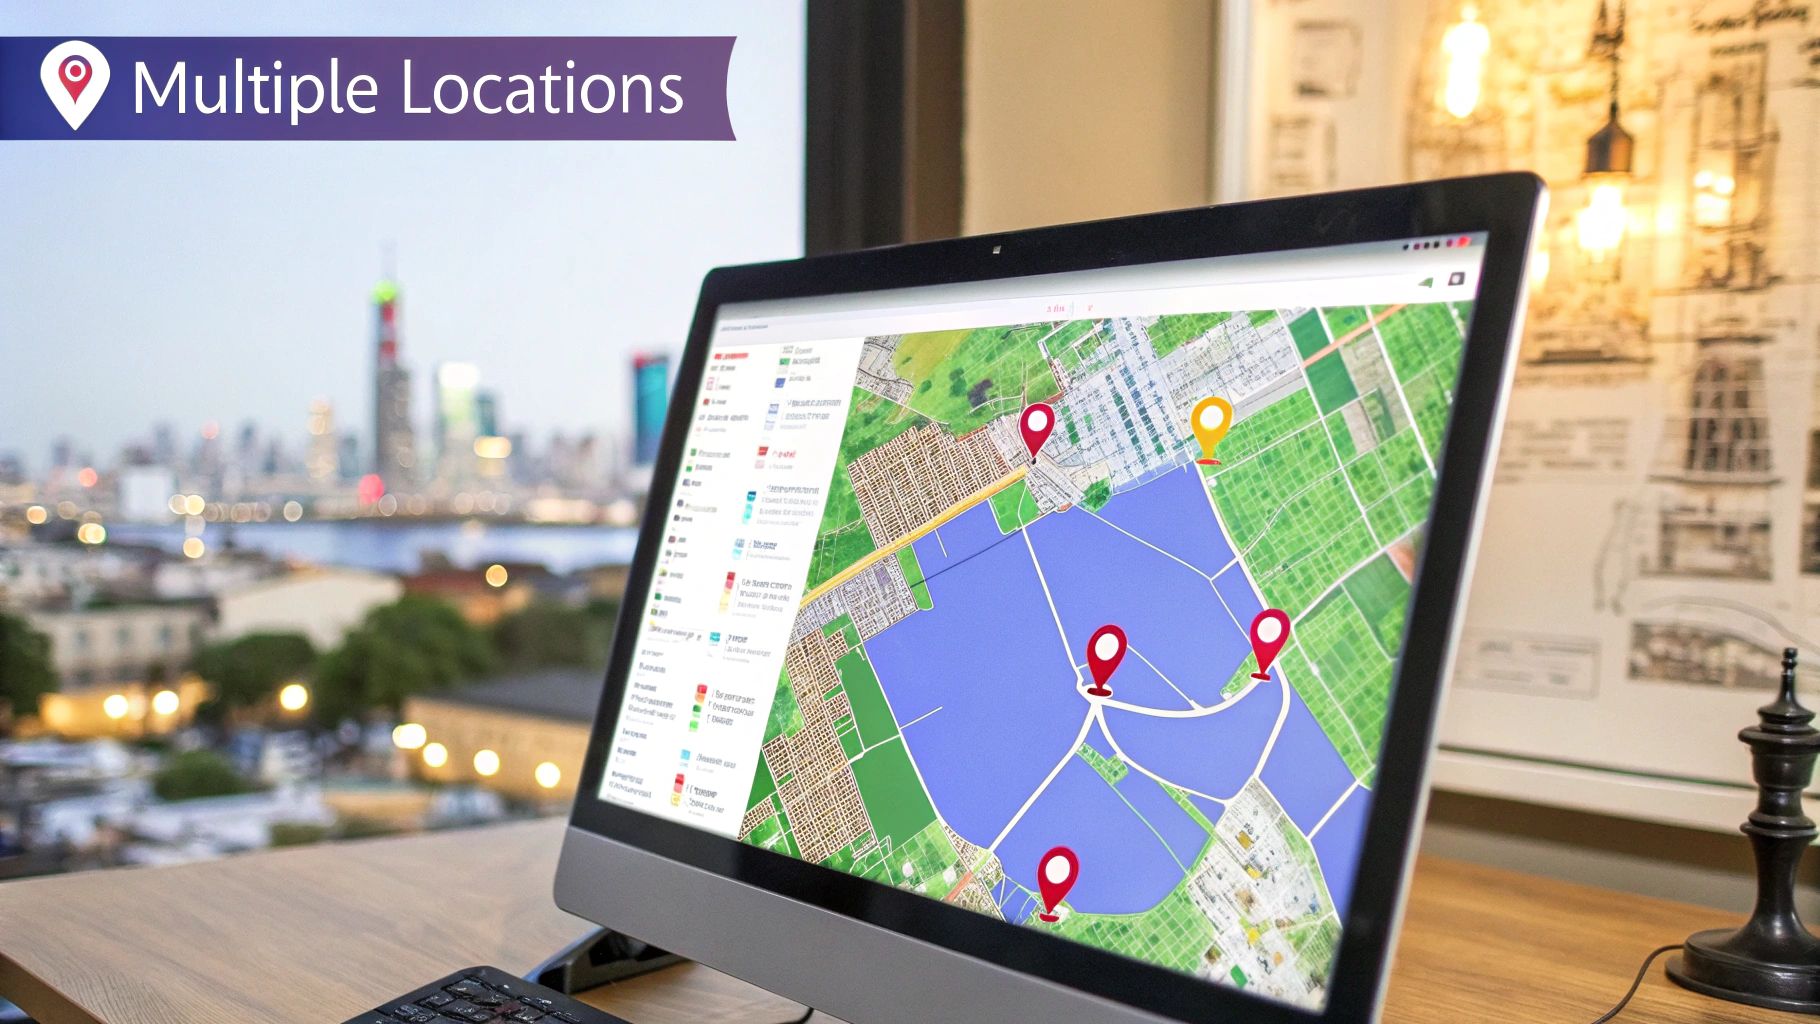
Think about a local coffee shop chain. When someone lands on their website, they can immediately see every nearby café, check the hours, and get directions—all without ever leaving the page. That seamless experience is gold, especially when you consider that a whopping 46% of all Google searches are for local information.
Boosting Your Local SEO and Building Trust
Beyond just showing people where you are, a map with multiple locations gives your local search visibility a significant shot in the arm. For example, understanding the right local SEO strategies for rental properties can make a huge difference for businesses with various physical locations, helping them dominate their local market. Every pin on your map acts as a powerful signal to search engines, telling them you're an established, relevant player in multiple neighborhoods.
This visual proof of your physical presence builds instant credibility. It sends a clear message to customers: "We're a legitimate, accessible brand you can trust and easily visit."
The Clear Advantages of a Multi-Location Map
Having a unified map on your site brings some very real benefits that help both your online performance and your offline sales.
- A Better User Experience: Customers don't have to guess or get frustrated. They can effortlessly find the most convenient location, which means they're less likely to give up and go elsewhere.
- More Foot Traffic: By making it dead simple for people to find you, you're directly encouraging more visits to all of your branches, not just one.
- A Stronger Brand Image: It instantly makes your business look bigger and more established. This enhances how people perceive your brand and solidifies your authority in the market.
At the end of the day, learning how to add multiple locations to a Google Map on your website is a fundamental step for any business serious about winning in its local markets.
Alright, before we get to the fun part of dropping pins all over your map, we need to do a little prep work. Think of this as laying the groundwork. Getting these basics sorted out first ensures the whole process is smooth and you don't run into any technical headaches later on.
The absolute must-haves are a stable WordPress installation and a theme that plays nicely with Elementor. These are non-negotiable.

The star of this show is the Exclusive Addons for Elementor plugin. This isn't just any old plugin; it’s a powerhouse suite of widgets, including the exact one we need to beautifully display multiple locations on a single map.
Getting Exclusive Addons Installed and Activated
Thankfully, getting this plugin up and running is a piece of cake.
Just head over to your WordPress dashboard and navigate to Plugins > Add New. In the search bar, type in "Exclusive Addons for Elementor." When you spot it in the results, hit Install Now, and then Activate. Just like that, you’ve unlocked a whole new set of tools inside your Elementor editor.
If you're curious about all the cool things it can do, you can check out the details on their free Google Map widget page. It's surprisingly powerful for a free tool.
It's interesting to note how this mirrors what you could do natively within Google Maps. Google lets you create 'lists' in your personal account, adding places one by one, which then appear as markers. What our plugin method does is take that core idea and bring it directly into the WordPress and Elementor workflow, saving you a ton of hassle.
With the plugin active, your site is now fully prepped and ready for the next steps. This simple setup is all it takes to start adding multiple locations to a Google Map without touching a single line of code. Your digital canvas is prepared—now let's start painting it with your location pins.
Alright, let's get those locations plotted on your map. You've got WordPress ready and the Exclusive Addons plugin fired up, so now for the fun part: making your map genuinely useful by adding all your business locations. This is how you'll make it incredibly easy for customers to find you, no matter which branch is closest to them.
Fire up the Elementor editor for the page where you want the map. In the widget panel, find the Google Maps widget from Exclusive Addons and just drag it over to your page. You'll see a default map pop up instantly. Now, look to the settings panel on the left and find the Map Pins section. Click to expand it.
Adding Your First Location
This is where you'll start dropping your pins. You'll see the fields for your very first location, all ready to go. It's pretty self-explanatory, but let's walk through it:
- Address: Pop in the full street address for your first spot. The widget is smart enough to find it and drop the pin automatically.
- Title: This is the first thing people see when they click the pin. Keep it short and sweet, like "Main Street Cafe" or "Downtown Office."
- Content: Here’s where you can add extra-helpful info. Think operating hours, a direct phone number, or a little note about that specific location, like "Free parking available" or "Dog-friendly patio."
If you're dealing with a whole bunch of locations, getting your data organized first is a lifesaver. It really streamlines the process once you're inside the widget.
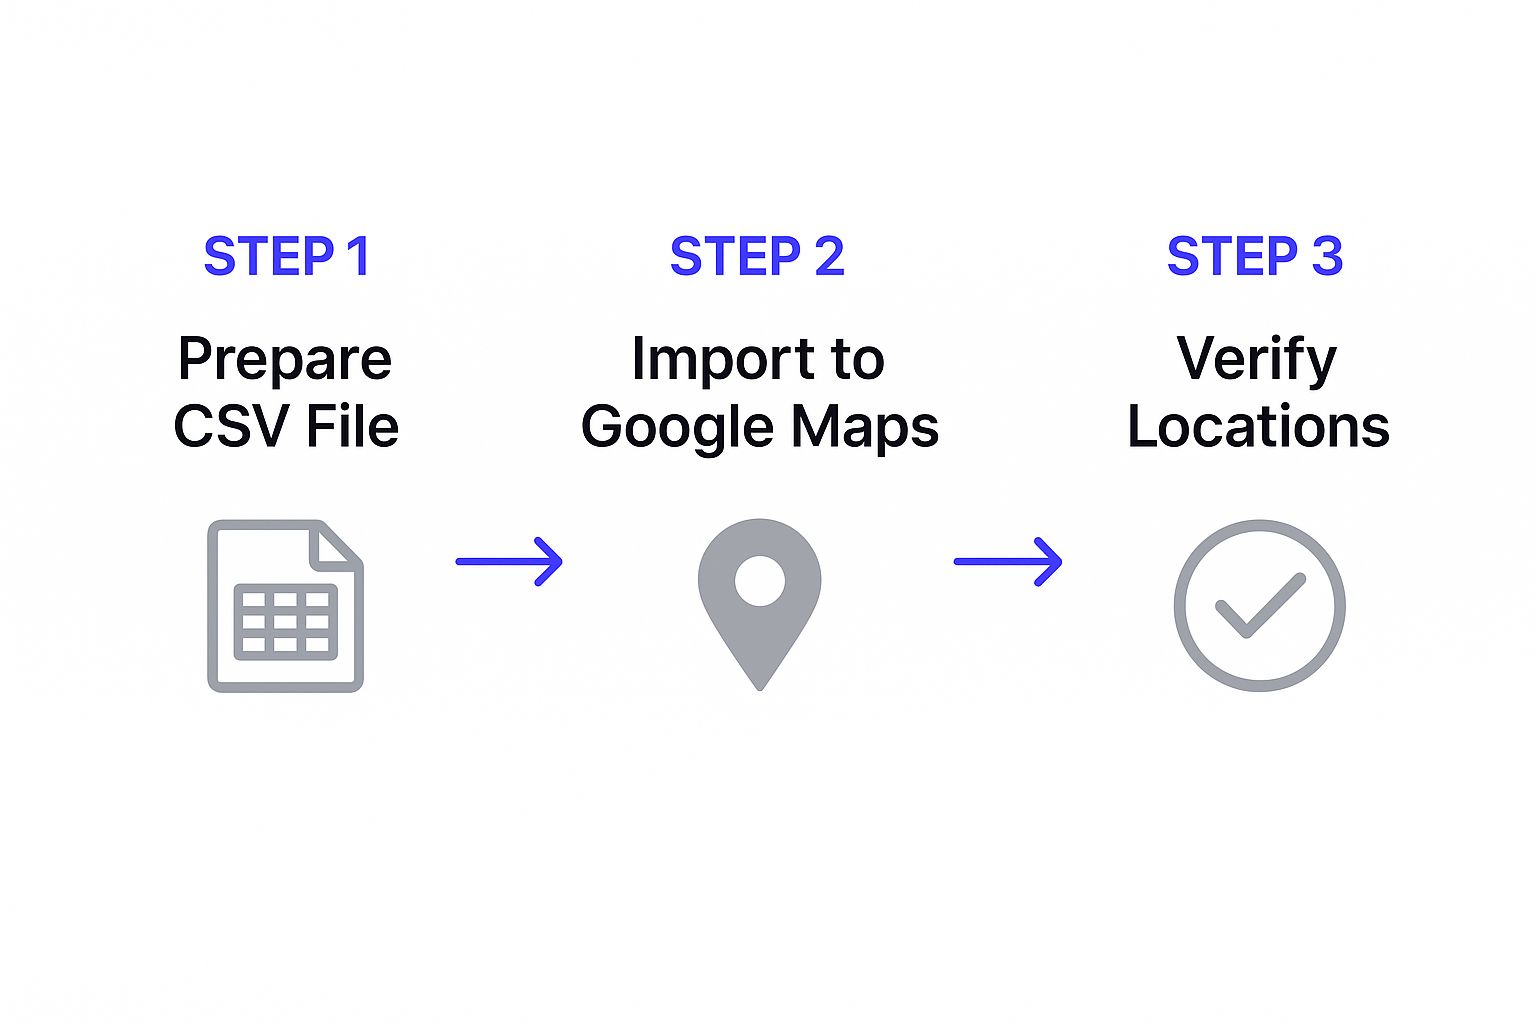
As you can see, a little prep work goes a long way. Having all your addresses, titles, and descriptions in a simple list or spreadsheet makes the copy-paste job inside Elementor a breeze.
For those of us who like to see all the options at a glance, here’s a quick rundown of the essential settings you'll be working with.
Key Widget Configuration Settings
This table is your quick reference for the most important settings within the Exclusive Addons Google Maps widget. Use it to get your map looking and functioning exactly how you want.
| Setting | What It Does | Practical Example |
|---|---|---|
| Address | Geocodes the text you enter to place a pin on the map. | 123 Main Street, Anytown, USA 12345 |
| Title | The main heading that appears in the info window when a user clicks the pin. | Corporate Headquarters |
| Content | The body text inside the info window. Perfect for extra details. | Hours: M-F, 9am-5pm. Phone: (555) 123-4567. |
| + Add Item | A button that duplicates the pin fields, allowing you to add another location to the same map. | Clicking it creates a "Pin #2" for you to add your second office address, title, and content. |
| Map Style | (Found under the Style tab) Lets you apply custom JSON styling to change the map's appearance. | Pasting in a "dark mode" JSON style to match your website's theme. |
| Zoom Level | (Found under Map Controls) Sets the default zoom level of the map when the page loads. | Setting it to 12 to show a city-wide view of all your locations, rather than a close-up of just one. |
Having these settings at your fingertips makes customization much faster, letting you focus on creating a great user experience.
Populating the Map with All Your Locations
Got your first pin looking good? Awesome. Adding the rest is just as simple.
Right below the fields for your first pin, you’ll see a big + Add Item button. Give that a click. A fresh set of fields will appear, ready for your next location.
Just repeat the process: punch in the address, title, and content for your second location. You'll see the map update in real-time, showing both pins. Keep hitting + Add Item and filling in the details for every single one of your locations. It doesn't matter if you have 2 offices or 50 retail stores; the steps are exactly the same.
Pro Tip: Consistency is key for a professional look. If you list your hours, use the same format for every pin (e.g., "Mon – Fri: 9 AM – 6 PM"). This small detail makes a big difference in how users perceive your brand as they explore the map.
This hands-on method gives you total control over every location, ensuring all your information is spot-on. Before you know it, you'll have a fully populated, interactive map that shows off the entire scope of your business.
Customizing Your Map's Look and Feel
A default map gets the job done, but let's be honest—it's a bit boring. A branded map, on the other hand, looks professional and builds trust with your visitors. Once you've figured out how to add multiple locations to a Google Map, the real fun begins: tailoring its appearance to blend right in with your website's design. This is where you go from a basic tool to a standout feature.
The Exclusive Addons widget gives you a fantastic amount of control right out of the box. You can start by tweaking the initial zoom level. Getting this just right provides a perfect bird's-eye view of all your locations at once, so visitors aren't left panning around a map that's zoomed in too far or squinting at pins that are too far apart.
Choosing a Theme and Fine-Tuning Controls
Beyond just the zoom, you can instantly change the entire vibe of the map by switching up its theme. The widget comes packed with several pre-built styles like Silver or Retro, which can dramatically alter the map’s color palette. Picking one that matches your brand's colors makes the map feel like it truly belongs on your site, not just some tacked-on feature.
You can also create a cleaner, more focused experience by toggling the map controls. For instance, you might want to switch off Street View or the Zoom Control if they aren't really necessary for what your users need to do. This simple step declutters the interface and keeps your visitors focused on what matters: finding your locations.
This level of customization is what helps you stand out. When you think about it, Google Maps serves over 2.2 billion active users and hosts 40 million business listings. Making your map visually distinct and on-brand is a real competitive advantage. You can dig into more Google Maps statistics on sqmagazine.co.uk to see just how big the platform is.
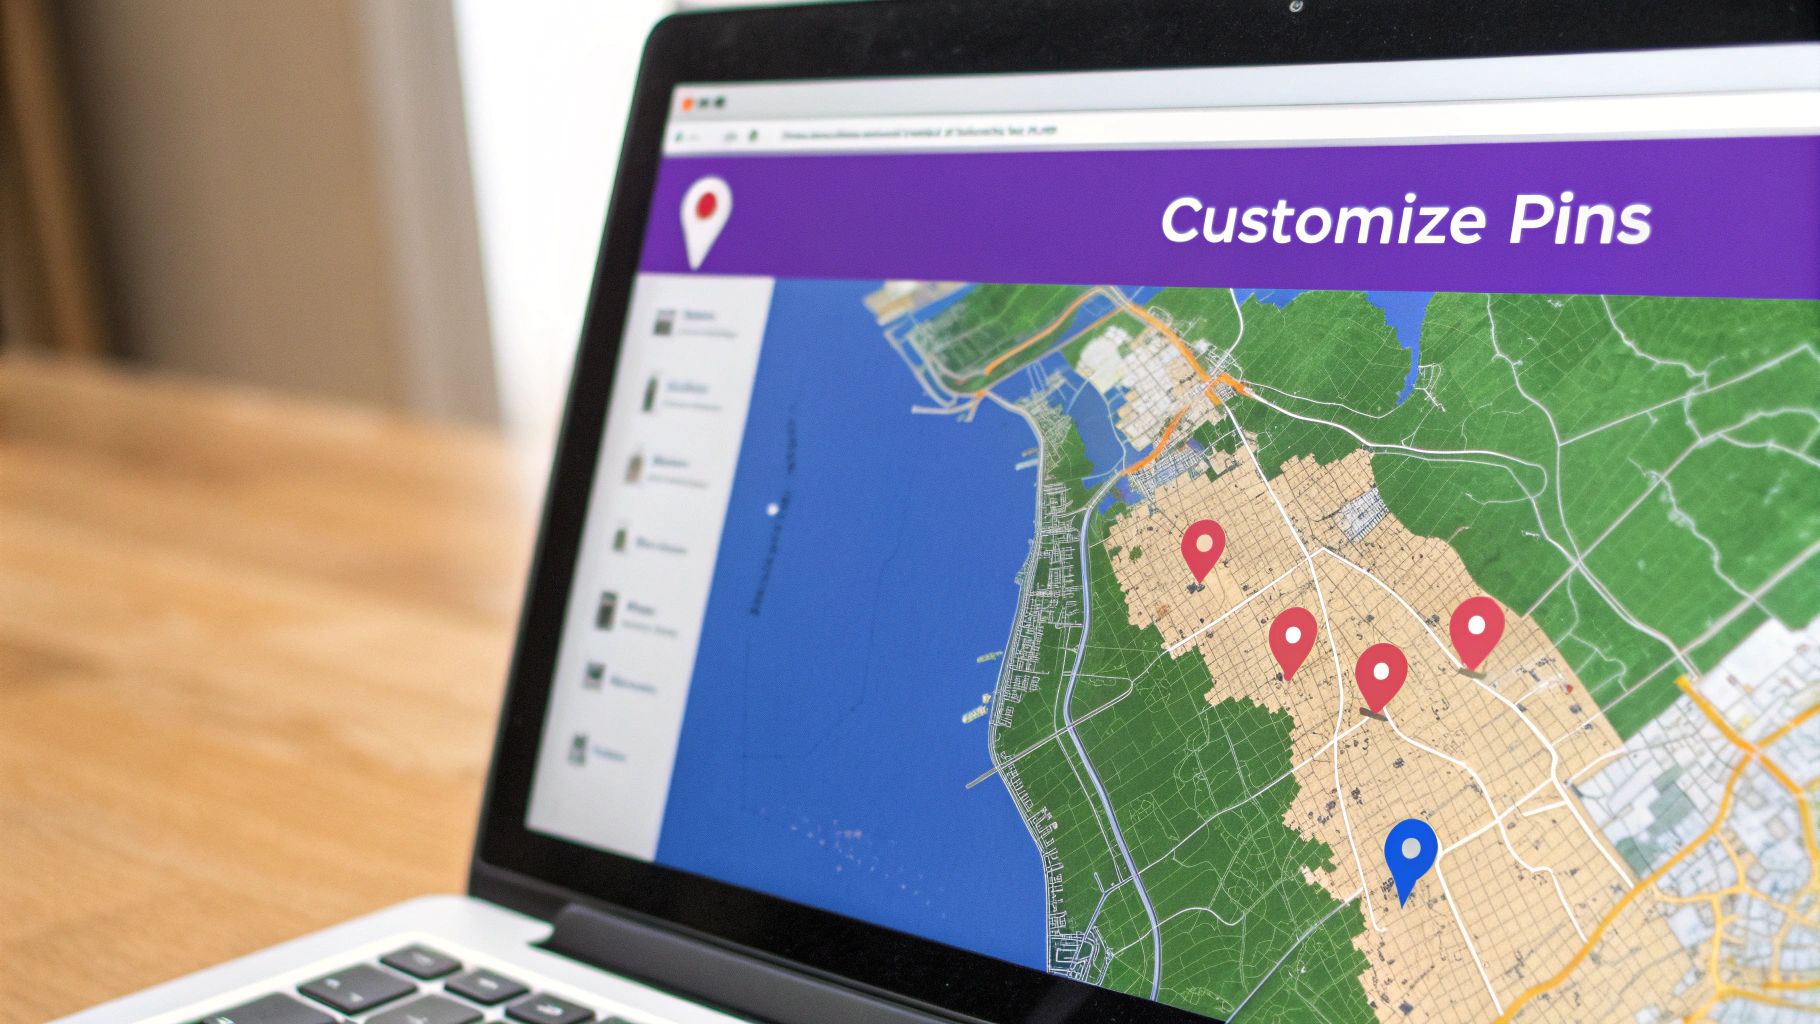
The Finishing Touch: A Custom Pin Icon
Finally, for that ultimate professional polish, you can upload a custom pin icon. Replacing that generic red marker with your own company logo is a small change that makes a huge impact. It’s a subtle but powerful way to reinforce your brand every time someone interacts with the map.
This is especially effective for businesses with different types of locations. Imagine a real estate agency using one custom icon for residential properties and a completely different one for commercial listings. This simple visual cue makes the map instantly more intuitive and genuinely helpful for anyone browsing your site.
Pro Tips for Managing a Multi-Location Map
Getting your map up and running is a great first step, but the real magic happens with ongoing management. This is what turns a simple map into a powerful, long-term asset for your business. From my experience, the key is having a simple workflow for keeping details like operating hours, phone numbers, or new locations current across all your map pins.
I recommend setting a quarterly reminder to audit all your locations. Just a quick check to ensure everything is accurate. It’s a small task that prevents big headaches down the line.
This proactive approach is crucial, especially when you see how many people rely on Google Maps daily. The global usage is staggering. For instance, as of mid-2024, Brazil alone accounted for 13.33% of traffic, with the United States close behind at 11.74%. This isn't just data; it tells us that a massive, global audience demands accurate location info. Your map needs to be reliable for them.
Think Strategically About Your Maps
Don't just stop at one map. Think bigger.
If you're a national brand, a broad overview map on your homepage showing all locations works perfectly. But what about your city-specific landing pages? For those, you should create separate, focused maps that only show locations within that specific metro area. It's a much more targeted and relevant experience for the user.
A well-maintained map does more than just help customers find you; it seriously strengthens your local SEO. Once your locations are pinned, the next step is optimizing your Google Maps presence to make sure you're showing up when and where it counts.
Finally, remember that your map is just one piece of the customer experience puzzle. After a user finds one of your locations, what's their next move? Often, they're looking for social proof like reviews. Consider integrating other trust-building elements alongside your map. You can even learn how to show Google Reviews on your WordPress site to build that confidence right on the page.
Common Questions About Multi-Location Maps
When you start digging into adding multiple map locations, a few questions always seem to pop up. I've been there myself, so let's get you some direct answers to clear things up and help you get the most out of your interactive map.
One of the first things people ask is about the Google Maps API key. While the Exclusive Addons widget can show a basic map without one, I always recommend getting it. A free API key acts like free insurance for your map's performance, ensuring stability and preventing service interruptions, especially if your site gets a lot of traffic.
Another frequent question is about limits—how many locations can you actually add? Technically, the plugin doesn't impose a hard cap, so you can keep adding pins. The real limit is user experience. A map crammed with hundreds of pins can quickly become a cluttered mess. Just make sure to set your initial zoom level wide enough to give visitors a clear overview without overwhelming them.
A key benefit of using a quality addon is that your map will be fully responsive right out of the box. It will automatically resize to function perfectly on any device, from desktops to smartphones, ensuring a seamless user experience for everyone.
For those who want to visually separate different types of locations, you can assign a unique custom icon to each pin. Imagine a travel company using one icon for partner hotels and a completely different one for its tour starting points. This kind of detail makes the map much more intuitive. You can see more great examples of this by exploring how to build an automated travel website with WordPress.
Ready to create stunning, professional multi-location maps without the headache? Exclusive Addons provides the powerful Google Maps widget and over 100 other tools to build the perfect website with Elementor. Get Exclusive Addons today!