
Elementor is one of the most popular WordPress page builders. The plugin allows you to create custom pages and posts with drag and drop. One of the things that makes Elementor so popular is the amount of flexibility it provides. You can also use Elementor to customize your existing content.
One of the features of Elementor is the ability to add buttons to your pages. You can add buttons to your pages by using the Elementor button widget. However, you may need to add two buttons side by side in your design. Those buttons allow you to add a button to your page next to each other that gives the users multiple options to choose from.
In this article, we are going to show you how to add a two-button side by side in Elementor. This can be useful for creating buttons that lead to different pages on your website, or for creating a call-to-action (CTA) bar. So let’s get started.
Why do you need a dual button?
We often use clickable buttons to make the web design more interactive. The button in web pages surely gets more clicks than a simple anchor text. Therefore adding a button always helps to get more engagements.
Now when you have multiple options to provide to your customers or website visitors, you will need a dual button. That means you have to place two buttons side by side. Those buttons next to each other can be used as alternative options or variations of your services. For example, in the login options, there has to be a login option for existing accounts and an option to create a new account. Therefore you will need to place two buttons side by side, one for “sign-in” and “sing up” options. In another case, if you have both free and premium services, you can use the dual button to add a clickable link for the services.
Overall, there will many incidents where you may need to add two buttons inline while designing your website.
How to add two buttons side by side in Elementor?
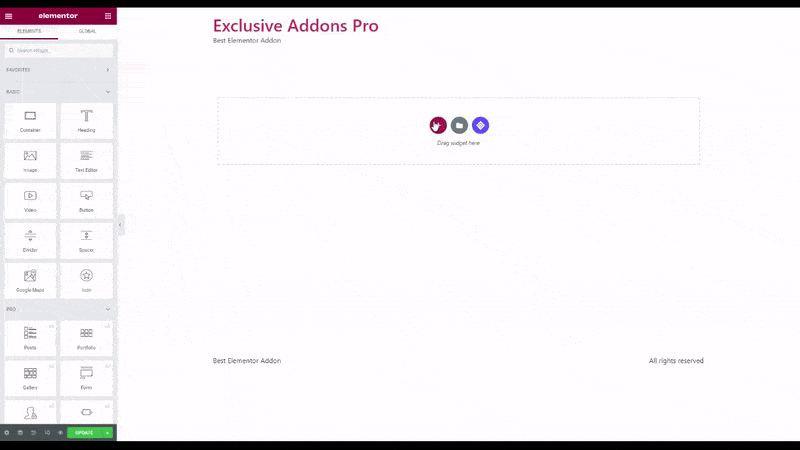
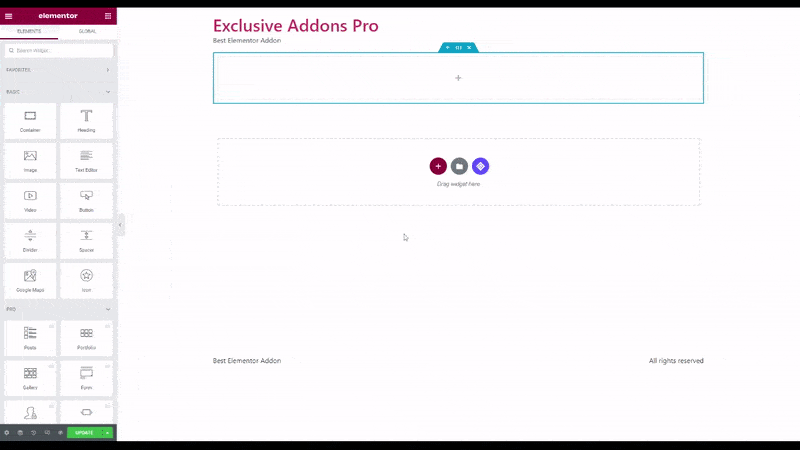
Adding a two-button side by side in Elementor is very easy. You will need to add two buttons to your page, and then configure the settings for each button. In the following steps, we will show you how to do this.
Method-1:
There are multiple ways to add two buttons in line next to each other with Elementor. The easy way is by adding two columns. In this way, you first need to add a dual-column section in the design area. Then for each column, drag and drop the Elementor Button widget individually. After that, manually adjust the column width with your mouse. With the movement of mouse, you can adjust the position of the buttons and set them simultaneously.
Method-2:
The other way is to use custom positioning. In this process, you have to select the widget and go to the Advanced tab. There in the Layout section set the Position to Absolute, then adjust the Horizontal Offset and Vertical Offset to set button position.
The other way is to use the custom positioning. In this process, you have to select the widget and go to Advanced tab. There in the Layout section, set the Postion to Absolute, then adjust the Horizontal Offset and Vertical Offset to set button position.
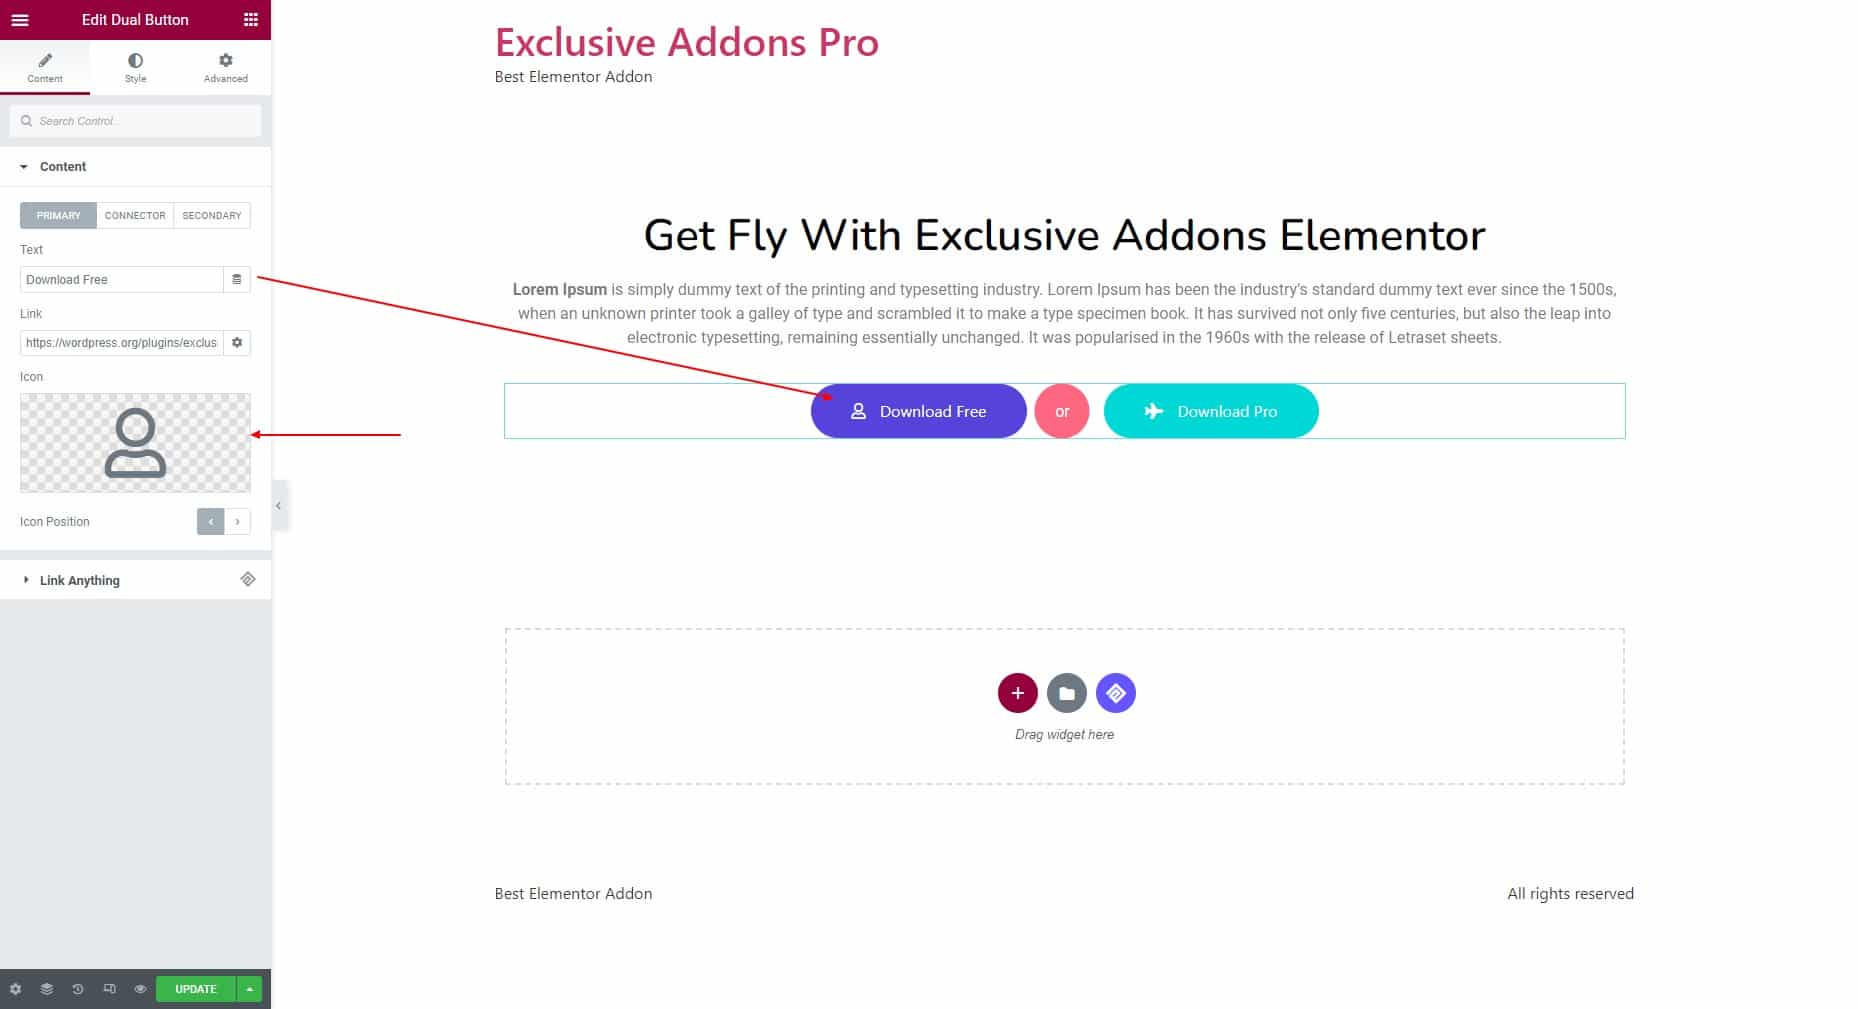
The Dual Elementor Button widget from Exclusive Addons gives an easy option
However, the easiest way comes with Exclusive Addons. The Dual Elementor Button makes adding two buttons side by side in Elementor “drag and drop” easy. Once you install Exclusive Addons you get to use the Dual Button widget.
What is Dual Button widget?
Dual button widget is a free widget from Exclusive Addons that lets you add two buttons side by side. This widget allows you to provide alternative options to the users with a couple of trendy, attractive, and creative buttons that enhance the user experience and your website’s outlook. The Dual Elementor Button widget is a responsive element, so you can use it to design flexible, responsive websites for different devices.
How to use the Dual Elementor Button widget: Step-1
To use the widget, firstly drag and drop the widget into your design section. In the content tab, you can configure the primary and secondary buttons and the connector. For the buttons, you can set the Text, Link, Icon, and Icon position individually for Primary and Secondary Buttons. For the Connector, you can decide to show or hide it, and select the type of connector.
To choose the icon for buttons, you can use the Exclusive Icon library, which comes with 3000+ well-crafted icons from popular icon packs like Feather Icon, Remix Icon, and Teeny Icons.
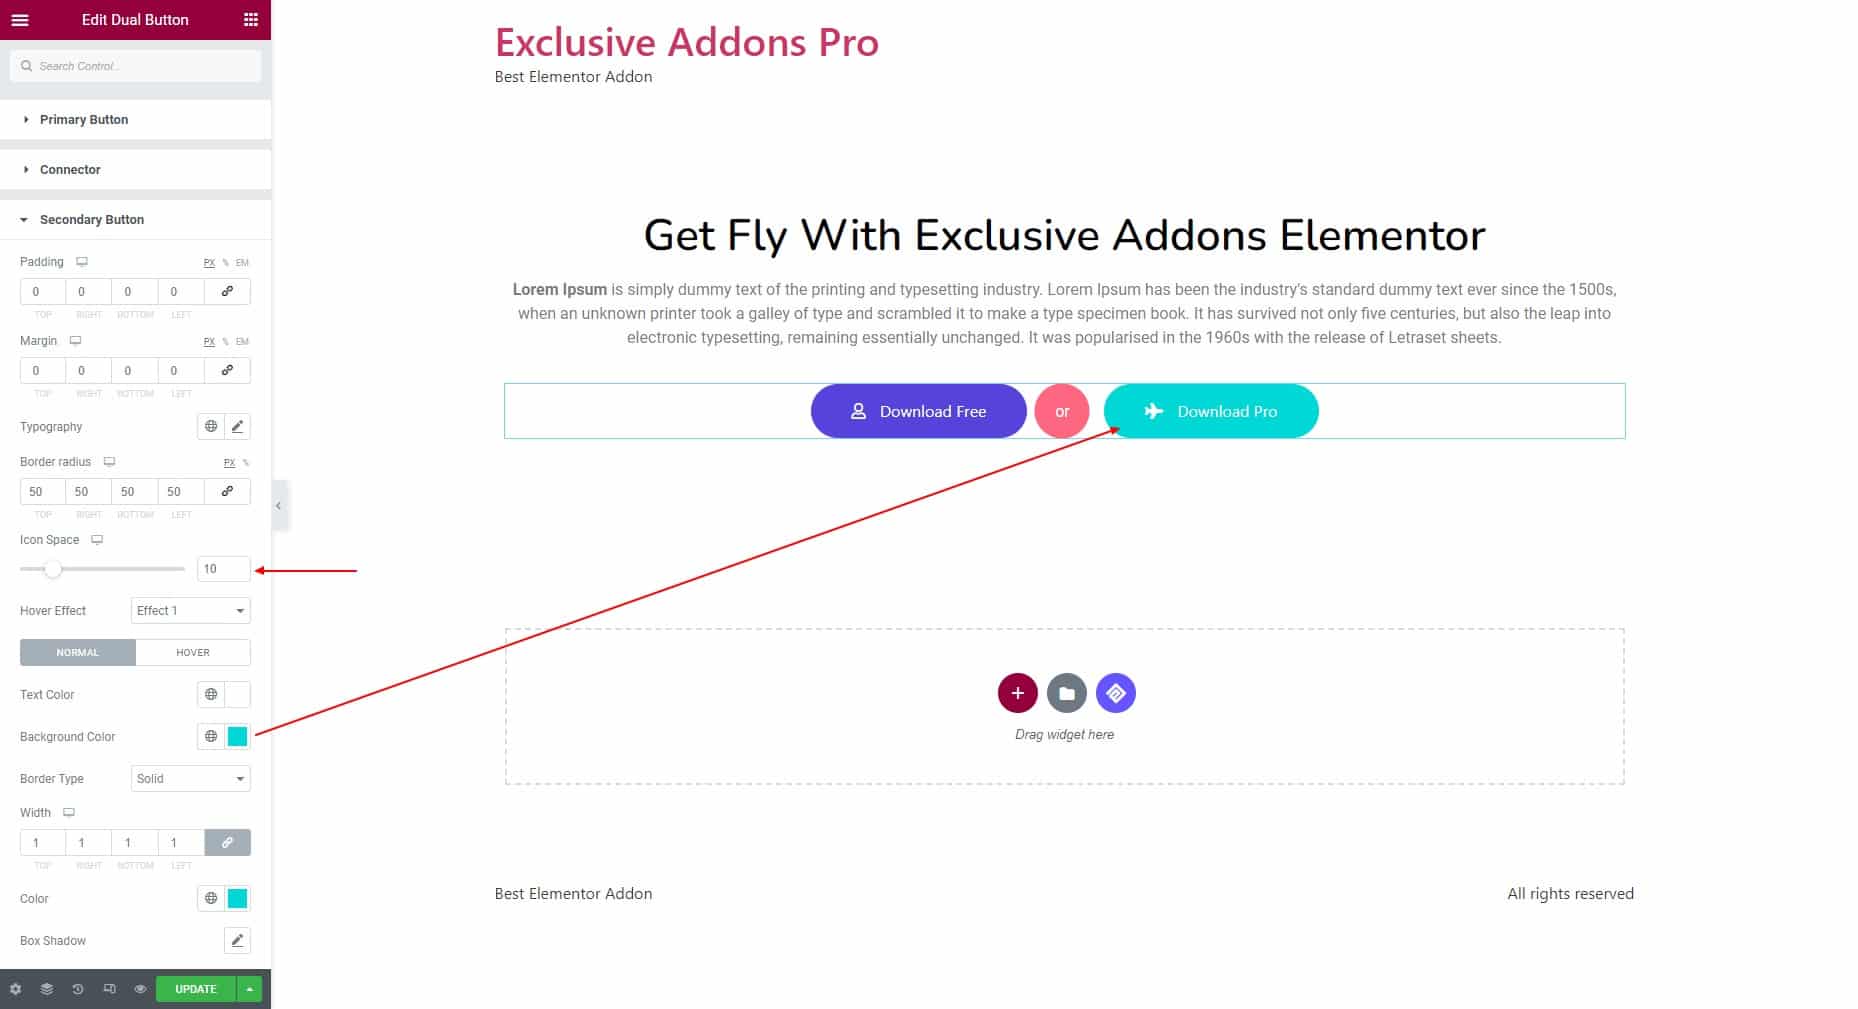
How to use the Dual Elementor Button widget: Step-2
Moving onto the Style tab, you can customize the Container design by setting alignment, padding, and space between buttons. Then you have different sections for Primary Button and Secondary Button.
For each button, set the padding, margin, typography, border-radius, and adjust icon spacing. You have the option to select the hover effect from six different effects available with the widget. After that, you can set the text color, background color, and border type individually for normal and hover states.
In terms of the connector, you can adjust its height and width. Then set attributes like typography, background color, and more.
Pros of Dual Button widget
- Give alternative options to the users with two buttons next to each other.
- The responsive widget works flawlessly with all devices.
- Add interactive hover effects and icons to the buttons individually.
- Design button styles individually with ultimate flexibility.
- Option to include a connector between two buttons and customize its style.
Final Words
In the end, if you follow one of the methods you must be able to add two buttons side by side in your web page. With the Elementor, you have to adjust the attributes to place those buttons next to each other. Meanwhile, with Exclusive Addons, you have a Dual Elementor Button widget that lets you add double buttons without any extra effort. Whichever method you use, it is easy to do at the end.