Elementor is a popular content management system for bloggers and webmasters. The page builder provides creative ways to display posts on your website. You can create posts in a diverse way to make them look appealing. But what if you want to give your viewers even more control over how they view your content? That’s where Elementor’s Post Slider widget comes in.
In today’s world of visually-rich websites and blogs, the slider is one of the most popular widget types to fill space on a page. Sliders are a great way to showcase photos, videos, or other content and let users easily navigate through them by sliding their fingers up or down.
With Exclusive Addons, you have the Elementor Post Slider widget. This easy-to-use slider lets you display posts on your website as slideshows. With Elementor, creating engaging posts has never been so easy! This article shows you how to create a post slider using Elementor.
Why do you need a Post Slider widget?
That’s a legitimate question. Why do you need a post slider in the first place? The simple answer is to create a dynamic, stylish design that gives more control to users.

A post slider is an essential element on many websites as it allows users to navigate through a series of posts in an easy and organized manner. This can be a great way to showcase your latest content and keep readers engaged. A slider makes it easy for users to find the post they are looking for, whether it is the latest post or from further back in time. Additionally, you can use the slider to highlight featured posts or promote special events.
And the Elementor Post Slider widget allows you to create a slider of your latest blog posts. The widget is easy to use, and it will enable you to add and customize the slider to match the look and feel of your website.
How to use exclusive post slider widget in Elementor?
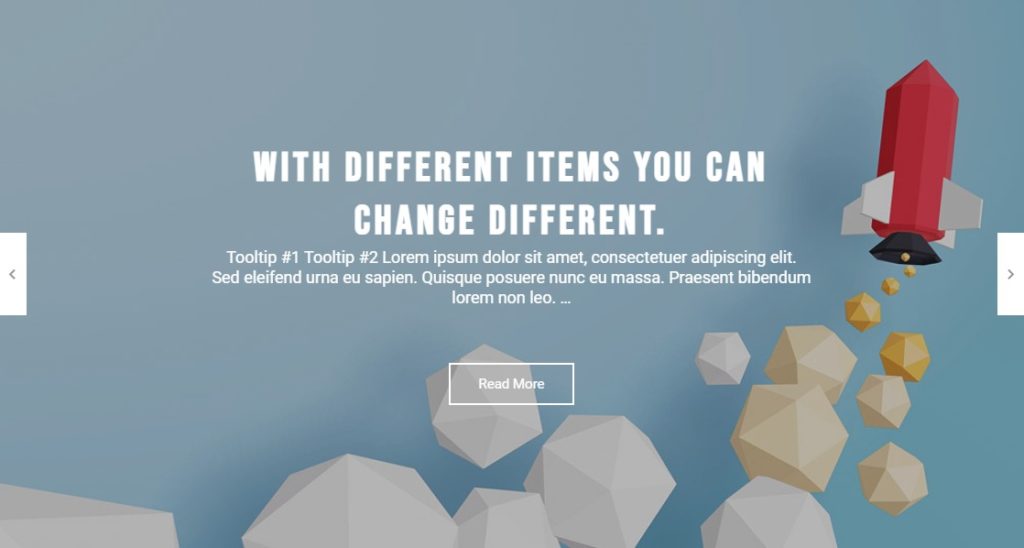
A dynamic Elementor slider allows you to show your posts in a modern way with images in the background. Exclusive Addons WordPress Post Slider Widget is a dynamic Elementor slider to show off your posts stylishly with pictures in the experience. Let’s now learn how to use the widget.
Step-1: Configure the Post Slider Widget
Firstly, drag and drop the Post Slider widget to the selected area from the Elementor editor panel. You can configure the widget settings from the Content tab. This allows configuring the Query and Settings section.
In the Query section, you can select Post Type, Image Size, Post Order, and set the Number of Sliders and Offset number. Besides, you can show posts according to Author, Category, and Tags. Also, you can include optional features like Excerpt, Title, Details Button, Ignore Sticky, and more. If enabled, you can set Button Text, Excerpt Word Length, and Title Words Length.
While in the Settings section, you can enable features like Autoplay, Pause On Hover, Infinite Loop, Slider Progress Bar, Enable Fade, and set the Transition Speed. If Autoplay is enabled, set Autoplay Speed as well. You also can choose Navigation style and select the Dots Type to Bullet or Image.
Step-2: Customize the Post Slider style
The next step is to customize the slider style. Style tab allows you to customize Container, Content Title, Content Details, Content Button, Progressbar, Arrow Controls, and Dots Bullet.
In the Container section, you can use Background Overlay, set Overlay Color, and Background Image Height to ‘Full Screen’. For custom image size, you can adjust its Custom Height & Width. Also, you can set Horizontal and Vertical Positions and Text Alignment. Also can set Container’s Padding, Border Type, Border Radius, Item Margin, and Box Shadow.
Meanwhile, the Content Title can be customized with changeable options like Color, Background Color, Typography, Padding, Margin, Border Type, and Border Radius. You also have the option to choose the Animation in and Animation out style and set Delay In, Duration In, and Duration Out time.

Set its Color, Background Color, Typography, Padding, Margin, Border Type, and Border Radius for Content Details. Also can choose Animation In and Animation Out style and set Delay In, Duration In, and Duration Out time. In terms of Content Button, you can change Padding, Margin, Typography, choose Animation In and Animation Out style and set Delay In, Duration In, and Duration Out time.
Besides, the customizable arrow controls come with options like height, width, and individual position adjustments. Basic features like customizing hover style are also available in this section. Then to tailor the Dot Button style, you can change the Margin and set Width, Height, Color, Border Type, and Border Radius individually for ‘Normal’ and ‘Active’ state.
Final Words
In conclusion, by following the steps provided in this article, you can easily create a slider post using Elementor. Adding a post slider to your website using Elementor is a great way to showcase your latest blog posts as engaging and visually appealing. It’s easy to do. And to make it even easier, we have many premade block slider templates. You can use those readymade blocks and the widget when installing Exclusive Addons Pro for Elementor. So why not give it a try today?
