
The robots.txt is basically a route guide of your website for the search engines. It has an important part to play when it comes to optimizing your website for SEO. Although a robots.txt file is not a mandatory thing, it helps a lot when your site has a robots.txt file.
Is the robots.txt file a mystery to you? Well, not any more. If you want to know what robots.txt is, how to create and optimize a robots.txt file you found the right place. In this article, we’re going to cover it all, from the definitions, to how it looks, why you need it and how to create a WordPress robots.txt file. So, let’s kick things off.
What is Robots.txt file?
Robots.txt is a simple text file that contains instructions for the Google crawler bot. It is the manuscript where you (as a website owner) tell the search engine which pages to crawl and which pages to leave out.
Now, this is the formal definition of Robots.txt. But you may ask, what is a crawler bot, and how does Google crawl a website? To answer these questions, you must understand how Google selects a page or website to rank on the search results.
There are three steps Google follows: Crawling, Indexing, and Ranking.
Initially, search engines send bots who navigate through the internet, looking for new websites, pages, and links. This process is called Crawling. After the web crawler finds your website the search engine starts the indexing process by arranging your website pages in a functional data structure.
Once your website is indexed on a search engine, it’s all about ranking the page on SERP. Depending how optimized your web page is, it will rank on search results of the search engines.
What Does Robots.txt Look Like?
You can see any website’s robot.txt file by putting /robots.txt after the domain name. The file will look like this:
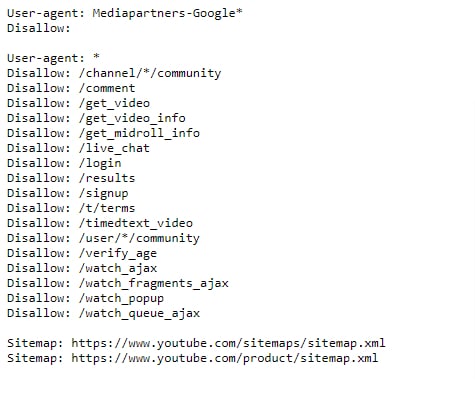
This is the robots.txt file of YouTube.
You will see certain elements like User-agent, Allow, Disallow, and Sitemap on the robots.txt file. Let’s see what they mean.
User Agent
The user-agent in a robots.txt file is where you specify which search engines to read the file. If you want specific search engines only to crawl your website, you mention their name under User-Agent. When you don’t mention any name, all search engines will read the robots.txt file.
Mostly, websites are good with all search engines to crawl. However, if you are targeting particular search engines to rank, for example, Google. So you mention Google’s user-agent ID in the robots.txt file. Here is a list of the user-agent ID of several search engines:
- Google: Googlebot
- Bing: Bingbot
- Yahoo: Slurp Bot
- Google News: Googlebot-News
- Google Images: Googlebot-Image
- Google Video: Googlebot-Video
Allow and Disallow
This is where you tell the bots which page to crawl and which page to avoid. Obviously, you don’t want every page on your website to be indexed. It will only make the process slower. Some pages on the website are for technical reasons only. Indexing them won’t do much good.
In robots.txt files, Allow and Disallow attributes indicate to the search engine which pages they can and cannot crawl. The forward slash (/) in “Allow” and “Disallow” tells the crawler bot whether to crawl the page or not.
Do You Need a Robots.txt File on Your WordPress Site?
If you don’t have a robots.txt file, then search engines will still crawl and index your website. However, you will not be able to tell search engines which pages or folders they should not crawl. This will not have much of an impact when you’re first starting a blog and do not have a lot of content. However as your website grows and you have a lot of content, then you would likely want to have better control over how your website is crawled and indexed.
Search bots have a crawl quota for each website. They crawl a certain number of pages during a crawl session. If they don’t finish crawling all pages on your site, then they will come back and resume crawling in the next session.
This can slow down your website indexing rate. You can fix this by disallowing search bots from attempting to crawl unnecessary pages like your WordPress admin pages, plugin files, and themes folder. By disabling unnecessary pages, you save your crawl quota. This helps search engines crawl even more pages on your site and index them as quickly as possible.
Another good reason to use the robots.txt file is when you want to stop search engines from indexing a post or page on your website. It is not the safest way to hide content from the general public, but it will help you prevent them from appearing in search results.
How to Create a WordPress robots.txt file
Now that you know what robots.txt file is and why you need it for your website. Let’s now move forward to creating a robots.txt file. There are different ways to create the file. We will be discussing two of the easiest ways here.
Create WordPress robots.txt file manually
Let’s look at the manual way to create robots.txt file. First you need to log in to your WordPress hosting account using an FTP client. Once logged in, you will be able to see the robots.txt file. The file will be located in your website’s root folder. To edit the file, just right click to the file and select the edit option.
However, this is for when the robots.txt file already exists. But in case the file doesn’t exist, you need to create one. To set up a robots.txt file, create a text file on your computer using a simple text editor like notepad. Then include these directives and save the file as robots.txt (name the file).
Now upload the file using your FTP client. Click to File Upload, and upload the robots.txt folder. Make sure you upload the file to the root folder of your website. Lastly, to verify if the robots.txt file has successfully been uploaded, put “/robots.txt” after your website’s url and check it.
Create robots.txt file with WordPress Plugin
Another way of creating robots.txt file is using a WordPress plugin. There are few plugins that can help you setting up the file. For example, we will be showing how to create the robots.txt file using Yoast SEO plugin.
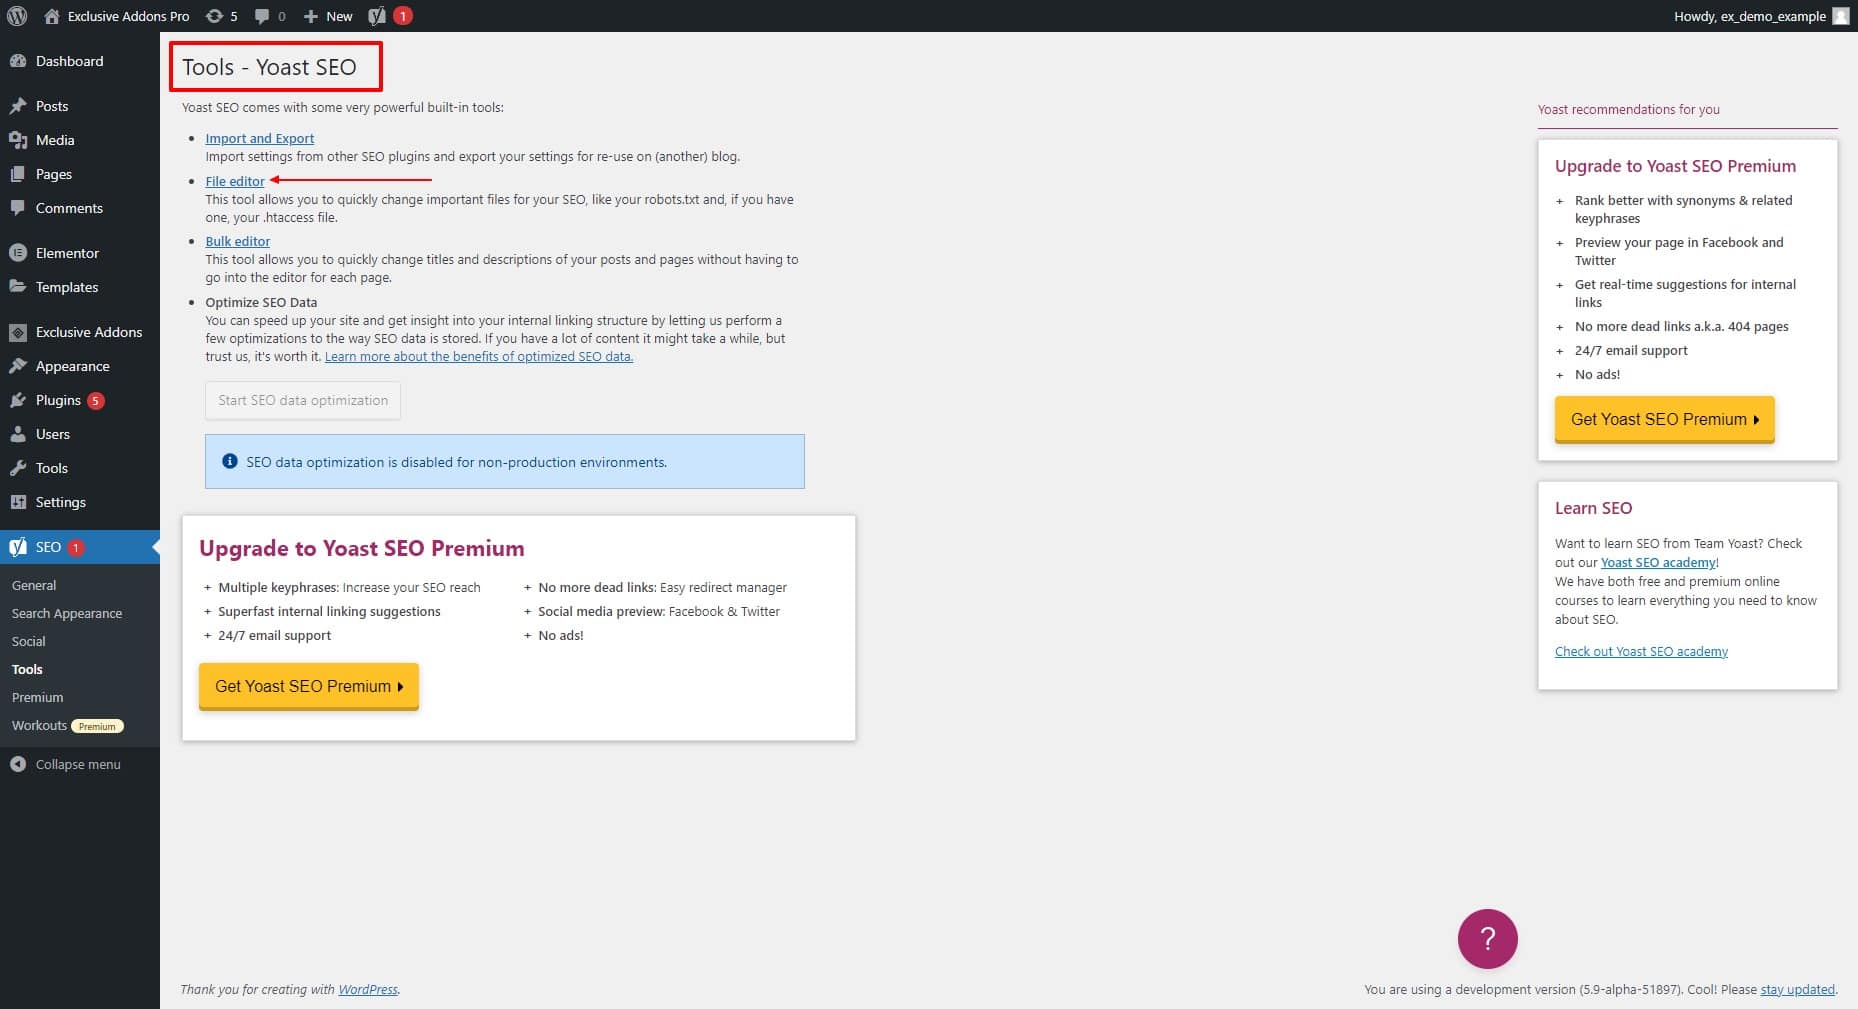
First install the Yoast SEO plugin. Then go to Yoast SEO > Tools and select File Editor.
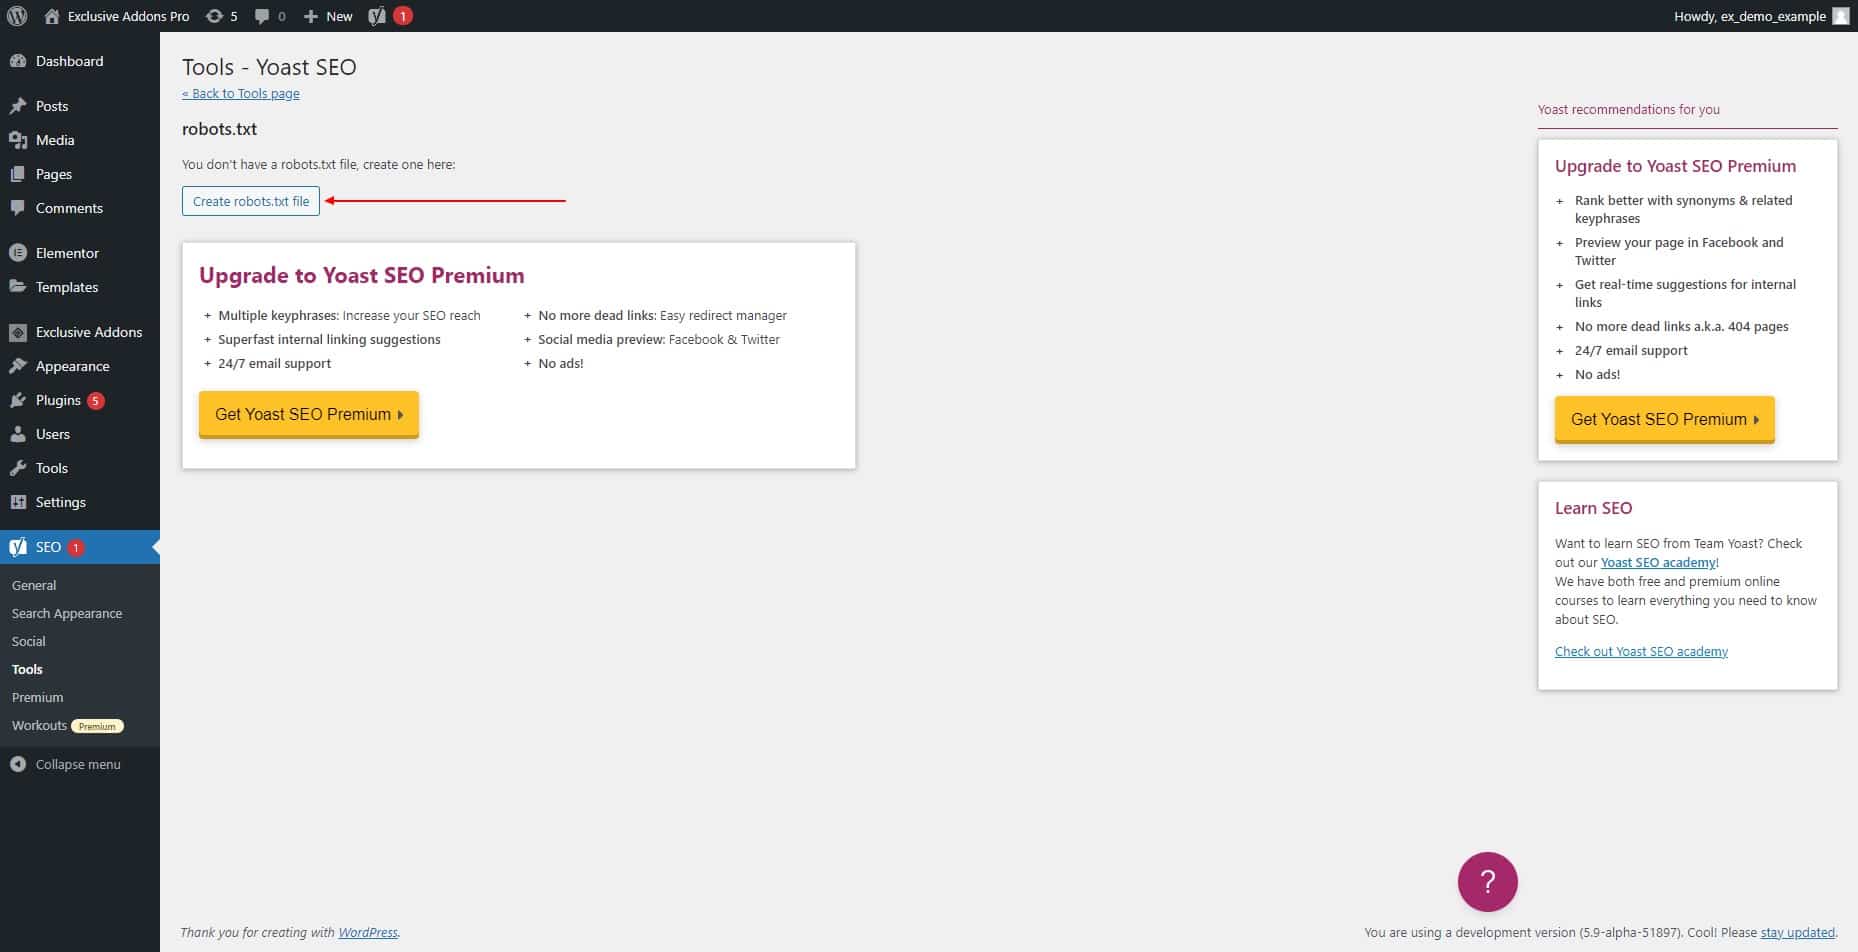
Now you will see the “Create robots.txt file” option, click on it to create the file.
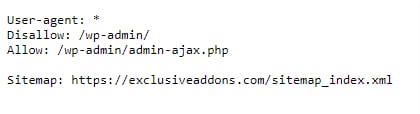
There will be few directives by default. Basic directives like User-Agent, Allow and Disallow will be generated by default. You can add more directives to the file if you want. Once finished, click to the “Save changes to robots.txt” button.
Final Thoughts
Now you know at least the basics about robots.txt file. While optimizing your website’s SEO, this simple text file plays a vital role in it. You can prevent the search engines from crawling the pages you don’t want to make public.
Hopefully this article served you well. If you liked this one, you might also like our blogs on WordPress, Elementor, and other industry related topics. Visit your blog page to know more.