
When you first get into WordPress, it can feel like you're staring at a cockpit with a million buttons. But really, editing your site boils down to just a few core methods. You can poke around in the dashboard, use the theme customizer, or grab a page builder like Elementor.
For real, intuitive control, though, nothing beats pairing Elementor with Exclusive Addons. It’s the modern way to handle things, letting you change everything from a single line of text to an entire page layout without ever having to look at a line of code.
Your Starting Point for Editing a WordPress Site
Diving into WordPress for the first time might seem intimidating, but I promise it's simpler than it looks. Your website isn't some rigid, unchangeable thing; it's more like a set of digital LEGOs. You just need to know which tools to use to move, change, and style those blocks.
In this guide, we're going to skip the old-school, often clunky, backend editors. We're jumping straight to the most effective way to build and edit today: using the Elementor page builder with the powerful Exclusive Addons plugin.
This combination completely changes the game. It turns editing from a guessing game into a live, visual process. What you see is exactly what your visitors will get.
To give you a clearer picture, let's quickly compare the main ways people have traditionally edited their WordPress sites.
Core WordPress Editing Methods at a Glance
| Editing Method | Best For | Ease of Use | Flexibility |
|---|---|---|---|
| WordPress Dashboard | Basic content updates, managing posts/pages, settings. | Easy for text, tricky for design. | Very Limited |
| Theme Customizer | Global styles like colors, fonts, and header/footer layouts. | Moderate | Varies by Theme |
| Page Builders | Complete visual control over page layouts and design. | Very Easy | High |
As you can see, for total design freedom, page builders are in a league of their own. That's why we're focusing on the Elementor and Exclusive Addons combo.
Understanding Your Editing Toolkit
Before we get our hands dirty, let's quickly go over the key players in your new workflow. This isn't about memorizing technical stuff; it's about knowing which tool to grab for which job.
- WordPress Dashboard: Think of this as your site's mission control. It's where you'll add new pages, manage blog posts, and install plugins. We won't be doing much actual design work here.
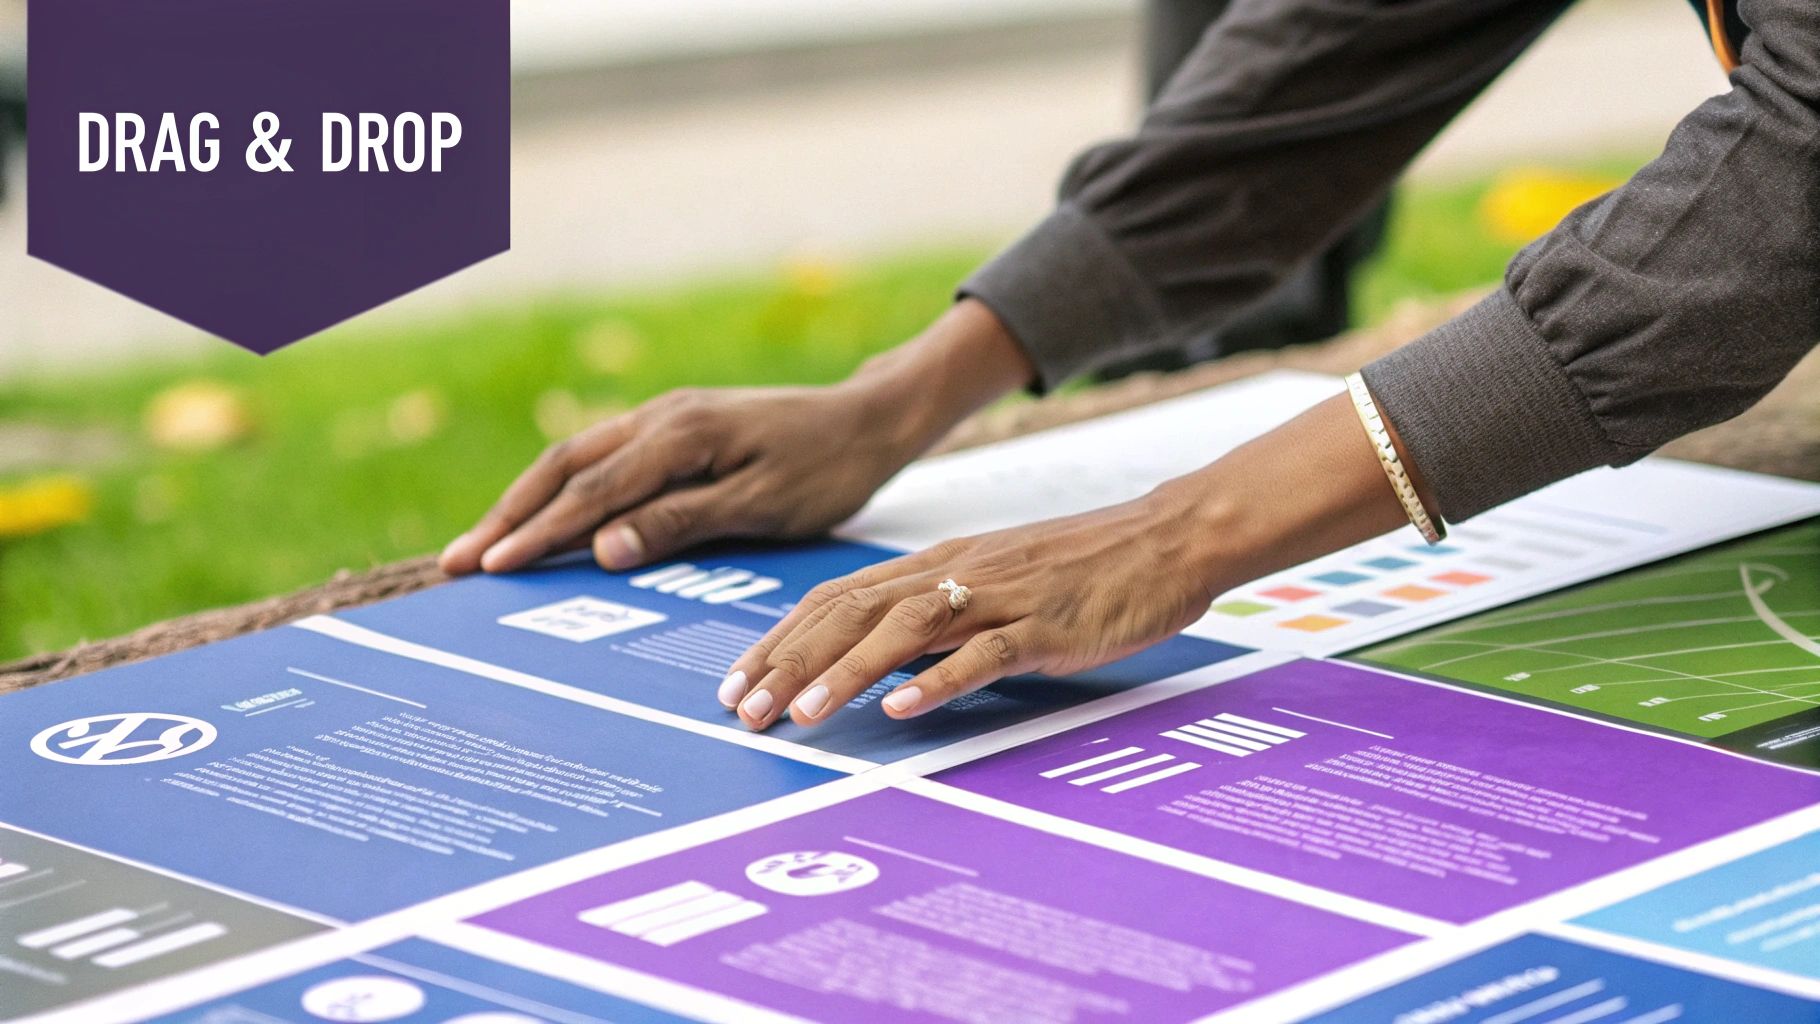
- Elementor Page Builder: This is your visual canvas. It's a plugin that completely replaces the standard WordPress editor with a slick drag-and-drop interface, letting you build and tweak your page layouts in real-time.
- Exclusive Addons for Elementor: This is the supercharger for Elementor. It adds a massive library of unique widgets and design features, giving you creative power that just isn't there by default.
This whole approach is wildly popular because it puts serious design power right into your hands. It's a huge reason why WordPress is still the king of content management systems. As of 2025, it powers over 43% of all websites on the internet, so mastering this skill set is more valuable than ever.
The goal here is to move past simply knowing how to edit a WordPress site and start thinking like a true designer. Combining Elementor and Exclusive Addons gives you the freedom to build professional, custom designs without ever needing to become a developer.
If you're just starting out, getting a feel for everything in a risk-free environment is a great idea. I always recommend setting up a local development environment on your computer. It lets you experiment with themes, plugins, and custom designs without any fear of breaking a live website.
If that sounds like a good plan, check out our guide on how to install WordPress on a local server. Building that foundation now will make you feel way more confident as we dive into the hands-on journey ahead.
Setting Up Your Site for Safe Editing
Before you touch a single layout or update any text, we need to talk about prepping your website for a safe editing process. I've seen it happen countless times: someone gets excited, jumps straight into live edits, and things go south—fast. A few minutes of prep work now can honestly save you hours of headaches later.
The absolute first step, no exceptions, is a full site backup. Think of it as your ultimate undo button. If a plugin update goes haywire or you accidentally delete the wrong section, a recent backup lets you roll everything back to its last working state in minutes. Many hosting providers offer this, but you can also grab a trusted WordPress plugin to handle it.
The basic workflow for making edits is pretty straightforward, as this infographic lays out.
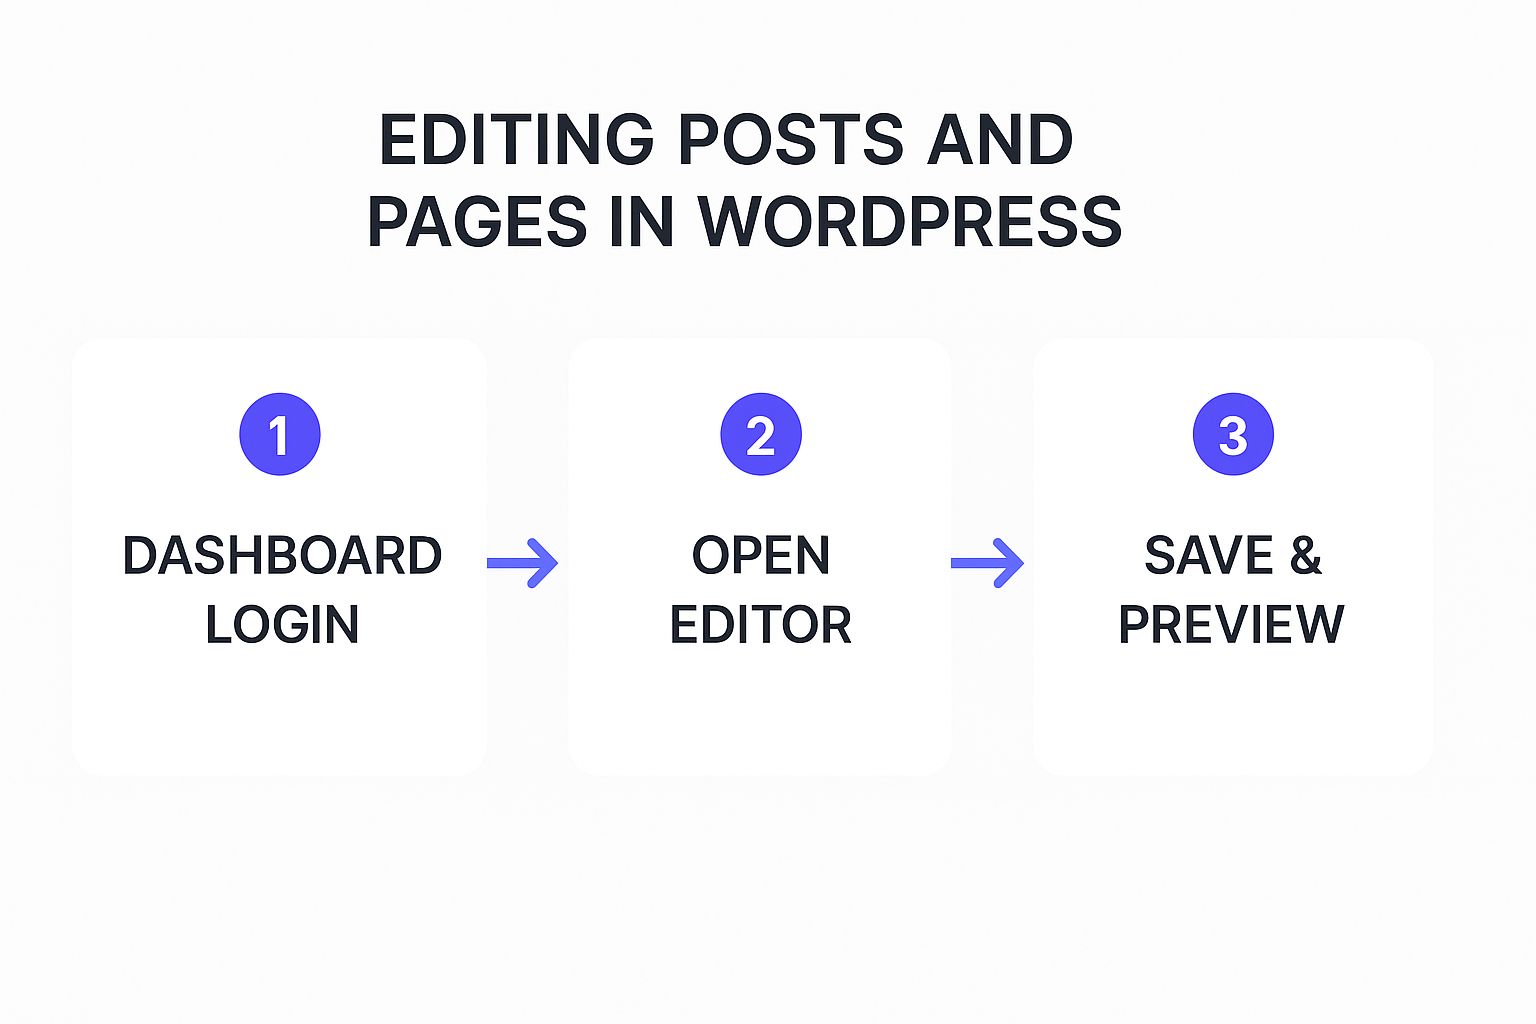
This shows the simple path from logging in to hitting "publish"—the core of editing any WordPress site.
Creating a Safe Sandbox to Work In
Here's a pro tip: seasoned developers rarely make big changes directly on a live website. Instead, they use a staging environment. It’s an exact clone of your site that's hidden from the public, making it the perfect sandbox to test new designs, plugins, or code without any risk to your live traffic or user experience.
If a staging site isn't in the cards for you, the next best thing is a child theme. A child theme basically inherits all the style and functionality from your main theme (the "parent") but lets you make your tweaks in separate files. This is a lifesaver because when the parent theme gets an update, all your custom changes won't be wiped out.
By creating these safety nets—backups, a staging site, or a child theme—you’re basically adopting a professional workflow. This approach protects your live site, gives you total freedom to experiment, and makes the whole editing process a lot less stressful.
Finally, you need the right tools for the job. For this guide, we'll be leaning on two essential plugins:
- Elementor (Free Version): This is the core drag-and-drop page builder that gives us the visual editing interface we need.
- Exclusive Addons for Elementor: This plugin supercharges Elementor with a huge collection of powerful new widgets and features.
Getting these two installed sets the stage for everything we're about to do. Remember, regular backups and a safe testing environment are cornerstones of any good website maintenance checklist, keeping your site healthy as you improve it.
Making Real-Time Edits with Elementor
Alright, this is where the fun really begins. We’re leaving the theory behind and jumping straight into Elementor’s visual, drag-and-drop editor—the absolute core of how modern WordPress sites are built and tweaked.
If you’re used to the old-school WordPress backend, get ready for a major upgrade. Gone are the days of making a change, saving, and refreshing the front end to see what happened. With Elementor, you see your edits happen live, right on the page.
To kick things off, just head to any page on your WordPress dashboard and look for the big “Edit with Elementor” button. Clicking that will launch you into a completely different interface. You'll see the Elementor panel on the left, which is packed with all your widgets and settings, and a live, interactive preview of your site on the right.
Navigating the Elementor Interface
Let's quickly break down what you’re looking at. The main canvas on the right is your playground. You can click on any element—a headline, an image, a button—and its specific settings will pop up in the left-hand panel, ready for you to customize.
For pretty much any widget you select, that left panel is organized into three key tabs:
- Content: This is for the substance. Think changing the text of a headline or swapping out an image.
- Style: Here’s where you control all the aesthetics—colors, fonts, spacing, borders, you name it.
- Advanced: This tab gives you deeper control for things like motion effects, custom positioning, and responsive settings to dial in the look for different devices.
Getting comfortable with this simple three-tab structure is the secret to a smooth and fast workflow.
The whole idea behind Elementor is to tear down the wall between you and your final design. By letting you see edits as you make them, it changes the entire process from a guessing game into a hands-on, creative experience.
Putting It Into Practice with Common Edits
Let's run through a couple of real-world examples. Say you need to update your homepage's main headline. It's as simple as clicking on the headline text. The Content tab will open up on the left, where you can type your new message directly into the "Title" box. Boom—the change appears instantly on the right.
What about swapping out a hero image? Same deal. Click the image, and in the Content tab, you'll see its thumbnail. Click that, and it opens your WordPress Media Library to upload a new photo or grab one you already have. It’s genuinely that straightforward.
This immediate feedback is precisely why page builders like Elementor have become so essential for WordPress users. It takes the guesswork out of design.
From simple text changes, you can quickly move to rearranging entire sections of a page. Just hover over a section until the blue handle appears, then click and drag it up or down to reorder your content. It’s an incredibly intuitive way to control the flow of your page.
To really get these foundational skills down, our complete guide on how to use Elementor is a great next step. Once you nail these techniques, you're not just editing a WordPress site; you're designing it.
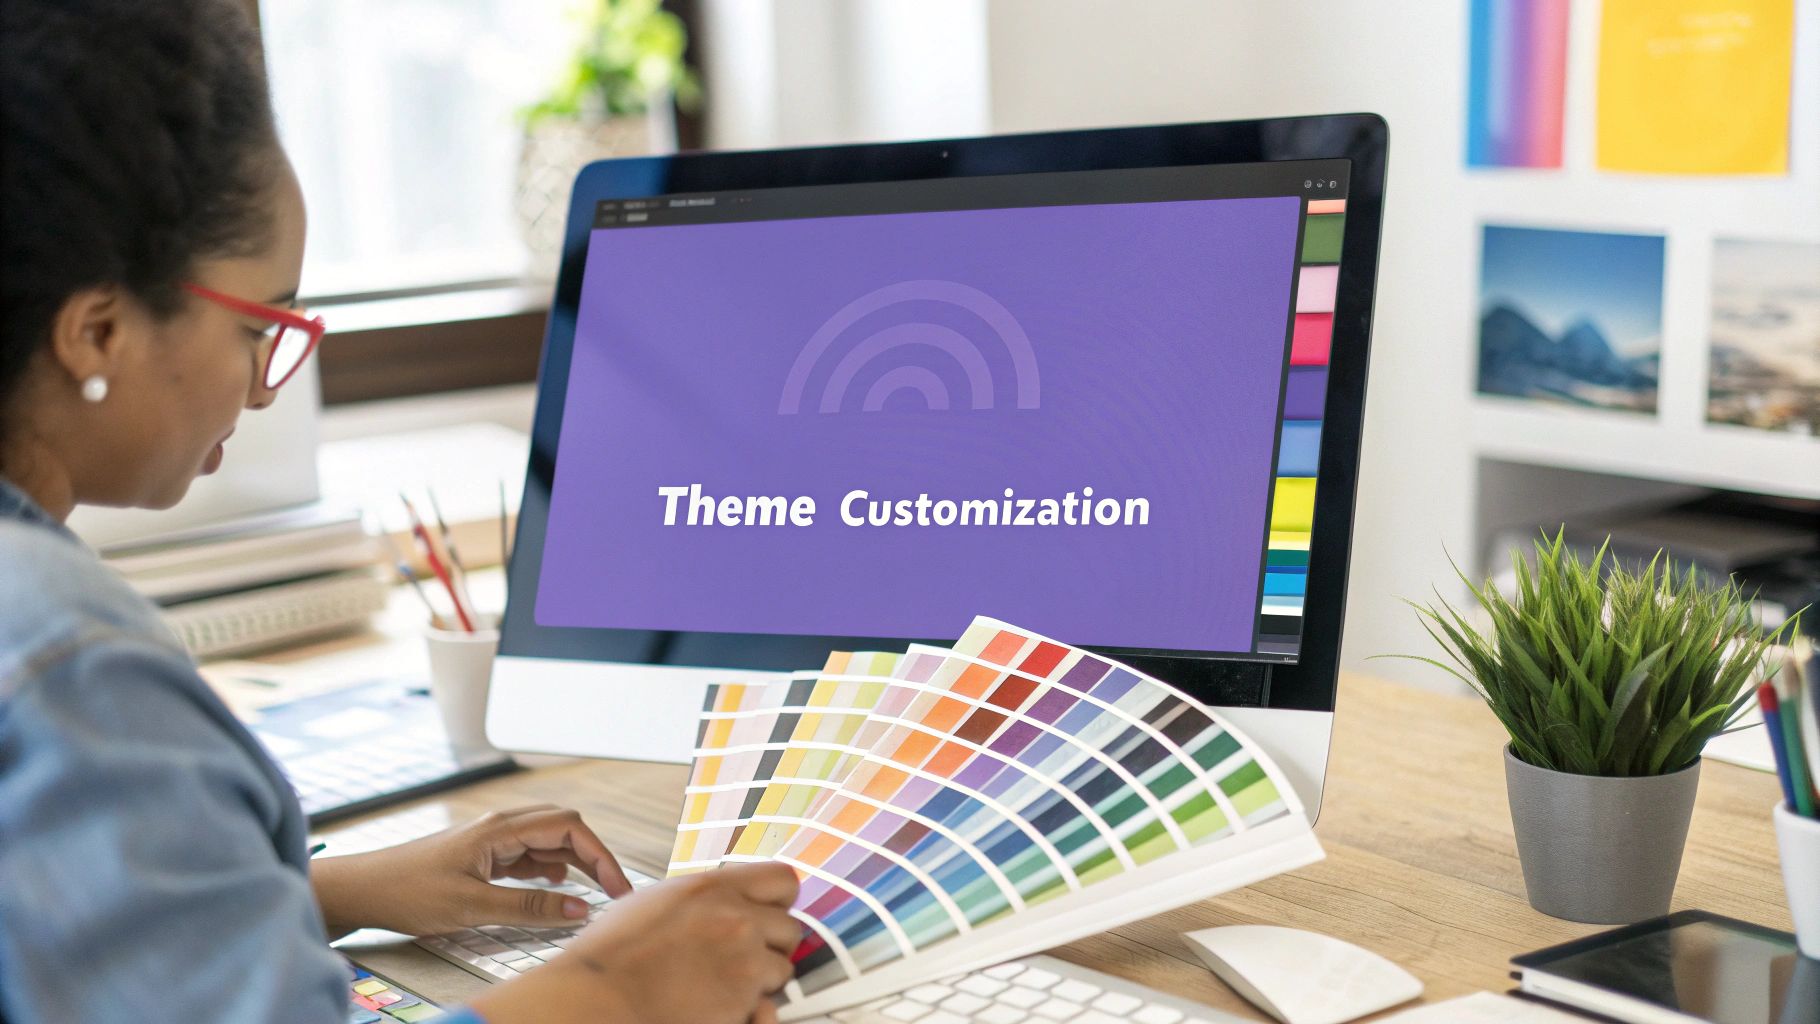
Once you've gotten the hang of editing individual pages, it's time to pull back and look at the bigger picture: your site's overall design consistency.
A professional-looking website just feels right. Every page flows together with the same colors, fonts, and button styles. This doesn't happen by accident, and you certainly don't achieve it by styling every single element one by one. Can you imagine the headache? Instead, the pros set up global rules that cascade across the entire site.
This is exactly what Elementor's Site Settings are for. Think of it as the command center for your website's entire visual identity. When you define your core brand elements here, every new page, section, or widget you create automatically looks polished and on-brand. Honestly, learning to edit a WordPress site at this level will save you a ridiculous amount of time and keep your design from looking chaotic.
Defining Your Brand with Global Settings
You can get to the Site Settings right from the Elementor editor—just click the hamburger menu icon up in the top-left corner. This is where you'll build the design system that acts as the foundation for your entire website.
Here’s a quick peek at the Site Settings panel, your new best friend for global design.
This panel lets you systematically nail down every key part of your site's look and feel.
At a minimum, you'll want to configure these three settings first:
- Global Colors: This is huge. Set up your primary, secondary, text, and accent colors one time. From now on, instead of fumbling for a hex code every time you add a button, you just select your predefined "Primary" color from the list.
- Global Fonts: Define the typography for all your headings (H1, H2, H3, etc.) and your main body text. This guarantees every headline on every single page has the same font family, size, and weight. Consistency is key.
- Buttons: Style your buttons once—color, font, border radius, padding, hover effects, everything. That design instantly becomes the default for any new button you drag onto a page.
Think of Site Settings as creating a design rulebook for your website. If you decide to change your primary brand color down the road, you change it here once, and that update instantly applies to every single element using that global color. It's efficiency and brand consistency, all rolled into one powerful feature.
Building Your Header and Footer
Beyond the basic colors and fonts, the most important global elements are your site's header and footer. They show up on almost every page and are absolutely critical for navigation and user experience. You'll build these using Elementor's Theme Builder.
The Theme Builder is a game-changer. It lets you visually design parts of your theme that used to be locked away in code, like the header. You can drag and drop elements to create a completely custom header from scratch. At a minimum, you'll want to include your logo, a clear navigation menu, and maybe a call-to-action button like "Get a Quote."
The same goes for your footer. This is the perfect spot for important links (like your privacy policy), social media icons, a copyright notice, and your contact info. A well-thought-out footer helps users find what they're looking for and gives your site a professional, complete feel.
By creating these as templates in the Theme Builder, you're telling Elementor to automatically display your beautifully designed header and footer on every page, creating a seamless experience for anyone visiting your site.
Taking Your Site to the Next Level with Exclusive Addons
Okay, once you've dialed in your global settings, it's time for the fun part: adding the unique features that make your site memorable. This is where we go beyond a standard design and start crafting a user experience that really connects with people. To do this, we'll be using Exclusive Addons, a killer plugin that drops dozens of powerful new widgets right into your Elementor toolkit.
Instead of just listing features, let's build something you might actually need. Think about a photographer who wants an interactive portfolio to showcase their work, or maybe a business that needs a clean, easy-to-use FAQ section. These are common scenarios where the default widgets just don't cut it.
Exclusive Addons gives you specialized tools to solve these exact design problems, letting you build a much more engaging website without needing to write a line of code.
Building an Interactive FAQ Section
Let's be honest, a massive wall of text on an FAQ page is a surefire way to send visitors running. We can fix this in minutes with the Advanced Accordion widget from Exclusive Addons. This little tool lets you tuck your questions and answers into neat, collapsible tabs for a super clean and interactive layout.
You get total control over the details:
- Icons: Set different icons for when a tab is open or closed.
- Styling: Adjust the colors, fonts, and spacing to perfectly match your brand's look and feel.
- Behavior: Decide if users can open multiple tabs at once or just one at a time.
It's a small change that completely transforms a boring, functional page into a polished, professional resource that's actually helpful.
Creating an Engaging Product Showcase
Here's another great one: the Image Hotspot widget. Imagine you have a product photo and want to point out several key features. Instead of a boring bulleted list underneath, you can place interactive pointers directly on the image.
When a user hovers over one of these hotspots, a tooltip pops up with a title and more information. This is perfect for highlighting product details, explaining different parts of a complex diagram, or even creating a mini virtual tour.
These widgets aren't just about adding cool effects. They are purpose-built tools that fundamentally improve how your visitors interact with your content. Learning to edit a WordPress site with these advanced elements is what separates a basic, cookie-cutter website from a high-performing one.
The ability to expertly edit and customize a WordPress site is a seriously valuable skill, especially when you consider the platform's massive global footprint. In the United States alone, there are over 3.7 million WordPress sites, with millions more in countries like Germany and the UK.
As you build out your site's functionality, you'll likely start thinking about selling products or services. If e-commerce is on your roadmap, you’ll need a way to handle payments. For that next step, check out this practical guide to setting up WordPress with payment gateway functionality.
Common Questions People Ask About Editing a WordPress Site
Once you start getting the hang of editing your WordPress site, a few questions tend to bubble up for almost everyone. I've heard these time and time again, and getting clear answers is what separates a frustrating experience from a confident workflow.
Let's walk through some of the most common hurdles you might run into.
Can I Edit My Site Without a Page Builder?
You absolutely can. WordPress comes with its own set of tools right out of the box: the Block Editor (you might know it as Gutenberg) and the Theme Customizer.
The Block Editor is pretty solid for writing blog posts or creating simple, content-focused pages. The Customizer, on the other hand, is where you'll tweak site-wide settings like your brand colors, fonts, and menus.
But—and this is a big but—if you want serious design control without writing code, a page builder like Elementor is a game-changer. It gives you a live, visual editing experience that's far more intuitive for creating complex layouts. Honestly, there's a reason millions of people swear by it.
What Happens if I Switch My WordPress Theme?
This is a fantastic question and something every WordPress user needs to understand.
Any edits you make using the Theme Customizer—like your header layout or color palette—are tied directly to your active theme. If you switch themes, poof! Those specific settings are gone. They don't transfer over.
This is where building with Elementor really shines. Your pages, sections, and designs are stored independently from the theme. You can swap themes as often as you like, and your core page layouts will remain intact. It's a massive advantage for keeping your site fresh over the long haul.
Think of it this way: your Elementor content is like the furniture inside your house. Changing your theme is like repainting the walls. The furniture stays right where you put it, giving you incredible flexibility to evolve your site's look and feel without starting from scratch.
How Do I Undo a Mistake in Elementor?
We've all been there. You delete the wrong section or make a design change you instantly regret. Don't panic!
Elementor has a built-in time machine called "History." Just look for the little clock icon in the bottom of the editor panel. Click it, and you'll see a running log of every single action you've taken. You can jump back to any previous state with one click. It’s a lifesaver.
For those small, immediate slip-ups, the classic Ctrl+Z (or Cmd+Z on Mac) keyboard shortcut works just like it does in any other app.
Is It Safe to Install Lots of Plugins?
When it comes to plugins, think quality over quantity. Yes, they add amazing new features, but piling them on can slow your site to a crawl and open up security risks.
My rule of thumb? Only use plugins that are well-reviewed, updated recently, and come from developers you trust.
And here's a pro tip: always, always run a quick backup of your site before installing a new plugin. It takes just a few minutes, but it can save you hours of headaches if something goes wrong. This is a core part of learning how to edit a WordPress site safely and responsibly.
Ready to stop feeling limited by default settings and start building truly unique websites? With over 108 widgets and extensions, Exclusive Addons gives you the creative power to design anything you can imagine in Elementor.