How to configure and style Logo Carousel Widget
Adding a sliding carousel is a great way to showcase multiple logos on your site. You can display logo of your organization also partners, sponsors and affiliates using Exclusive Addons Logo Carousel Widget for Elementor.
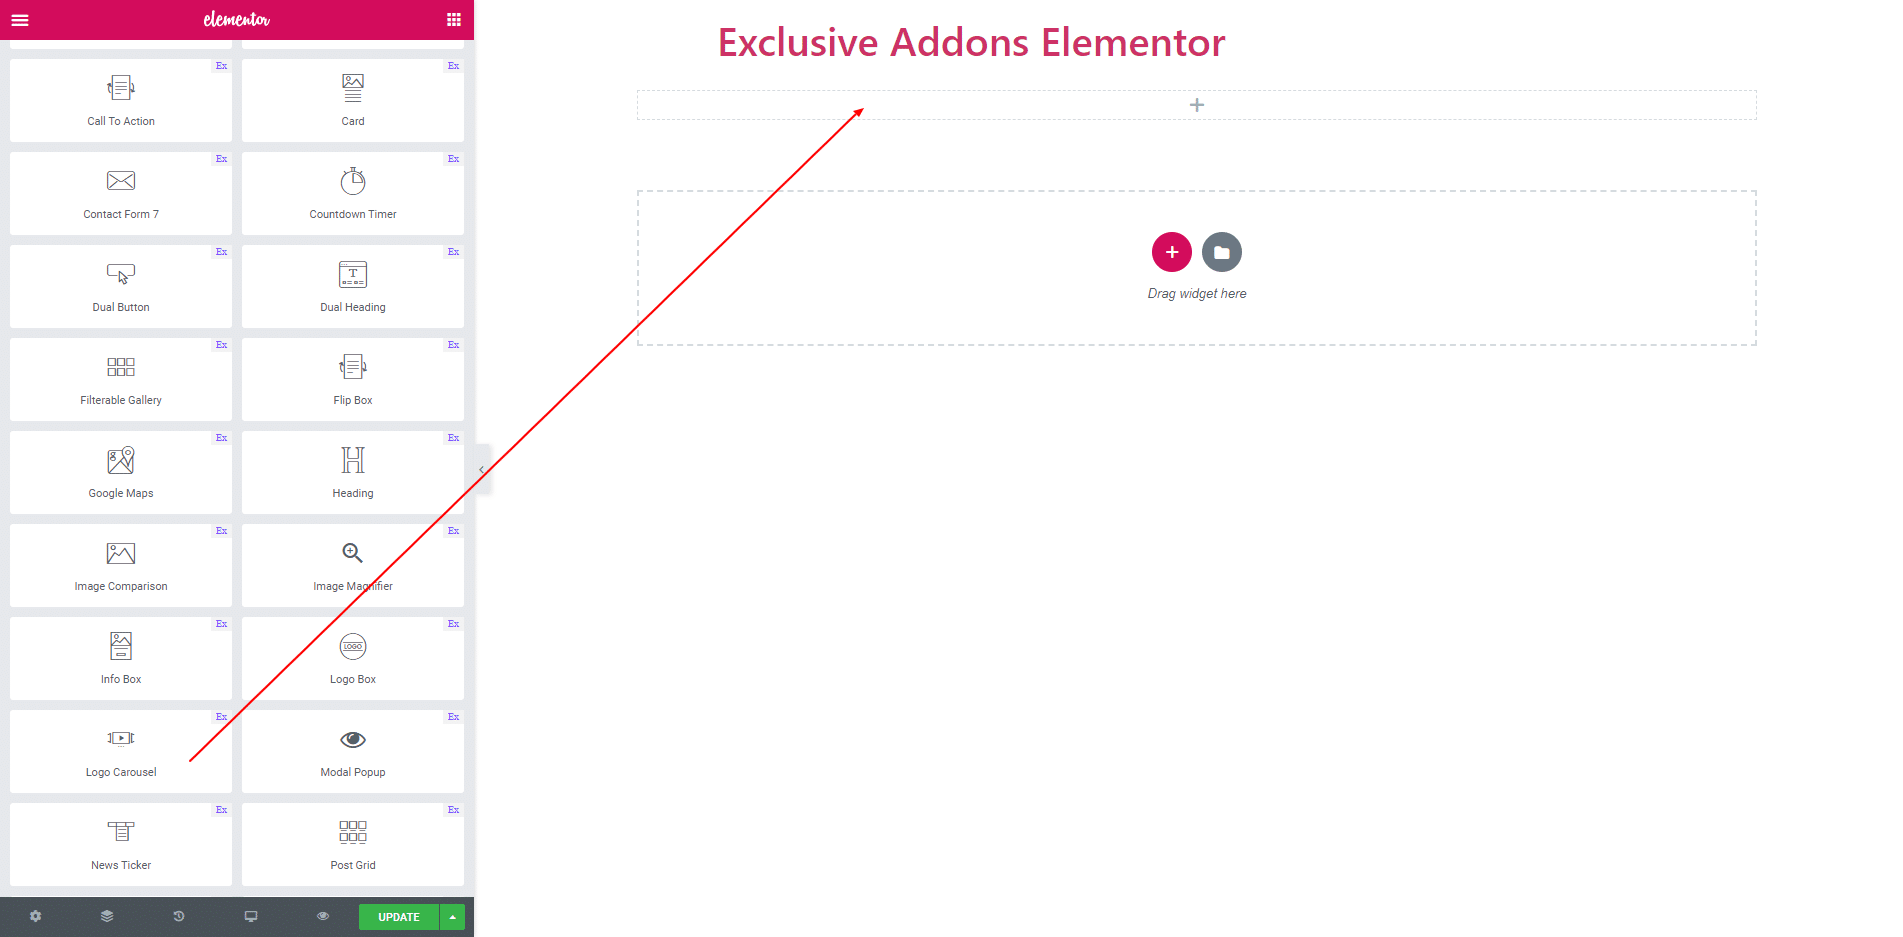
STEP 1:
Select the ‘Logo Carousel’ widget from Elementor panel. Then drag and drop it in the selected area.
STEP 2:
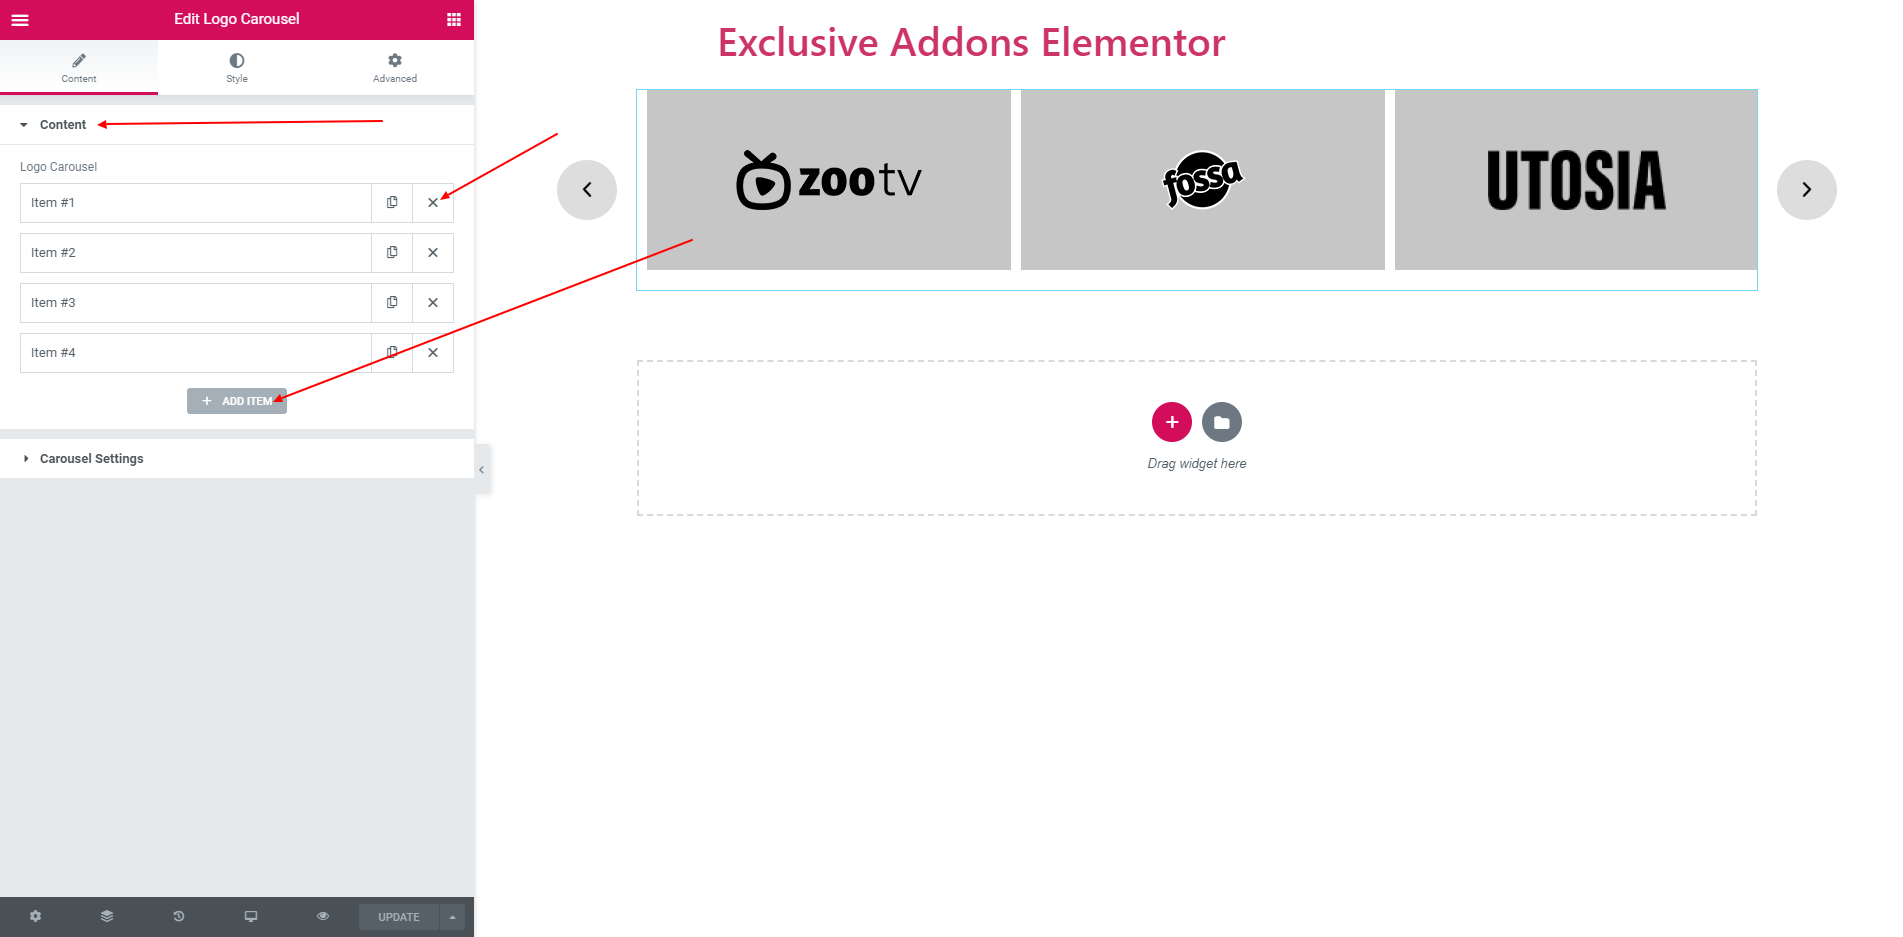
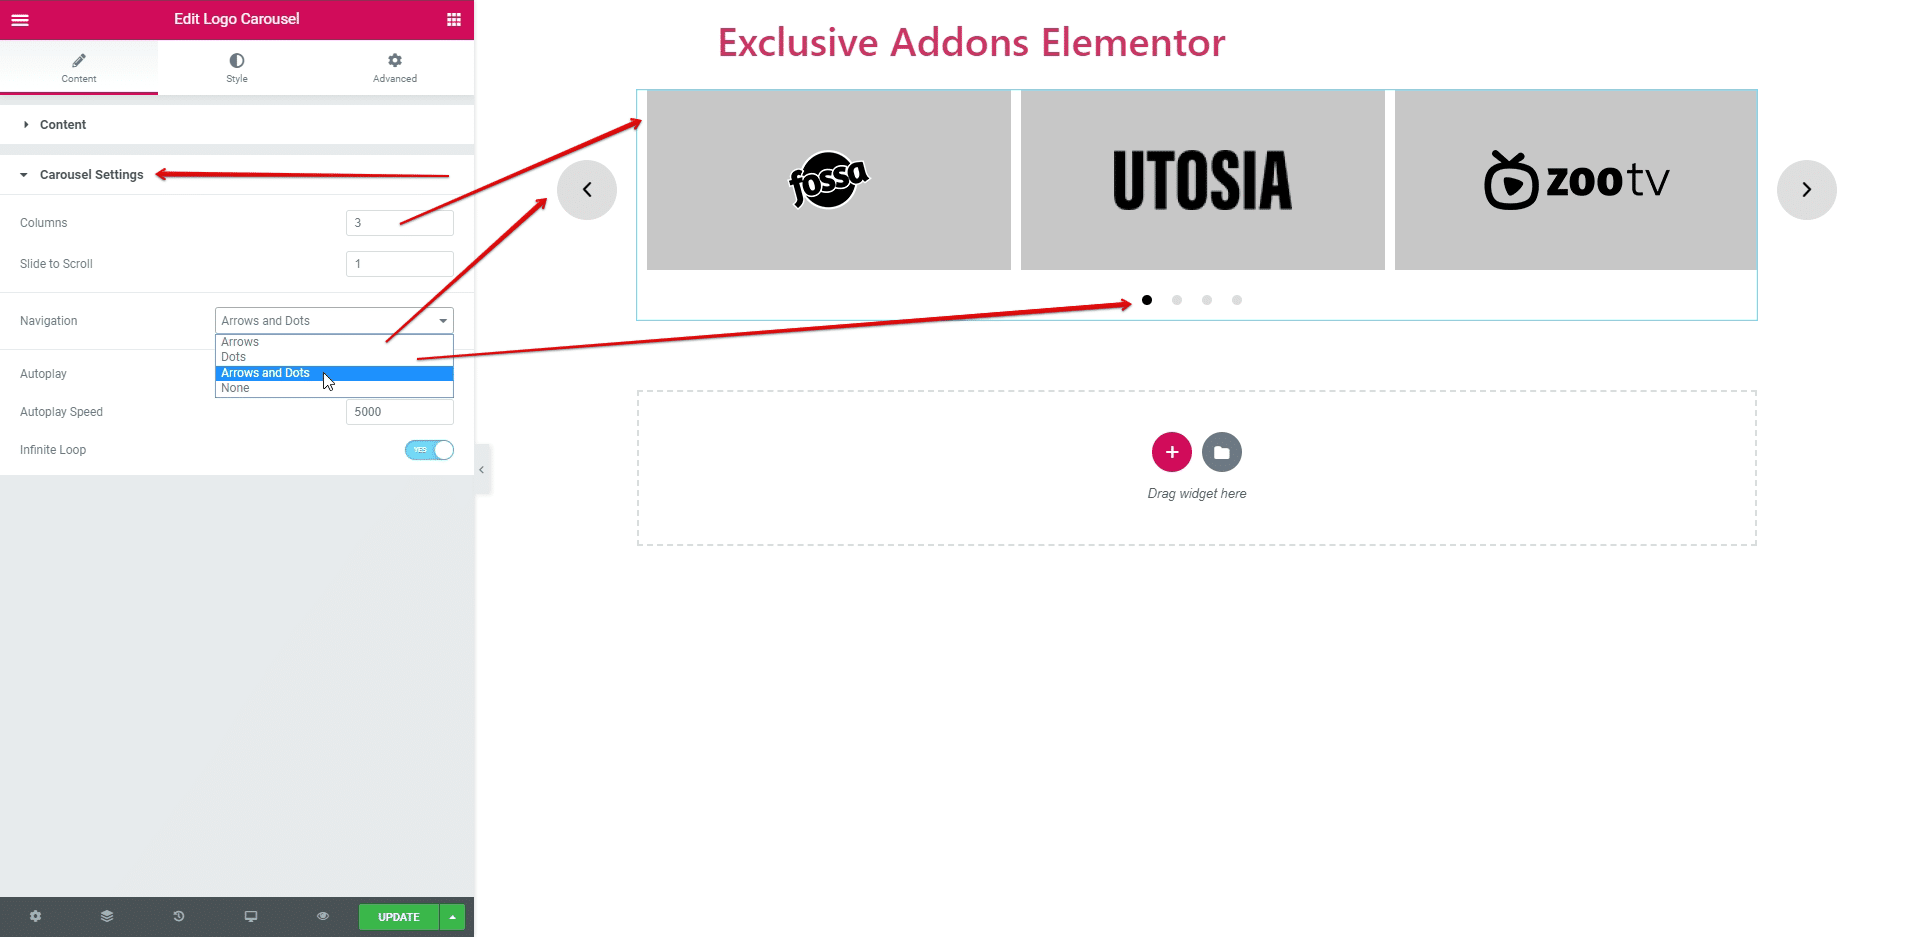
Content section consists of ‘Content’ and ‘Carousel Settings’.
2.1. In Content section you can add items by clicking ‘Add Item’ button for carousel. You can also delete item by clicking cross button.
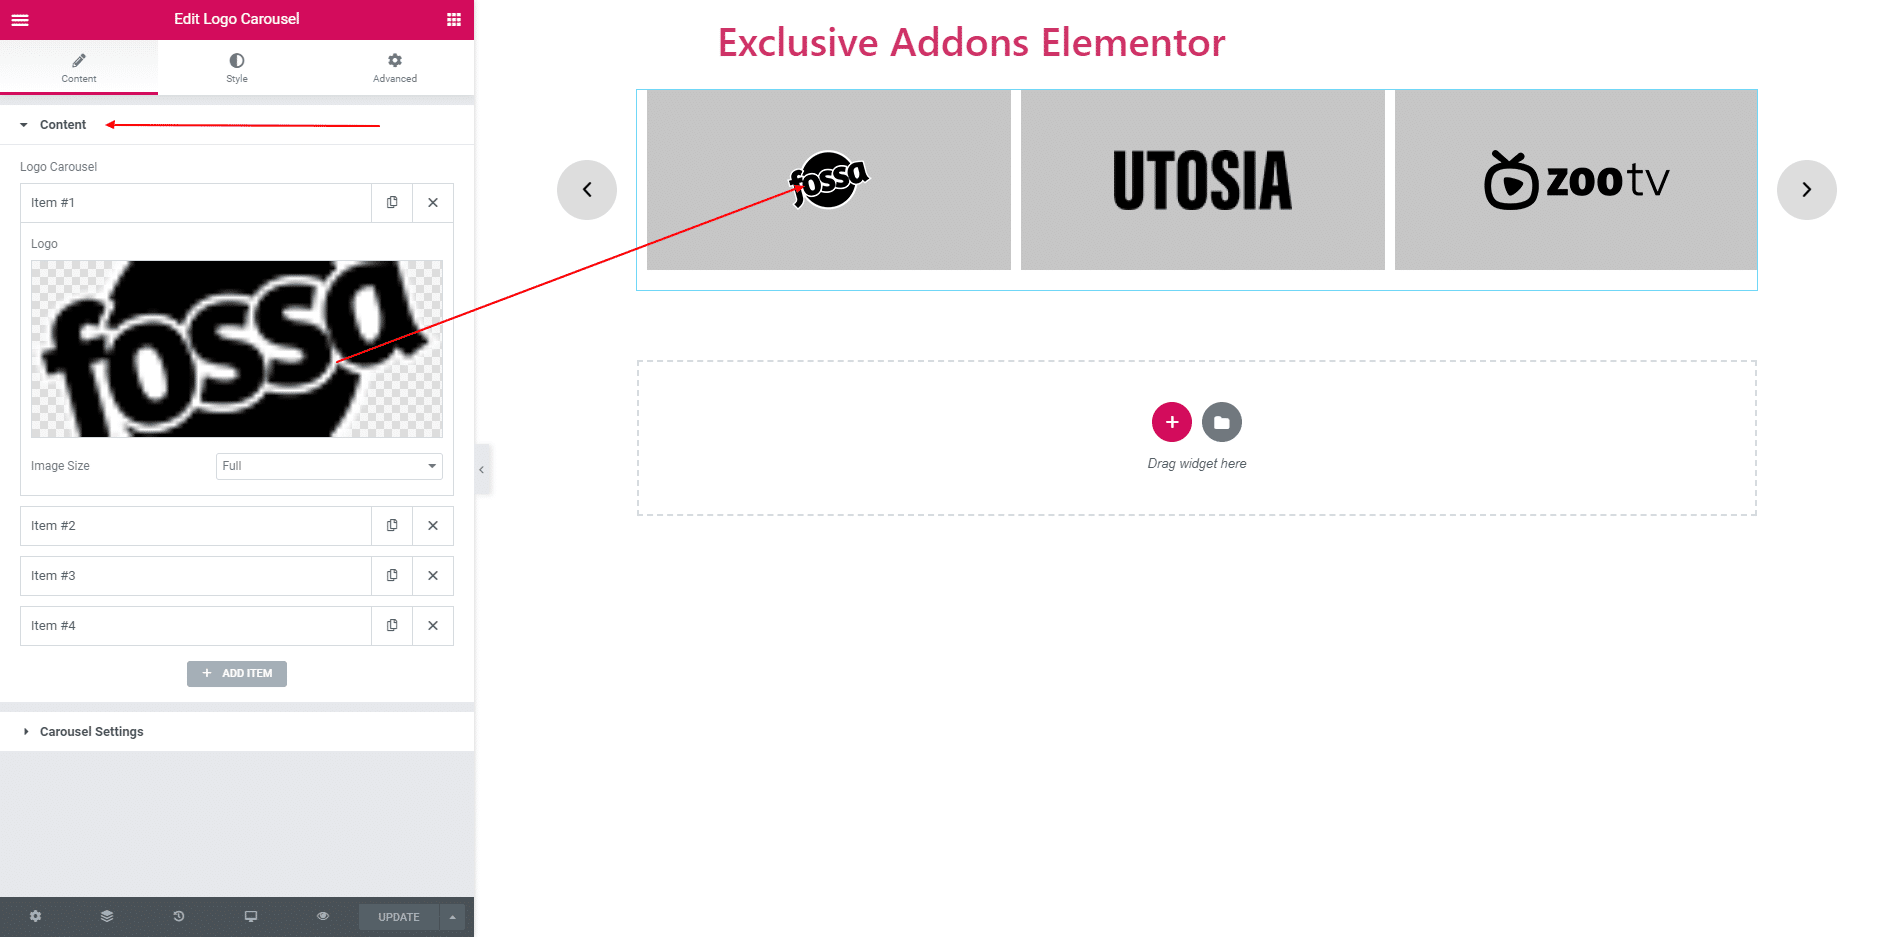
2.2. Every item contains image. You can choose an image. You can also set image size.
2.3. 2.3. In ‘Carousel Settings’, you can set column size, Slide to Scroll, and Navigation. You can enable the autoplay option. you can also give an infinite loop. As a navigation, you can set ‘Arrow’, ‘Dots’, ‘Arrow and Dots’ and ‘None’.
STEP 3:
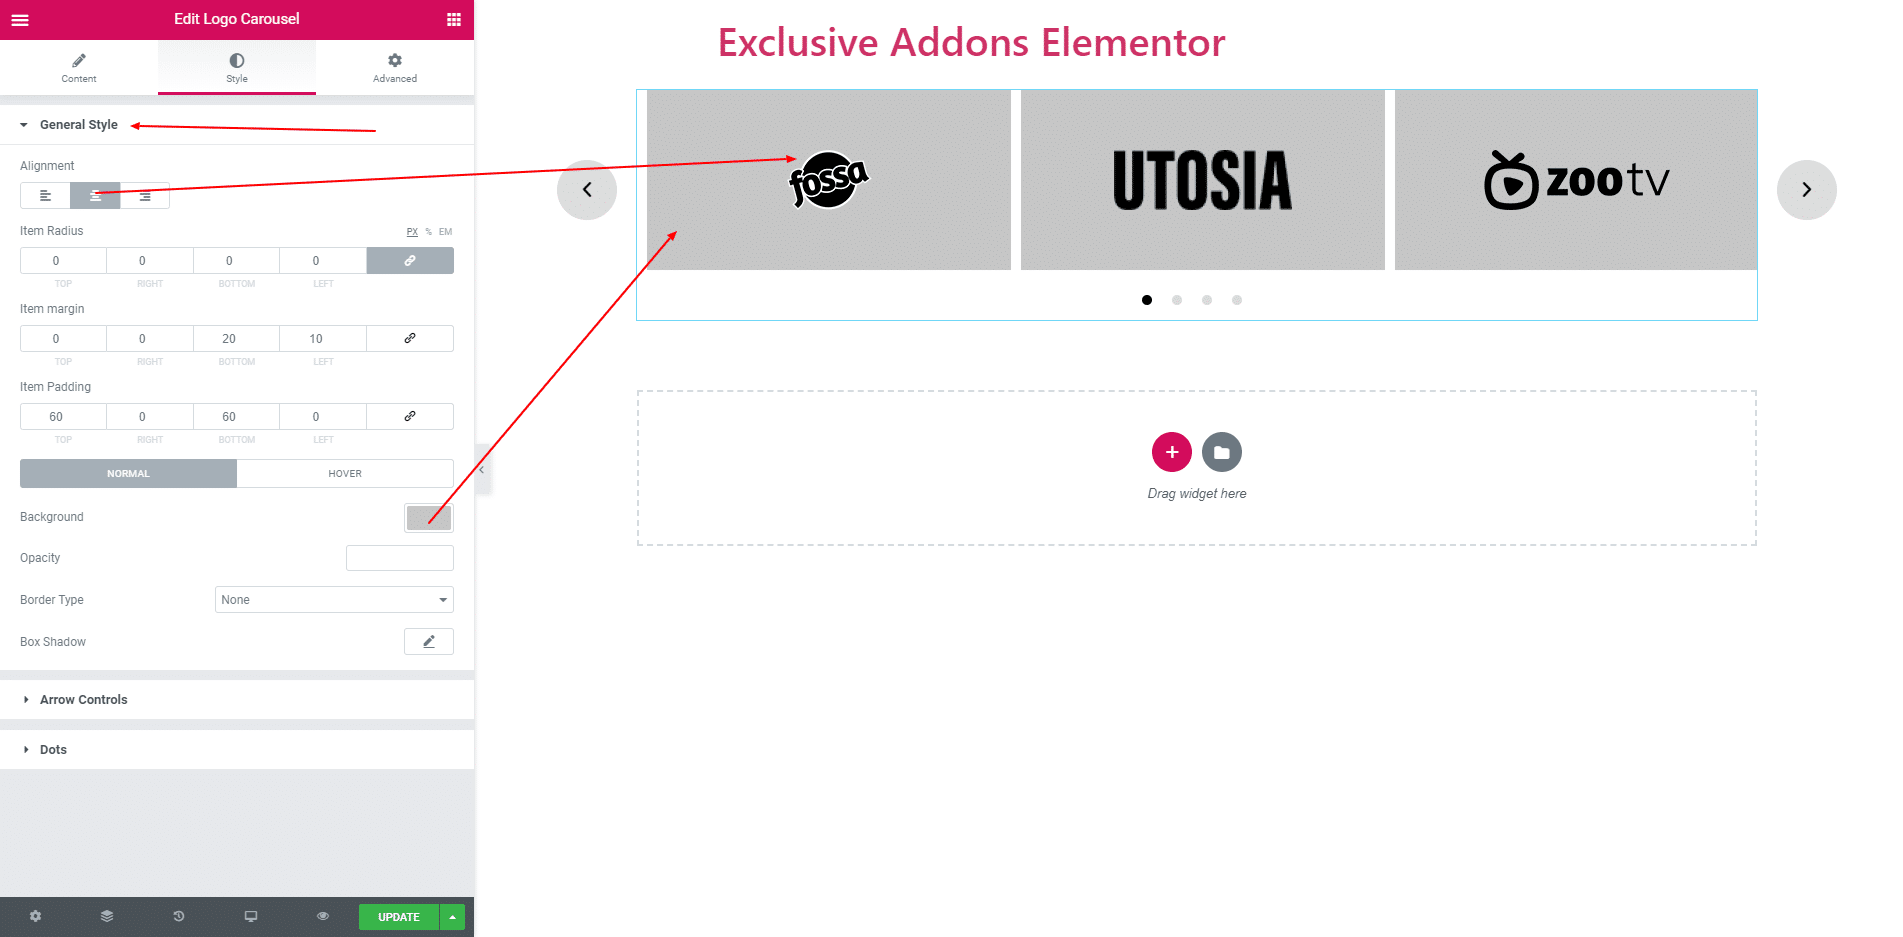
In style section you get generel style, arrows control and dots.
3.1. General style consists of ‘Alignment’, ‘Item Radius’, ‘Item Margin’ and ‘Padding’. You can set ‘Background Color’, ‘Opacity’, ‘Border’ and ‘Box Shadow’ both for normal and hover.
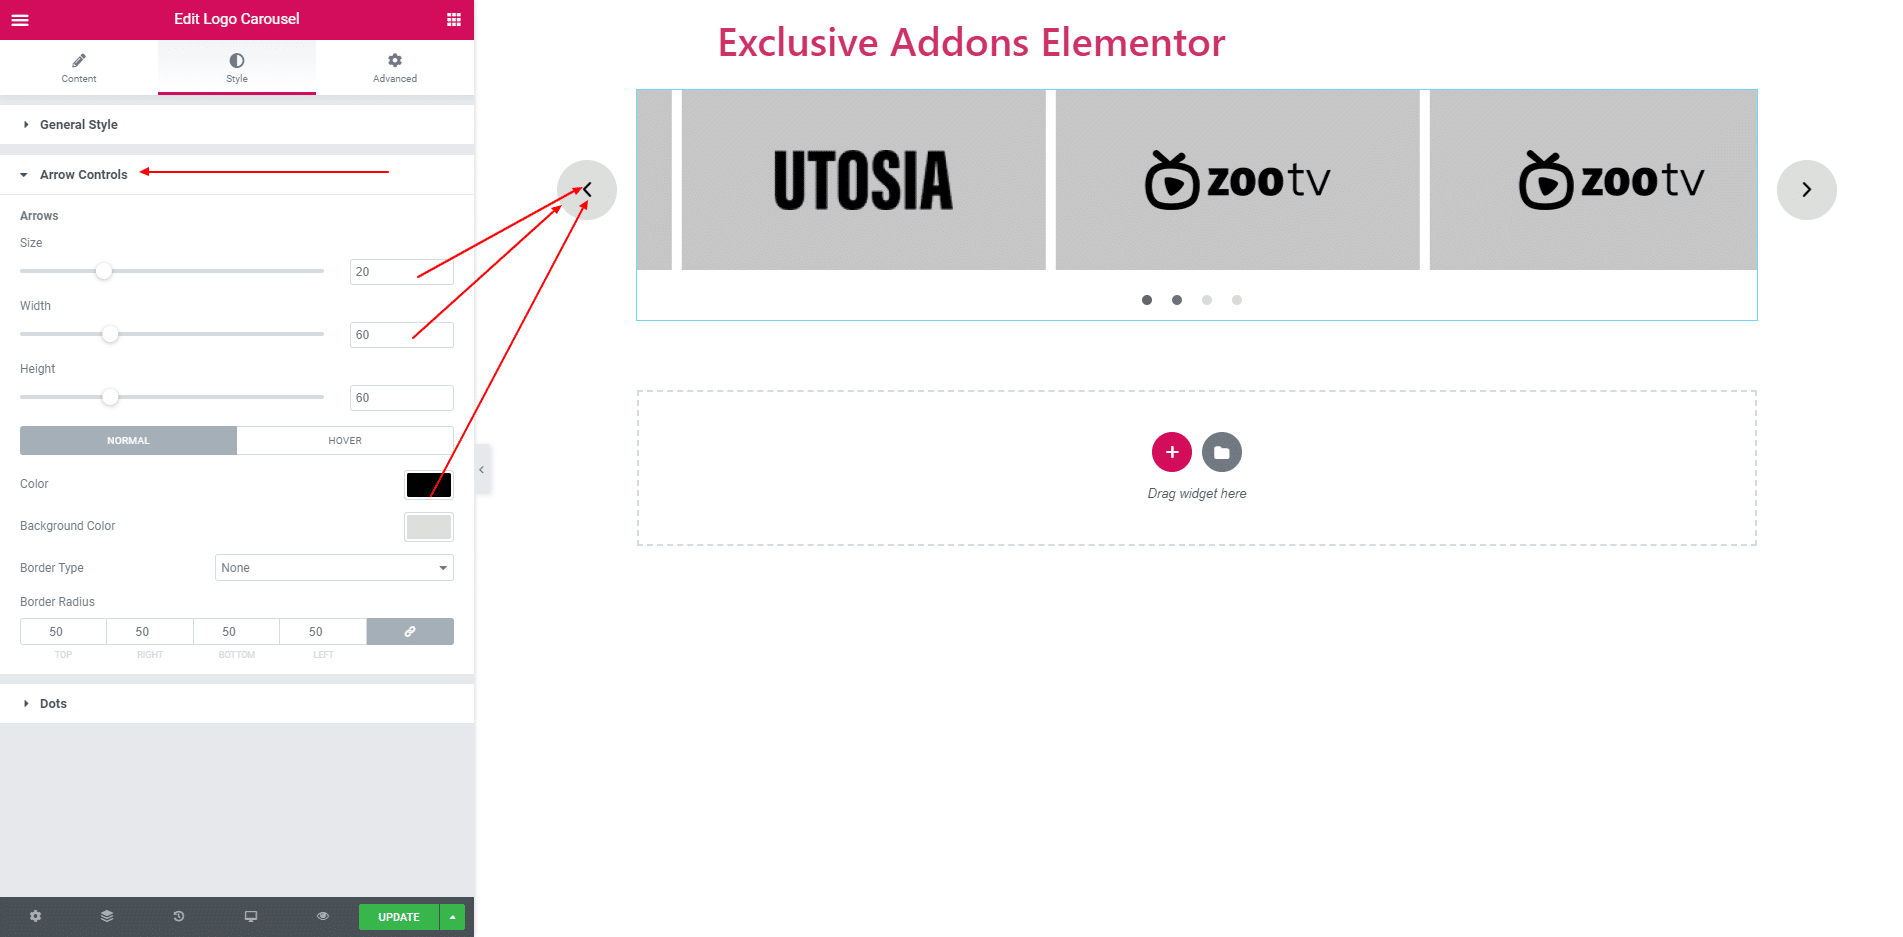
3.2. For arrows you can set icon size, height, width, color, background and some more options.
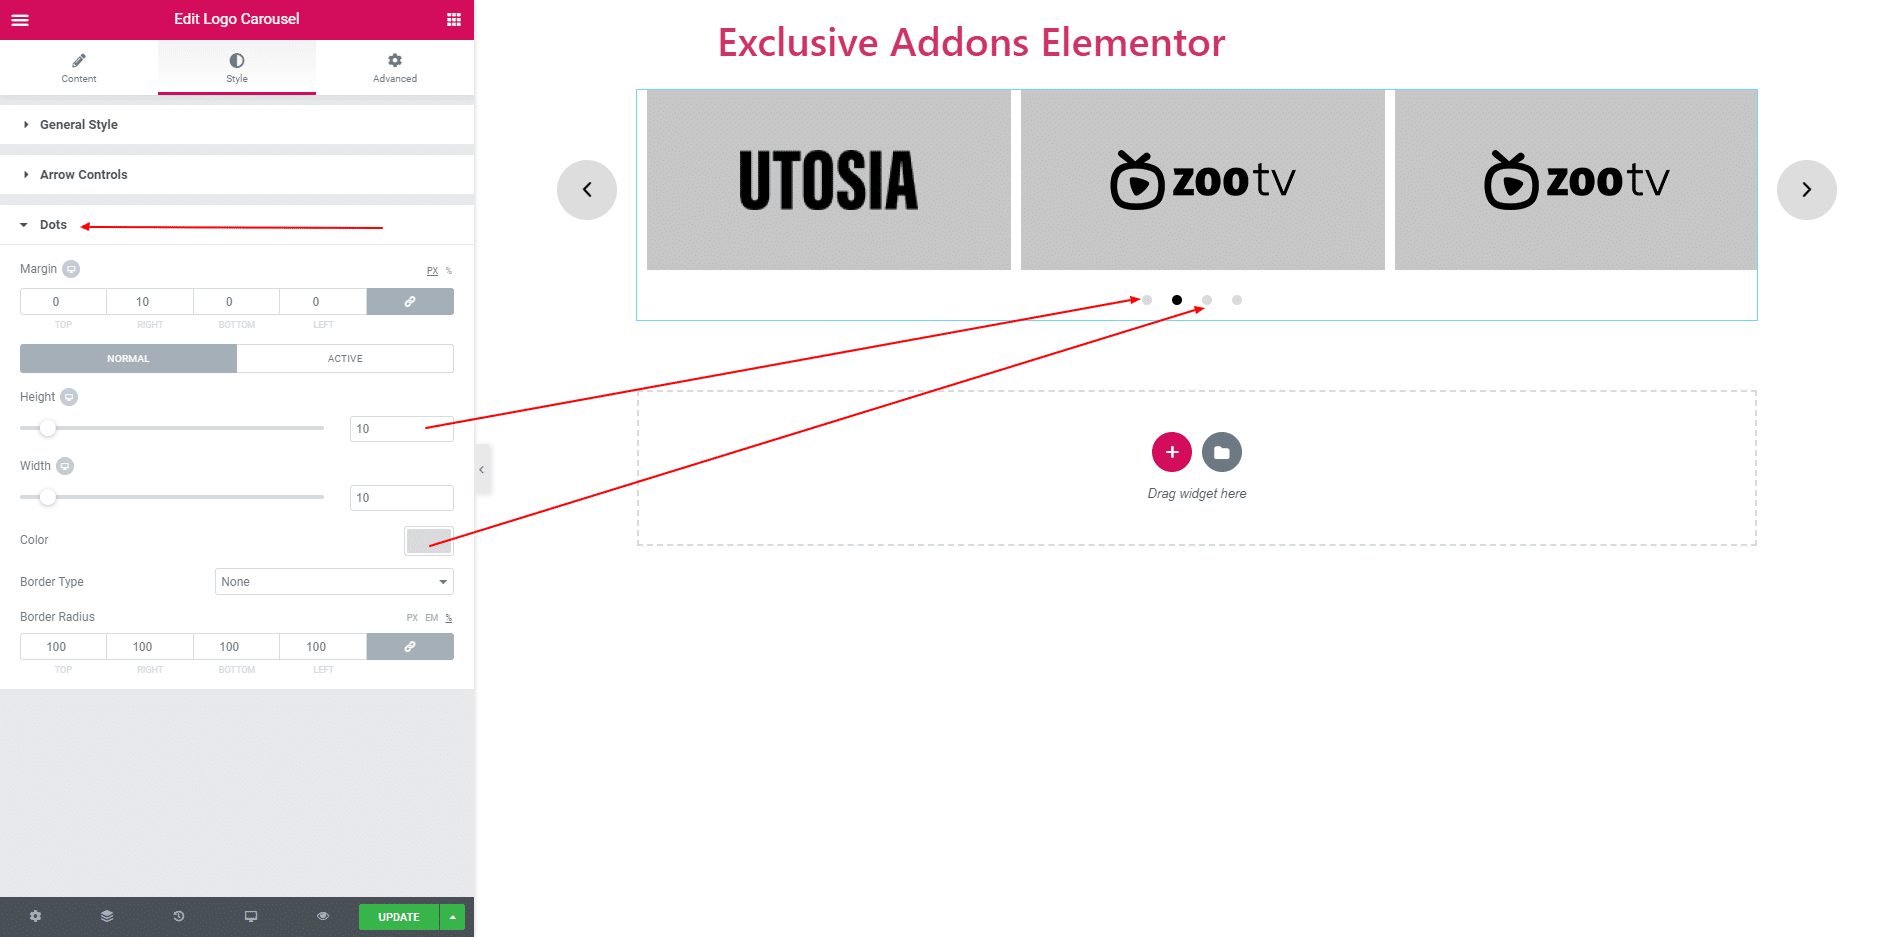
3.3. For dots you can set margin, background color, border and some more options.
STEP 4:
Finally, after clicking the update button you will see the beautiful Logo Carousel on your webpage.