How to configure and style Elementor Woo Product Widget
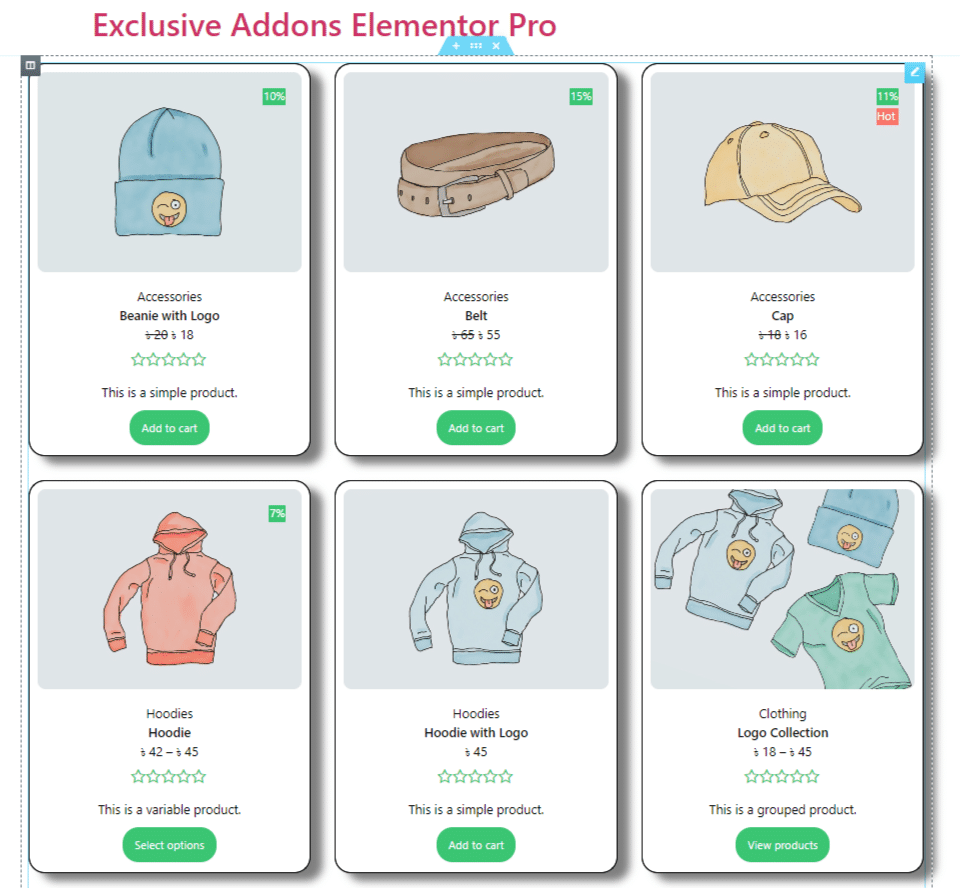
Showcase products on your e-commerce site in an attractive way to grab visitors’ attention. Design a stylish and eye-catchy layout to display products using Woo Product Widget of Exclusive Addons Elementor.
STEP 1:
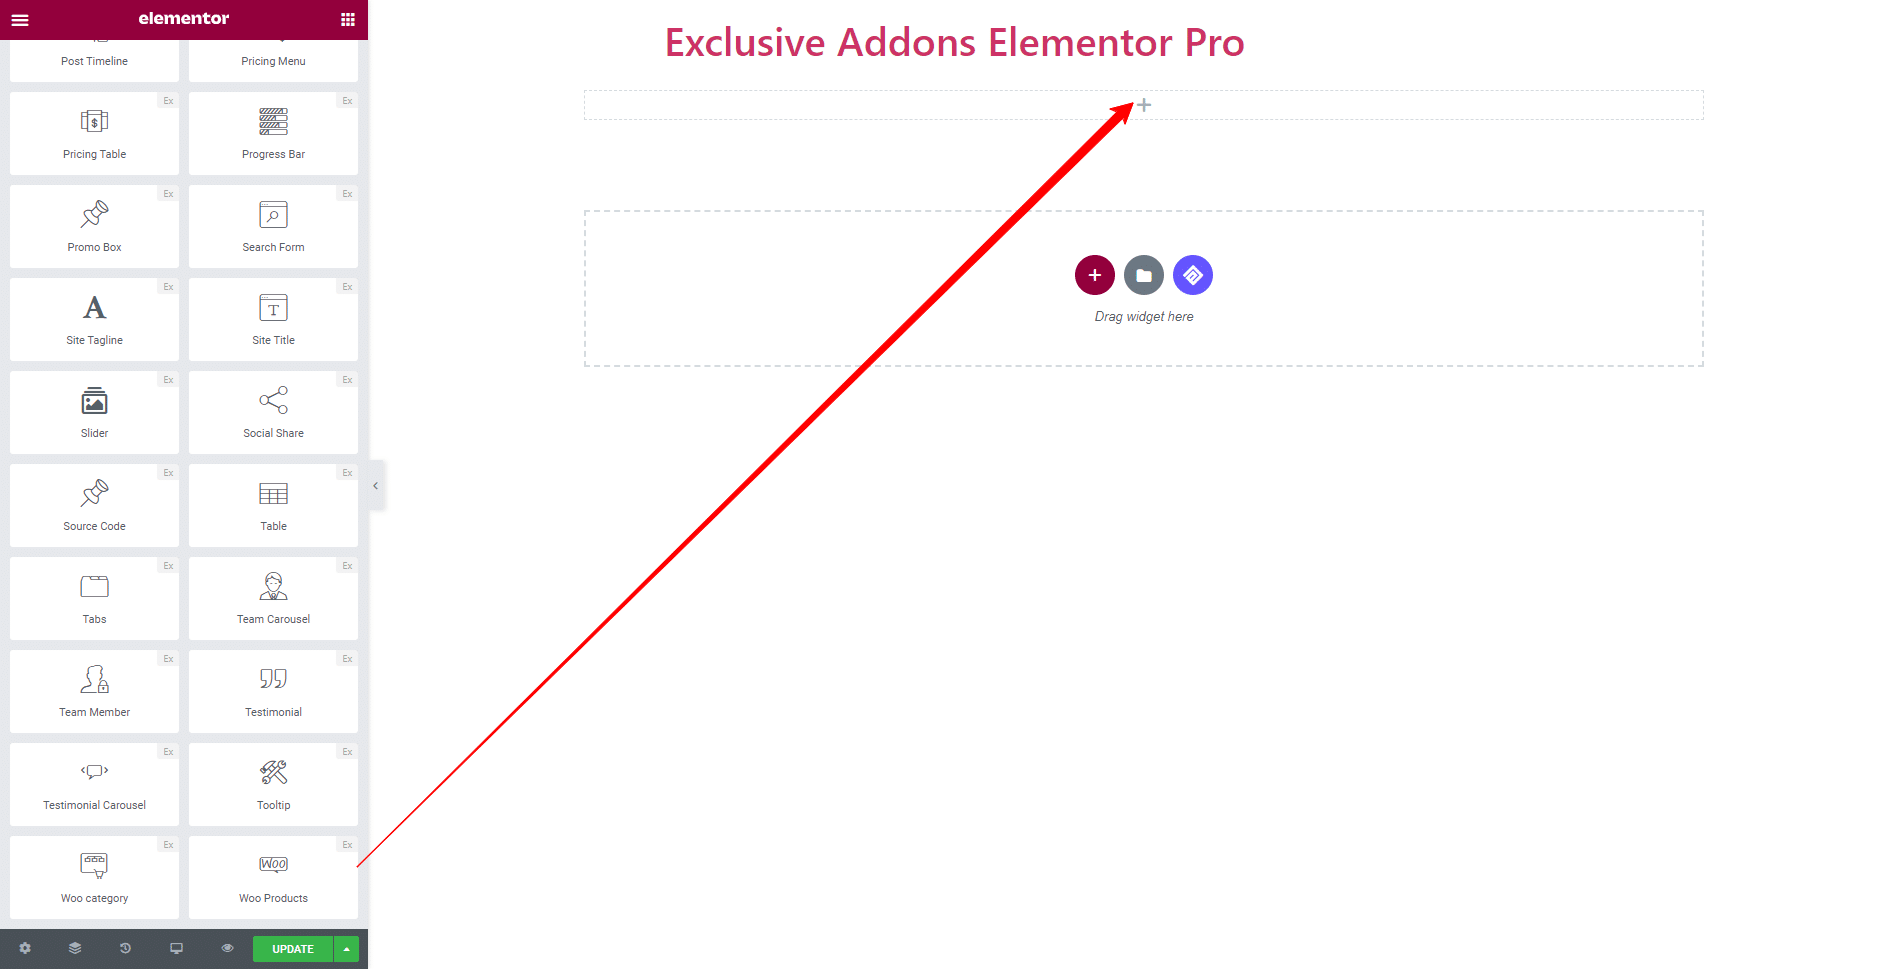
Select the ‘Woo Product Widget‘ widget from Elementor panel. Then drag and drop it in the selected area.
STEP 2:
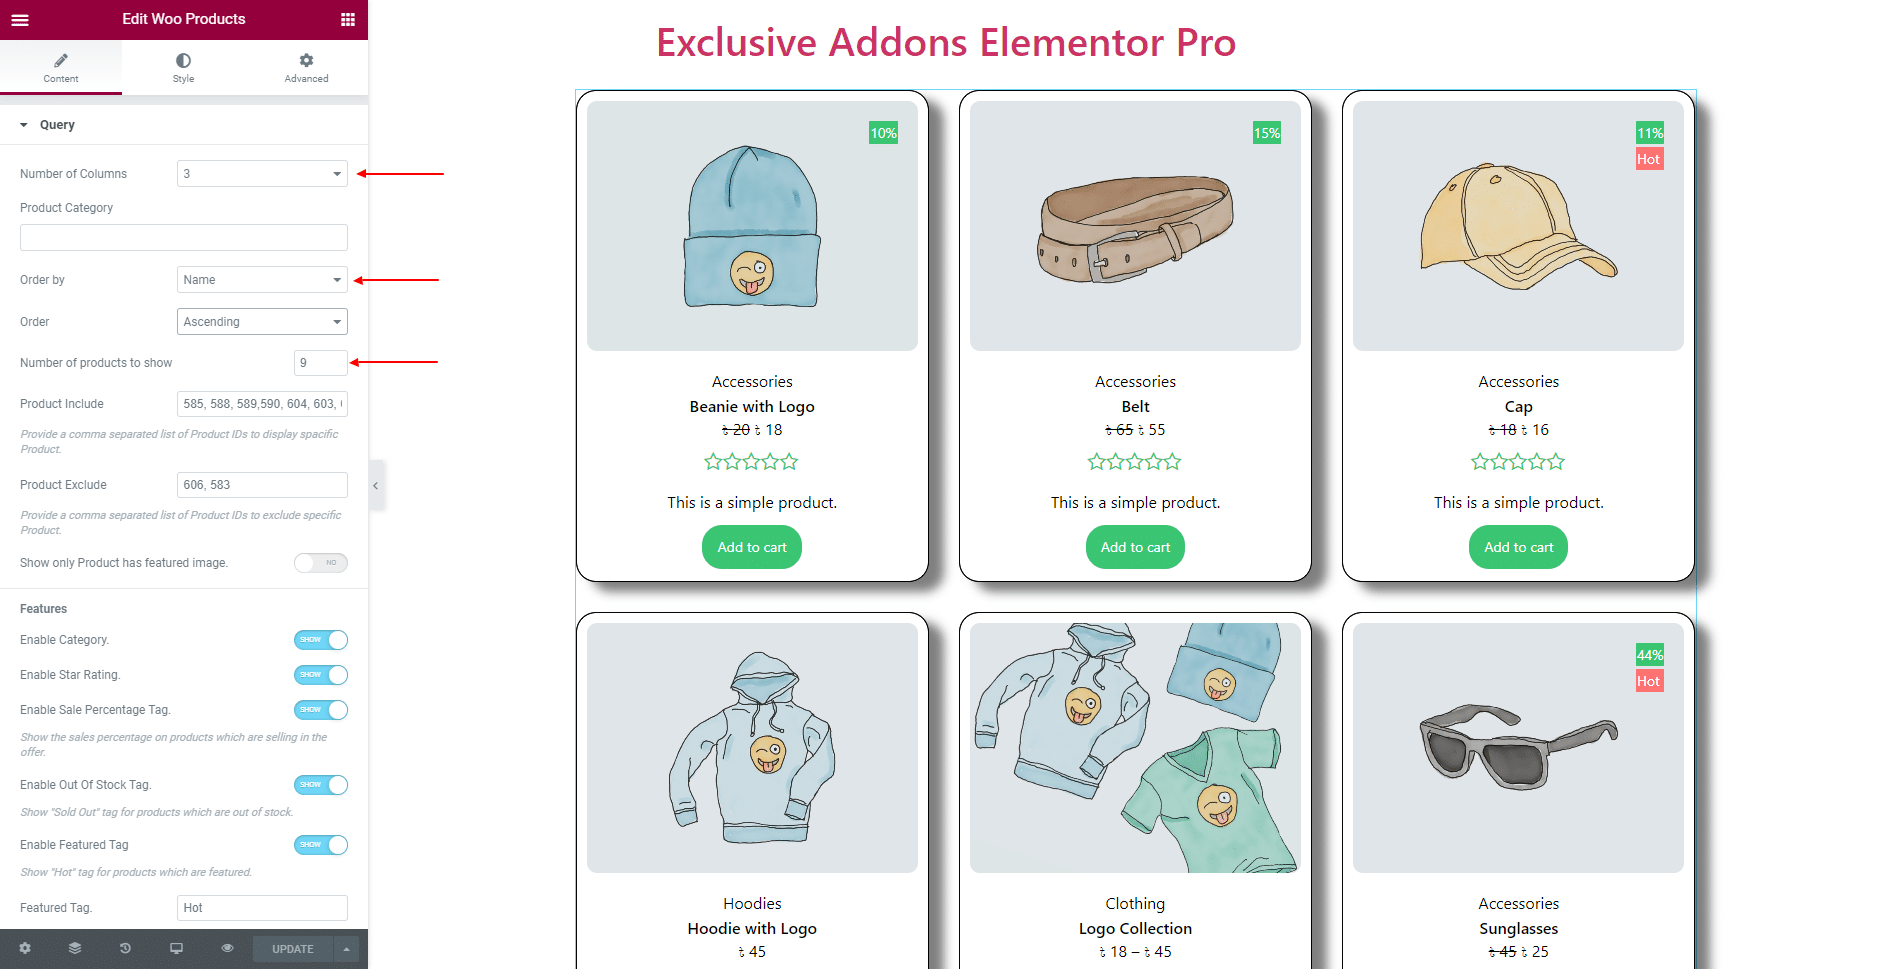
Content tab allows you to configure the Woo Product element.
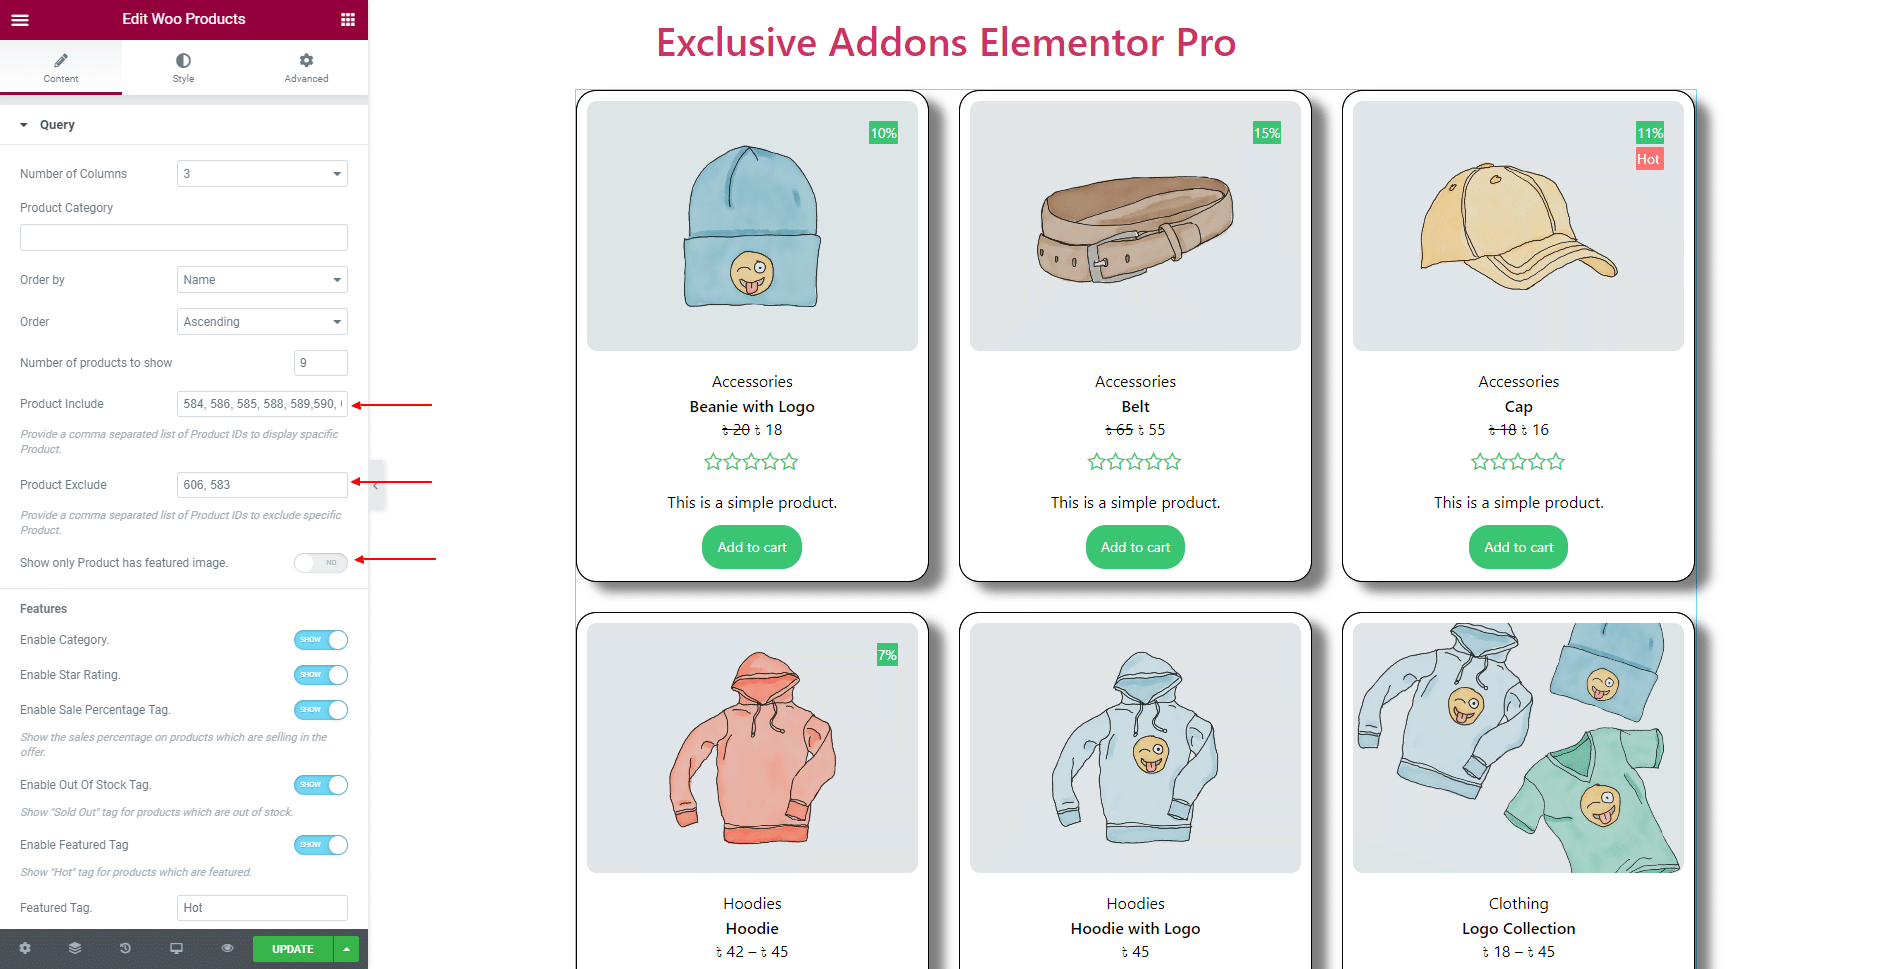
In Query section, you can select the Number of Columns to Show, choose how to organize the products from Order By option, and set them to ‘Ascending’ or ‘Descending’ Order. Also, set the Number of Products to Show’.
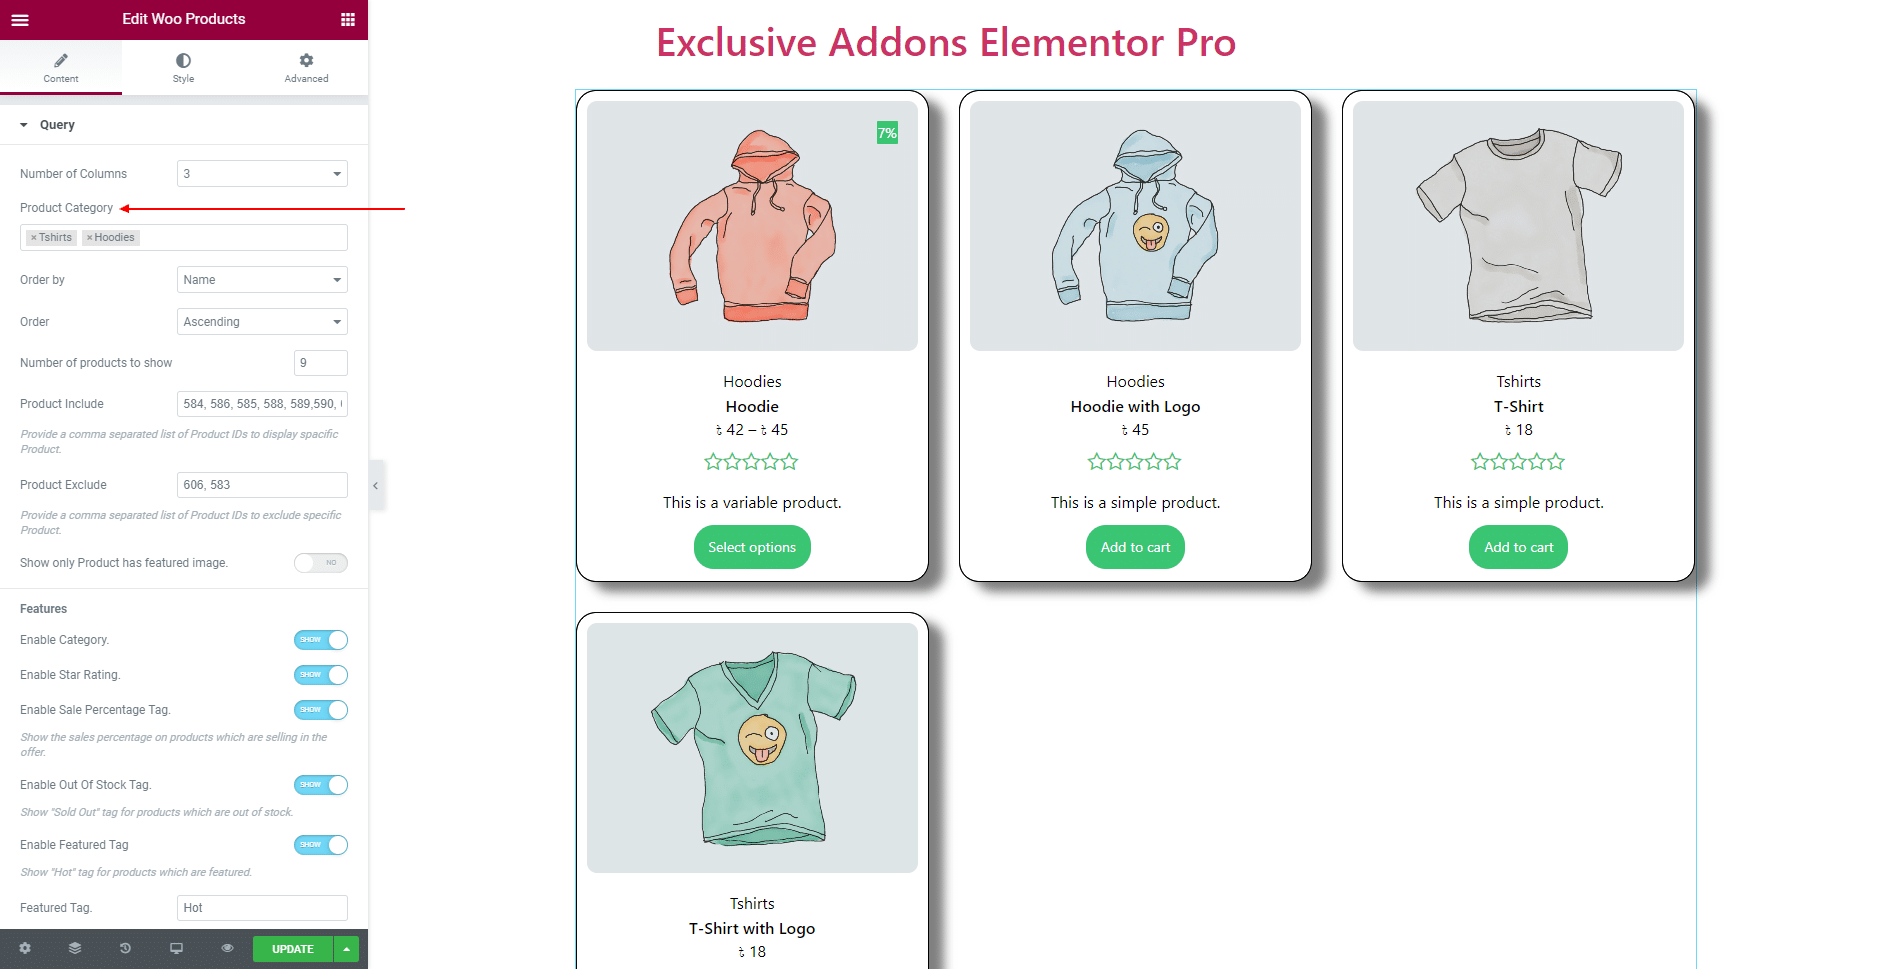
You can show products under some specific category by selecting Product Category.
Decide over specific products to display by adding their ‘Product ID’ to Product Include and Product Exclude field. And can turn on Show only Product has featured image.
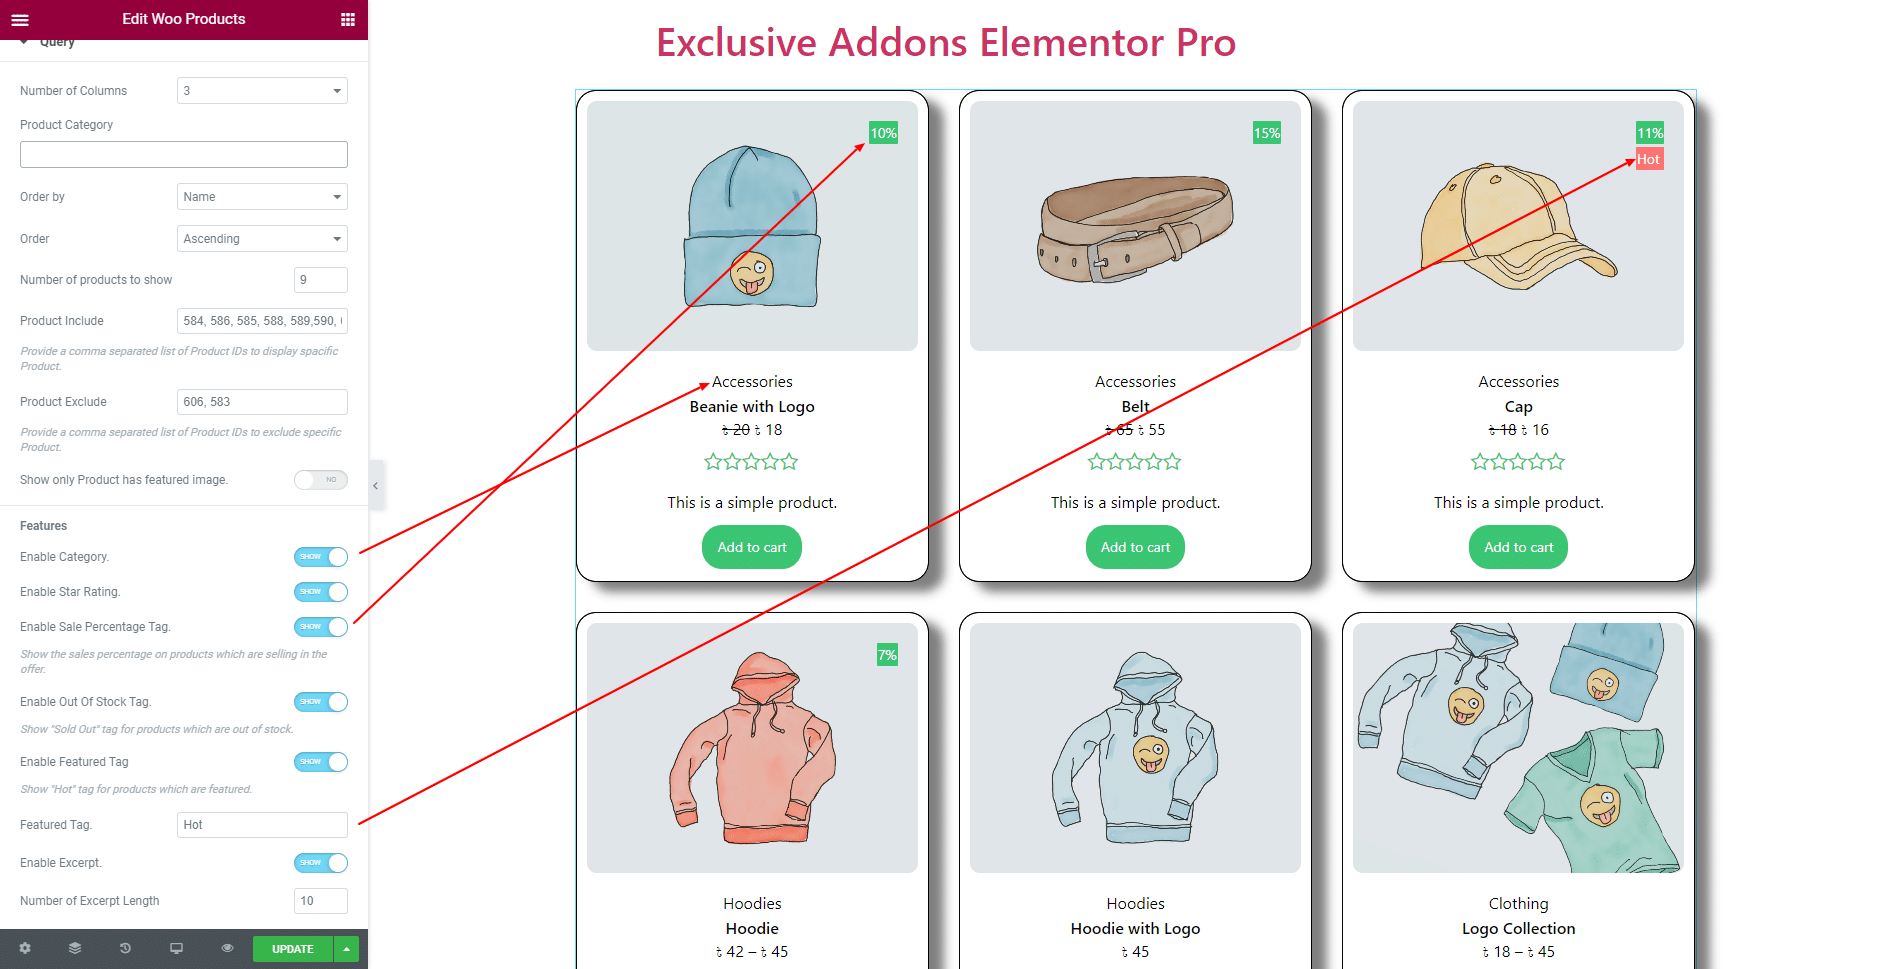
In terms of ‘Features‘ you can show or hide the following: Category, Star Rating, Sale Percentage Tag, Out of Stock Tag, Featured Tag, Enable Excerpt. Also can set Feature Tag Text and Number of Excerpt Length.
STEP 3:
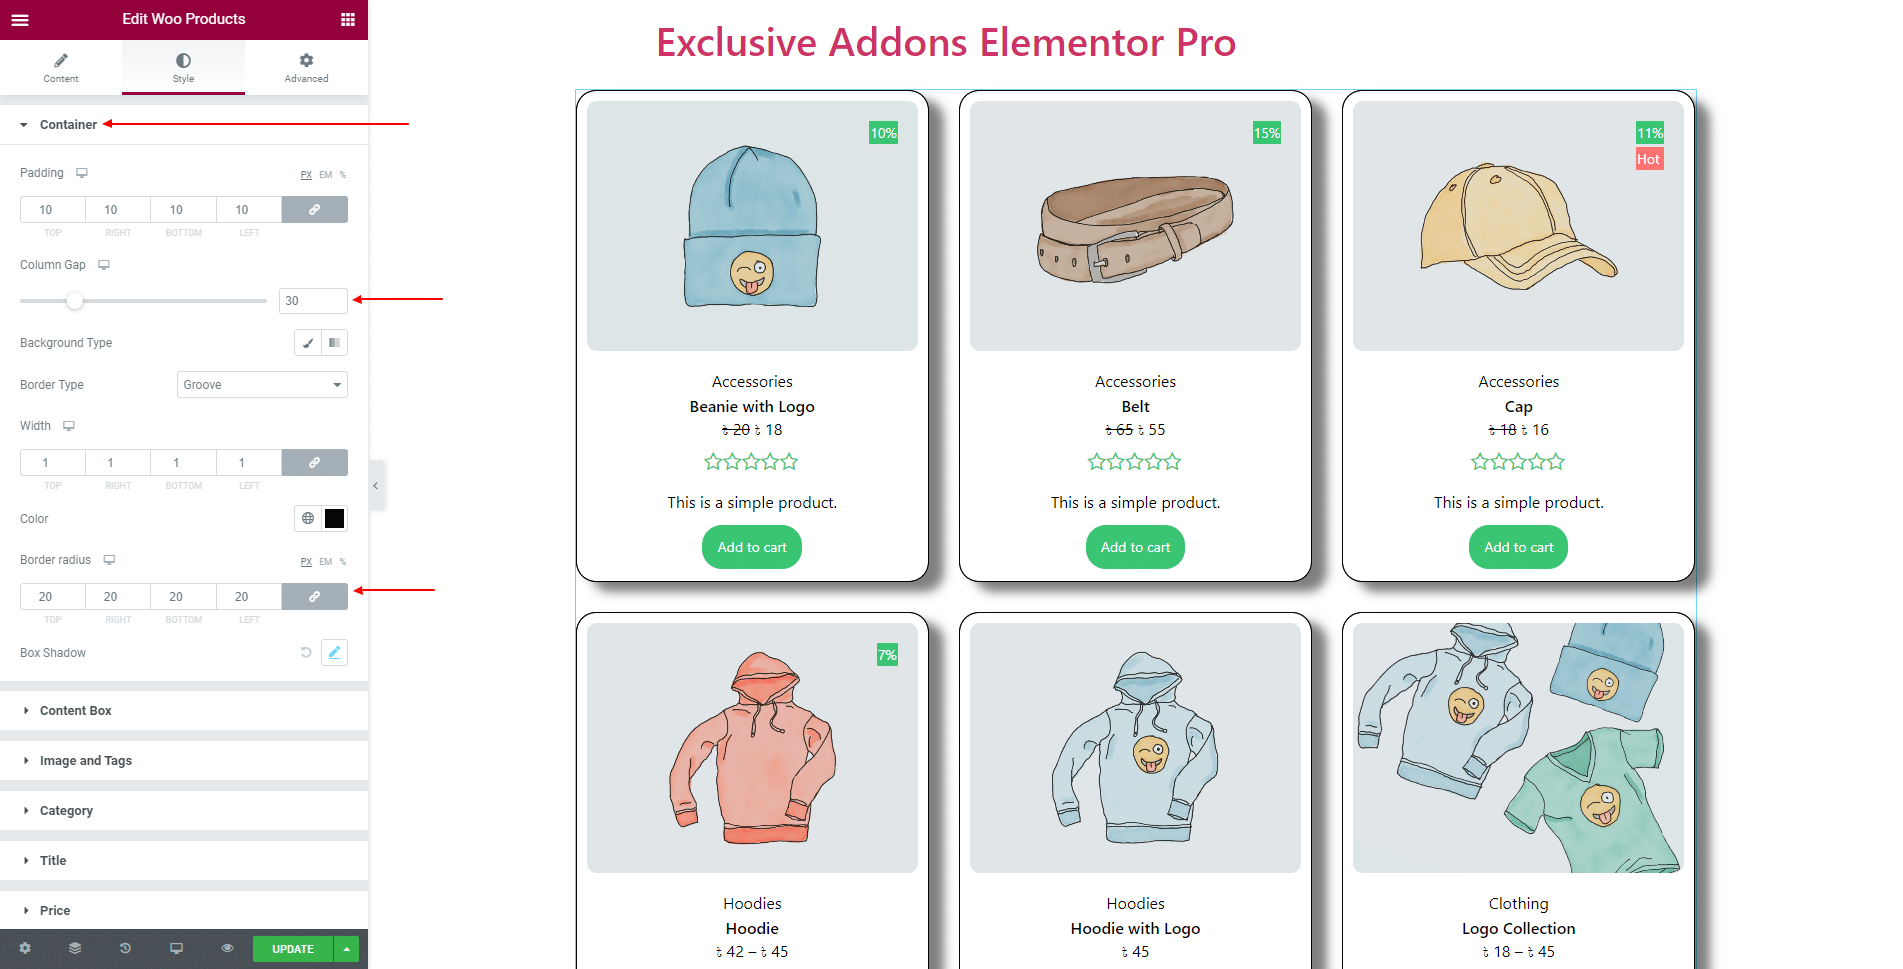
Style tab allows you to customize Container, Content Box, Image and Tags, Category, Title, Price, Star Rating, Excerpt, and Button.
3.1 In Container section, change its Padding, Column Gap, Background Type, Border Type, Border Radius, and Box Shadow.
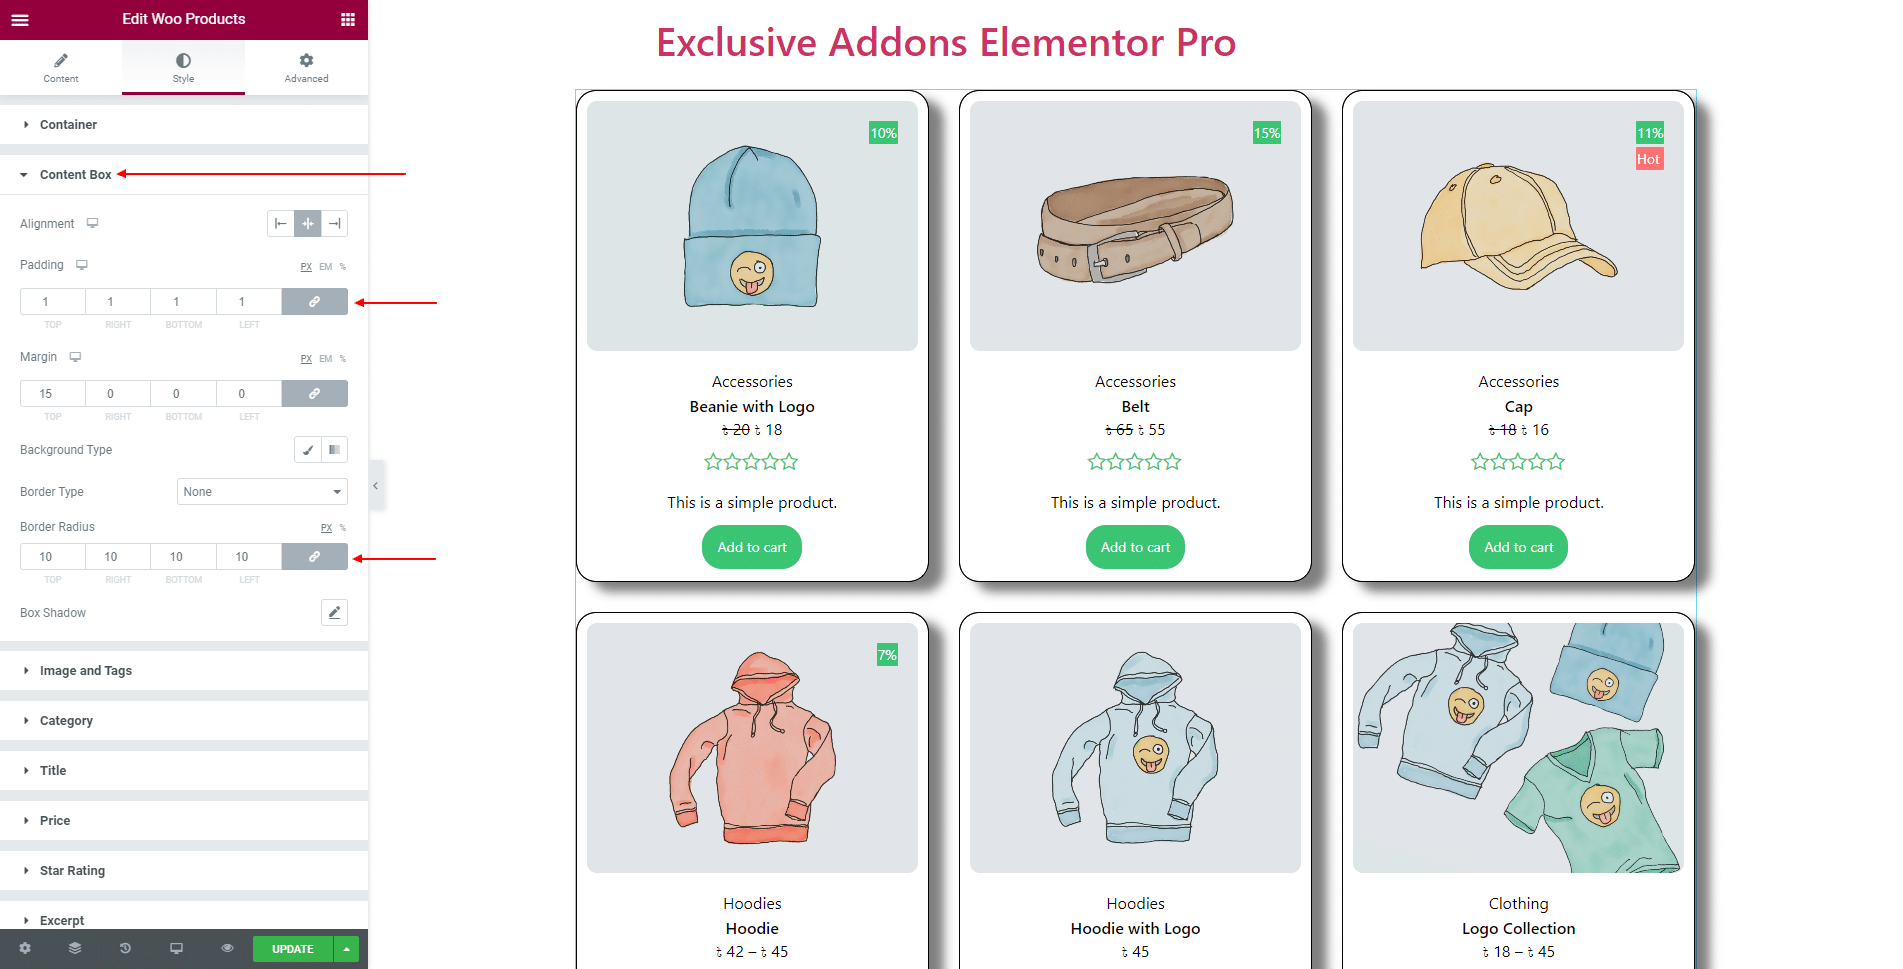
3.2 In Content Box section, you can set the Alignment, Padding, Margin, Background Type, Border Type, Border Radius, and Box Shadow.
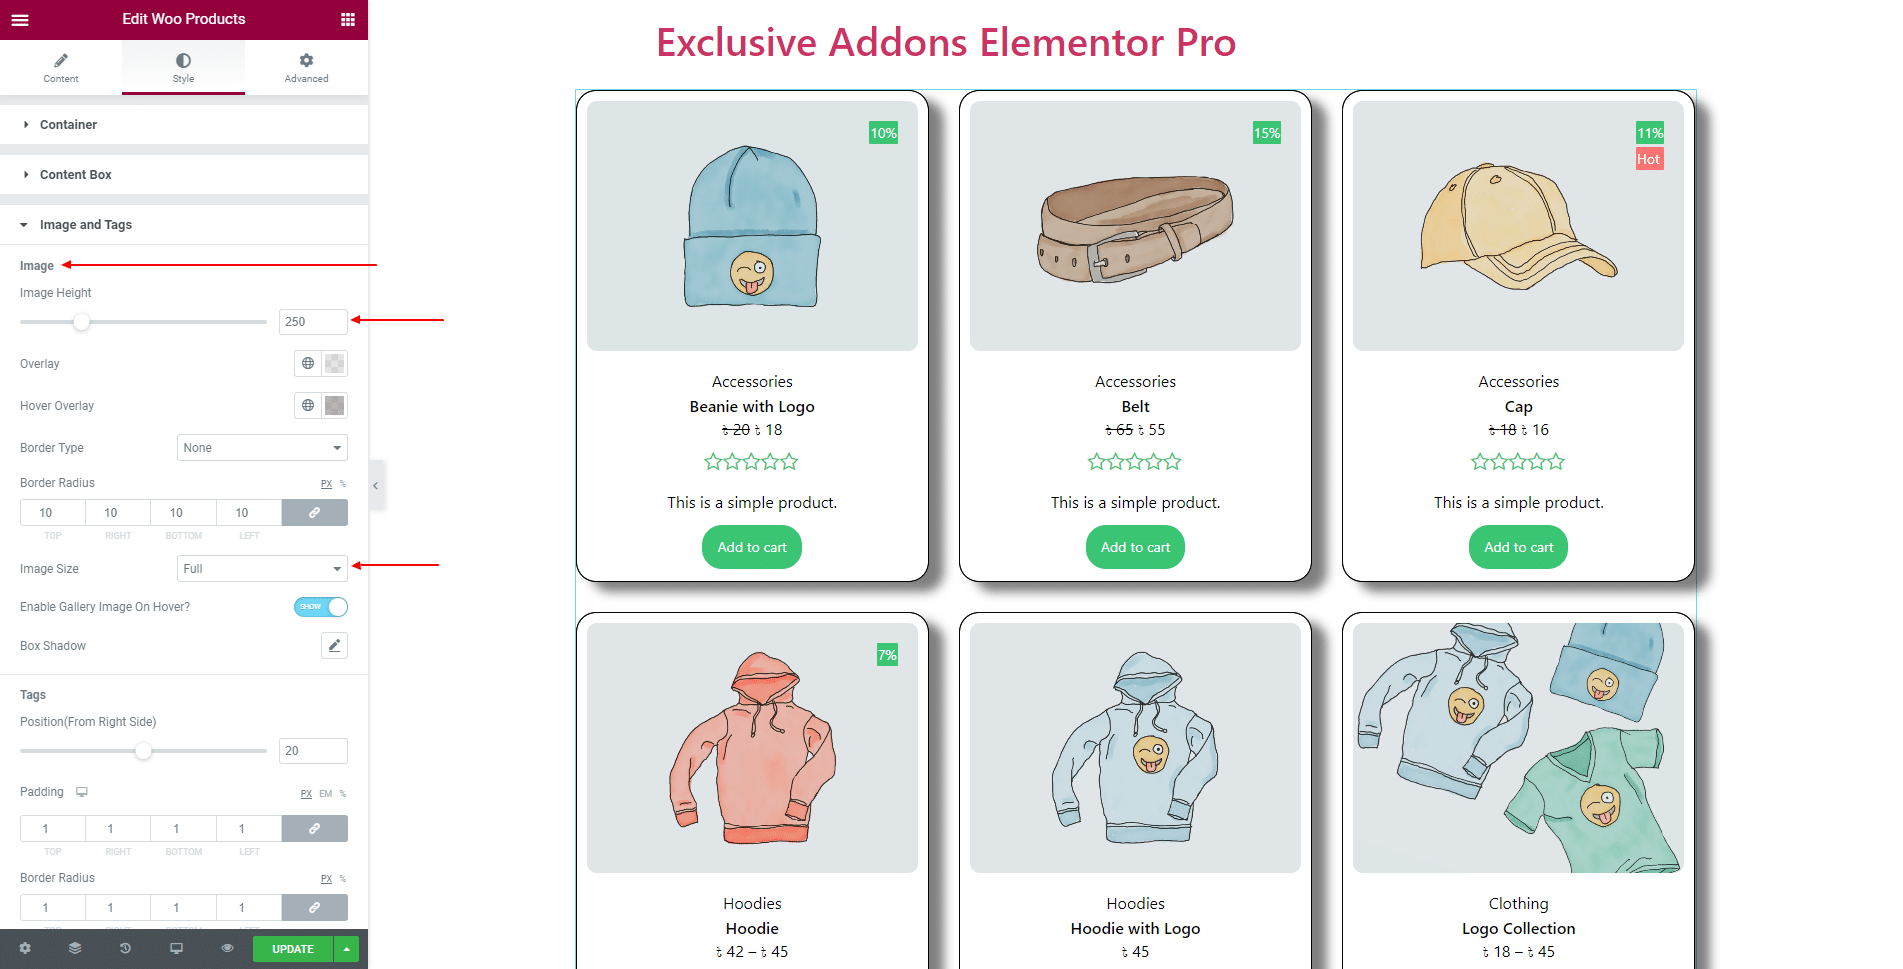
3.3 In Image and Tags section, set Image Height, Overlay, Hover Overlay, Border Type, Border Radius, Image Size, Box Shadow, and can Enable Gallery Image on Hover option for product ‘Image‘.
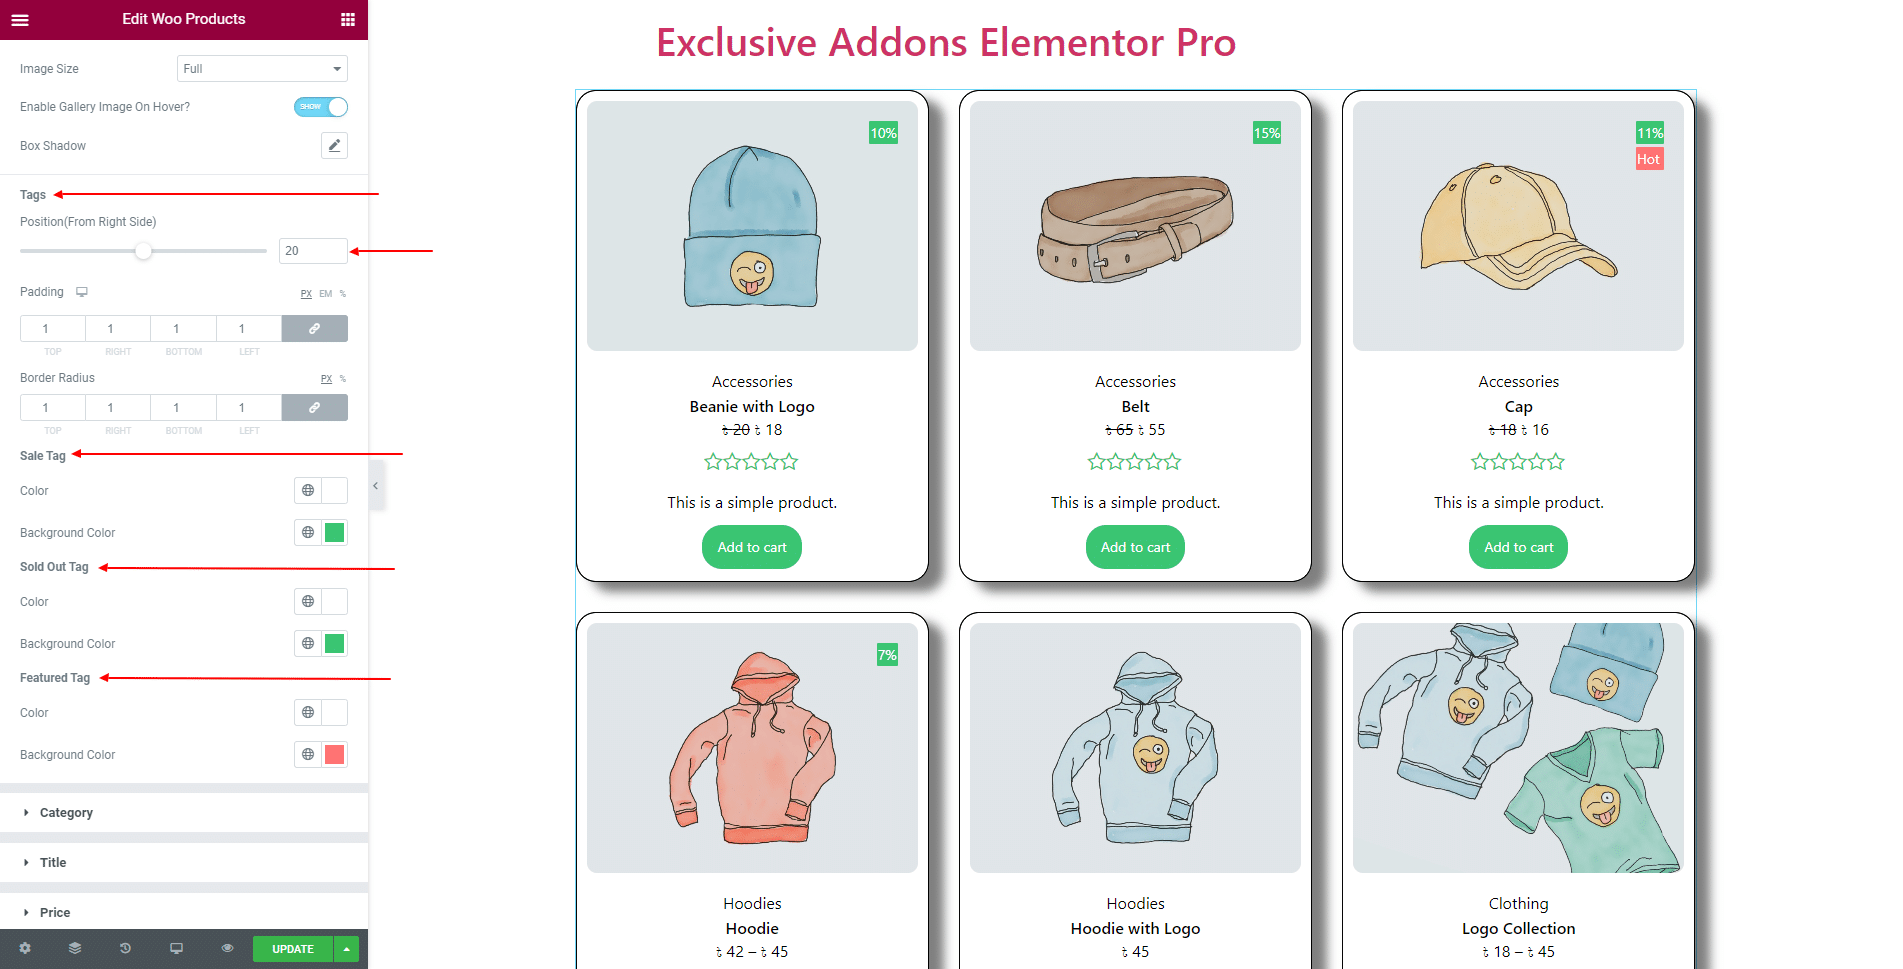
In terms of Tags, adjust its Position, Padding, Border Radius, and use individual Color and Background Color for ‘Sale Tag‘, ‘Sold Out Tag‘, ‘Featured Tag‘.
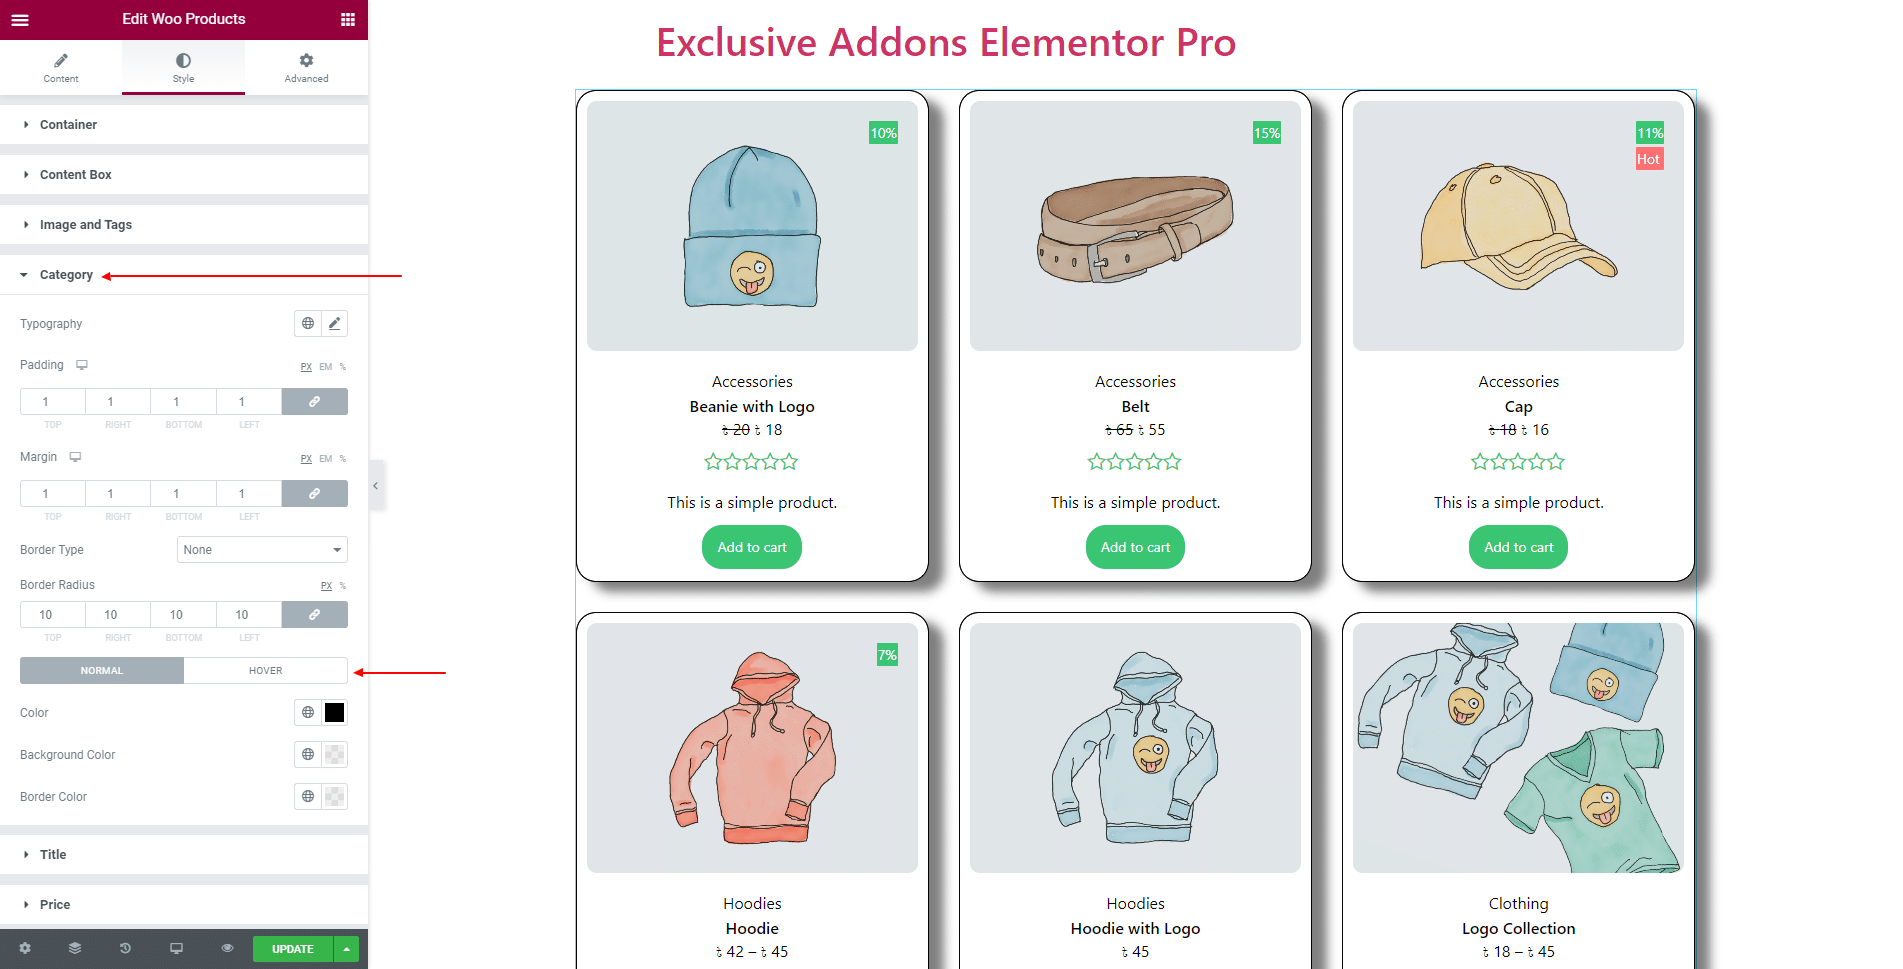
3.4 In Category section, change the Typography, Padding, Margin, Border Type, Border Radius, and individual Color, Background Color, Border Color for ‘Normal’ and ‘Hover’ state.
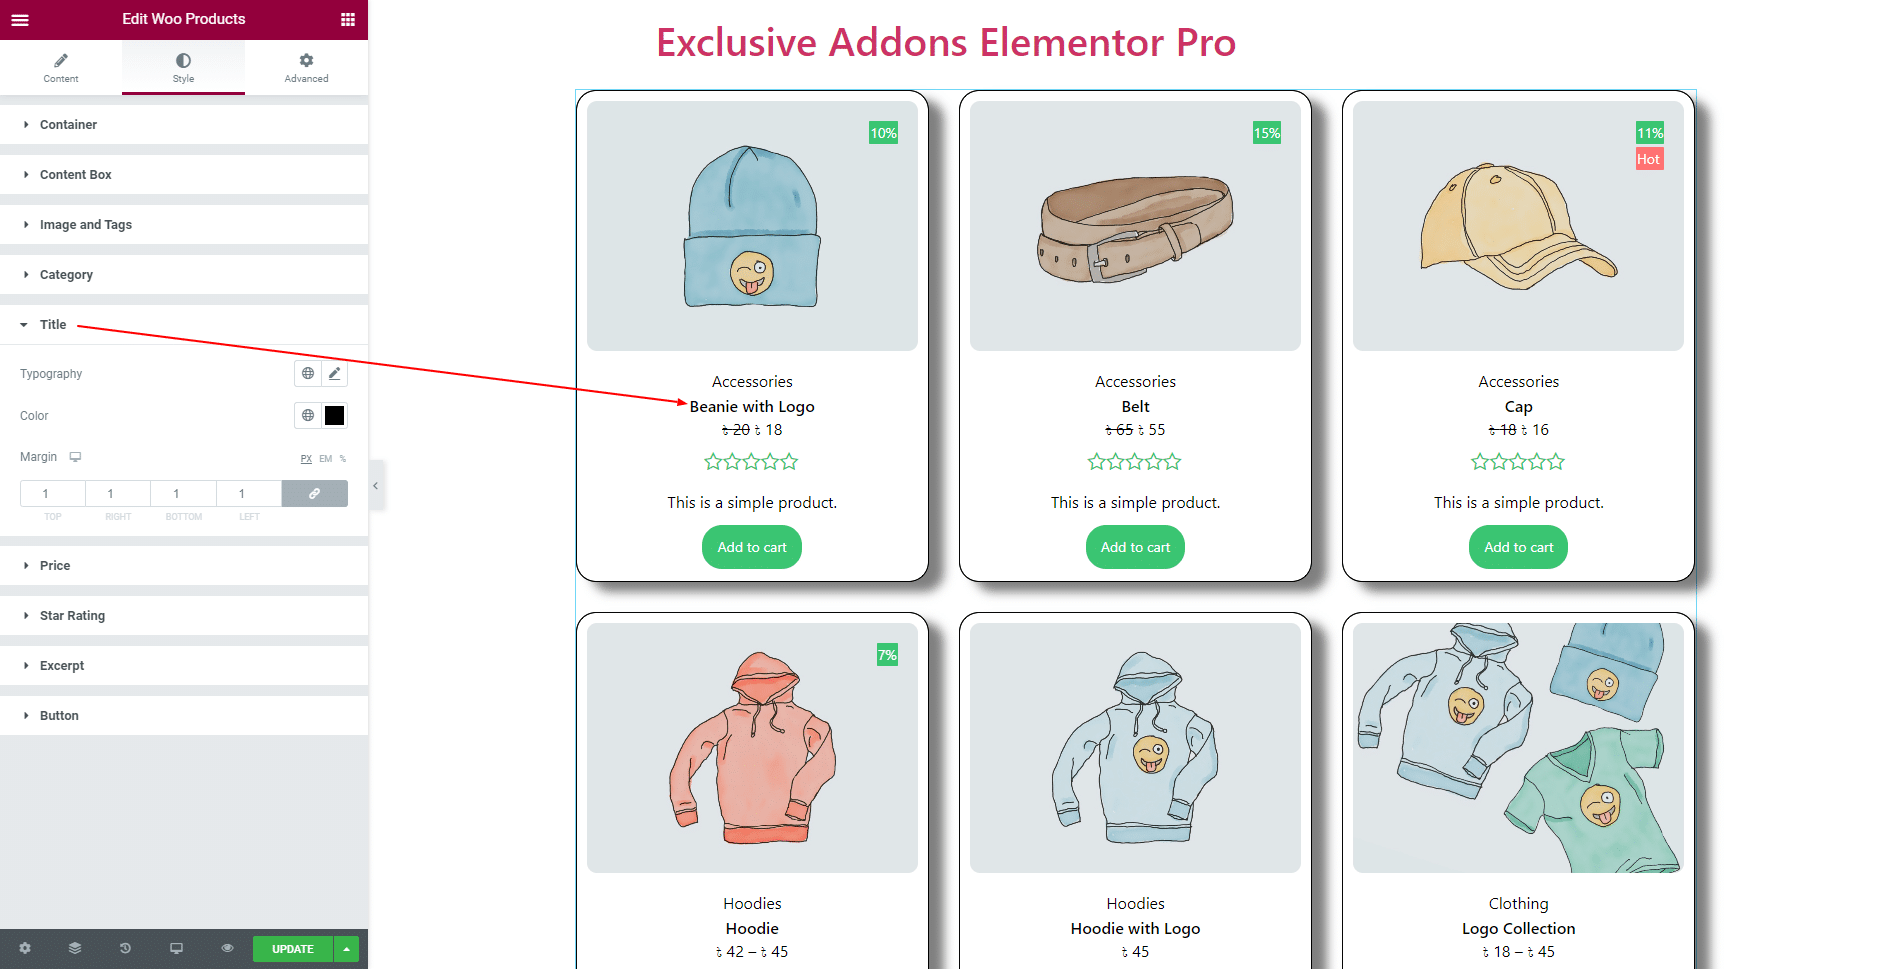
3.5 For Title, set the Typography, Color, and Margin.
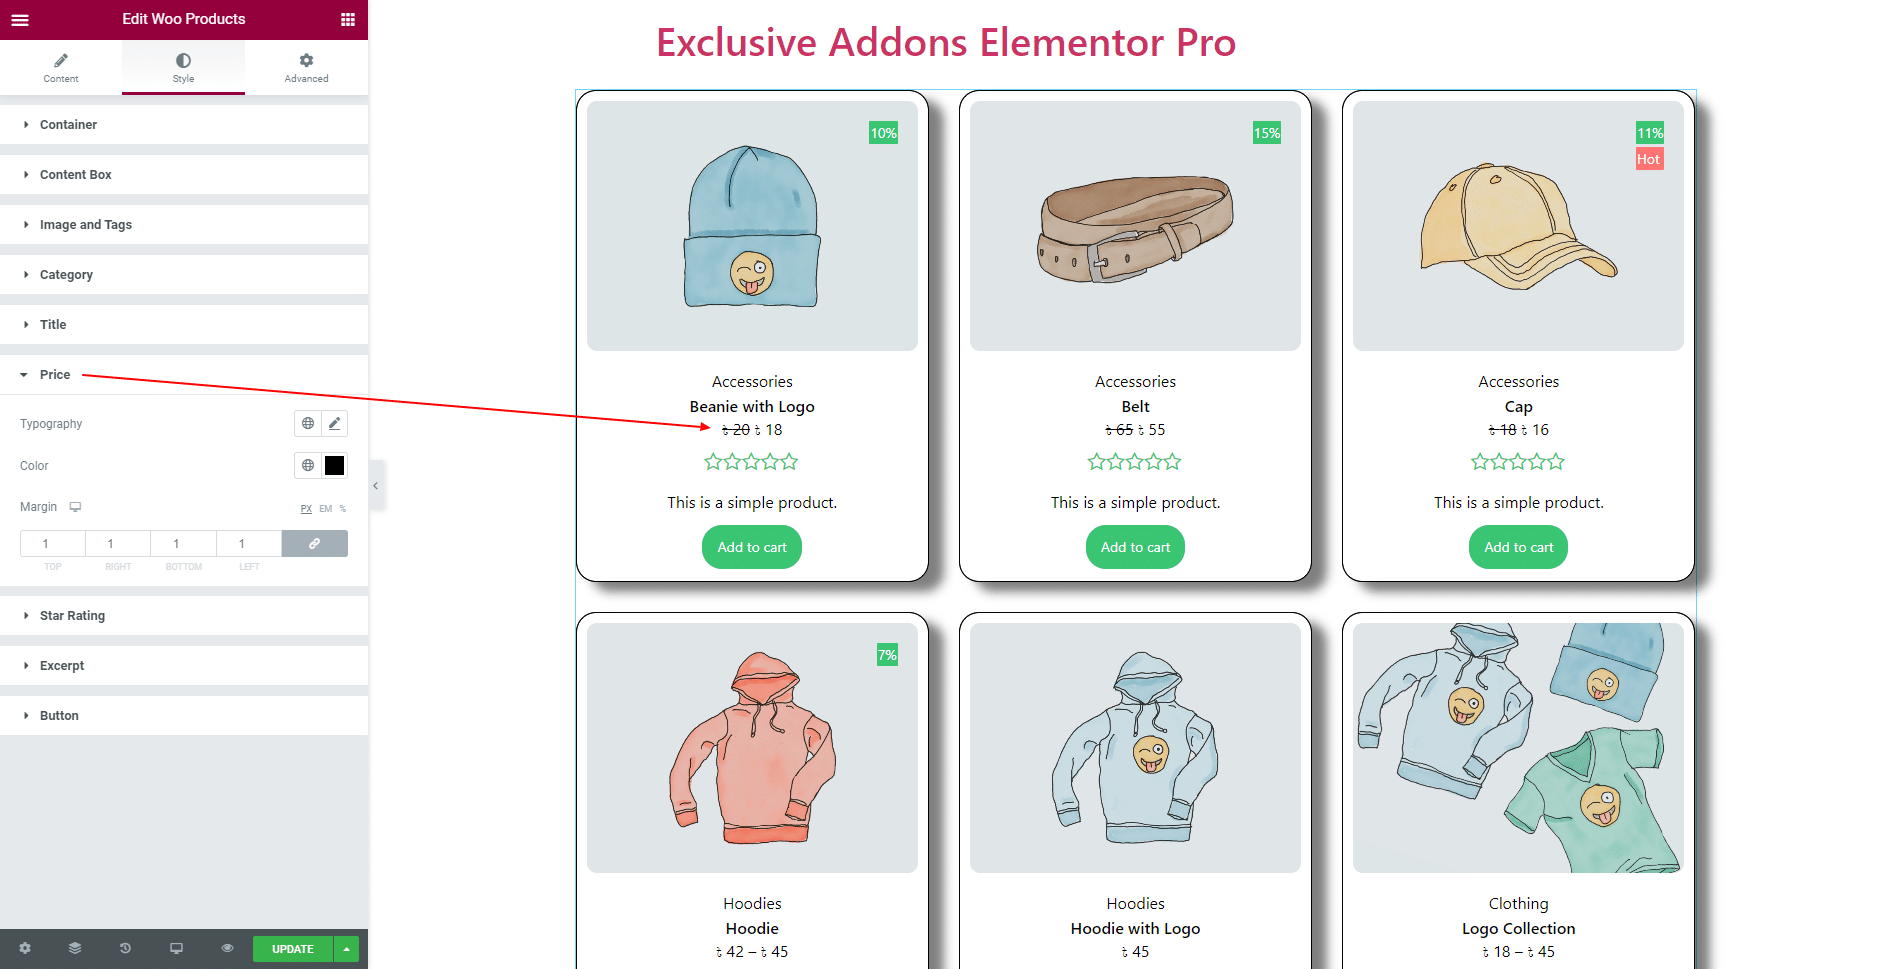
3.6 For Pricing section, set the Typography, Color, and Margin.
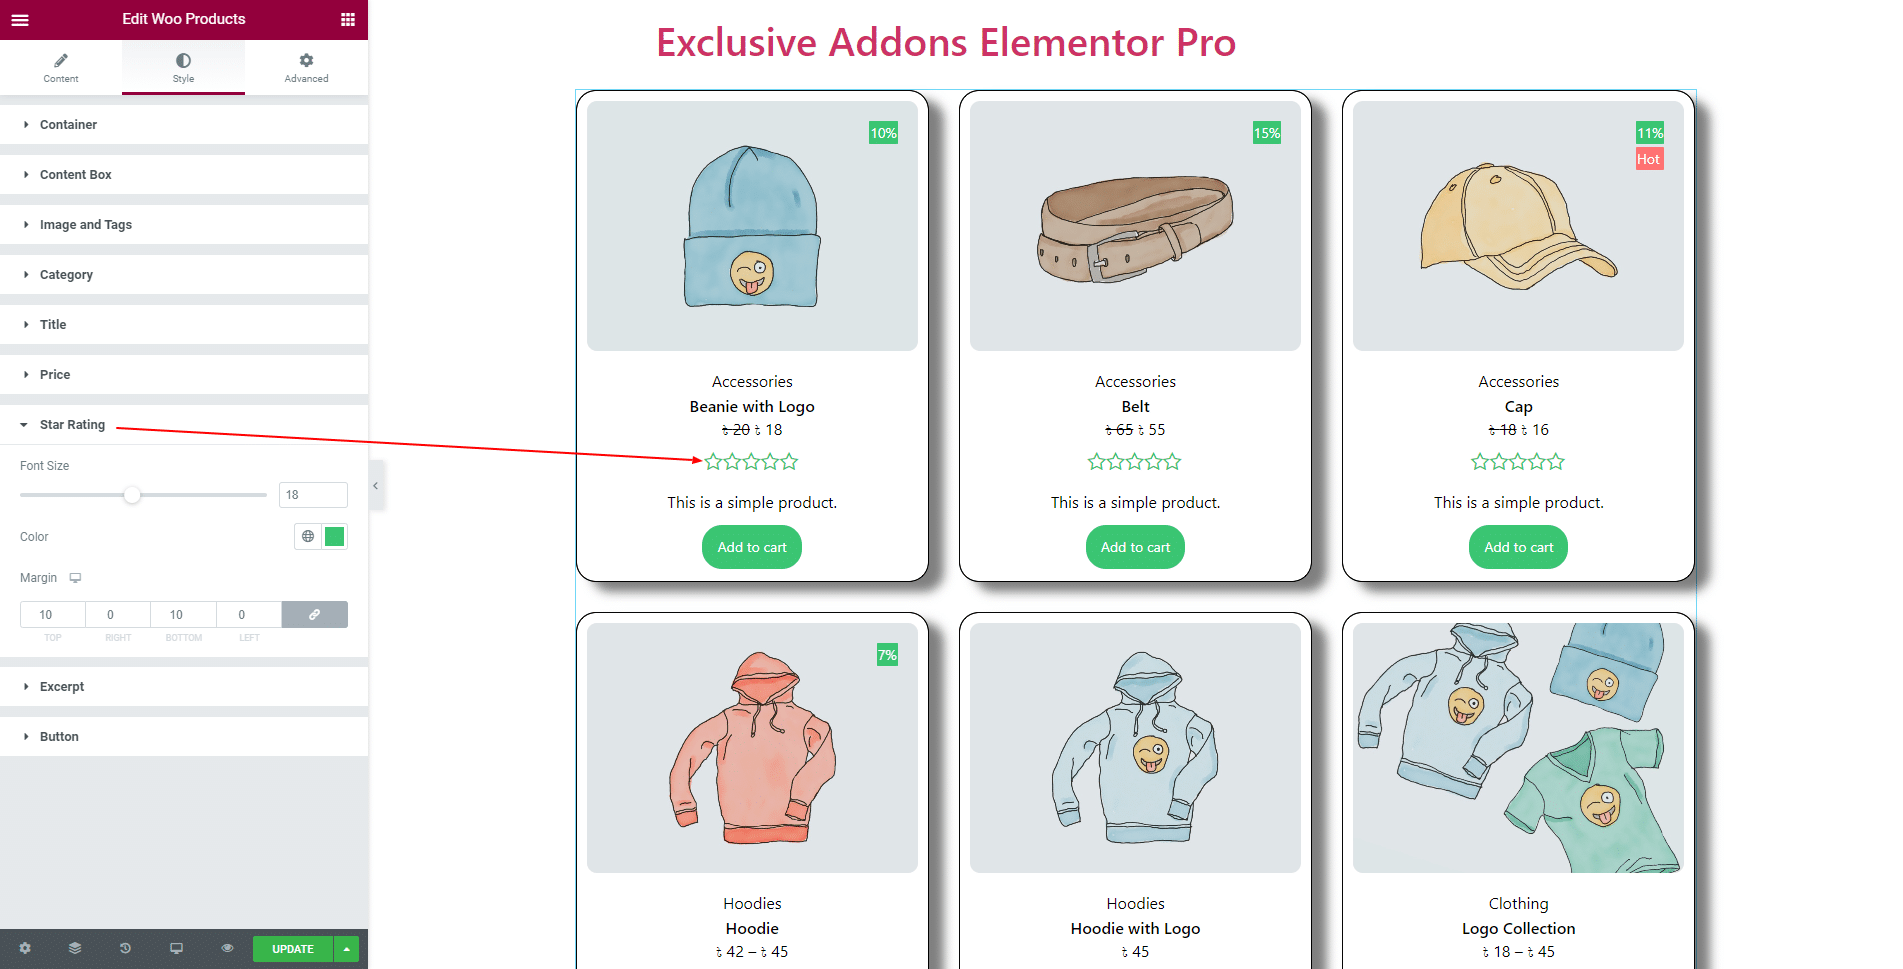
3.7 In Star Rating section, choose Font Size, Color, and Margin.
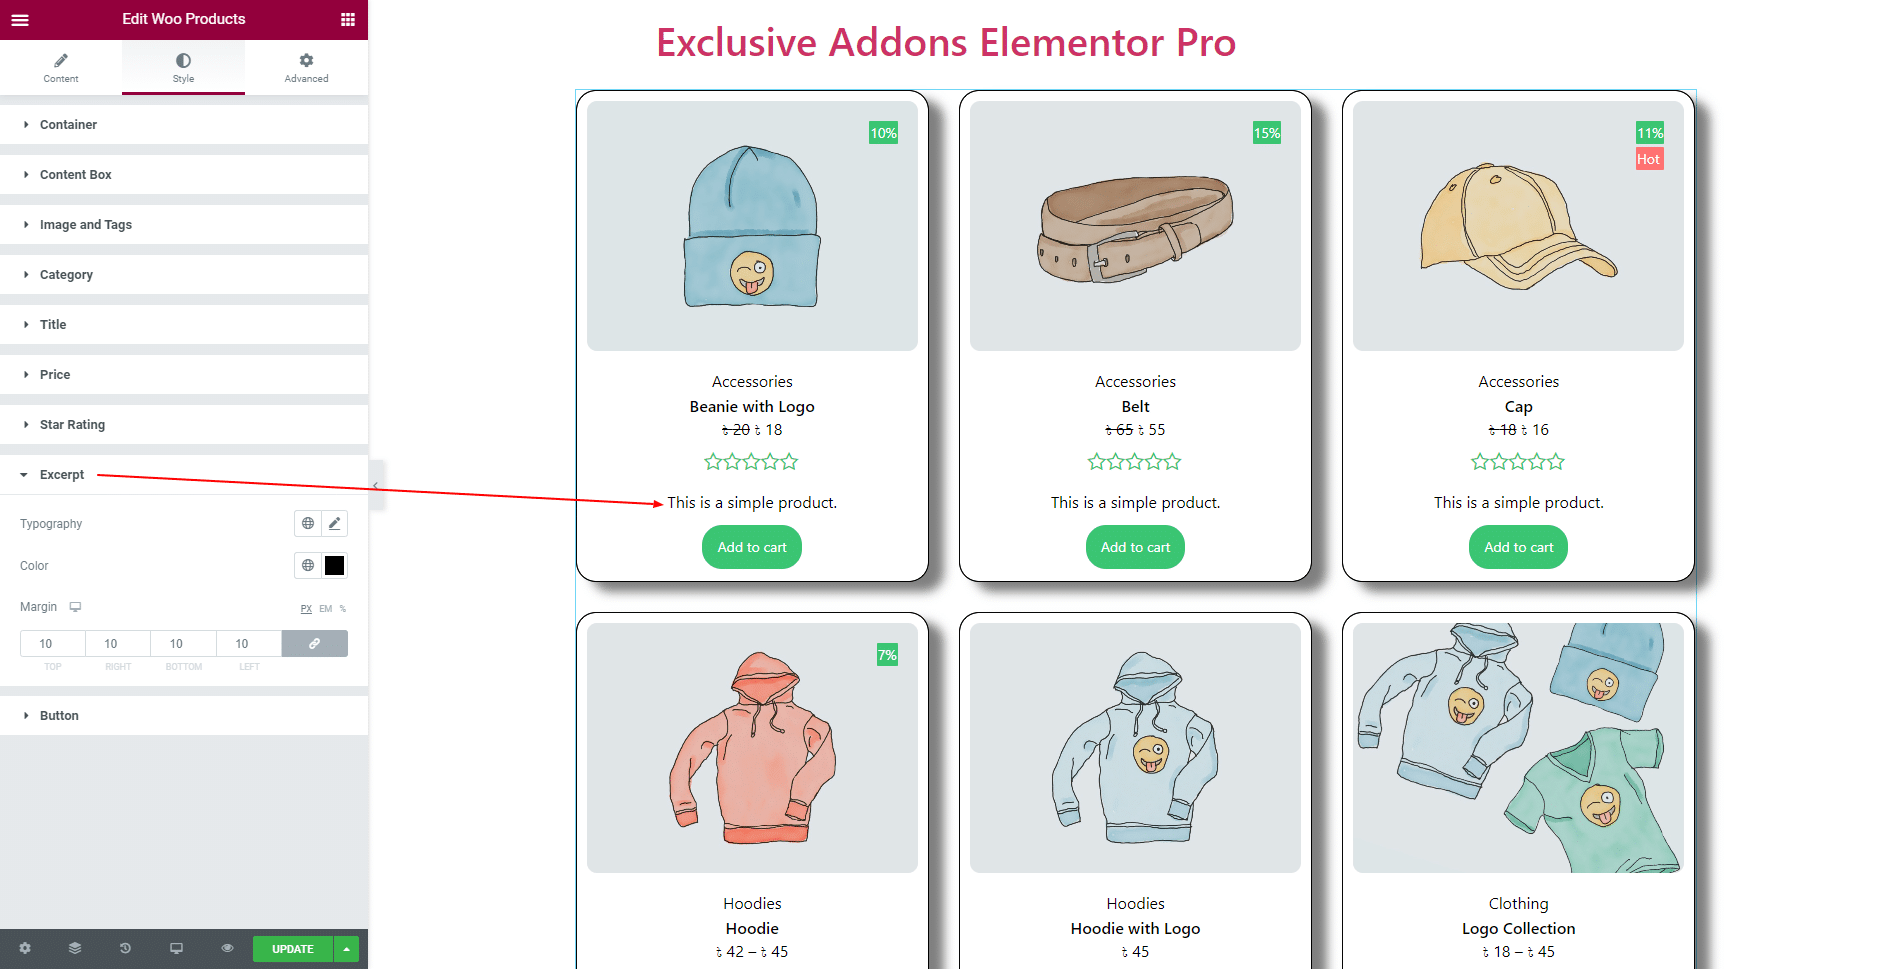
3.8 In Excerpt section, set the Typography, Color, and Margin.
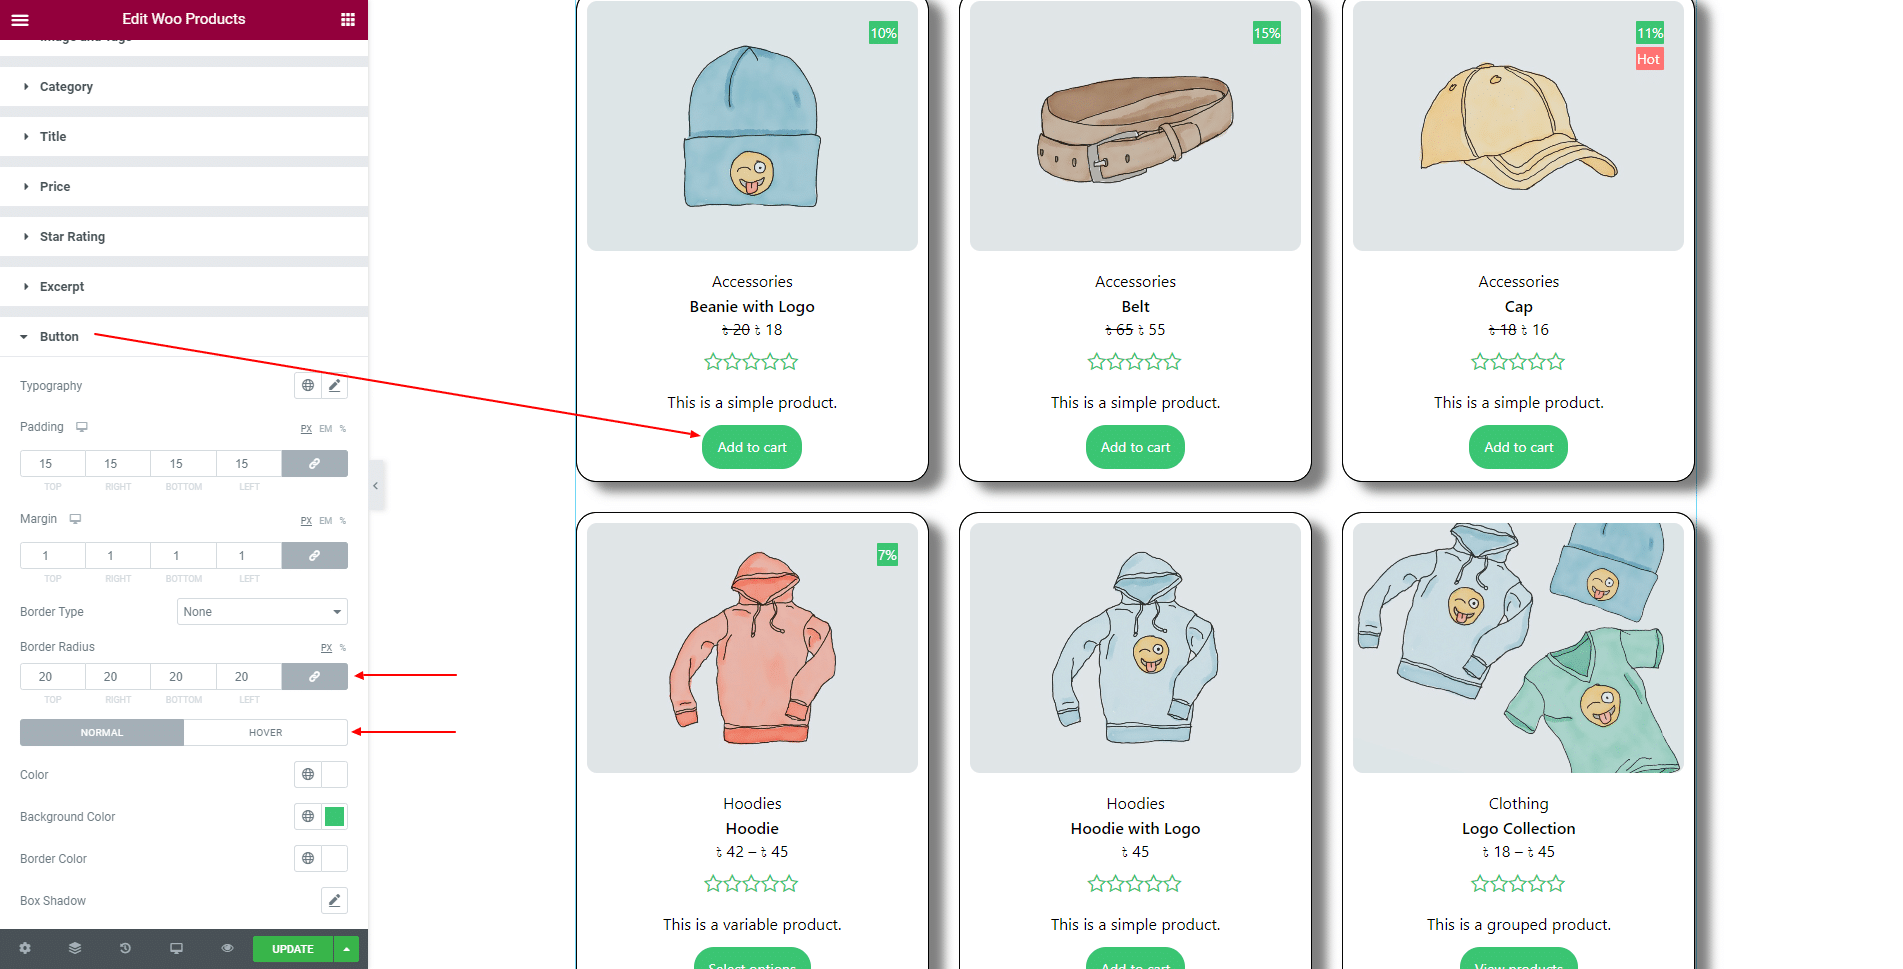
3.9 For Button, set its Typography, Padding, Margin, Border Type, Border Radius, and use separate Color, Background Color, Border Color, Box Shadow for both ‘Normal’ and ‘Hover’ state.
STEP 4:
Finally, hit the Update button, and include a stylish Woo Products Widget on your Wordpress site.